- Company Articles
- Company Articles
- How to Strengthen Lean Management: Step-by-Step Implementation Guide for Factories

How to Strengthen Lean Management: Step-by-Step Implementation Guide for Factories
Related Product
Strengthen Lean Management
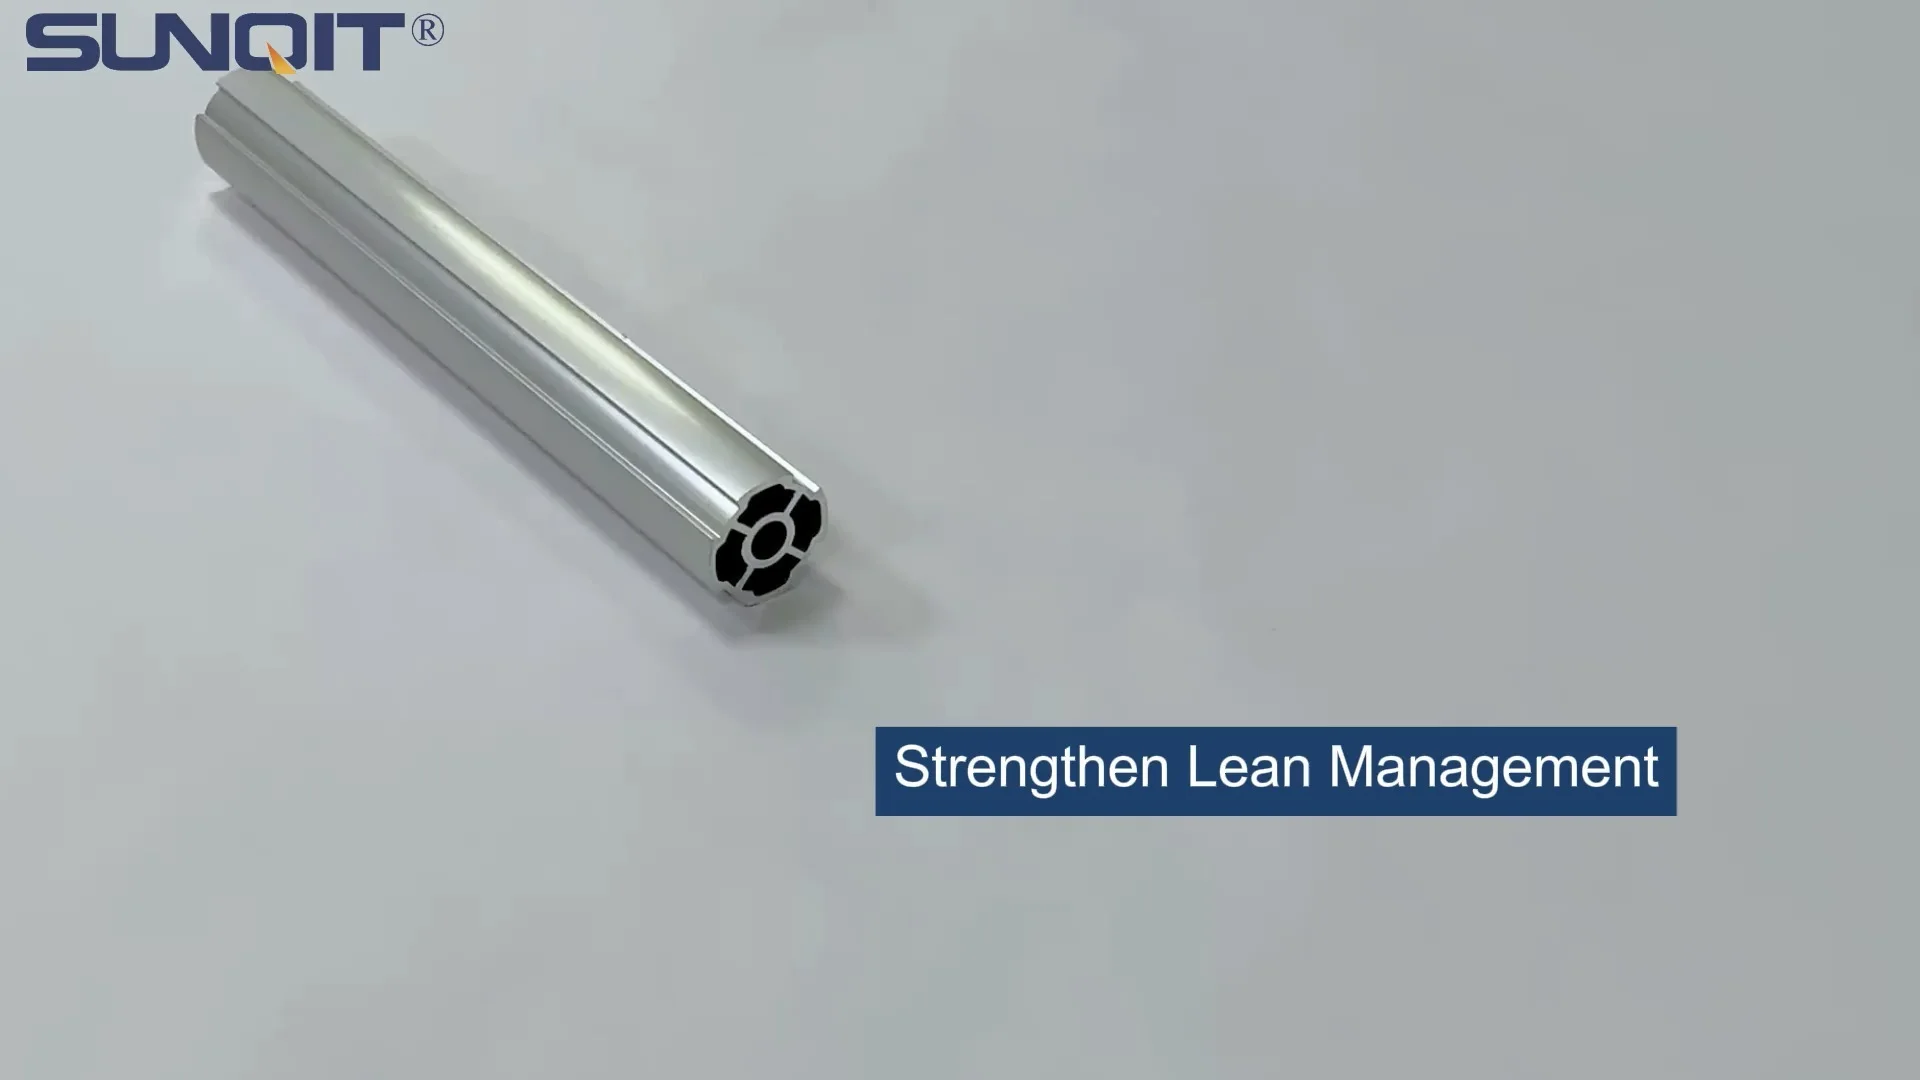
This product is called reinforced aluminum tube, and its bending strength is about twice that of the basic aluminum tube. The end face can process m1o threaded holes, install foot cups and other accessories, or convert internal and external screws in
Walk through any factory floor, and you'll likely spot the same silent drains on productivity: piles of unused inventory gathering dust in corners, workers trekking back and forth to fetch tools, assembly lines grinding to a halt because a critical part is stuck in a distant storage room. These aren't just minor annoyances—they're waste, and waste eats into profits, slows down production, and demoralizes teams. If you've ever thought, "There must be a better way to run this," you're already leaning into the mindset of lean management.
Lean management isn't about slashing costs or cutting corners. It's about creating a workplace where every action adds value, every process flows smoothly, and every team member feels empowered to improve what's broken. It's the difference between a factory that's constantly putting out fires and one that hums with efficiency—where products move from raw material to finished goods faster, errors drop, and employees take pride in their work.
But where do you start? Implementing lean management can feel overwhelming, especially if you're used to "the way we've always done it." That's why we've put together this step-by-step guide. Whether you're a small manufacturer just dipping your toes into lean or a large plant looking to refresh your approach, these actionable steps will help you strengthen your lean system, eliminate waste, and build a culture of continuous improvement. Let's dive in.
Step 1: Map Your Current State (And Be Honest About Waste)
Before you can fix something, you need to understand how it works—warts and all. The first step in strengthening your lean management is to map your current production process and identify waste. This isn't about pointing fingers; it's about shining a light on inefficiencies so you can tackle them head-on.
Start with a value stream map (VSM). A VSM is like a GPS for your factory: it charts every step of your production process, from the moment raw materials arrive to when the finished product ships. Draw out each activity—receiving, storage, assembly, testing, packaging—and note two key things:
value-added
steps (actions that directly improve the product, like assembling parts) and
non-value-added
steps (everything else, like waiting for a machine, searching for tools, or moving materials between stations).
As you map, ask your team: "Why do we do this step?" If the answer is "Because we've always done it that way," or "Because the storage room is too far," you've found waste. Common types of waste (or "muda," as lean experts call it) include:
- Transport: Moving materials or products more than necessary (e.g., a worker walking 50 feet to grab screws from a shelf when they could be at their workstation).
- Inventory: Stockpiling more raw materials, work-in-progress (WIP), or finished goods than needed (e.g., a warehouse full of parts that won't be used for months).
- Motion: Unnecessary movement by workers (e.g., bending, reaching, or twisting repeatedly to access tools on a cluttered workbench).
- Waiting: Idle time when workers or machines are stuck (e.g., an assembly line stopping because a conveyor belt jammed, or a team waiting for a supervisor's approval).
- Overproduction: Making more products than customers need (e.g., churning out 500 units when orders only call for 300, leading to excess inventory).
Step 2: Define Clear, Measurable Goals (No More "Be More Efficient")
You've identified waste—now, what do you want to replace it with? Vague goals like "be more efficient" or "reduce waste" won't cut it. Lean management thrives on clarity. You need specific, measurable targets that align with your company's priorities, whether that's speeding up production, cutting costs, or improving quality.
Let's use the SMART framework to set goals: Specific, Measurable, Achievable, Relevant, Time-bound. For example, instead of "reduce material transport," a SMART goal would be: "By Q3, cut the time workers spend transporting materials by 40% by relocating high-use parts to flow racks within 10 feet of assembly stations." This goal is clear (40% reduction), measurable (track time spent transporting), achievable (relocating parts is feasible), relevant (transport waste was a top issue in your VSM), and time-bound (Q3 deadline).
To set the right goals, involve your leadership team. What's the company's top priority this year? If it's "increase on-time delivery rates," your lean goals might focus on reducing lead time. If it's "improve product quality," target waste like defects or rework. Aligning lean goals with business objectives ensures everyone sees the purpose behind the changes—and gets on board.
Let's look at a goal-setting example. A food packaging plant we advised had a 25% on-time delivery rate, largely due to bottlenecks in their labeling process. Their VSM showed that labels were stored in a warehouse 300 feet from the packaging line, and workers spent 2 hours daily fetching them. Their SMART goal: "By the end of the quarter, reduce label transport time by 75% by installing a dedicated flow rack next to the packaging line, cutting total lead time by 15% and increasing on-time deliveries to 80%."
Once you've set goals, write them down and share them with your team. Post them on the factory floor, discuss them in team meetings, and track progress publicly. When workers see "75% reduction in transport time" and watch the numbers tick closer to the target, they'll feel invested in the outcome.

Step 3: Train Your Team (Lean Isn't Just for Managers)
Lean management fails when it's treated as a "top-down" project. You can have the best flow racks, the most optimized conveyor belts, and a perfectly mapped value stream—but if your team doesn't understand lean principles or feel empowered to act, none of it will stick. That's why training is the backbone of any successful lean implementation.
Start with the basics: teach your team what lean is (and isn't). Many workers hear "lean" and think "layoffs" or "working harder for less." Clear that up from the start: lean is about working
smarter
, not harder. It's about eliminating tasks that don't add value so everyone can focus on work that matters. Use real examples from your factory: "Remember how you used to walk to the storage room 10 times a day? With the new flow rack, you can grab parts in 30 seconds—that's 2 hours back in your day to focus on assembly."
Next, train teams on lean tools. You don't need to turn everyone into a lean expert, but they should know the basics of:
- 5S (Sort, Set in Order, Shine, Standardize, Sustain): A method for organizing workspaces to reduce clutter and improve efficiency. For example, "Sort" means removing unused tools from workbenches; "Set in Order" means labeling storage bins so anyone can find parts quickly.
- Kaizen (Continuous Improvement): The idea that small, daily improvements add up to big results. Encourage workers to suggest tweaks: "What if we rotate the workbench so the conveyor feeds parts directly to our left hand?"
- Andon (Visual Alerts): A system for flagging problems immediately (e.g., a light that turns red when a machine breaks down, so supervisors can respond fast).

Step 4: Redesign Workflows with Lean Tools (From Flow Racks to Workbenches)
Now comes the hands-on part: reworking your processes and tools to support your goals. This is where lean management moves from theory to practice—using physical tools and layout changes to eliminate waste and create flow. Let's break down the key tools and how to use them.
Remember, tools alone won't create lean—they need to be part of a larger workflow design. Before buying a flow rack or conveyor, ask: "Does this tool directly support our SMART goals?" If your goal is to reduce transport time, a flow rack makes sense. If it's to improve quality, focus on workbench organization or ESD stations to prevent damage.
Tool 1: Flow Racks for Smooth Material Movement
One of the biggest sources of waste is "motion" and "transport"—workers moving to get materials, or materials sitting idle. Flow racks solve this by bringing parts directly to the point of use, using gravity to feed items forward as they're needed (a "first-in, first-out" system). For example, a material rack B (3 row and 3 floor) can hold bulk parts, with the oldest stock at the front—ensuring parts don't expire or become obsolete. When installing flow racks, think about frequency of use . High-use parts (e.g., screws, washers, or small components used in every assembly) should be in flow racks within arm's reach of workstations. Medium-use parts can go in racks 10–15 feet away, and low-use parts can stay in central storage. This "gold-silver-bronze" system ensures workers spend less time walking and more time assembling. A furniture manufacturer we worked with used this strategy to cut material retrieval time by 55%. They installed 3-row flow racks next to their upholstery stations, stocking fabric rolls and staples at eye level. Workers who once spent 45 minutes hourly fetching supplies now grab what they need in 2 minutes flat.Tool 2: Workbenches Built for Flexibility
Your workbench is the heart of your assembly process—so why settle for a one-size-fits-all design? Traditional wooden workbenches are heavy, hard to adjust, and can't adapt as production needs change. Enter the aluminum profile workbench: lightweight, modular, and infinitely customizable. Aluminum profiles (like 4040 or 3030 series) use T-slot designs, meaning you can attach tools, shelves, or bins anywhere along the frame with simple accessories. Need to add a monitor mount for digital work instructions? Screw it into the T-slot. Want to raise the bench height for taller workers? Swap out the legs—no sawing or welding required. Even better, aluminum is durable enough to handle heavy tools but light enough to reposition if your workflow changes. For example, a medical device plant we advised switched from fixed wooden benches to aluminum profile workbenches with ESD (electrostatic discharge) tops. They added adjustable shelves for tools, integrated LED task lights, and even mounted small conveyors to feed parts directly onto the bench. The result? A 22% reduction in errors (thanks to better lighting and organization) and a 15% faster assembly time.Tool 3: Conveyors to Connect Workstations
If flow racks bring materials to workers, conveyors ensure products move between workstations without manual lifting or carrying. But not all conveyors are created equal: choose the right type for your needs. Roller conveyors (with steel or aluminum wheels) work well for heavy, flat items like boxes or pallets. Belt conveyors are better for delicate products (e.g., electronics) that might shift on rollers. For small parts, consider a plastic roller track guide rail (yellow or grey) to keep items aligned. When designing your conveyor system, map the flow of products. A linear conveyor might work for a simple assembly line, but if you need to route products to different stations, use a swivel roller ball track or a 90-degree conveyor joint. The goal is to eliminate "dead zones" where products sit waiting—every inch of the conveyor should be moving items forward. A metal stamping plant we helped installed a roller conveyor between their stamping press and welding station. Previously, workers used forklifts to move stamped parts, taking 20 minutes per batch. The conveyor cut that time to 5 minutes, and freed up forklifts for other tasks. Plus, by adding a plastic roller track guide rail (yellow) to keep parts centered, they reduced scrap from dropped items by 40%.| Lean Tool | Primary Benefit | Example Use Case |
|---|---|---|
| Flow Rack (e.g., Material Rack B, 3 row 3 floor) | Reduces transport waste by bringing materials to the point of use | Storing high-use screws and washers next to an electronics assembly line |
| Aluminum Profile Workbench | Flexible, customizable workspace that adapts to changing needs | Medical device assembly with adjustable shelves, ESD top, and integrated tools |
| Roller Conveyor with Plastic Guide Rails | Streamlines product movement between stations, reducing manual handling | Transporting stamped metal parts from press to welding station |
| Swivel Roller Balls (1 inch or 0.5 inch) | Enables easy, multi-directional movement of products on work surfaces | Rotating large assemblies (e.g., car doors) on an automotive workbench |

Step 5: Pilot, Test, and Refine (Don't Try to Boil the Ocean)
You've trained your team, redesigned workflows, and invested in tools like flow racks and conveyors. Now, it's time to implement—but resist the urge to roll out changes across the entire factory at once. Lean management is iterative: test changes in a small, controlled area first, learn from what works (and what doesn't), then scale.
Choose a pilot area that's representative of your factory but small enough to manage—maybe a single assembly line, a packaging station, or a storage area. This lets you work out kinks without disrupting the entire operation. For example, if your goal is to reduce transport waste, pilot a flow rack in one assembly line before installing them factory-wide.
When piloting, set up a feedback loop. Check in daily with the team using the new tools: What's working? What's frustrating? A food processing plant piloted a new conveyor system and quickly learned the plastic roller track guide rails were too narrow for their boxes, causing jams. They swapped in wider rails—and avoided a costly mistake when scaling to other lines.
Track your progress against your SMART goals. If your goal was a 40% reduction in transport time, use a stopwatch to time workers before and after the pilot. If you're targeting quality improvements, count defects. Share these results with the team—celebrate small wins (e.g., "We're already at a 25% reduction in transport time!") to keep motivation high.
Don't be afraid to pivot. A electronics manufacturer piloted an aluminum profile workbench with integrated bins but found the bins were too deep—workers had to dig for small parts. They switched to shallower bins with dividers, and productivity jumped. Lean isn't about getting it perfect on the first try; it's about being willing to adjust based on real-world feedback.
Once the pilot is successful, document what worked. Create standard operating procedures (SOPs) for using the new tools: How to load a flow rack for FIFO, how to adjust the workbench height, how to troubleshoot a conveyor jam. SOPs ensure consistency when scaling to other areas—and make training new hires easier.
Step 6: Monitor, Improve, and Repeat (Lean Is a Journey, Not a Destination)
You've scaled your pilot, and the factory floor is looking (and running) better than ever. Congratulations—but your work isn't done. Lean management is a culture, not a project with an end date. To keep getting better, you need to monitor performance, celebrate improvements, and keep the cycle of continuous improvement alive.
Start by setting up a system to track key performance indicators (KPIs). These should align with your SMART goals: lead time, on-time delivery, defect rates, or transport time. Use a visual management board (a simple whiteboard or digital dashboard) to post KPIs daily. When everyone can see "Today's defect rate: 2% (target: 1%)", they'll rally to fix the issue.
Hold regular kaizen meetings—short, weekly check-ins where teams discuss what's working, what's not, and how to improve. Keep them informal: gather around the visual management board, bring donuts, and encourage open dialogue. A toy manufacturer we worked with holds "kaizen huddles" every Monday morning. In one meeting, a line worker suggested adding a swivel roller ball track to their packaging table, so boxes could rotate 360 degrees without lifting. The change took 30 minutes to install and cut packaging time by 10%.
Recognize and reward improvement. When a team hits a goal, celebrate it—host a pizza lunch, give out "lean champion" certificates, or mention them in the company newsletter. Positive reinforcement turns lean into a team sport. Conversely, if KPIs slip, avoid blame. Ask, "What's getting in the way?" Maybe a new supplier is causing delays, or a tool is broken. Solve the problem together.
Finally, never stop learning. Visit other lean factories, attend workshops, or bring in a lean consultant for a fresh perspective. The best lean systems evolve with new technologies (e.g., IoT sensors to monitor conveyor performance) and changing customer needs. A furniture manufacturer we advised started with basic flow racks, then added barcode scanners to track inventory in real time, and later integrated their conveyor system with a digital production dashboard. Each upgrade built on the last, keeping them ahead of competitors.
Strengthening lean management isn't about overnight transformations. It's about small, intentional steps: mapping your process, setting clear goals, training your team, redesigning workflows with tools like flow racks and aluminum profile workbenches, testing changes, and never stopping the pursuit of better. When you do it right, lean becomes more than a management strategy—it becomes the way your factory thinks, works, and grows.
So, what's your first step? Grab a pen and paper (or open a laptop) and start mapping your value stream. Identify one piece of waste, set a SMART goal to eliminate it, and involve your team in the solution. You'll be amazed at how quickly those small changes add up to big results. The lean journey starts now—and your factory (and your team) will thank you for it.