- Company Articles
- Products and Technology
- Installation And Maintenance
- Adjustable Leveling Feet Installation Mistakes to Avoid on Material Rack B

Adjustable Leveling Feet Installation Mistakes to Avoid on Material Rack B
Related Product
Adjustable Leveling Feet
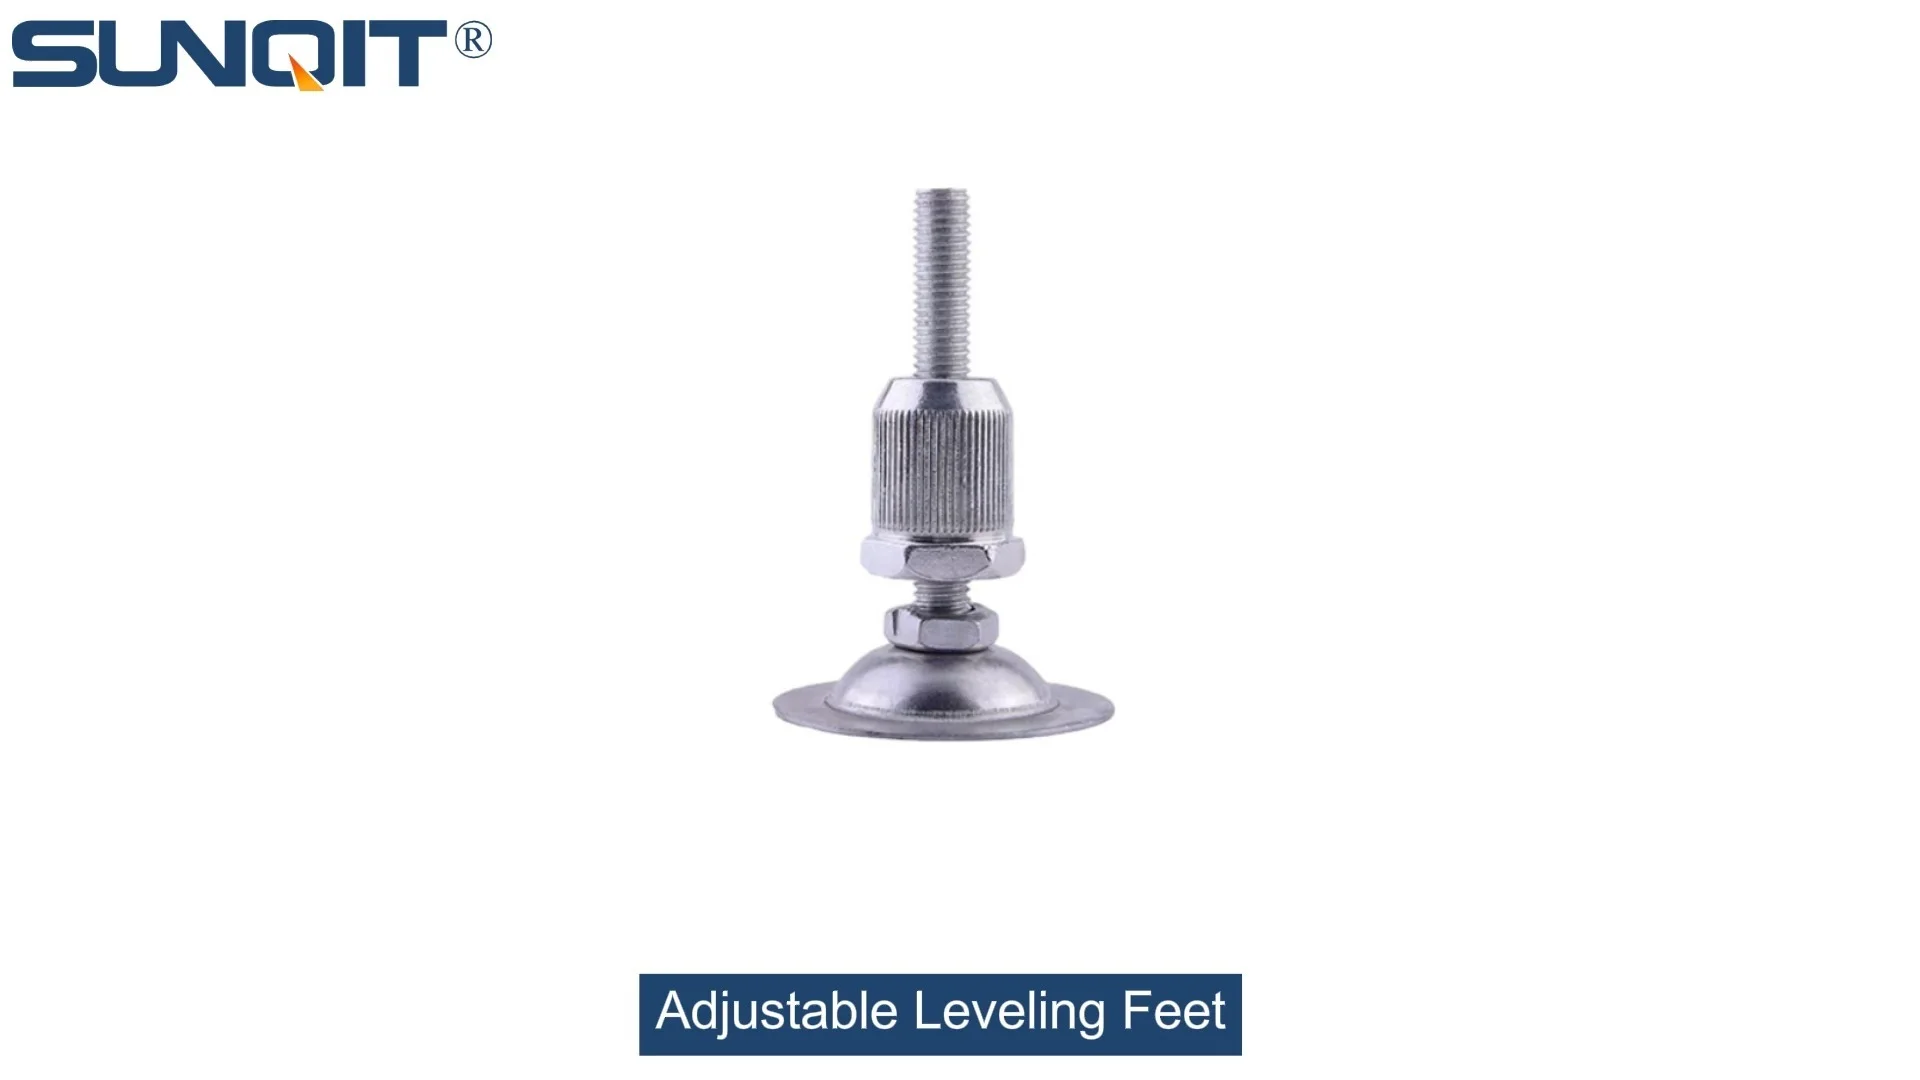
Adjustable leveling feet are designed to keep machines level when placed on uneven or sloped ground. Otherwise known as adjustable equipment feet, they are available to order in a wide variety of size and load capacity combinations.
Walk into any well-organized production facility, and you'll likely spot Material Rack B (3 row and 3 floor) standing tall, its shelves neatly stacked with components ready for assembly. As a workhorse of lean systems, this rack is designed to streamline material flow, reduce waste, and keep production lines running like clockwork. But here's the thing: even the sturdiest rack relies on small, often-overlooked components to perform at its best. Enter adjustable leveling feet—the unsung heroes that keep your rack stable, level, and safe. Yet, install them wrong, and you're looking at wobbling shelves, damaged inventory, or even workplace accidents. Let's dive into the most common mistakes people make when installing adjustable leveling feet on Material Rack B, and how to steer clear of them.
Why Adjustable Leveling Feet Matter for Material Rack B
Before we jump into mistakes, let's talk about why these feet are non-negotiable. Material Rack B (3 row and 3 floor) isn't just a storage unit—it's a critical part of your lean solution, holding everything from small electronic parts to heavier mechanical components. Its three rows and three floors mean it can carry significant weight, but that weight needs to be distributed evenly to avoid stress on the frame. Adjustable leveling feet do two key jobs: they compensate for uneven floors (a common issue in older warehouses or facilities with concrete settling) and prevent the rack from sliding or tipping, especially when loaded to capacity. Think of them as the rack's "foundation"—weak here, and the whole structure suffers.
Not all leveling feet are created equal, though. The market offers options like basic adjustable leveling feet, anti-slip adjustable leveling feet, and heavy duty split foot seats, each designed for specific loads and environments. Choosing the right one (and installing it properly) is the first step toward a rack that's safe, efficient, and built to last.
Mistake #1: Choosing the Wrong Type of Leveling Foot
Picture this: A production manager orders Material Rack B and grabs a pack of generic adjustable leveling feet from the supply closet, figuring "a foot is a foot." A month later, the rack is sliding across the floor every time someone loads a heavy box onto the top shelf. The culprit? Using standard feet instead of anti-slip adjustable leveling feet in a facility with smooth concrete floors. It's a mistake that's easy to make but costly to fix.
Material Rack B (3 row and 3 floor) typically holds loads up to 500kg per shelf, depending on the design. That means the feet need to handle both static weight and dynamic forces (like the jolt of placing a heavy item). If you opt for lightweight plastic feet instead of a heavy duty split foot seat, you risk the feet cracking under pressure. Similarly, in areas with oily or wet floors, anti-slip feet are a must—without them, the rack could shift, causing items to fall or the frame to warp.
Pro Tip: Check your rack's load capacity specs and floor conditions before buying. For Material Rack B, anti-slip adjustable leveling feet with a heavy duty split foot seat are usually the safest bet—they distribute weight evenly and grip slippery surfaces.

Mistake #2: Ignoring Alignment During Installation
You've got the right feet—now it's time to install them. You line up the rack, screw on the feet, and give it a shake. It feels stable enough, so you start loading shelves. But a week later, you notice the rack is leaning slightly to the left. What happened? Chances are, the feet weren't aligned properly during installation.
Material Rack B has four legs, each requiring a leveling foot. If even one foot is screwed in at a slight angle or positioned off-center, the rack won't sit flat. Over time, this uneven alignment puts extra stress on the frame, causing bolts to loosen and shelves to sag. Worse, uneven weight distribution can lead to the rack tipping if the load shifts—something you definitely don't want in a busy production area.
The fix? Use a spirit level during installation. Place the level on the top shelf and adjust each foot until the bubble is centered. Then, check the middle and bottom shelves to ensure the entire rack is plumb. It might take an extra 10 minutes, but it's far better than dealing with a warped rack later.

Mistake #3: Over-Tightening or Under-Tightening the Feet
Let's talk torque. When installing adjustable leveling feet, there's a sweet spot between "too loose" and "too tight"—and missing it can spell trouble. Over-tightening the feet into the rack's legs can strip the threads, making it impossible to adjust them later if the floor shifts. Under-tightening, on the other hand, means the feet can twist or fall off entirely, leaving the rack unstable.
I once visited a warehouse where a Material Rack B collapsed because the installer had cranked the feet so tight, the leg threads stripped. When the floor settled slightly, they couldn't adjust the feet to level the rack, and the uneven weight caused the frame to buckle. On the flip side, another facility had feet that worked themselves loose over time because they weren't tightened enough—resulting in a rack that wobbled every time someone walked past it.
Pro Tip: Use a torque wrench if you're unsure how tight to go. Most manufacturers recommend a torque of 15-20 Nm for leveling feet on Material Rack B. If you don't have a wrench, tighten until the foot feels secure, then give it a quarter-turn more—no more.

Mistake #4: Forgetting to Account for Floor Conditions
Floors are rarely perfectly flat. Concrete can crack, settle, or have high spots over time, and even new facilities might have minor unevenness. Installing adjustable leveling feet without checking the floor first is like building a house on a sloped lot—sooner or later, things will go wrong.
Suppose your Material Rack B is placed in a corner where the floor dips by half an inch. If you install the feet without adjusting for this slope, the rack will lean, and the feet on the low side will bear most of the weight. Over time, those feet will wear out faster, and the rack might even start to twist. In extreme cases, this can cause the shelves to pull away from the frame, putting your inventory at risk.
The solution is simple: Before installing the rack, use a long level or laser level to check the floor's flatness. Mark high and low spots, then adjust the leveling feet accordingly. If the floor is severely uneven, consider using shims under the feet (but only if the feet are designed to accommodate them—check with your lean pipe supplier first).
Mistake #5: Skipping Post-Installation Checks
You've installed the feet, leveled the rack, and loaded it with materials. Done, right? Wrong. The work doesn't stop once the last shelf is filled. Adjustable leveling feet need regular checks to ensure they're still doing their job—especially in high-traffic areas where the rack might get bumped or jostled.
A common scenario: A team installs Material Rack B on Monday, and by Friday, a forklift operator accidentally bumps the rack while moving pallets. The impact loosens one of the feet, but no one notices until the next week, when a shelf full of components crashes to the floor. Post-installation checks—like weekly visual inspections and monthly re-leveling—can catch these issues before they escalate.
What to check? Look for loose feet, cracks in the foot base, or signs of slipping (like scuff marks on the floor around the feet). If you're using anti-slip adjustable leveling feet, ensure the rubber grip is still intact—worn-out grips lose their non-slip properties. And don't forget to re-tighten any feet that have come loose, using the same torque guidelines as during installation.
Common Mistakes at a Glance
| Mistake | Cause | Consequence | Solution |
|---|---|---|---|
| Wrong Foot Type | Using generic feet instead of anti-slip or heavy duty options | Rack sliding, feet cracking under load | Choose anti-slip adjustable leveling feet with heavy duty split foot seat |
| Poor Alignment | Feet installed at an angle or off-center | Uneven weight distribution, frame warping | Use a spirit level to align feet during installation |
| Incorrect Torque | Over-tightening (stripped threads) or under-tightening (loose feet) | Feet falling off, inability to adjust later | Tighten to 15-20 Nm with a torque wrench |
| Ignoring Floor Conditions | Installing on uneven or sloped floors | Rack leaning, uneven wear on feet | Check floor flatness and adjust feet accordingly |
| Skipping Checks | No post-installation inspections | Loose feet, worn-out grips, potential collapse | Weekly visual checks, monthly re-leveling |
Final Thoughts: Invest in the Details
Adjustable leveling feet might seem like small components, but they play a huge role in keeping your Material Rack B (3 row and 3 floor) safe and efficient. By avoiding these common mistakes—choosing the right feet, aligning them properly, tightening with care, accounting for floor conditions, and checking regularly—you'll ensure your rack serves your lean system well for years to come.
Remember, lean production is all about minimizing waste and maximizing efficiency. A wobbly, unstable rack is a waste of time, money, and resources—not to mention a safety hazard. So the next time you install adjustable leveling feet, take a little extra time to do it right. Your team, your inventory, and your bottom line will thank you.
Final Tip: When in doubt, consult your lean pipe supplier. They can recommend the best feet for your specific rack model, floor type, and load requirements—because even the best installation can't fix a poor product choice.