- Company Articles
- Products and Technology
- Installation And Maintenance
- Adjustable Leveling Feet Installation Tools: What You Need for Quick Setup

Adjustable Leveling Feet Installation Tools: What You Need for Quick Setup
Related Product
Adjustable Leveling Feet
Adjustable leveling feet are designed to keep machines level when placed on uneven or sloped ground. Otherwise known as adjustable equipment feet, they are available to order in a wide variety of size and load capacity combinations.
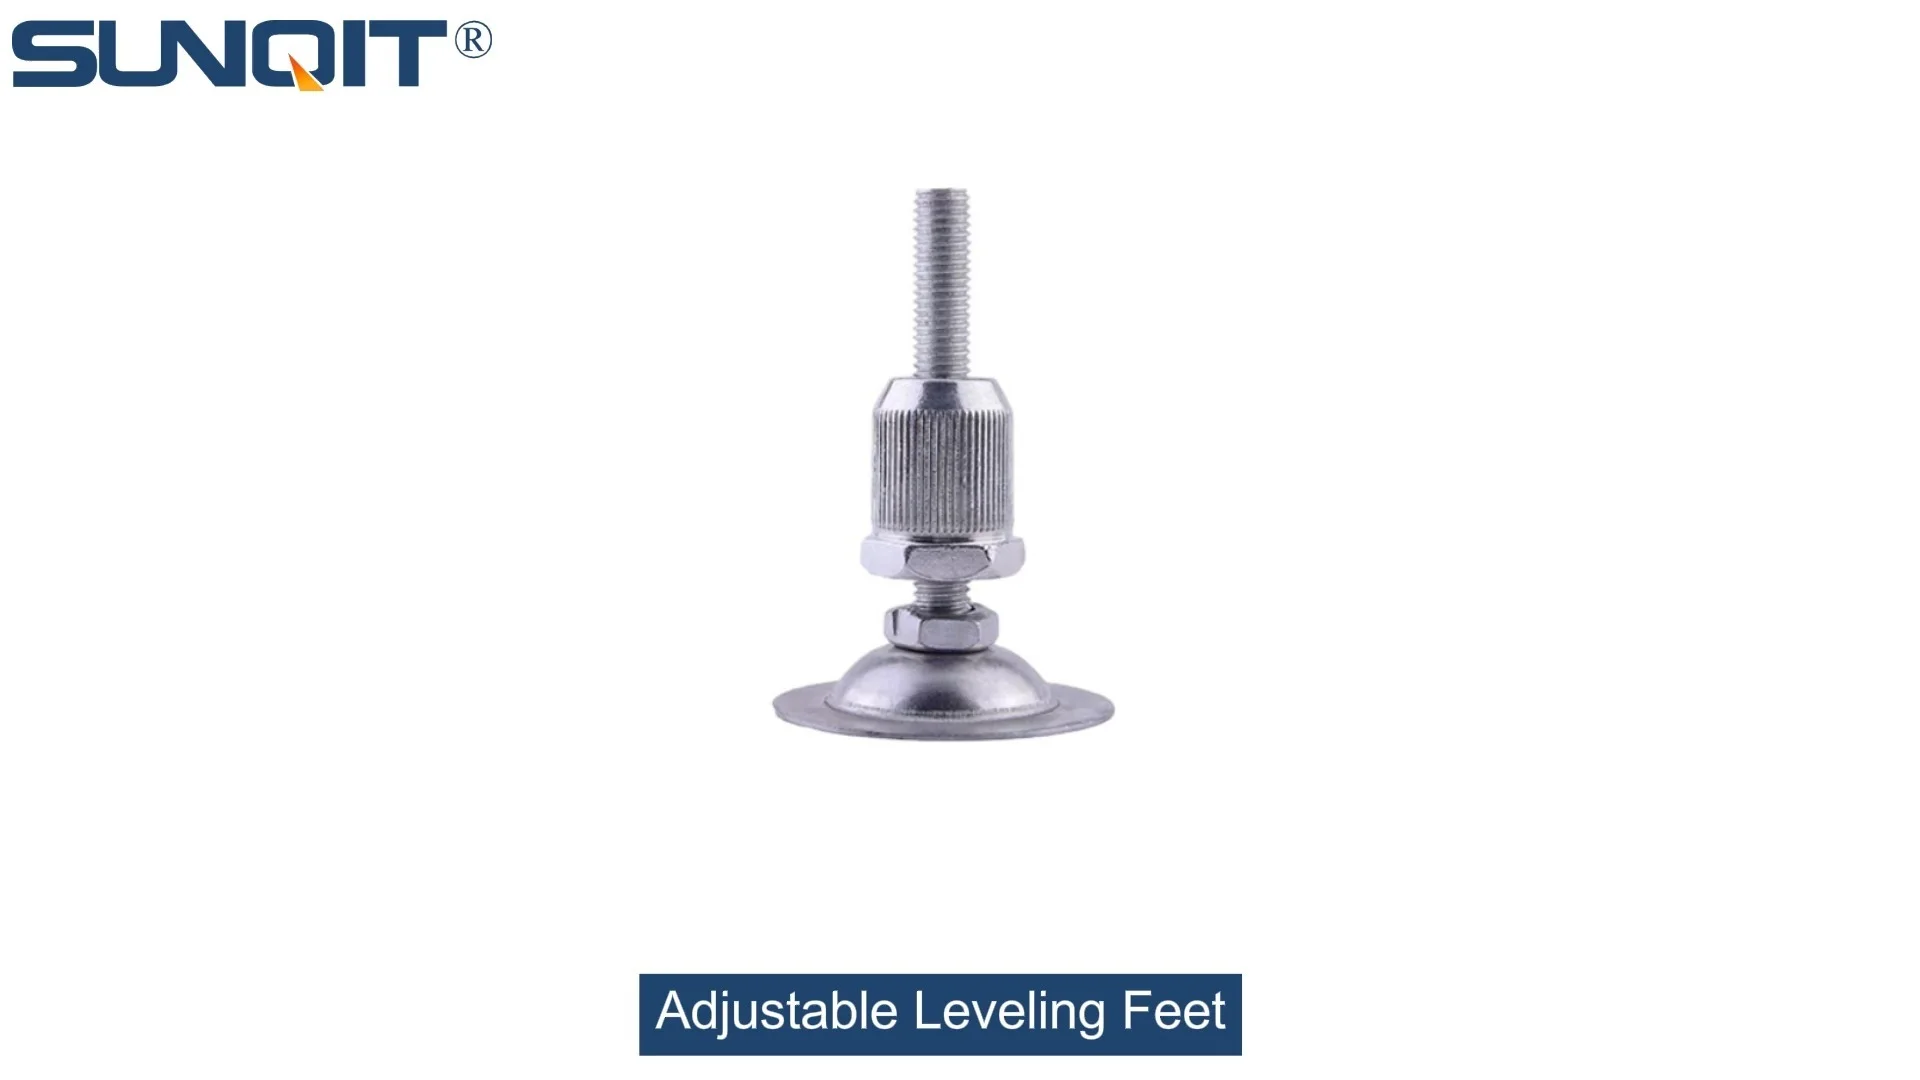
If you've ever assembled a workbench, set up a production line, or even built a simple shelf, you know the frustration of a wobbly structure. A table that rocks with the slightest touch, a rack that leans to one side, or a workstation that just won't sit flat—these aren't just minor annoyances. They can slow down workflow, compromise safety, and even damage equipment over time. That's where adjustable leveling feet come in. These small but mighty components are the unsung heroes of stability, ensuring that everything from heavy-duty aluminum profile workbenches to delicate ESD workstations stays perfectly balanced, no matter the floor's imperfections.
But here's the thing: even the best adjustable leveling feet won't do their job if they're installed incorrectly. Skipping a tool, rushing the alignment, or using the wrong technique can turn a "quick setup" into a day-long headache. Whether you're a seasoned facility manager, a small business owner setting up a workshop, or a DIY enthusiast building a home garage station, having the right tools and know-how is key. In this guide, we'll walk you through everything you need to install adjustable leveling feet like a pro—from the essential tools to step-by-step techniques, troubleshooting tips, and even how these feet interact with other components like aluminum profiles and caster wheels. Let's dive in.
Why Adjustable Leveling Feet Matter: More Than Just "Staying Still"
Before we jump into tools, let's take a moment to appreciate why adjustable leveling feet are so critical. At first glance, they might seem like simple "feet" for your equipment, but their role goes far beyond just keeping things upright. Imagine a busy production line where a workbench e (single deck-without caster) is used to assemble electronics. If that workbench isn't level, small parts could roll off, tools might slide, and workers might strain their wrists trying to compensate for the uneven surface. Over time, this not only hurts productivity but also increases the risk of errors and injuries.
In industrial settings, where precision is everything, adjustable leveling feet become even more vital. For example, a material rack b (3 row and 3 floor) loaded with heavy components needs to distribute weight evenly to avoid tipping. Uneven feet could cause the rack to lean, putting stress on the aluminum profile joints and potentially leading to collapse. Even in warehouses, where turnover trolleys and racks are constantly moved, the ability to adjust feet on the fly ensures that these mobile units stay stable when parked, preventing accidents.
And let's not forget about specialized environments, like ESD workstations. These workbenches are designed to dissipate static electricity, protecting sensitive electronics. If the workstation isn't level, the grounding components might not make proper contact, rendering the ESD protection ineffective. Adjustable leveling feet ensure that every part of the workstation sits flush, maintaining that critical electrical continuity.
Simply put, adjustable leveling feet are the foundation of a safe, efficient workspace. And to install them correctly, you need the right tools—no cutting corners.
The Essential Toolkit: What You Can't Install Without
You wouldn't build a house with just a hammer, and you can't install adjustable leveling feet with just a wrench (though a wrench is definitely part of the mix). The key is to have a set of tools that cover measurement, alignment, tightening, and fine-tuning. Below is a breakdown of the must-haves, along with why each one matters and pro tips for using them effectively.
1. Measuring Tools: Get the Numbers Right
Precision starts with measurement. Before you even touch a leveling foot, you need to know where it should go, how high it needs to be, and whether the surface is level. Here are the tools for the job:
- Tape Measure : A 25-foot retractable tape measure with clear markings is a must. Use it to mark the position of each leveling foot on the base of your structure (e.g., an aluminum profile workbench). Measure twice, mark once—this prevents misaligned feet that cause wobbling.
- Spirit Level : Whether it's a 2-foot bubble level or a longer 4-foot model, this tool checks for horizontal (and sometimes vertical) alignment. For larger setups, like a material rack with multiple shelves, a longer level ensures the entire structure is even, not just individual sections.
- Calipers (Optional but Handy) : For tight tolerances—like when installing leveling feet on a mini aluminum roller track—digital or Vernier calipers help measure thread sizes (e.g., M10*56 rubber leveling feet) or the distance between mounting holes on aluminum profiles. This is especially useful if you're mixing components from different suppliers.
2. Fastening Tools: Tighten with Confidence
Adjustable leveling feet typically screw into threaded holes or mounts on the base of your equipment. To secure them properly, you'll need tools that grip the feet without stripping them or damaging the threads:
- Adjustable Wrench : A 6- or 8-inch adjustable wrench is versatile for most leveling feet. Look for one with a smooth jaw to avoid marring the finish of metal feet. For plastic or rubber feet (like the M10*56 rubber leveling feet), wrap the jaws in tape to prevent scratches.
- Socket Set : If your leveling feet have hexagonal (hex) nuts or heads, a socket set with metric sizes (common sizes include 10mm, 13mm, and 17mm) will make tightening faster and more consistent. A ratcheting socket wrench saves time when you need to make multiple adjustments.
- Hex Keys (Allen Wrenches) : Some leveling feet, especially those designed for aluminum profiles, use internal hex drives. Keep a set of long-arm hex keys handy—they provide better leverage than short ones, which is crucial for tightening feet in hard-to-reach corners (like under a workbench with a low clearance).
- Torque Wrench (For Heavy-Duty Applications) : In industrial settings, over-tightening can strip threads, while under-tightening leads to loosening over time. A torque wrench lets you apply a specific amount of force (measured in Nm or ft-lbs), ensuring the feet are secure but not damaged. Check the manufacturer's specs for recommended torque—most aluminum profile accessories, for example, require 2-3 Nm.
3. Prep and Alignment Tools: Set the Stage
Even with the right measuring and fastening tools, a messy or misaligned base can ruin your installation. These tools help prep the surface and ensure everything lines up:
- Wire Brush or Sandpaper : If the mounting holes on your aluminum profile or workbench are rusty, dusty, or have burrs, a wire brush (for metal) or fine-grit sandpaper (for aluminum) cleans them out. This ensures the leveling feet thread in smoothly and seat properly.
- Center Punch and Hammer : For structures without pre-drilled holes (like custom-built racks), a center punch marks the exact spot to drill, preventing the drill bit from wandering. This is critical when installing feet on uneven surfaces, like concrete floors or rough-cut wood.
- Shims (Metal or Plastic) : Sometimes, even after adjusting the feet, a floor might have a deep dip or bump. Shims—thin pieces of metal, plastic, or rubber—fill those gaps. For example, if a leveling foot can't extend far enough to reach the floor, a shim under the foot (not the threads!) can add the extra height needed.
4. Specialty Tools: For Unique Setups
Depending on your project, you might run into situations that call for less common tools. Here are a few to keep in mind:
- Thread Repair Kit : Stripped threads happen, especially if you cross-thread a leveling foot. A thread tap (matching the foot's thread size, like M10 for M10*56 feet) can clean or re-cut damaged threads, saving you from replacing the entire base structure.
- Magnetic Pickup Tool : Dropped a nut under the workbench? A telescoping magnetic tool can fish it out without you having to crawl around on the floor. This is a lifesaver in tight spaces, like under a conveyor system with limited clearance.
- Rubber Mallet : For feet that thread into tight mounts (like lean pipe joints), a gentle tap with a rubber mallet can help seat the threads without damaging the foot or the joint. Just be careful not to hit too hard—you don't want to bend the threads.
| Tool Type | Examples | Best For | Pro Tip |
|---|---|---|---|
| Measuring | Spirit level, tape measure | Checking alignment of workbenches, racks | Use a level on both the front/back and left/right of the structure for full accuracy. |
| Fastening | Adjustable wrench, socket set | Tightening M10*56 rubber leveling feet, metal feet | For rubber feet, wrap wrench jaws in electrical tape to avoid tearing the rubber. |
| Prep | Wire brush, center punch | Cleaning mounting holes, marking drill spots | Brush holes counterclockwise to remove debris without damaging threads. |
| Specialty | Thread tap, magnetic pickup tool | Repairing stripped threads, retrieving small parts | Use a thread tap with cutting oil to make re-threading easier. |

Step-by-Step Installation: From Unboxing to Rock-Solid Stability
Now that you have your tools ready, let's walk through the installation process. We'll use a common scenario: installing adjustable leveling feet on a workbench e (single deck-without caster), a popular choice for assembly lines and workshops. This step-by-step method works for most setups, but we'll note variations for other structures like material racks or ESD workstations.
Step 1: Prep the Workbench and Work Area
Start by clearing the area around the workbench. You'll need space to move around it, especially when checking alignment with a level. If the workbench is already partially assembled (e.g., the frame is built but the top isn't attached), flip it upside down so the base (where the feet will go) is facing up. This makes access easier—no craning your neck or kneeling on the floor.
Next, inspect the mounting holes on the workbench legs. If the legs are made of aluminum profile (common for lightweight yet sturdy workbenches), the holes should be pre-threaded. Use a wire brush to clean out any dust, metal shavings, or debris from the threads. For wooden legs, ensure the holes are drilled straight and the threads (if using inserts) are intact. If you're installing feet on a used workbench, check for rust or corrosion on the mounting points—sand them down if needed to ensure a smooth fit.
Step 2: Identify Foot Placement and Thread Size
Most workbenches have four legs, so you'll need four adjustable leveling feet. But some larger models (like those with extra support bars) might require additional feet for stability. Check the manufacturer's instructions—overcrowding feet can actually cause uneven weight distribution, so stick to the recommended number.
Now, confirm the thread size of the mounting holes. This is where calipers come in handy. Measure the diameter of the hole and the distance between threads (pitch). For example, if the hole is 10mm in diameter and the threads are 1.5mm apart, you'll need M10x1.5 leveling feet—like the M10*56 rubber leveling feet mentioned earlier (the "56" refers to the length of the threaded rod). Using the wrong thread size will either strip the holes or leave the feet loose, so double-check this!
Step 3: Hand-Tighten the Feet to Start
With the workbench upside down, take one adjustable leveling foot and start threading it into a mounting hole by hand. Turn it clockwise—you should feel resistance from the threads, but it shouldn't require force. If it's hard to turn, stop! You might be cross-threading, which can ruin the holes. Back the foot out, realign it, and try again. Hand-tightening ensures the foot seats properly before you use tools to secure it.
Repeat this for all feet, screwing them in until the base of the foot is flush with the leg (or until the threaded rod is about halfway into the hole—you'll adjust the height later). Don't tighten them fully yet—you need room to adjust the height once the workbench is right-side up.
Step 4: Flip the Workbench and Adjust Height
Carefully flip the workbench right-side up. Enlist a helper if it's heavy—safety first! Place the workbench in its final position (moving it later can throw off the leveling). Now, grab your spirit level and place it on the workbench top, along the front edge (from left to right leg). Look at the bubble—if it's off-center, you'll need to adjust the feet on that side.
Let's say the bubble leans to the left, meaning the left side is lower. Take your adjustable wrench and turn the left front foot counterclockwise to extend it (raising that corner). Check the level again—repeat until the bubble is centered. Then, move the level to the back edge (right to left leg) and repeat the process for the rear feet. Finally, check the diagonal (front left to back right, and front right to back left) to ensure there's no "twist" in the workbench.
Pro tip: Small adjustments go a long way. Turn the feet in 1/4-turn increments—over-adjusting can make the workbench lopsided again. If the floor is severely uneven, you might need to extend some feet more than others. For example, if the right rear corner of the floor is lower, that foot will need to be longer than the others to compensate.
Step 5: Secure the Feet with Tools
Once the workbench is level, it's time to tighten the feet. Use your adjustable wrench or socket set to turn each foot clockwise (from the top, where the foot meets the leg) to lock it in place. Apply firm pressure, but don't overdo it—you want the foot to stay put, but overtightening can crack plastic feet or bend aluminum legs.
For feet with a locking nut (a second nut that tightens against the leg to prevent loosening), hold the foot steady with one wrench and tighten the locking nut against the leg with another. This is especially useful for workbenches that vibrate (like those near heavy machinery) or are moved occasionally.
Step 6: Test for Stability and Make Final Tweaks
Now, give the workbench a test. Push gently on each corner—there should be no rocking or movement. Place a heavy object (like a toolbox) on different parts of the top to simulate use—this helps settle the feet into place. If you notice any wobbling, check the level again and adjust the problematic foot.
For ESD workstations or precision setups, take it a step further: place a small bowl of water on the workbench. If the water stays flat, you're good to go. If it sloshes, there's still a slight tilt to fix. Remember, even a 1-degree angle can cause issues over time, so patience here pays off.
Variation: Installing Feet on a Material Rack B (3 Row and 3 Floor)
Material racks are taller and narrower than workbenches, so stability is even more critical. The process is similar, but with a few tweaks: install feet on all four corners and any middle support legs. When adjusting, check the level on both the top shelf and the bottom shelf—tall racks can "sway" if the base isn't level, even if the top seems flat. Also, use a plumb bob to ensure the rack is vertical (no leaning) before tightening the feet fully.

Troubleshooting Common Installation Headaches
Even with the right tools, things can go wrong. Here are the most common issues you might face when installing adjustable leveling feet—and how to fix them.
Problem 1: The Foot Won't Thread In (or Keeps Spinning)
If you can't get the foot to thread into the mounting hole, or if it spins freely without tightening, there are a few possible causes:
- Cross-Threading : This happens when the foot isn't aligned straight with the hole, causing the threads to grind against each other. To fix it, back the foot out completely, then try hand-threading it again, applying gentle pressure to keep it straight. If the threads are damaged, use a thread tap (matching the foot's thread size) to re-cut the threads in the hole. Apply cutting oil to the tap to make the process smoother.
- Stripped Threads : If the hole's threads are completely stripped (common in soft materials like aluminum profile), you have two options: install a thread insert (like a helicoil) to restore the threads, or switch to a larger thread size (e.g., M12 instead of M10) by drilling a new hole and tapping it. For temporary fixes, wrap the foot's threads with Teflon tape to add friction—just note that this is a short-term solution.
- Debris in the Hole : A small piece of metal or wood could be blocking the threads. Use a compressed air can to blow out the hole, or pick out debris with a small screwdriver. Avoid using sharp tools that might scratch the threads.
Problem 2: The Structure Still Wobbles After Installation
You've leveled the workbench, tightened the feet, but it still rocks. What's going on?
- Uneven Floor "Settling" : Some floors (like old concrete) have dips that aren't obvious with a level. Place a thin shim (plastic or metal) under the foot that's floating above the floor. Start with a 0.5mm shim and add more if needed—you want the foot to make contact without lifting the others.
- Loose Joints Elsewhere : The issue might not be the feet at all. Check the connections between the workbench legs and top, or between aluminum profile sections (using lean pipe joints, for example). If a leg is loose at the top, tightening the foot won't fix the wobble—tighten those joints first, then recheck the level.
- Over-Tightened Feet : Believe it or not, cranking the feet too hard can bend the threaded rod or warp the leg, leading to instability. Loosen all feet slightly, re-level, then tighten them to a firm (but not "cranked") position.
Problem 3: The Foot's Rubber Pad is Slipping
Many adjustable leveling feet, like the M10*56 rubber leveling feet, have a rubber pad on the bottom to grip the floor. If this pad slips, the workbench might slide around, especially on smooth floors like tile or polished concrete.
Solution: Clean the rubber pad with rubbing alcohol to remove dirt or oil that's reducing friction. For extra grip, stick a small piece of non-slip tape (like grip tape for stairs) to the bottom of the pad. If the pad is worn out, replace it—most manufacturers sell replacement pads, or you can use adhesive rubber furniture pads from a hardware store.

Beyond the Feet: How Adjustable Leveling Feet Work with Other Components
Adjustable leveling feet rarely work alone. They're part of a larger system that includes everything from caster wheels to aluminum profile accessories. Understanding how these components interact will help you build a setup that's both stable and functional.
Leveling Feet vs. Caster Wheels: When to Choose Which
Caster wheels (or caster wheel with accessories) are great for mobility—think turnover trolleys or workbenches that need to be moved around a shop. But when precision and stability are key, adjustable leveling feet are better. The good news? Many setups combine both. For example, a mobile workbench might have two caster wheels and two adjustable leveling feet. When you need to move it, you raise the feet to let the casters roll; when you need to work, you lower the feet to lock it in place.
Pro tip: If using both, make sure the leveling feet can extend high enough to lift the casters off the ground completely. Otherwise, the workbench will still roll, defeating the purpose of the feet.
Aluminum Profile and Leveling Feet: A Perfect Match
Aluminum profile is lightweight, strong, and highly customizable—making it ideal for workbenches, racks, and production lines. Most aluminum profiles have T-slots that allow you to mount leveling feet anywhere along the length of the profile, not just at the ends. This flexibility is great for odd-shaped structures or when you need extra support in the middle.
To mount feet on aluminum profile, use T-slot nuts (a type of aluminum profile accessories) that slide into the slot and lock in place with a bolt. This lets you position the feet exactly where you need them, even if the profile doesn't have pre-drilled holes. For example, if a workbench built with 4040 aluminum profile is sagging in the middle, add a center support leg with an adjustable leveling foot using T-slot nuts—no drilling required.
Workbench E (Single Deck-Without Caster): A Case Study
Let's take the workbench e (single deck-without caster) as an example. This workbench is designed for stationary use, so adjustable leveling feet are non-negotiable. Its frame is made of aluminum profile, with four legs and a solid top. By installing M10*56 rubber leveling feet on each leg, you ensure the top stays flat for tasks like assembly, packing, or testing. The rubber pads also dampen vibrations, which is useful if the workbench is near a conveyor or other noisy equipment.
If you later decide to add mobility, you could swap two of the leveling feet for swivel caster wheels (with brakes), turning it into a mobile workstation. This adaptability is why adjustable leveling feet are such a staple in industrial and workshop settings—they grow with your needs.
Maintenance: Keeping Your Leveling Feet (and Setup) Stable for Years
Installing adjustable leveling feet isn't a "set it and forget it" task. Over time, vibrations, temperature changes, and heavy use can loosen them or wear down the pads. With a little maintenance, though, you can keep your setup stable for years.
- Check Monthly for Loose Feet : Give each foot a gentle tug to see if it wiggles. If it does, tighten it with a wrench—just don't overdo it. For workbenches in high-vibration areas (like near a roller track), check every two weeks instead.
- Clean Threads Seasonally : Dust and moisture can cause threads to seize up, making adjustments hard later. Use a wire brush to clean the threads on the leveling feet and mounting holes, then apply a light coat of anti-seize lubricant (avoid oil, which attracts dust).
- replace Worn Rubber Pads : If the rubber pad on a foot is cracked, flattened, or losing grip, replace it. Most hardware stores sell adhesive rubber pads in various sizes—just peel off the old one and stick on the new.
- Re-Level After Moving : Even if you just slide the workbench an inch to clean behind it, check the level again. Floors can shift, and feet can compress unevenly, throwing off your setup.
Final Thoughts: The Right Tools Make All the Difference
Adjustable leveling feet might seem like small components, but they're the foundation of a safe, efficient workspace. With the right tools—measuring tools for precision, fastening tools for security, and prep tools for clean installation—you can set up everything from workbenches to material racks in no time. Remember to take your time, check for level in multiple directions, and don't hesitate to tweak as needed. And when in doubt, refer back to this guide—your wobbly workbench (and your sanity) will thank you.
Whether you're using M10*56 rubber leveling feet on an aluminum profile workbench or installing feet on a heavy-duty conveyor system, the principles stay the same: measure twice, tighten carefully, and test for stability. With these steps, you'll be well on your way to a setup that's not just level, but built to last.