- Company Articles
- Products and Technology
- Installation And Maintenance
- Adjustable Leveling Feet Maintenance Checklist for Year-Round Performance

Adjustable Leveling Feet Maintenance Checklist for Year-Round Performance
Related Product
Adjustable Leveling Feet
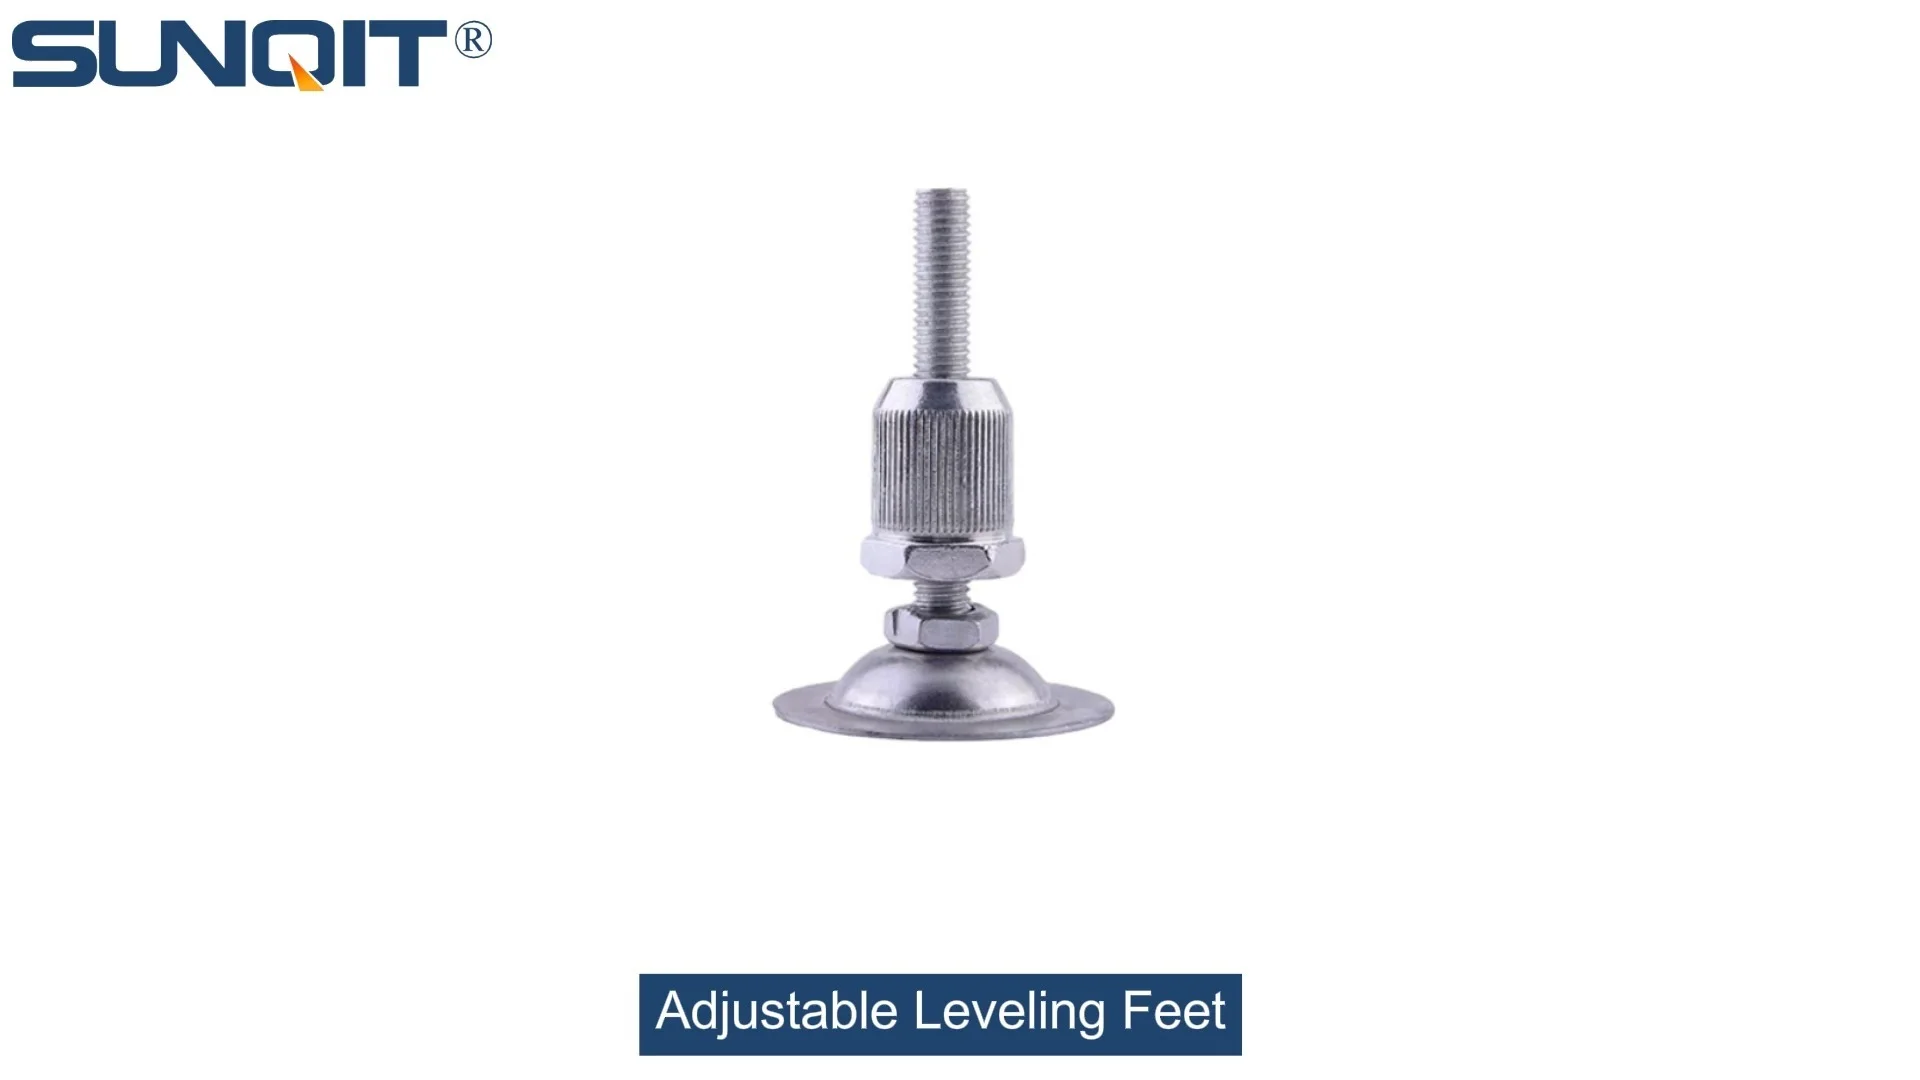
Adjustable leveling feet are designed to keep machines level when placed on uneven or sloped ground. Otherwise known as adjustable equipment feet, they are available to order in a wide variety of size and load capacity combinations.
Adjustable Leveling Feet Maintenance Checklist for Year-Round Performance
Walk into any workshop, manufacturing plant, or even a home garage, and you'll likely spot a workbench holding tools, parts, or machinery. It's a silent workhorse, but have you ever stopped to think about what keeps it steady? Underneath that sturdy surface, adjustable leveling feet are doing the heavy lifting—literally. These small but mighty components ensure your workbench (or any equipment they support) stays balanced, absorbs vibrations, and remains safe to use. Whether you're running a lean pipe workbench in a busy factory or a simple setup in your garage, neglecting these feet can lead to wobbly surfaces, damaged equipment, and even workplace accidents. In this guide, we'll break down everything you need to know to maintain your adjustable leveling feet year-round, so your workbench stays stable, efficient, and ready for whatever tasks come its way.
Why Adjustable Leveling Feet Matter More Than You Think
Adjustable leveling feet might seem like afterthoughts, but they're the foundation of stability for countless pieces of equipment. Imagine a lean pipe workbench in an assembly line: if one foot is loose or worn, the entire surface could wobble, throwing off precision work, slowing down production, and frustrating workers. Over time, that instability can stress the workbench frame, leading to cracks or bent parts. Worse, a wobbly surface increases the risk of tools or materials sliding off, causing damage or injury. For sensitive equipment like ESD workstations, where static control is critical, uneven feet can disrupt grounding, putting delicate electronics at risk. Simply put, adjustable leveling feet aren't just about "leveling"—they're about protecting your investment, your team, and your workflow.
Not all leveling feet are created equal, either. Take anti-slip adjustable leveling feet, for example. These are designed with rubber pads that grip the floor, preventing the workbench from shifting even in high-traffic areas. Then there are specialized options like M10*56 rubber leveling feet, a common size for medium-duty applications. The "M10*56" refers to the stem's thread diameter (10mm) and length (56mm), making them versatile enough for everything from small workbenches to larger material racks. Understanding the type of feet you have is the first step in keeping them in top shape.
Anatomy of Adjustable Leveling Feet: What You're Maintaining
Before diving into maintenance, let's get familiar with the parts of an adjustable leveling foot. Most models share a few key components:
- Stem: The threaded metal rod that screws into the equipment (like a workbench leg). This is how you adjust height—twisting the stem raises or lowers the foot.
- Base: The flat, often circular plate that sits on the floor. Bases can be made of metal (for durability) or plastic (to avoid scratching floors).
- Rubber Pad: Attached to the base, this provides grip and shock absorption. On anti-slip models, this pad is thicker or textured for extra traction.
- Adjustment Mechanism: Some feet have a locking nut or collar that holds the stem in place once adjusted, preventing it from loosening over time.
For example, M10*56 rubber leveling feet typically have a steel stem, a nylon or metal base, and a replaceable rubber pad. The rubber pad is especially important—it's the first line of defense against slipping and vibration. Over time, this pad can wear down, crack, or harden, reducing its effectiveness. The stem's threads can also get dirty or corroded, making adjustment difficult. Even the base can bend if the foot is overloaded or hit by heavy equipment.
Common Issues: How to Spot Trouble Before It Gets Worse
Like any component, adjustable leveling feet face wear and tear. Here are the most common problems to watch for, and what causes them:
1. Loose or Wobbly Feet
If your workbench rocks when you lean on it, chances are a foot is loose. This usually happens because the stem's locking nut (if present) has come undone, or the threads have worn down, making it hard to keep the foot tight. Vibrations from nearby machinery can also loosen feet over time—think of a busy factory where constant movement shakes the floor and, in turn, the workbench legs.
2. Worn or Damaged Rubber Pads
The rubber pad on the base is a high-wear part. Signs of trouble include cracks, flattened areas, or a loss of texture (making it slippery). This can happen from heavy use, exposure to oils or chemicals, or extreme temperatures. For example, if your workbench is near a heater, the rubber might dry out and crack in the summer. In cold garages, the pad could harden and lose flexibility, reducing its grip.
3. Corroded or Stuck Threads
If you try to adjust the foot and it won't turn, corrosion or dirt in the threads is likely the culprit. Moisture, especially in humid environments or near water sources, can cause the metal stem to rust. Dust and debris can also build up in the threads, acting like sandpaper and wearing them down over time. A stuck foot means you can't level the workbench if the floor shifts (which it often does, due to temperature changes or foundation settling).
4. Bent or Damaged Stems/Bases
Dropping heavy objects on the feet, hitting them with forklifts, or overloading the workbench can bend stems or crack bases. A bent stem might still adjust, but it won't sit straight, leading to uneven weight distribution. A cracked base could break completely under pressure, causing the workbench to collapse—obviously a major safety hazard.
Seasonal Maintenance: Adapting to the Elements
Your adjustable leveling feet face different challenges throughout the year. What works in the summer might not cut it in the winter, so let's break down seasonal care to keep them performing year-round.
Spring: Cleaning and Inspection After Winter
Winter can be tough on leveling feet, especially if your workspace isn't climate-controlled. Cold temperatures can make rubber pads brittle, and snow or slush tracked in can introduce moisture and salt, leading to corrosion. Start spring by giving each foot a thorough cleaning. Use a stiff brush to remove dirt, salt, or debris from the stem threads and base. For stubborn grime, wipe with a damp cloth and mild soap (avoid harsh chemicals that can damage rubber). Once clean, inspect the rubber pads for cracks—brittleness from winter cold often shows up as small splits. If you find any, replace the pad immediately (most are easy to swap out with a screwdriver). Finally, check the threads: if they're rusty, apply a light coat of anti-corrosion lubricant (like WD-40) and twist the foot up and down to work it in.
Summer: Battling Heat and Humidity
Summer heat can soften rubber pads, making them more prone to wear and less grippy. High humidity also increases the risk of mold or mildew on metal parts. Start by checking the tightness of each foot—heat can cause metal stems to expand slightly, which might loosen locking nuts. Use a wrench to snug them up, but don't over-tighten (you don't want to strip the threads). Next, inspect the rubber pads: if they're sticky or discolored, they might be breaking down from heat exposure. In humid areas, wipe the stems and bases with a dry cloth weekly to prevent moisture buildup. If your workspace is particularly hot, consider upgrading to heat-resistant rubber pads—they're worth the investment to avoid frequent replacements.
Fall: Preparing for Cold and Moisture
As temperatures drop, it's time to prep your feet for winter. Start by checking the adjustment mechanism: if the foot is hard to turn, the threads might be gunked up with summer dust. Clean them with a brush and apply a fresh coat of lubricant (look for one rated for low temperatures to prevent freezing). Next, test the anti-slip properties of the rubber pads—wet floors from fall rain can make slippery pads even more dangerous. Press down on the workbench and try to slide it; if it moves easily, the pads need replacing. Finally, check for loose bases: fall often brings more foot traffic (think of teams gearing up for end-of-year production), and constant movement can shake feet loose. Tighten any wobbly bases with a wrench, and consider adding thread-locking compound to stems if they keep coming loose.
Winter: Protecting Against Cold and Ice
In freezing temperatures, rubber pads can lose flexibility, and metal parts are prone to rust from ice melt or condensation. If your workspace isn't heated, focus on preventing moisture: place a mat under the workbench to catch snow or ice tracked in, and wipe feet daily with a dry cloth. Avoid using salt near the workbench, as it accelerates corrosion. If the rubber pads become hard and lose grip, consider temporary solutions like adding adhesive anti-slip tape (though replacing the pads is better long-term). For outdoor workbenches or those in unheated garages, inspect the stems weekly for frost or ice buildup—frozen threads can seize up, making adjustment impossible. If ice forms, let it melt naturally (don't use heat, as sudden temperature changes can crack metal).
The Ultimate Adjustable Leveling Feet Maintenance Checklist
To keep things simple, we've put together a step-by-step checklist for weekly, monthly, and quarterly maintenance. Stick to this schedule, and your leveling feet (and workbench) will thank you.
| Task | Frequency | Tools Needed | Steps |
|---|---|---|---|
| Visual Inspection | Weekly | None |
1. Check for wobbling or unevenness by pressing down on different corners of the workbench.
2. Look for cracks, tears, or flattening on rubber pads. 3. Inspect stems for rust, bending, or debris. |
| Tighten Loose Feet | Weekly | Adjustable wrench or pliers |
1. Identify loose feet by twisting them gently—if they move, they need tightening.
2. Use a wrench to turn the stem clockwise until snug (don't over-tighten). 3. If your feet have locking nuts, tighten those too to secure the position. |
| Clean Threads and Bases | Monthly | Stiff brush, damp cloth, mild soap |
1. Brush dirt/debris from stem threads and base crevices.
2. Wipe base and pad with a cloth dampened in soapy water. 3. Dry thoroughly to prevent rust. |
| Lubricate Threads | Quarterly | Anti-corrosion lubricant (e.g., WD-40) |
1. Apply a small amount of lubricant to the stem threads.
2. Twist the foot up and down several times to distribute the lubricant. 3. Wipe off excess to avoid attracting dirt. |
| replace Worn Rubber Pads | As needed (when cracks/wear appear) | Screwdriver, replacement pads |
1. Remove the old pad by unscrewing the center bolt (if present) or prying gently (for adhesive pads).
2. Clean the base surface to remove residue. 3. Attach the new pad and secure with the bolt or press firmly for adhesive types. |
| Check for Bent Stems/Bases | Quarterly | Straightedge (e.g., ruler) |
1. Place a straightedge along the stem to check for bending.
2. Inspect the base for cracks or warping. 3. If bent/cracked, replace the entire foot (don't try to bend it back—this weakens the metal). |
| Test Anti-Slip Grip | Monthly | None (just your hands) |
1. Push gently on the workbench from different angles.
2. If it slides easily, the rubber pads are worn—replace them with anti-slip adjustable leveling feet if needed. |
Troubleshooting: Fixing Common Problems on the Spot
Even with regular maintenance, issues can pop up. Here's how to handle the most common problems quickly:
Problem: Foot is Stuck and Won't Adjust
Chances are the threads are rusted or clogged with debris. Start by cleaning the threads with a brush to remove dirt. Then, apply a liberal amount of anti-corrosion lubricant and let it sit for 10–15 minutes. Gently tap the stem with a rubber mallet (to loosen rust) and try twisting again. If it still won't move, avoid forcing it—you could strip the threads. Instead, use a pipe wrench for extra grip, but wrap the stem in a cloth first to avoid damaging it.
Problem: Rubber Pad is Slipping
If your anti-slip pad isn't gripping, first check if it's clean—oil or grease on the pad can reduce traction. Wipe with a degreaser (like rubbing alcohol) and let dry. If that doesn't work, the pad might be worn smooth. replace it with a new anti-slip pad—look for ones with a textured surface for better grip. For extra security, you can add a drop of adhesive (like super glue) to the base before attaching the new pad (just don't get any on the floor).
Problem: Stem is Stripped (Won't Stay Tight)
Stripped threads mean the stem can't lock into place, so the foot will keep loosening. Unfortunately, stripped threads can't be repaired—you'll need to replace the entire foot. To avoid this in the future, never over-tighten the stem, and keep threads clean and lubricated (dirt acts like sandpaper, wearing them down faster).
Extending Lifespan: Pro Tips for Long-Lasting Leveling Feet
With the right care, your adjustable leveling feet can last for years. Here are a few extra tips to maximize their lifespan:
- Match the Foot to the Job: Using the wrong foot for the load is a common mistake. For heavy workbenches or material racks, opt for heavy-duty feet with thicker stems and larger bases. M10*56 rubber leveling feet are great for medium loads, but if you're supporting over 500 lbs, look for M12 or larger stems.
- Use Floor Protectors: If your workspace has uneven floors or rough concrete, place a thin rubber mat under the leveling feet. This reduces wear on the pads and protects the floor from scratches.
- Avoid Overloading: Even the strongest feet can fail if the workbench is overloaded. Check the weight capacity of both the workbench and the feet, and never exceed it (most manufacturers list this in the product specs).
- Store Spare Pads: Rubber pads are cheap and easy to replace, so keep a few extras on hand. That way, you can swap them out immediately when you notice wear, instead of waiting for a replacement to arrive.
- Train Your Team: If multiple people use the workbench, make sure everyone knows not to stand or sit on it (this adds unnecessary weight) and to report wobbly feet right away. A quick team huddle about "stability checks" can prevent small issues from becoming big problems.
Final Thoughts: Stability Starts from the Ground Up
Adjustable leveling feet might not get the same attention as shiny new tools or high-tech equipment, but they're the unsung heroes of a productive workspace. By taking 10–15 minutes each week to inspect, clean, and tighten them, you'll save time, money, and headaches down the line. Whether you're maintaining a lean pipe workbench in a factory or a home workshop setup, remember: stability starts from the ground up. With this checklist in hand, you're ready to keep your adjustable leveling feet (and your workbench) performing at their best year-round. Here's to steady surfaces, efficient workflows, and a workspace that works as hard as you do.