- Company Articles
- Products and Technology
- Installation And Maintenance
- Aluminum Foot Base Installation Video Tutorial for Beginners

Aluminum Foot Base Installation Video Tutorial for Beginners
Related Product
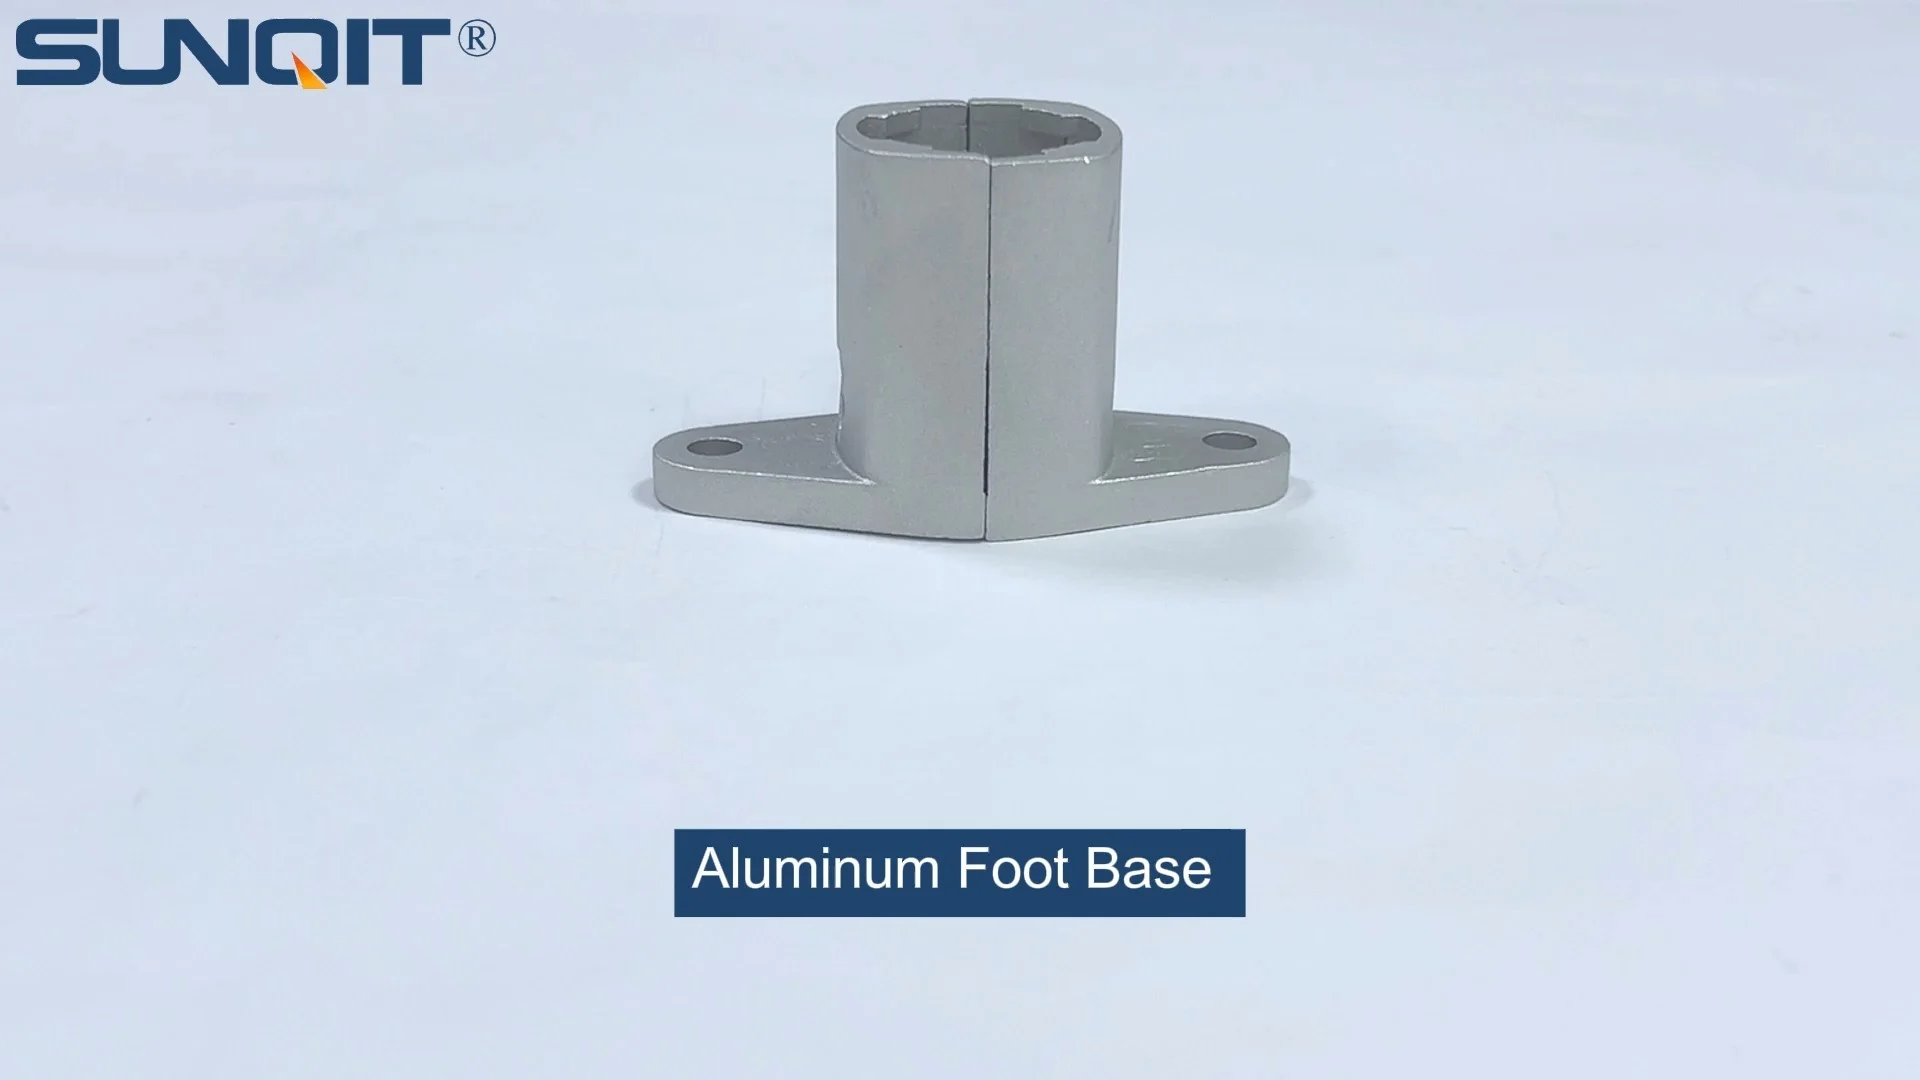
Aluminum Foot Base
Aluminum foot base to connect 28mm aluminum pipe and fixed it on the ground and prevent pipe fall and move.
Getting Started: Why Aluminum Foot Bases Matter
Hi there! If you've ever dabbled in building workbenches, material racks, or production lines—especially those using aluminum lean pipe or aluminum profiles—you've probably realized that stability is everything. A wobbly workbench doesn't just make tasks harder; it can be a safety hazard. That's where the humble aluminum foot base comes in. These unassuming components are the unsung heroes of any sturdy structure, providing a solid foundation, adjusting for uneven floors, and ensuring your project stands the test of time.
Maybe you're a DIY enthusiast looking to build a garage workbench, or a small business owner setting up a production area with flow racks and conveyors. Either way, installing aluminum foot bases correctly is a skill that'll serve you well. And don't worry if you're new to this—this guide is designed for beginners, with simple, step-by-step instructions that skip the jargon. By the end, you'll be attaching foot bases like a pro, and your projects will thank you for it.
First, let's clarify what we're working with. An aluminum foot base is a flat, often square or rectangular plate with mounting holes, typically paired with adjustable leveling feet. These feet screw into the base, letting you tweak the height to level your structure—perfect for floors that aren't perfectly even (and let's be real, most floors aren't). They're commonly used with aluminum profiles (like the 4040 or 3030 you might find in workbenches) and are part of the broader family of aluminum profile accessories that make building custom setups so flexible.
In this tutorial, we'll walk through everything: from gathering tools to testing stability. We'll even troubleshoot common issues and share pro tips to make the process smoother. Let's dive in!
Tools You'll Need: Gather These Before You Start
Before you pick up that aluminum foot base, let's make sure you have all the tools and materials handy. You don't need anything fancy—most of these are probably already in your toolbox. Here's a quick checklist:
| Tool/Material | Purpose | Pro Tip |
|---|---|---|
| Aluminum foot base (with adjustable leveling feet) | The main component we're installing | Check that the leveling feet turn smoothly—stiff ones can be a hassle later! |
| Aluminum profile (e.g., 4040 or 3030) | The structure you're attaching the foot base to | Wipe down the profile first to remove dust or oil—clean surfaces mean better screw grip. |
| Hex key set (Allen wrenches) | Tightening screws (most aluminum profile accessories use hex screws) | Use the right size! A loose fit can strip the screw head. |
| Level (2-foot or longer) | Checking if your structure is level after installation | A magnetic level sticks to metal profiles—super handy for one-person jobs. |
| Tape measure and pencil | Marking where to position the foot base | Measure twice, mark once—avoids misaligned holes! |
| Rubber mallet (optional) | Gently tapping the foot base into alignment if needed | Plastic mallets work too—avoid metal hammers, which can dent aluminum. |
| Screws (typically M5 or M6, included with aluminum profile accessories) | Attaching the foot base to the profile | Use self-tapping screws if your profile doesn't have pre-drilled holes. |
| Work gloves | Protecting your hands from sharp edges on aluminum | Thin, flexible gloves are best—you need dexterity to handle small screws. |
| Safety glasses | Shielding your eyes from metal shavings (if drilling) | Better safe than sorry—even a tiny shaving can irritate your eye. |
Got everything? Great! If you're missing a hex key or level, run to the hardware store—these are essential. Now, let's talk safety before we start wrenching.

Safety First: Quick Tips to Avoid Headaches
Installing aluminum foot bases is straightforward, but a few safety habits will keep you injury-free and your project on track. Let's go over them:
- Wear gloves and safety glasses: Aluminum profiles can have sharp edges, especially if they're new or cut to size. Gloves protect your hands from scrapes, and glasses shield your eyes if a screw slips or a metal shaving flies off.
- Work on a flat, stable surface: If you're attaching the foot base to a profile that's lying on the ground, make sure the ground is level. A wobbly workspace makes it hard to align parts and increases the risk of the profile tipping over.
- Check your tools: Make sure hex keys aren't bent, and screwdrivers have intact handles. A damaged tool is more likely to slip, which can lead to cuts or stripped screws.
- Don't overtighten screws: Aluminum is lightweight but can warp or crack if you crank down too hard. Tighten until snug—you'll feel resistance, but stop before the metal starts to flex.
- Keep kids and pets away: Small parts like screws or leveling feet are choking hazards, and you don't want distractions while you're focusing on alignment.
Okay, safety lecture over—let's get to the fun part: installing the foot base!

Step-by-Step Installation: Let's Attach That Foot Base
We'll break this down into 6 simple steps. Take your time with each—rushing leads to mistakes, and alignment is key here. Let's start!
1
Prepare Your Workspace and Materials
First, clear a space. Lay down a towel or cardboard on the floor to protect your aluminum profile from scratches—no one wants a brand-new profile marred by a concrete floor! Place the profile on the towel, with the end where you'll attach the foot base hanging slightly over the edge (this gives you room to work without the profile resting on the foot base during installation).
Next, unpack your aluminum foot base. Check that it came with adjustable leveling feet—most do, but double-check! If the feet are separate, screw them into the base now (you'll adjust their height later). Also, grab the screws that came with your aluminum profile accessories kit—these are usually self-tapping or machine screws designed to fit the T-slots in aluminum profiles.
Pro move: Sort your screws by size if you have multiple—mixing them up is a common beginner mistake. For most foot bases, M5 or M6 screws (about 16-20mm long) work best, but check the foot base's mounting holes to be sure.
2
Identify the Parts: Know Your Foot Base
Take a second to look at your aluminum foot base. It should have: a flat base plate (the part that touches the floor), mounting holes (where the screws go through to attach to the profile), and the adjustable leveling feet (the threaded studs that screw into the base plate). Some bases might have a raised edge or gussets for extra strength—ignore those for now; we're focusing on the basics.
The adjustable leveling feet are star here. They'll let you raise or lower the foot base by turning them clockwise (lower) or counterclockwise (raise). Spin one now to get a feel for it—they should turn smoothly, with some resistance to stay in place once adjusted.
Also, note the size of the foot base. Common sizes are 80x80mm or 100x100mm, but it depends on your project. Larger bases offer more stability for heavier structures, like a material rack with multiple shelves.
3
Align the Foot Base with the Aluminum Profile
Now, position the foot base where you want it on the end of the aluminum profile. Most people attach foot bases to the bottom corners of a structure (like a workbench leg), so the profile will sit vertically, and the foot base will be at the very bottom.
Here's how to align it perfectly: Use your tape measure to mark the center of the profile's end. Then, center the foot base over that mark—this ensures weight is distributed evenly. If your profile has T-slots (the grooves running along its length), line up the foot base's mounting holes with these slots. That way, the screws can grip into the slots for a secure hold.
Once you're happy with the position, use a pencil to mark the mounting holes on the profile. This helps if the foot base shifts while you're grabbing screws—you'll know exactly where to drill (if needed) or place the screws.
Pro tip: If your profile is very long, prop up the other end with a block of wood so it's level. An unlevel profile makes alignment harder—trust me, I've been there!
4
Attach the Foot Base to the Aluminum Profile
Time to screw it in! Take one of your screws and insert it through a mounting hole in the foot base, then into the T-slot of the aluminum profile. If your profile has pre-drilled holes, line the foot base up with those instead—this is even easier.
Grab your hex key and start tightening. Go slowly at first—you want the screw to bite into the aluminum without stripping the slot. Once it's snug, move to the opposite hole (this is called "cross-tightening") to avoid warping the foot base. For example, if there are four holes, tighten the top-left, then bottom-right, then top-right, then bottom-left. This keeps pressure even across the base plate.
How tight is "snug"? You should feel resistance, but the foot base shouldn't flex. If you hear a creaking sound or see the aluminum profile bending, loosen the screw immediately—you've gone too far. Aluminum is strong, but it's not unbreakable!
Repeat for all mounting holes. Most foot bases have 4 holes, but some have 2—either way, use all of them for maximum stability. You wouldn't build a house with half the nails, right? Same logic here.
5
Adjust the Leveling Feet
Now the fun part: making it level! Stand the aluminum profile upright so the foot base is on the floor. Grab your level and place it on top of the profile (if it's a long profile) or on the part that will be horizontal (like a workbench top). Check the bubble—if it's off-center, the profile is leaning.
To fix this, gently turn the adjustable leveling feet. If the bubble is to the left, lower the left foot (turn clockwise) or raise the right foot (turn counterclockwise). Keep adjusting until the bubble is centered. Do this for both front-to-back and left-to-right—your structure needs to be level in both directions.
Pro tip: If your floor is really uneven, lift the profile slightly to take weight off the foot base while adjusting the feet—it's easier to turn them when they're not bearing the full load.
Once level, give the profile a gentle shake. It should feel solid, with no wobbling. If it does wobble, double-check the screws—they might have loosened during adjustment. Tighten them again, then recheck the level.
6
Test Stability and Repeat (If Needed)
You're almost done! To test stability, push gently on the top of the profile in different directions. It should rock slightly but return to upright—no swaying or tipping. If it tips, check the foot base alignment—maybe it's off-center. Loosen the screws, realign, and retighten.
If you're building something with multiple legs (like a workbench with four aluminum profiles), repeat steps 1-5 for each foot base. Once all are attached, check the entire structure with a level—even if each leg is level individually, the whole thing might need (fine-tuning) because floors can slope in unexpected ways.
For example, my garage floor slopes toward the door (thanks, builder!), so I had to adjust the front feet slightly higher than the back ones to keep my workbench level. Don't get frustrated if this takes a few tries—leveling is part art, part science.

Troubleshooting: Fixing Common Mistakes
Even with careful work, things can go wrong. Let's troubleshoot the most common issues beginners run into:
Problem: The foot base wobbles even after tightening screws.
Solution: Check if the mounting holes are stripped. If screws spin without tightening, the T-slot in the aluminum profile might be damaged. Try using a slightly larger screw (e.g., M6 instead of M5) or a thread-locking adhesive (like Loctite) to hold the screw in place. If the foot base itself is bent, replace it—bent bases can't be fixed properly.
Problem: The adjustable leveling feet won't turn.
Solution: They might be stuck with factory grease or debris. Wipe them with a cloth, then apply a drop of lubricant (WD-40 works) to the threads. Let it sit for a minute, then try turning again—gently! Forcing a stuck foot can strip the threads.
Problem: The aluminum profile bends when I tighten the screws.
Solution: You're overtightening! Aluminum is flexible, so snug is enough. If the profile bends, loosen the screws immediately. If it doesn't straighten, gently bend it back by hand (slowly—aluminum can crack if bent too far).
Problem: The foot base doesn't align with the profile's T-slots.
Solution: Double-check your marking. If the holes are off, use a center punch to mark new positions and drill small pilot holes (with a metal drill bit) for the screws. Be careful not to drill all the way through the profile—just enough to guide the screw.
Pro Tips: Make Your Installation Even Better
Now that you've got the basics down, here are some pro moves to take your foot base installation to the next level:
- Use thread locker on screws: If your structure will vibrate (like near a conveyor or heavy machinery), apply a small amount of thread-locking adhesive to the screw threads before tightening. This prevents screws from loosening over time—trust me, you don't want to re-tighten foot bases every month.
- Mark foot bases for consistent height: If you're installing multiple foot bases (like on a workbench), measure and mark the leveling feet at the same height before attaching them. This saves time during leveling later—just tweak as needed instead of starting from scratch.
- Add rubber pads to the leveling feet: If you're using the structure on hardwood floors or want to reduce noise, stick self-adhesive rubber pads to the bottom of the leveling feet. They protect floors and dampen vibrations—win-win!
- Pair with aluminum profile accessories for extra strength: For heavy-duty structures (like material racks holding tools), add gussets or angle brackets between the profile and foot base. These are cheap aluminum profile accessories that add rigidity—no more flexing under load.
- Clean threads regularly: Dirt and dust can build up in the leveling feet's threads, making them hard to adjust. Wipe them with a dry cloth every few months—simple maintenance that goes a long way.
FAQ: Answers to Common Questions
Q: How much weight can an aluminum foot base support?
A: It depends on the size and material thickness, but most standard foot bases (80x80mm, 2mm thick) support 50-150 lbs per base. Heavy-duty ones (100x100mm, 3mm thick) can handle 200+ lbs. Always check the manufacturer's specs—overloading leads to bending or failure.
Q: Can I use aluminum foot bases with stainless steel pipes instead of aluminum profiles?
A: Yes! As long as the stainless steel pipe has mounting holes or T-slots that fit your screws, you can attach foot bases. Just make sure the screws are compatible with stainless steel (some aluminum screws might corrode—use stainless steel screws instead).
Q: My foot base is rusting—why?
A: Aluminum itself doesn't rust, but if the foot base has steel components (like the leveling feet), those can rust if exposed to moisture. Look for foot bases with stainless steel leveling feet if you're using them in damp areas (like a basement workshop).
Q: Can I cut an aluminum foot base to a smaller size if it's too big?
A: Technically, yes—use a hacksaw or miter saw with a metal blade. But I don't recommend it unless you're experienced. Cutting can warp the base plate or leave sharp edges, weakening the foot base. It's better to buy the right size from the start.
Q: Are there different types of aluminum foot bases?
A: Absolutely! There are fixed-height bases (no leveling feet), swivel bases (for moving structures), and heavy-duty bases with reinforced plates. Choose based on your project: leveling feet are best for uneven floors, swivel bases for carts, and heavy-duty for load-bearing structures.
Wrapping Up: You're Now a Foot Base Pro!
Congratulations! You've installed an aluminum foot base like a champ. Take a step back and admire your work—your structure is now stable, level, and ready to handle whatever you throw at it. Whether it's a workbench, a material rack, or a custom production line with flow racks and conveyors, those foot bases are the foundation that makes it all possible.
Remember, practice makes perfect. Your first installation might take 20 minutes; by your fifth, you'll be done in 5. And if you run into issues, refer back to the troubleshooting section—you've got this.
Now go build something awesome. And if you do, drop a comment (hypothetically, since this is a tutorial) and tell me about it—I'd love to hear what you create with your new foot base skills. Happy building!