- Company Articles
- Products and Technology
- Product knowledge
- Aluminum Guide Rail B vs Guide Rail C: Understanding Model Differences for Proper Selection

Aluminum Guide Rail B vs Guide Rail C: Understanding Model Differences for Proper Selection
Related Product
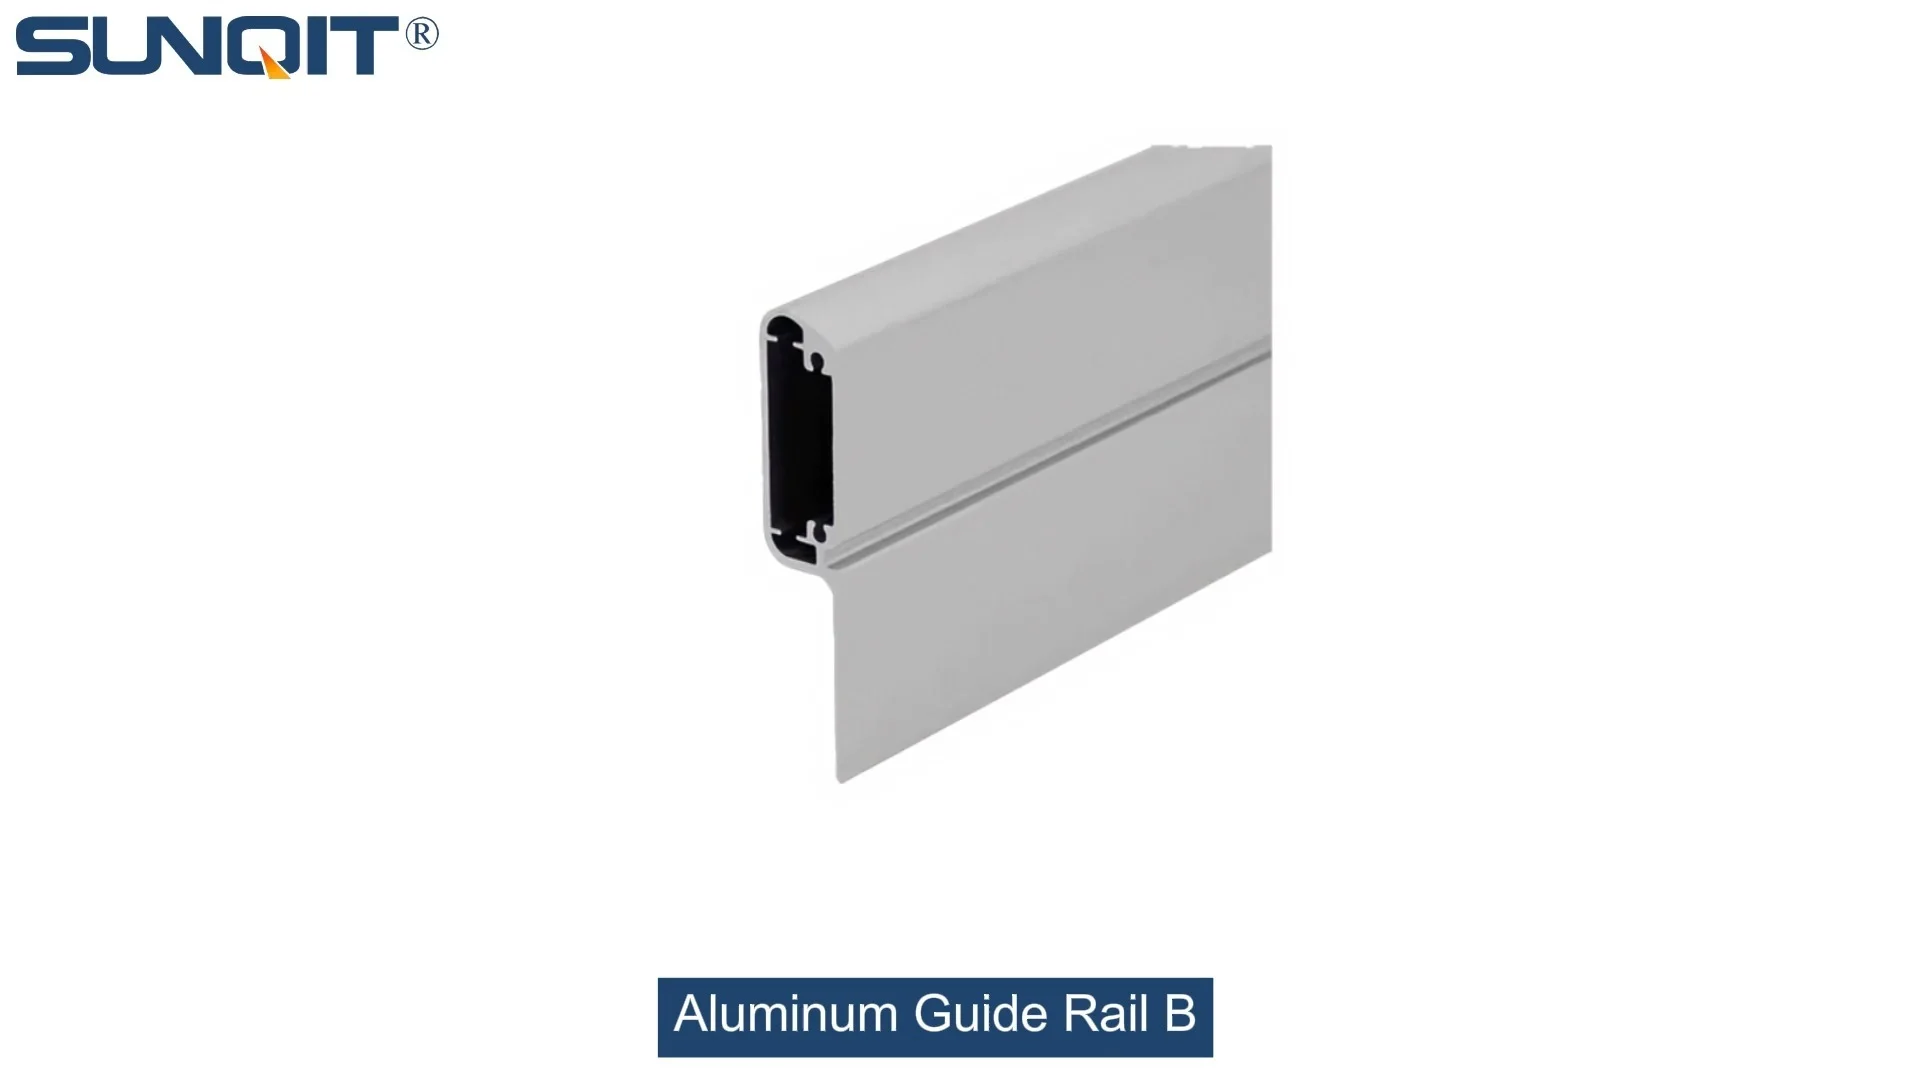
Aluminum Guide Rail B
The aluminum guide rails hold the transport goods securely on the roller track. For installation, the guide rails are simply pushed over the roller tracks.To protect sensitive products.
In the fast-paced world of manufacturing, where every second counts and efficiency is the name of the game, the unsung heroes often lie in the details—the components that keep materials moving, workstations flowing, and production lines humming. Among these, aluminum guide rails stand out as quiet champions, ensuring smooth material transfer, reducing friction, and adapting to the unique needs of different industries. Today, we're diving deep into two popular models: Aluminum Guide Rail B and Guide Rail C. Whether you're setting up a new lean system in your 3C assembly plant or upgrading a medical device production line, understanding their differences will help you make a choice that feels less like guesswork and more like a strategic step toward smoother operations.
Why Aluminum Guide Rails Matter in Modern Lean Systems
Before we jump into the specifics of B and C, let's take a moment to appreciate why these rails are more than just metal strips. In a lean system, every component is designed to eliminate waste—whether it's time, effort, or resources. Aluminum guide rails do exactly that by providing a structured path for materials, reducing manual handling, and minimizing bottlenecks. Think of them as the "traffic controllers" of your production floor: when they work well, everything moves in sync; when they don't, delays pile up like rush-hour traffic.
Aluminum, the star material here, brings a lot to the table. It's lightweight yet surprisingly strong, corrosion-resistant (a big plus in busy factories), and easy to customize—all qualities that align with the "sustainable improvement" ethos of lean manufacturing. And when paired with the right roller tracks and accessories, these rails become the backbone of everything from simple workbench setups to complex conveyor systems.
Meet Aluminum Guide Rail B: The Versatile Workhorse
Let's start with Aluminum Guide Rail B—a model that's earned its reputation as the "everyday hero" in many manufacturing facilities. Designed with balance in mind, it strikes a sweet spot between flexibility, durability, and cost-effectiveness, making it a go-to for teams that need a reliable solution without overcomplicating things.
Design & Material: Built for the "Middle Ground"
Guide Rail B is typically crafted from 6063-T5 aluminum alloy, a material loved in the industry for its excellent strength-to-weight ratio. Picture this: it's light enough for two workers to carry and install without heavy machinery, yet tough enough to handle the daily grind of material racks and roller tracks. The surface? Usually treated with anodization, which gives it a smooth, matte finish that resists scratches and wear—perfect for environments where materials slide across it day in and day out.
Physically, it often comes in standard lengths (think 2m, 3m, or 4m) that can be easily cut to size, and its cross-section is designed for compatibility with most standard roller track accessories. For example, it pairs seamlessly with plastic roller track guide rails (both yellow and grey, if you're keeping track of colors!) and aluminum profile connectors, making it a breeze to integrate into existing setups.
Performance: Where B Shines
What really sets B apart is its versatility. It's not the heaviest hitter in terms of load capacity, but it's more than capable of handling the demands of most general manufacturing tasks. We're talking about supporting medium-weight materials—think small to medium-sized components in 3C assembly lines, or tools and parts on a material rack B (you know, the 3-row, 3-floor type that's a staple in warehouses). Its roller compatibility is another win: whether you're using 1-inch swivel roller balls or 40-series steel wheel roller tracks, B plays well with others, reducing the need for custom adapters.
And let's not forget about ESD (Electrostatic Discharge) protection—a must in sensitive industries like electronics manufacturing. Many versions of B come with ESD-safe coatings or can be paired with ESD workbench setups, ensuring that static electricity doesn't damage delicate components as they glide along the rail.
Real-World Application: When to Choose B
So, who's using Aluminum Guide Rail B? Let's take a hypothetical (but very real) example: a mid-sized consumer electronics factory producing smartphone components. Their production line involves moving small circuit boards and plastic parts between workstations. They need a rail that's easy to adjust (since product designs change frequently), won't add unnecessary weight to their lean system, and can keep up with a moderate pace of material flow. Guide Rail B fits the bill perfectly here—no overkill, just reliable performance that scales with their needs.
It's also a favorite in industries like manufacturing and computer production, where the balance between cost, durability, and adaptability is key. If your team often tweaks workflows or reconfigures workstations (hello, lean solution principles!), B's ease of disassembly and reuse makes it a sustainable choice in the long run.

Introducing Aluminum Guide Rail C: The Heavy-Duty Specialist
Now, let's turn our attention to Aluminum Guide Rail C. If B is the versatile workhorse, C is the heavy-duty specialist—designed for the moments when "good enough" just isn't enough. Think of it as the pickup truck of guide rails: built to haul more, withstand harsher conditions, and deliver consistent performance even under pressure.
Design & Material: Engineered for Strength
Guide Rail C starts with a beefier foundation. While it also uses aluminum alloy (often 6061-T6, known for higher tensile strength than 6063-T5), it features a thicker wall thickness and a reinforced cross-section. Imagine comparing a standard water bottle to a metal thermos—both aluminum, but one's clearly built to take more of a beating. This extra heft translates to higher load capacities, making C ideal for moving heavier materials like metal parts, large medical devices, or bulk components in automotive manufacturing.
Surface treatment is another area where C steps up. Many models come with a hard-anodized finish, which adds an extra layer of protection against corrosion and abrasion. This is a game-changer in environments with moisture, chemicals, or heavy debris—think warehouse (logistics) zones or outdoor loading areas where rails might be exposed to the elements.
Performance: Power Under Pressure
When it comes to raw performance, C doesn't hold back. Its higher load rating (we're talking 50-100% more than B in some cases) means it can handle larger roller tracks, heavier turnover trolleys, and continuous material flow without bending or warping. For example, if you're running an 85 staggered roller track system in an automotive parts plant, where engine components weighing 20-30kg glide through multiple workstations, C provides the stability you need to prevent jams or breakdowns.
Another standout feature? Enhanced rigidity. Thanks to its reinforced design, C minimizes vibration and flex, which is crucial for precision manufacturing. In medical device production, where even a tiny misalignment can affect product quality, this stability ensures that sensitive parts move smoothly and accurately from one station to the next. It also pairs well with heavy-duty accessories like steel roller track placon mounts and end supports with stops, creating a system that feels solid and secure.
Real-World Application: When to Choose C
So, where does C shine brightest? Let's look at a scenario: a large-scale automotive assembly plant responsible for building transmission components. The materials here are heavy (steel gears, aluminum casings), and the production line runs 24/7. Any downtime due to rail failure could cost thousands of dollars. Guide Rail C, with its high load capacity and durability, becomes the obvious choice here—it's built to keep up with the relentless pace and heavy demands.
It's also a top pick in industries like heavy machinery manufacturing and large-scale (warehousing and logistics), where materials are bulky and the stakes for reliability are high. If your operation involves frequent transport of items over 50kg, or if you need rails that can withstand constant use in harsh environments, C is the model that won't let you down. Just keep in mind: all that strength comes with a trade-off in weight and cost, so it's best suited for applications where performance can't be compromised.

Side-by-Side: B vs C in Key Categories
To make the choice clearer, let's put Aluminum Guide Rail B and C head-to-head. The table below breaks down their key features, so you can see at a glance which one aligns with your needs.
| Feature | Aluminum Guide Rail B | Aluminum Guide Rail C |
|---|---|---|
| Material | 6063-T5 aluminum alloy (standard strength) | 6061-T6 aluminum alloy (high tensile strength) |
| Wall Thickness | 1.5-2.0mm (lightweight design) | 2.5-3.0mm (reinforced for durability) |
| Load Capacity (per meter) | 30-50kg (ideal for medium-weight materials) | 80-120kg (built for heavy-duty loads) |
| Surface Treatment | Standard anodization (good corrosion resistance) | Hard anodization (enhanced abrasion/corrosion protection) |
| Best For | 3C assembly, consumer electronics, small parts handling | Automotive, heavy machinery, medical device manufacturing (large parts) |
| Installation & Flexibility | Easier to cut/modify; compatible with most standard accessories | Requires more tools for cutting; works best with heavy-duty (accessories) |
| Cost | More budget-friendly | Higher upfront cost (offset by longer lifespan in heavy use) |

How to Choose: B or C? Let Your Needs Be Your Guide
Now that we've explored both models, you might be wondering: "Which one is right for me?" The answer depends on three key factors: your materials, your environment, and your long-term goals. Let's break it down with some practical questions to ask yourself:
1. What Are You Moving?
Start with the basics: the weight and size of the materials sliding along the rail. If you're dealing with small components (like smartphone circuit boards or medical syringes) that weigh less than 30kg, Aluminum Guide Rail B will likely be more than sufficient—and it'll save you money. But if you're moving heavy parts (engine blocks, large appliances) or bulk materials, Guide Rail C's higher load capacity is non-negotiable. Remember: under-sizing can lead to frequent breakdowns, while over-sizing might mean paying for features you don't need.
2. What's Your Work Environment Like?
Next, consider where the rail will live. Is your production floor clean and climate-controlled (like a 3C assembly cleanroom)? B's standard anodization will hold up well here. But if the rail will be exposed to moisture, chemicals, or heavy debris (think a warehouse with forklift traffic or an outdoor loading dock), C's hard-anodized finish and reinforced design will stand the test of time. (Similarly), if you need ESD protection, check if your chosen model can integrate with ESD workbench setups—both B and C often offer ESD-compatible versions, but C may have extra grounding options for sensitive environments.
3. How Often Do You Reconfigure Your Workflow?
Lean manufacturing thrives on adaptability. If your team regularly reconfigures workstations or moves production lines (a core principle of lean solution design), B's lightweight and easy-to-modify nature will be a lifesaver. It's quick to disassemble, reuse, and repurpose—perfect for iterative improvement. On the other hand, if your setup is more permanent (like a dedicated automotive production line that rarely changes), C's durability and rigidity will provide the stability you need for long-term, high-volume operations.
When in Doubt, Ask for a Custom Solution
Of course, every manufacturing facility is unique. If you're still on the fence, don't hesitate to reach out for a custom lean solution. Many suppliers (including those specializing in aluminum profile systems) can assess your specific needs, run tests with both rail models, and help you design a system that fits like a glove. After all, the goal isn't just to buy a rail—it's to build a production line that works for your team, today and tomorrow.
Final Thoughts: The Right Rail for a Smoother Tomorrow
At the end of the day, Aluminum Guide Rail B and C are both excellent choices—they're just built for different jobs. B is the versatile problem-solver, perfect for teams that need flexibility and cost-effectiveness. C is the heavy-duty champion, ready to tackle the toughest loads and harshest environments. Whichever you choose, remember that the best rail is the one that aligns with your workflow, keeps your team efficient, and grows with your business.
So, whether you're setting up a new lean pipe workbench, upgrading a roller track system, or building an entire production line from scratch, take the time to evaluate your needs. Your future self (and your production metrics) will thank you. After all, in manufacturing, the smallest components often make the biggest difference—and a well-chosen aluminum guide rail is no exception.