- Company Articles
- Products and Technology
- Installation And Maintenance
- Aluminum Pipe Adjustable Leveling Feet Installation Guide for Beginners

Aluminum Pipe Adjustable Leveling Feet Installation Guide for Beginners
Related Product
Aluminum Pipe Adjustable Leveling Feet
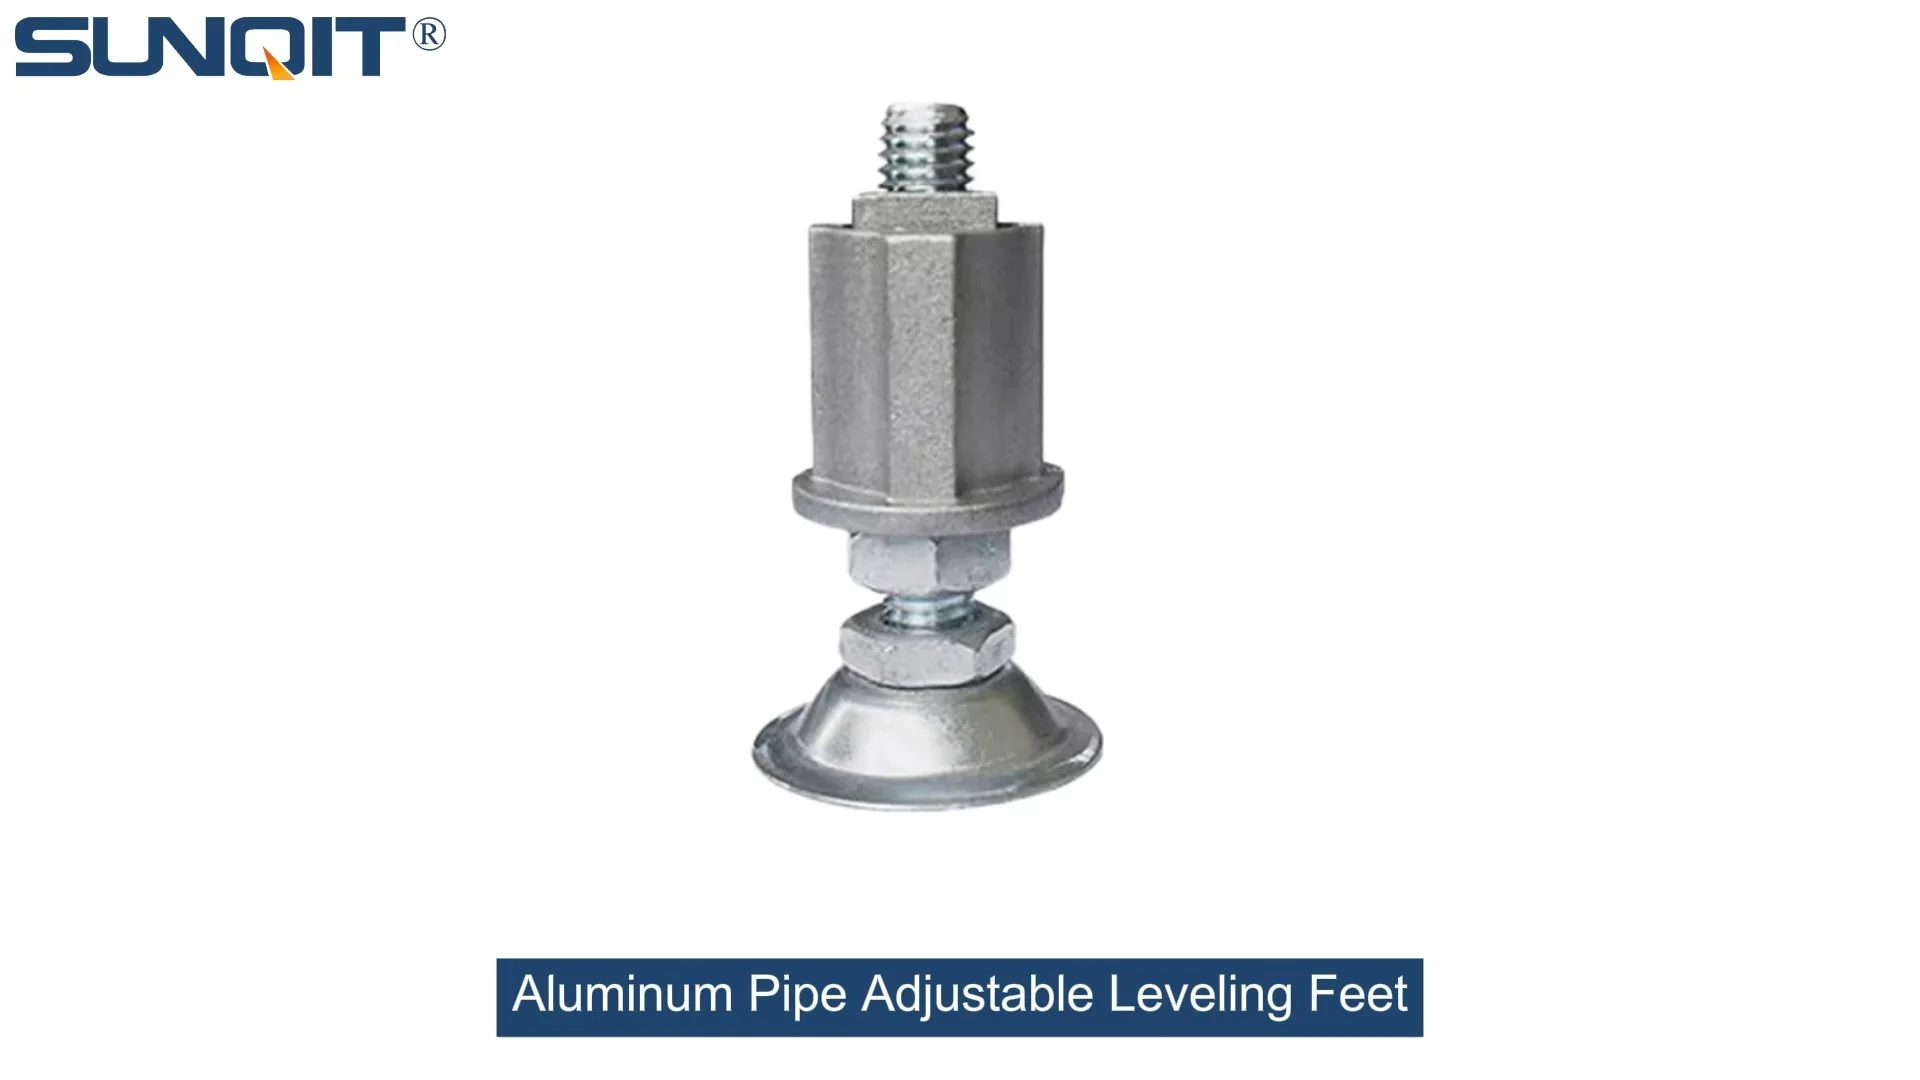
Aluminum Pipe Adjustable Leveling Feet are designed to keep machines level when placed on uneven or sloped ground. Otherwise known as adjustable equipment feet, they are available to order in a wide variety of size and load capacity combinations.
If you've ever tried building a workbench, a material rack, or even a simple storage shelf using aluminum lean pipe, you know the struggle: no matter how carefully you (tighten) the joints, the whole thing wobbles like a jelly on a plate. Tools slide off, materials shift, and you're left wondering if you're just "not handy enough." Spoiler: it's not you. More often than not, the problem is something small but crucial: the lack of adjustable leveling feet. These unassuming little devices are the unsung heroes of stable, reliable structures built with aluminum pipe—and today, we're going to make sure you know exactly how to install them, even if you've never picked up a hex key before.
What Are Adjustable Leveling Feet, Anyway?
Let's start with the basics. Adjustable leveling feet are small, threaded components that attach to the bottom of aluminum pipe structures (think workbenches, racks, or trolleys) to keep them level and stable. They typically have a threaded stem that screws into the pipe or a mounting bracket, and a rubber or plastic base that sits on the floor. The magic? You can twist the stem to raise or lower the foot, fine-tuning the height until your structure sits perfectly flat—even on uneven floors.
Why does this matter? For starters, stability means safety. A wobbly workbench isn't just annoying; it's a hazard. Tools could fall, materials might tip, and over time, the stress of constant movement can loosen aluminum pipe joints, leading to bigger problems. Then there's precision. If you're using your structure for tasks like assembly or measurement, a level surface ensures accuracy. Imagine trying to solder electronics on a tilted table—you'd be fighting gravity the whole time!
And let's not forget durability. When a structure is level, weight is distributed evenly across all aluminum pipe components. That means no single joint or pipe bears too much stress, (extending) the life of your entire setup. Whether you're a hobbyist setting up a garage workshop or a small business owner building a mini production line, adjustable leveling feet are the difference between a "good enough" structure and one that works with you, not against you.
Pro Tip: Not all adjustable leveling feet are the same! Some are designed for light-duty use (like a small shelving unit), while others can handle heavy loads (think a workbench loaded with power tools). Check the weight capacity before buying—most manufacturers list this on the packaging or product page. For aluminum lean pipe projects, aim for feet rated to hold at least 50kg per foot; that way, you're covered for most home or small-scale commercial uses.
Gathering Your Tools: What You'll Need (and Why)
Before we dive into installation, let's make sure you have the right tools. Don't worry—you won't need a fully stocked workshop. Most of these items are probably already in your toolbox, and the rest you can pick up at a hardware store for under $20.
| Tool | Why You Need It | Pro Tip |
|---|---|---|
| Hex Key Set (Allen Wrenches) | Most aluminum pipe accessories, including leveling feet, use hex bolts or set screws. A set with multiple sizes ensures you'll have the right one. | Look for a folding set—they're compact and easy to store. |
| Measuring Tape | To measure the distance between pipe legs and ensure feet are positioned evenly. | A retractable tape with a locking mechanism works best for one-handed use. |
| Spirit Level | To check if your structure is level from side to side and front to back. | A small 2-foot level is perfect for most projects—easy to maneuver and accurate enough. |
| Rubber Mallet | For gently tapping aluminum pipe joints into place if they're misaligned (don't use a metal hammer—you could damage the pipe). | Opt for a mallet with a soft rubber head to avoid dents. |
| Wire Brush or Toothbrush | To clean dirt, debris, or rust from threaded holes in aluminum pipe before installing feet. | A toothbrush works great for small, hard-to-reach threads. |
| Thread Locking Fluid (Optional) | To prevent leveling feet from loosening over time (useful for structures that move or vibrate, like a workbench with power tools). | Use a "removable" formula (blue) so you can adjust feet later if needed. |
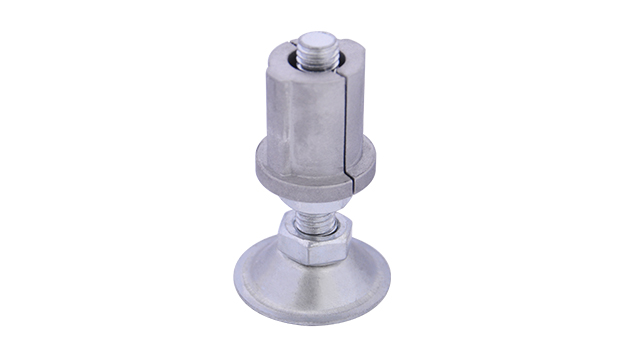
Got your tools? Great! Now, let's talk about the star of the show: your aluminum pipe and adjustable leveling feet. For this guide, we'll assume you're working with standard aluminum lean pipe (sometimes called "aluminum profile") and threaded adjustable leveling feet —the most common type for beginners. These feet have a male thread that screws directly into a female threaded insert in the aluminum pipe or a mounting bracket. If your feet use a different attachment method (like bolt-on), don't worry—we'll cover that later too!
Step-by-Step Installation: From Wobbly to Rock-Solid
Installing adjustable leveling feet might sound intimidating, but it's actually one of the easiest parts of building with aluminum pipe. Follow these steps, take your time, and you'll have a level structure in no time.
Step 1: Prepare Your Aluminum Pipe Structure
First, build the basic frame of your structure—whether it's a workbench, a rack, or a trolley—without attaching the leveling feet yet. Tighten all aluminum pipe joints snugly, but don't overtighten (you might need to shift things slightly when leveling). Make sure the legs (the vertical aluminum pipes that will hold the leveling feet) are roughly the same length—measure them with your tape to be sure. Even a 1cm difference can cause wobble later!
Next, flip your structure upside down. This might seem counterintuitive, but it makes installing the feet much easier—you'll have full access to the bottom of the legs without bending over or lifting the entire structure. If your structure is large or heavy, ask a friend to help flip it; aluminum lean pipe is lightweight, but awkward to handle alone.
Pro Tip: Place a soft blanket or towel on the floor before flipping to protect the top of your structure (especially if it has a work surface like plywood or aluminum honeycomb panel). Scratches are avoidable!
Step 2: Clean and Inspect the Threaded Holes
Now, look at the bottom of each aluminum pipe leg. You should see a threaded hole—this is where the leveling foot will screw in. Over time, these holes can get clogged with dust, metal shavings (from cutting the pipe), or even paint (if your pipe is pre-finished). If there's debris, grab your wire brush or toothbrush and gently scrub the threads. You want them clean and smooth so the leveling foot screws in easily.
While you're at it, inspect the threads for damage. Are they bent, stripped, or cross-threaded? If so, you might need to tap the hole to repair the threads (a "thread tap" tool can fix minor damage) or replace the pipe end. Stripped threads won't hold the leveling foot securely, so don't skip this step!
Step 3: Attach the Adjustable Leveling Feet
Okay, time to attach the feet! Take one adjustable leveling foot and align the threaded stem with the hole in the aluminum pipe leg. Start by screwing it in by hand—this ensures you don't cross-thread the stem. Turn it clockwise until it's snug but not tight. You should be able to twist it with your fingers without too much effort. If it feels stuck, stop and check the threads again—you might have debris or misalignment.
Once the foot is hand-tight, grab your hex key. Most leveling feet have a small hex socket on the bottom of the stem (the part that touches the floor) or on the top (where it connects to the pipe). insert the hex key and tighten the foot another 1–2 turns. Don't overtighten! Remember, you'll need to adjust the height later, so you want the foot secure but still able to rotate.
Repeat this for all legs. If your structure has four legs (like a workbench), install a foot on each. For larger structures with more legs (like a material rack with six supports), make sure each foot is installed the same way—hand-tightened first, then snugged with the hex key.
Pro Tip: If your leveling feet don't have a hex socket, they might use a lock nut instead. In that case, screw the foot in by hand, then tighten the lock nut against the pipe leg with a wrench to hold it in place. Just leave a little space between the nut and the pipe—you'll need to loosen it when adjusting the height.
Step 4: Flip It Back and Level the Structure
With all feet installed, carefully flip your structure right-side up. Place it in its final location—this is important because floor unevenness can vary from spot to spot. If you move it later, you might need to re-level!
Now, grab your spirit level. Place it on top of the structure, first along the length (front to back), then along the width (side to side). What does the bubble say? If it's centered, great—you're done with this part! If not, it's time to adjust the leveling feet.
Let's say the bubble is leaning toward the front left leg. That means the front left corner is too low, or the opposite corner (back right) is too high. To fix it, twist the front left leveling foot counterclockwise to raise it, or the back right foot clockwise to lower it. Make small adjustments—even a quarter-turn can make a big difference. Check the level again, and repeat until the bubble stays centered in both directions.
If your floor is really uneven (looking at you, old garages!), you might need to adjust multiple feet. The key is patience—go slow, and check the level after each adjustment. It might take 5–10 minutes, but trust us, it's worth it.
Step 5: Lock It in Place (Optional)
Once your structure is perfectly level, you can lock the leveling feet to prevent them from rotating over time. If your feet have a hex socket, use the hex key to give them a final, gentle tighten—just enough to hold the position, not so much that you strip the threads. If they have lock nuts, tighten the nut against the pipe leg with a wrench to secure the foot in place.
For extra security, you can apply a drop of thread locking fluid to the threads (the removable kind, remember!). This helps prevent the feet from loosening due to vibration, which is especially useful if your structure will hold heavy or moving loads (like a conveyor or a turnover trolley).

Troubleshooting: Common Problems (and How to Fix Them)
Even with careful installation, things can go wrong. Here are the most common issues beginners run into, and how to solve them:
Problem 1: The Leveling Foot Won't Screw In
If the foot is stuck halfway, first check for debris in the threads (we told you to clean them earlier—this is why!). If that's not it, you might be cross-threading. To fix this, back the foot out completely, realign the stem with the hole, and try again—slowly, by hand. If the threads are damaged, use a thread tap to repair them. A 10mm tap works for most standard aluminum pipe leveling feet.
Problem 2: The Structure Still Wobbles After Leveling
Wobbling after leveling usually means one of two things: either the feet aren't all making contact with the floor, or the aluminum pipe joints are loose. First, check each foot—are they all touching the ground? If one is hovering, twist it clockwise to lower it until it makes contact. If the joints are loose, grab your hex key and tighten them—wobbly joints can make even a level structure feel unstable.
Problem 3: The Leveling Foot Keeps Loosening
If a foot spins or lowers on its own, it's probably due to vibration or heavy use. Try tightening the lock nut (if your feet have one) or applying thread locking fluid. If the threads are worn, you might need to replace the foot—they're cheap, and it's better than risking a collapse.

Maintenance: Keeping Your Leveling Feet (and Structure) in Top Shape
Installing adjustable leveling feet isn't a "set it and forget it" job. Like any part of your aluminum pipe structure, they need a little care to stay effective. Here's how to keep them working like new:
- Clean Regularly: Wipe the feet with a damp cloth every few months to remove dust, dirt, and grime. This prevents buildup from jamming the threads or wearing down the rubber base.
- Check for Wear: Inspect the rubber or plastic base of each foot. If it's cracked, flattened, or missing chunks, replace it—these pads grip the floor and prevent slipping.
- Re-Level Annually: Even the sturdiest structures can shift over time. Once a year, grab your level and check if things are still even. Adjust as needed—especially if you've moved the structure or the floor has settled.
- Lubricate Threads: If the feet start to stick when adjusting, apply a tiny amount of silicone lubricant to the threads (avoid oil-based lubes—they attract dust). Wipe off excess to keep it clean.
Real-World Example: From Wobbly to Wonderful
Let's put this all together with a real story. Meet Mark, a hobbyist woodworker who recently built a workbench using aluminum lean pipe and aluminum profile accessories. He followed the instructions to the letter, but when he placed his miter saw on top, the whole bench shook so badly he could barely make a straight cut. "I thought I was just bad at building things," he told us. "Turns out, I'd skipped the leveling feet to save a few bucks."
After reading this guide, Mark bought a set of adjustable leveling feet, installed them in 20 minutes, and re-leveled his bench. The difference was night and day. "Now my saw sits solid, and my cuts are precise," he said. "I even added a shelf below using more aluminum pipe—this time, with leveling feet from the start. No wobbles, no stress, just a workspace that works for me."
Mark's story isn't unique. Adjustable leveling feet are one of those small upgrades that make a huge difference in how your aluminum pipe projects perform. They're affordable, easy to install, and once you use them, you'll wonder how you ever built without them.
Final Thoughts: You've Got This!
Installing adjustable leveling feet on aluminum pipe structures might seem like a small step, but it's one that transforms "good enough" into "great." With the right tools, a little patience, and this guide, you can level any structure—whether it's a simple shelf or a full-on assembly line. Remember: stability isn't just about convenience; it's about safety, precision, and making your workspace work for you.
So go ahead—grab your aluminum pipe, your leveling feet, and get started. We'll be here cheering you on, and when you're done, you'll have a structure that's not just level, but ready to handle whatever you throw at it. Happy building!