Aluminum Pipe Clamps for Material Rack B: Assembly Step-by-Step Guide
Related Product
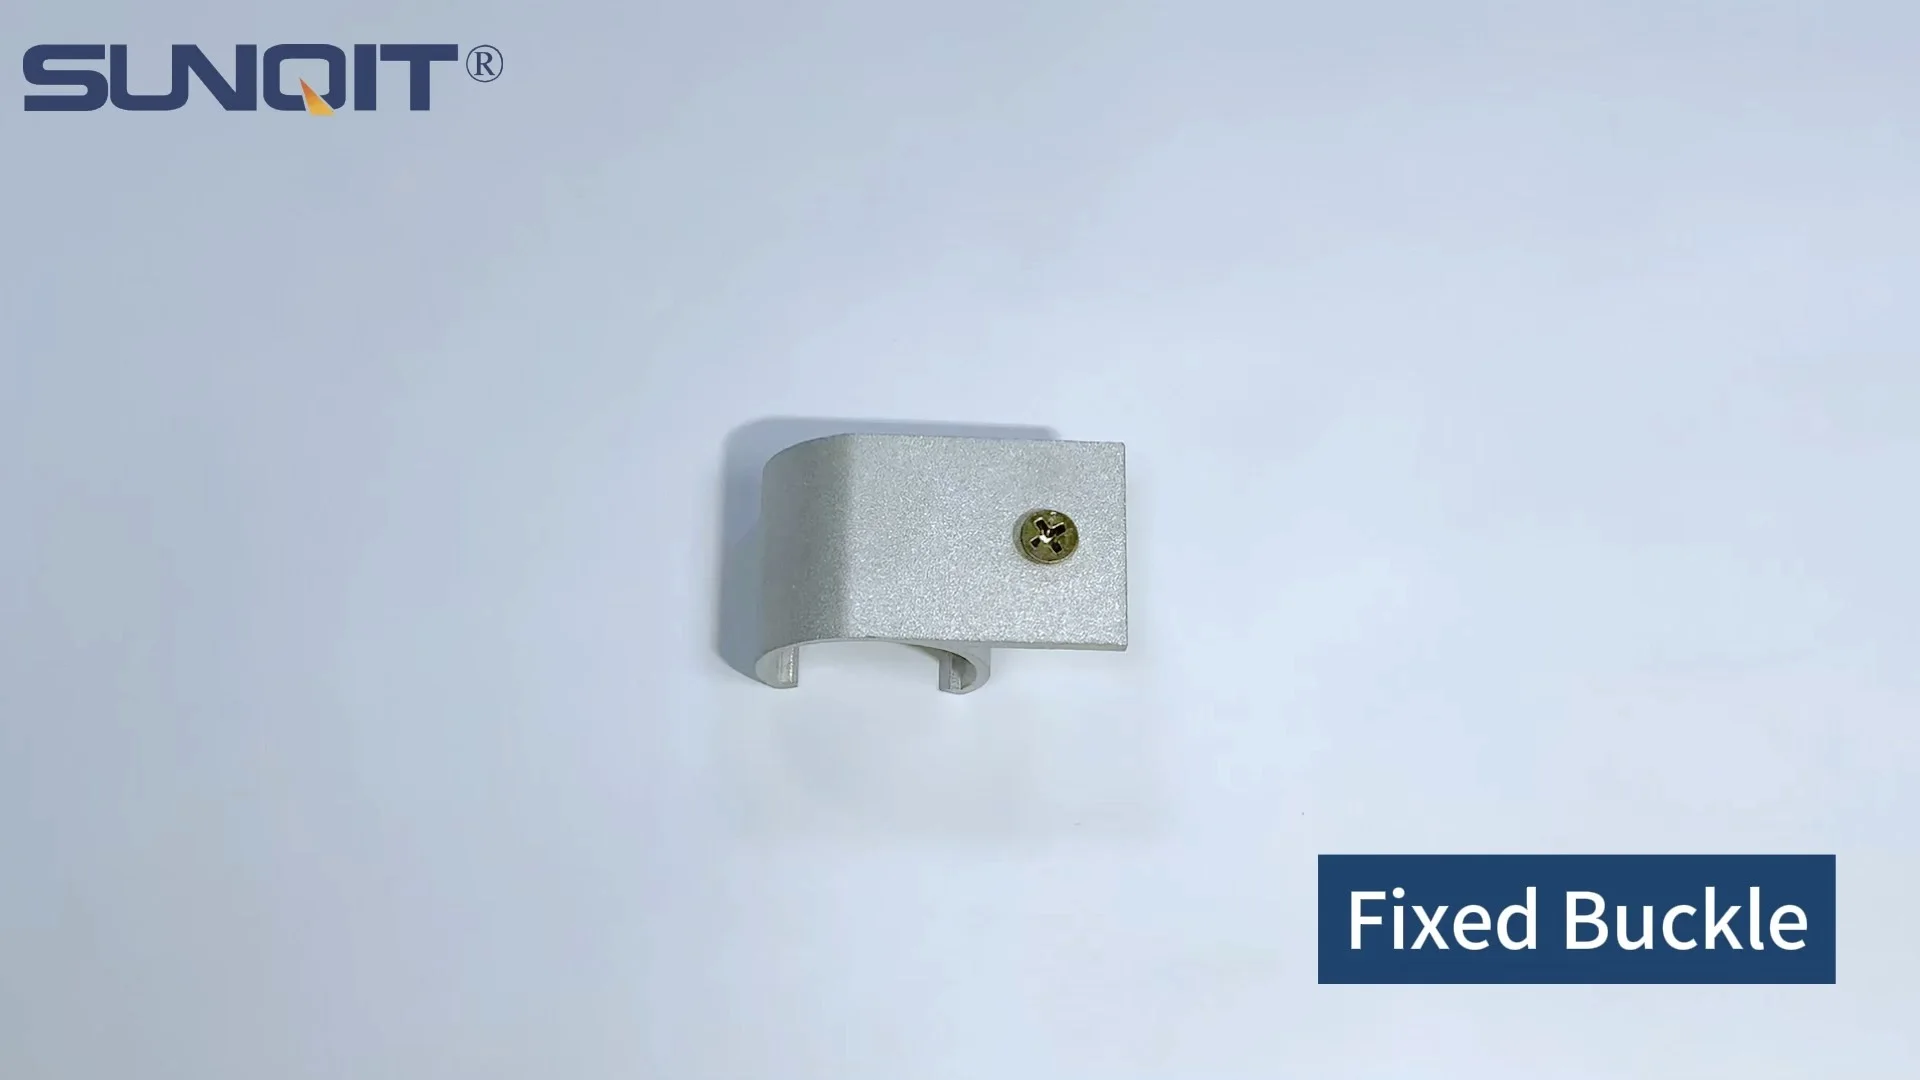
Aluminum Pipe Clamp
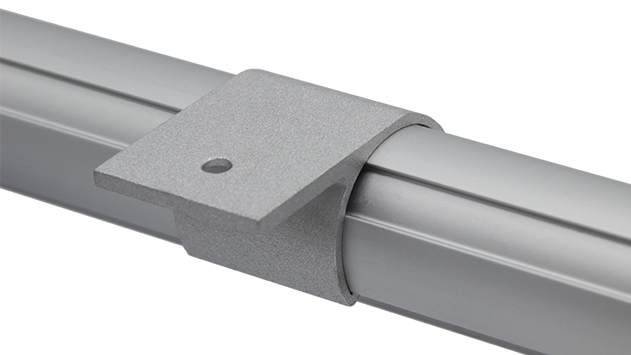
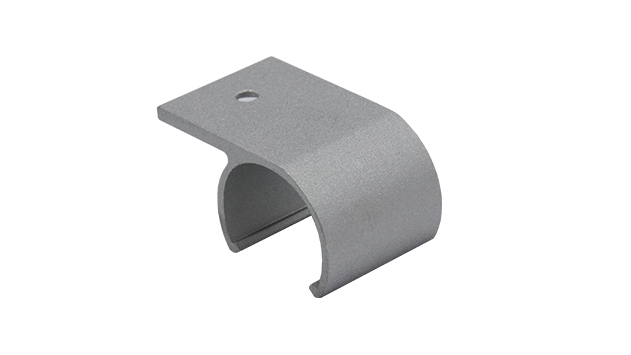
Aluminum pipe side clamp used for 28mm aluminum pipe connect with table top, or other accessories.
Aluminum Pipe Clamp

Introduction: Why Material Rack B Matters in Your Workshop

If you've ever walked into a busy production or warehouse space, you know the difference between chaos and order can be night and day. Tools scattered, materials stacked haphazardly, and workers wasting precious minutes hunting for parts—we've all seen it. That's where a reliable storage solution like the Material Rack B (3 row and 3 floor) comes in. Designed to keep your inventory organized, accessible, and safe, this rack is a workhorse for factories, assembly lines, and workshops of all sizes. But here's the thing: even the best rack design is only as strong as its assembly. And that's where aluminum pipe clamps and quality aluminum profile accessories take center stage.

Aluminum has become the go-to material for industrial storage solutions, and for good reason. It's lightweight yet surprisingly tough, resistant to rust (no more dealing with corroded steel parts!), and endlessly customizable. When you pair that with precision-engineered aluminum pipe clamps, you get a rack that's not just sturdy, but also easy to adjust as your storage needs change. Whether you're storing small components, heavy machinery parts, or anything in between, a well-assembled Material Rack B can transform your workflow from frustrating to frictionless. But how do you put it all together correctly? Let's dive in.
Gather Your Tools and Materials: What You'll Need

Before you start tightening clamps or aligning rails, let's make sure you have everything within arm's reach. There's nothing worse than getting halfway through assembly and realizing you're missing a critical tool or part. Here's a breakdown of what you'll need:

Category Items Why You Need Them
Material Rack B Components Vertical aluminum profiles, horizontal rails (including Aluminum Guide Rail A ), shelf boards, base frames The core structure of your rack—ensure all parts are labeled and undamaged.
Aluminum Pipe Clamps Assorted sizes (match to your aluminum pipe diameter) Secure horizontal rails to vertical supports; the "glue" that holds the rack together.
Aluminum Profile Accessories End caps, gussets, Roller Track Placon Mount for Aluminum Profile Flat , T-slot nuts, bolts Add stability, protect edges from sharpness, and connect rails to profiles seamlessly.
Tools Hex key set (metric), rubber mallet, spirit level, measuring tape, pencil, work gloves Hex keys tighten clamps, the mallet gently seats parts, level ensures rack is straight, tape measures prevent uneven shelves.
Safety Gear Safety glasses, non-slip shoes Aluminum edges can be sharp; protect your eyes and avoid slips while lifting heavy parts.

Pro tip: Lay out all your components on a clean, flat surface before you start. Group similar parts together—vertical profiles in one pile, horizontal rails in another, and aluminum pipe clamps sorted by size. I once skipped this step and spent 20 minutes searching for a single clamp that had rolled under the workbench. Trust me, a little prep saves big time later.

Step 1: Preparing the Base Frame—Your Rack's Foundation

Step 1.1: Unpack and Inspect the Base Components

Start with the base frame of Material Rack B. This usually includes four longer aluminum profiles (the base rails) and four corner connectors. Lay them out in a rectangle on the floor—this is the "footprint" of your rack. Take a moment to inspect each piece: are there any dents, bends, or scratches that might weaken the structure? If you spot a damaged part, now's the time to replace it (most suppliers offer spare components, so check your warranty or contact your aluminum profile supplier if needed).

Step 1.2: Securing the Base with Aluminum Pipe Clamps

Now, it's time to connect the base rails using aluminum pipe clamps . These clamps are designed to fit snugly around the aluminum profiles, creating a rigid joint without drilling or welding. Here's how to do it:

  • Slide a clamp onto the end of one base rail, leaving about 2 inches of space from the edge.
  • Align the end of a second rail (perpendicular to the first) so they form a 90-degree angle at the corner.
  • Position the clamp over the overlapping area—you'll feel it "click" into place when it's seated correctly.
  • Take your hex key and tighten the clamp's bolt. Don't overdo it! Aluminum is strong, but overtightening can strip the threads or warp the profile. A firm, steady twist until you feel resistance is enough.

Repeat this for all four corners. Once the base frame is assembled, give it a gentle shake. It should feel solid—no wobbling or creaking. If it moves, double-check that all clamps are tightened evenly.

Step 2: Adding Vertical Supports—Building Upward

Step 2.1: Measuring and Marking Vertical Rail Placement

With the base secure, it's time to add height. The Material Rack B (3 row and 3 floor) typically has four vertical supports (one at each corner) and additional mid-supports for extra stability (especially for heavier loads). Grab your measuring tape and pencil—precision here prevents uneven shelves later.

Measure 2 inches from each corner of the base frame and mark the spot—this is where your vertical rails will stand. For mid-supports (usually two per side on a 3-row rack), measure the length of the base rail, divide by 3, and mark those points. For example, if your base rail is 6 feet long, mid-supports go at 2 feet and 4 feet from the corner.

Step 2.2: Attaching Vertical Rails with Aluminum Profile Accessories

Vertical rails need extra support to handle the weight of the shelves and materials above. This is where aluminum profile accessories like corner gussets or base plates come in. Slide a base plate onto the bottom of each vertical rail, then position the rail at your marked spot on the base frame.

Use a Roller Track Placon Mount for Aluminum Profile Flat to secure the vertical rail to the base. These mounts are flat, low-profile, and designed to distribute weight evenly—perfect for preventing the rail from shifting under heavy loads. Place the mount over the base frame and vertical rail, insert the bolt, and tighten with your hex key. Again, firm but not forceful.

Once all vertical rails are attached, stand back and check for plumb. Place your spirit level against one rail—if the bubble is centered, you're good. If not, gently adjust the rail until it's straight, then retighten the mount. A wobbly vertical rail now means wobbly shelves later, so take the time to get this right.

Step 3: Installing Horizontal Rails and Shelves—The "3 Row and 3 Floor" Magic

Step 3.1: Setting Up Horizontal Rails with Aluminum Guide Rail A

Now for the part that makes the Material Rack B (3 row and 3 floor) so functional: the horizontal rails that hold the shelves. For this, we'll use Aluminum Guide Rail A —a durable, smooth-profile rail designed to support shelf boards and even roller tracks for easy material sliding. Here's how to install them:

First, decide on your shelf heights. Most users space shelves evenly (e.g., 18 inches apart for 3 floors), but adjust based on what you're storing. Mark the vertical rails at each desired height—use a pencil and a straight edge to ensure the marks line up across all rails.

Take an Aluminum Guide Rail A and position it horizontally between two vertical rails at your first mark. Attach it using aluminum pipe clamps , just like you did with the base frame. Remember to leave space for the shelf boards—typically, the rail should sit 1-2 inches below the mark to support the board from underneath.

Pro tip: If you're using roller tracks later (for sliding bins or boxes), install the guide rails with a slight downward slope (about 1-2 degrees) from back to front. Gravity will help materials glide forward, making them easier to reach.

Step 3.2: Securing Shelves and Adding Final Touches

With all horizontal rails in place, it's time to add the shelves. Lay your shelf boards (plywood, metal, or aluminum honeycomb panels work well) across the rails. For extra security, use aluminum profile accessories like shelf supports or L-brackets to hold the boards in place—this prevents them from sliding or lifting when loaded.

Once the shelves are on, give the entire rack a once-over. Tighten any loose aluminum pipe clamps , check that all rails are straight, and test the weight capacity by placing a few heavy boxes on the bottom shelf. If the rack holds steady without creaking, you're almost done!

Finally, add aluminum profile accessories like end caps to cover sharp rail edges (safer for workers!) and label holders to mark what's on each shelf. Little touches like these turn a functional rack into a truly user-friendly one.

Pro Tips for a Sturdier, Longer-Lasting Material Rack B

You've assembled your rack—congratulations! But a few extra steps can make it last even longer and perform better. Here are my go-to tips from years of working with aluminum storage systems:

  • Clean your aluminum parts first. Dust, oil, or debris on the profiles can prevent clamps from gripping properly. Wipe them down with a dry cloth before assembly.
  • Use lock washers for heavy loads. If you're storing really heavy items (over 200 lbs per shelf), add lock washers under your clamp bolts. They prevent loosening from vibration over time.
  • Inspect clamps quarterly. Aluminum expands and contracts slightly with temperature changes. A quick check every few months to retighten any loose clamps keeps the rack stable.
  • Pair with caster wheels (optional). Want mobility? Add heavy-duty casters to the base frame using aluminum profile accessories like caster mounts. Just make sure the casters lock when the rack is in use!

Troubleshooting Common Assembly Headaches

Even with careful prep, things can go wrong. Here's how to fix the most common issues:

Problem: Shelves sag in the middle. Solution: Add mid-supports using extra aluminum pipe clamps and horizontal rails. A center rail under each shelf distributes weight evenly.

Problem: Clamps keep slipping. Solution: Check if the clamp size matches your aluminum profile (most are labeled by profile width, e.g., 20x20mm or 40x40mm). If it's the right size, clean the profile with rubbing alcohol to remove oil, then retighten.

Problem: Rack leans to one side. Solution: Your base frame might be uneven. Loosen the corner clamps, adjust the rails until the base is square, then retighten. Use a square tool to check the 90-degree angles.

Conclusion: Your Material Rack B, Built to Last

Assembling the Material Rack B (3 row and 3 floor) with aluminum pipe clamps and aluminum profile accessories isn't just about putting parts together—it's about investing in a more efficient, safer workspace. When done right, this rack becomes more than storage; it's a tool that helps your team work faster, reduces errors, and keeps your materials protected.

Remember, the key to success is patience and attention to detail. Take the time to align rails, tighten clamps evenly, and check for plumb and level at every step. And don't forget—quality components matter. Using genuine aluminum profile accessories and clamps ensures your rack can handle daily wear and tear for years to come.

Now, go load up your new rack, step back, and enjoy the satisfaction of a job well done. Here's to a more organized, productive workspace!


Get In Touch with us

Hey there! Your message matters! It'll go straight into our CRM system. Expect a one-on-one reply from our CS within 7×24 hours. We value your feedback. Fill in the box and share your thoughts!