- Company Articles
- Products and Technology
- Installation And Maintenance
- Aluminum Pipe with Tray Holder Assembly Time: How Long Does It Take?

Aluminum Pipe with Tray Holder Assembly Time: How Long Does It Take?
Related Product
Aluminum Pipe with Tray Holder
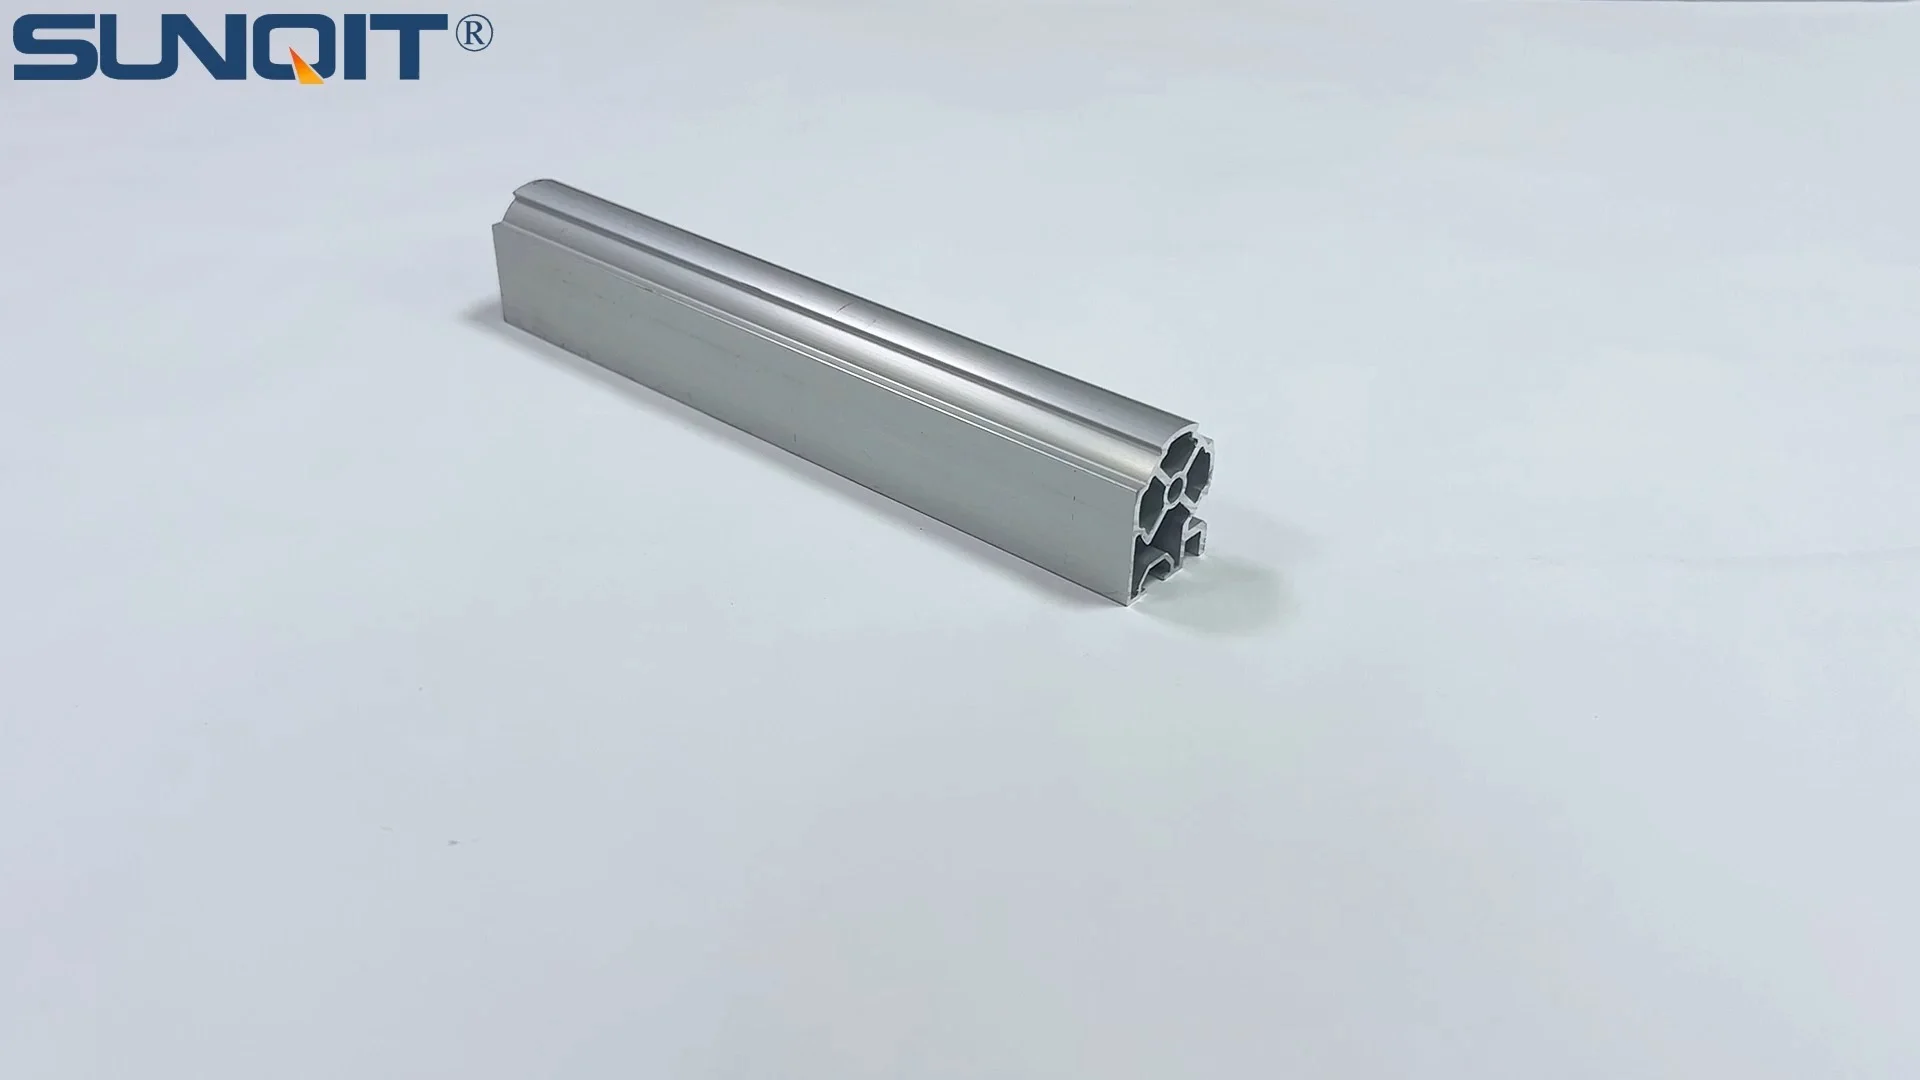
Aluminum pipe with tray holder,the pipe one side connected by a joint, the other side with a slot which can hold a tray or a aluminum pannel.
Why Assembly Time Matters in Today's Workspaces
Walk into any modern factory, workshop, or even a home garage turned small-scale production area, and you'll likely spot a common sight: workbenches, material racks, and tool organizers built with aluminum pipes and tray holders. These systems are the unsung heroes of efficient operations—they keep tools within reach, materials organized, and workflows smooth. But here's the thing no one talks about enough: how long it actually takes to put them together. Whether you're a small business owner assembling a single workbench or a production manager overseeing the setup of 50 material racks, assembly time directly impacts your bottom line. A delay of 30 minutes per unit can snowball into hours of lost productivity, missed deadlines, or overtime costs. So, let's dive into the question that's probably on your mind: How long does it really take to assemble an aluminum pipe with a tray holder?
The answer, as you might guess, isn't one-size-fits-all. It depends on a mix of factors: the complexity of your design, the tools you're using, your experience level, and even the quality of the components you're working with. In this article, we'll break down each of these elements, share real-world examples, and arm you with tips to streamline the process. By the end, you'll have a clear roadmap to estimate assembly time for your next project—whether it's a simple single-layer tray holder or a multi-tiered material rack.
The Building Blocks: What You're Actually Assembling
Before we talk about time, let's make sure we're all on the same page about what an "aluminum pipe with tray holder" system really is. At its core, it's a modular structure built from three key components: the aluminum pipes (the "bones" of the system), the tray holder (the flat surface or shelf that holds items), and the aluminum pipe accessories that hold everything together—think joints, brackets, screws, and connectors. Let's break them down:
Aluminum Pipe: The Backbone
Aluminum pipe is the star here, and for good reason. It's lightweight (so you won't throw out your back carrying pieces), corrosion-resistant (no rust in humid workshops), and surprisingly strong (it can handle the weight of power tools, raw materials, or even small machinery parts). Most systems use pipes with diameters between 28mm and 40mm, though 30mm and 40mm are the most common for workbenches and racks. They're often pre-cut to length by suppliers, which saves you the hassle of measuring and sawing—but we'll get to how that affects assembly time later.
Tray Holder: The Workhorse Surface
The tray holder is exactly what it sounds like: a flat or slightly angled surface that sits on top of the aluminum pipe frame. It can be made of aluminum sheet metal, plastic, or even wood, but aluminum is the go-to for durability. Some tray holders are simple, single-layer shelves; others are multi-tiered, with dividers or lips to prevent items from sliding off. The design you choose—say, a basic flat tray vs. one with raised edges and tool hooks—will play a big role in how long assembly takes.
Aluminum Pipe Accessories: The Glue That Holds It All Together
Here's where things get interesting (and where assembly time can either soar or plummet). Aluminum pipe accessories are the small but mighty parts that connect pipes, attach tray holders, and add stability. Think 90-degree internal rotation joints that let you connect vertical and horizontal pipes with a twist, flat brackets that secure the tray holder to the frame, and end caps that cover sharp pipe edges. High-quality accessories are designed to click or screw into place smoothly; cheaper ones? They might require wrestling with misaligned threads or loose fits, which adds precious minutes to your assembly clock.
Pro Tip: When ordering your system, ask the supplier if the aluminum pipe accessories are pre-sorted by type. A baggie labeled "90-degree joints (10pcs)" saves you from digging through a jumble of parts—time saved before you even start assembling!

Tools: Your Secret Weapon (or Worst Enemy)
Imagine trying to assemble a bookshelf with a butter knife instead of a screwdriver. Frustrating, right? The same logic applies to aluminum pipe systems. The tools you use can turn a 2-hour project into a 45-minute breeze—or the other way around. Let's talk about the essentials and how they impact speed:
Hex Keys (Allen Wrenches): The Unsung Heroes
Most aluminum pipe joints use hex screws (the ones with six-sided holes), so a good set of hex keys is non-negotiable. Skip the flimsy, one-size-fits-all wrench that comes free with cheap furniture kits. Instead, invest in a set with ergonomic handles—they reduce hand fatigue, letting you tighten joints faster without cramping. A ball-end hex key is even better: it lets you reach screws at an angle, which is a lifesaver when pipes are close together.
Rubber Mallet: For Gentle Persuasion
Sometimes, a joint just needs a little nudge to seat properly—not a sledgehammer, though! A rubber mallet (or a regular hammer wrapped in a towel) lets you tap pipes into place without denting the aluminum or damaging the finish. This is especially useful for tight-fitting aluminum profile connections, where forcing with brute strength might bend the pipe.
Level and Tape Measure: Avoiding "Good Enough" Mistakes
You might think, "I don't need to measure—eyeballing it is fine." Trust us: it's not. A wobbly tray holder that leans to one side will slow you down later when tools slide off or materials don't stack evenly. A small, lightweight level (48-inch is ideal) and a retractable tape measure let you check alignment as you go, preventing time-consuming do-overs.
Power Tools: When to Use Them (and When to Skip)
A cordless drill with a hex bit attachment can speed up screw tightening—no question. But be careful: over-tightening can strip threads or crack the aluminum pipe accessories. If you're using power tools, stick to low torque settings (around 3-5 Nm for most joints) and finish tightening by hand to feel when the joint is snug but not strained.

Step-by-Step: A Play-by-Play of Assembly
Let's walk through assembling a basic aluminum pipe with tray holder system—a single-tier workbench with a 120cm x 60cm tray holder, four vertical legs, and a simple frame. We'll time it out for a novice, intermediate, and expert to show how experience affects the process.
Pre-Assembly: 10 Minutes (for Everyone)
No matter your skill level, start here: lay out all parts on a flat surface (the floor works if you don't have a table). Check the instruction manual (yes, actually read it!) to confirm you have all pieces: 4 vertical pipes (80cm long), 4 horizontal pipes (120cm for the top, 60cm for the sides), 8 90-degree joints, 1 tray holder, 16 screws, and 4 end caps. Sort accessories into piles: joints here, screws there, end caps in a small bowl to avoid losing them. This step is non-negotiable—skipping it leads to "Wait, where's that bracket?" panics mid-assembly.
Step 1: Building the Frame (Novice: 45 mins | Intermediate: 25 mins | Expert: 15 mins)
Start with the base frame: connect two 60cm horizontal pipes to two 120cm horizontal pipes using 90-degree joints to form a rectangle. A novice might fumble with aligning the joint threads, taking 2-3 minutes per corner. An intermediate assembler, familiar with how the joints lock into place, zips through at 1 minute per corner. The expert? They've done this so many times, they can feel when the joint is aligned—30 seconds per corner, max. Next, attach the four vertical legs to the corners. Again, the novice checks the level after each leg; the expert pre-aligns them using the floor's straight edge.
Step 2: Attaching the Tray Holder (Novice: 30 mins | Intermediate: 15 mins | Expert: 8 mins)
The tray holder sits on top of the frame, secured with flat brackets and screws. The novice reads the manual to find which holes to use, then struggles with a stripped screw (oops, used too much force). The intermediate uses a cordless drill on low torque, flying through the 16 screws in 10 minutes, then checks alignment. The expert? They pre-thread the screws by hand (to avoid stripping), then drill them in 2 seconds each—done before you can say "aluminum profile."
Step 3: Adding Finishing Touches (Novice: 15 mins | Intermediate: 5 mins | Expert: 2 mins)
Pop on the end caps to cover pipe ends, adjust any wobbly joints, and give the tray holder a gentle shake to test stability. The novice realizes one leg is shorter than the others (didn't check pre-assembly!) and spends 10 minutes swapping it out. The expert noticed the short leg during pre-assembly and fixed it already. Total time? Novice: ~1 hour 45 mins. Intermediate: ~45 mins. Expert: ~25 mins.
Factors That Add (or Subtract) Time
The basic workbench above is simple, but real-world projects are rarely "basic." Let's look at the variables that can stretch assembly time from 25 minutes to 3 hours (and how to keep them in check).
Tray Holder Complexity: Simple vs. "Fancy"
A single flat tray? Easy. A tray with built-in tool hooks, dividers, and a tilted surface for easier access? That's more parts, more screws, and more alignment checks. For example, adding three dividers to a tray requires drilling 12 extra holes and attaching 12 more brackets—add 15-20 minutes for an intermediate assembler.
Pipe Length and Quantity: More Pipes = More Time
A small parts bin with 4 pipes and 4 joints takes no time. A multi-tier material rack with 12 vertical pipes, 8 horizontal pipes, and 24 joints? That's a whole different beast. Each additional pipe means another joint to connect, another alignment check, and another screw to tighten. As a rule of thumb, add 5-7 minutes per extra pipe (for an intermediate assembler).
Accessory Quality: "Click" vs. "Clunk"
We mentioned this earlier, but it's worth repeating: cheap aluminum pipe accessories are a false economy. A $2 joint that sticks or misaligns can add 2 minutes per joint to your assembly time. Multiply that by 20 joints, and you're looking at 40 extra minutes—time you could spend on actual work. Invest in accessories from reputable suppliers; they cost a little more upfront but pay off in speed.
Environmental Factors: Clutter and Space
Trying to assemble a system on a crowded floor with tools scattered everywhere? You'll waste time stepping over parts or hunting for your level. Clear a 2m x 2m space, lay down a tarp to protect parts from dust, and keep tools in a caddy within arm's reach. A clean workspace can shave 10-15 minutes off assembly time.
| Scenario | Novice Time | Expert Time | Key Time-Drainers |
|---|---|---|---|
| Basic single-tier workbench (4 pipes, 1 tray) | 1h 30m – 2h | 25m – 35m | Aligning joints, reading instructions |
| 3-tier material rack (12 pipes, 3 trays with dividers) | 3h – 4h | 1h 15m – 1h 45m | Multi-layer alignment, extra screws for dividers |
| Custom workbench with tool hooks + caster wheels | 2h 30m – 3h 30m | 50m – 1h 10m | Attaching casters (requires precise spacing), installing hooks |
Aluminum vs. Lean Pipe: Which Assembles Faster?
You might be wondering: Is aluminum pipe faster to assemble than traditional lean pipe (the steel pipes with plastic coating)? Let's compare. Lean pipe systems use friction-fit joints that slide over the pipe and tighten with a setscrew. They're simple, but here's the catch: over time, the plastic coating wears, and joints loosen, requiring frequent retightening. Aluminum pipe systems, with their precision-machined aluminum profile and threaded or snap-lock joints, assemble faster initially and need less maintenance. For example, a lean pipe workbench might take a novice 2h 15m to assemble (vs. 2h for aluminum), but the aluminum system will save 1h over 6 months in retightening and adjustments.
Tips to Slash Assembly Time (Proven by Pros)
Want to assemble like an expert, even if you're a novice? Try these tricks:
Pre-Cut Pipes: Let the Supplier Do the Work
Most suppliers will cut aluminum pipes to your exact length for a small fee. Skip cutting them yourself with a hacksaw—it's messy, imprecise, and adds 20+ minutes. Pre-cut pipes arrive ready to assemble, with clean edges that fit joints perfectly.
Use Templates for Repetitive Projects
If you're assembling 10 identical workbenches, make a template: a piece of plywood with marks where joints should go. Lay pipes on the template, attach joints, and repeat—no more measuring each frame from scratch. Templates can cut assembly time by 30% for batch projects.
Train Your Team (or Yourself) with a "Dry Run"
Before diving into the real thing, do a dry run: assemble the frame without tightening screws, then take it apart. This helps you learn the flow, identify tricky steps, and memorize which joint goes where. A 15-minute dry run can save 45 minutes of confusion later.
Invest in Magnetic Tool Trays
Screws and small aluminum pipe accessories have a knack for rolling away. A magnetic tool tray keeps them within sight and reach, eliminating "I swear I had 8 screws—where's the 8th?" panic attacks. Bonus: it keeps metal parts from getting lost in carpet fibers or workshop debris.
Common Mistakes That Add Time (and How to Avoid Them)
Even experts make mistakes, but these are the ones that cost the most time:
Over-Tightening Joints
It's tempting to crank down on screws until they won't turn, but aluminum is softer than steel—over-tightening strips threads or cracks joints. If you have to spend 10 minutes extracting a broken screw, you've wasted more time than if the joint was slightly loose (you can always tighten it later!).
Ignoring the Instruction Manual
"I don't need instructions—I've built stuff before!" Famous last words. Manuals often include tips like "Tighten the top joints first to prevent warping" or "Use the shorter screws for the tray holder." Skipping them leads to "Why is this leaning?" moments that require disassembling and restarting.
Rushing Alignment Checks
A frame that's "close enough" will wobble, and a tray holder that's off-kilter will let tools slide. Take 2 minutes to check with a level after assembling the base, then again after adding the tray. It's faster than disassembling and redoing it later.
Final Thoughts: Assembly Time Is What You Make of It
So, how long does it take to assemble an aluminum pipe with tray holder? Anywhere from 25 minutes (expert, basic system) to 4 hours (novice, complex multi-tier rack). But here's the good news: with the right components (quality aluminum pipe and accessories), tools, and preparation, you can drastically cut that time. Think of it like cooking: a beginner might take an hour to make scrambled eggs, but with practice and the right pan, it becomes a 5-minute task.
At the end of the day, the goal isn't just to assemble fast—it's to assemble well. A sturdy, well-aligned aluminum pipe with tray holder will save you time every day after assembly, as tools stay organized, materials are easy to reach, and workflows hum along without interruptions. So take the time to prep, invest in good parts, and don't rush the process. Your future self (and your productivity) will thank you.