- Company Articles
- Products and Technology
- Installation And Maintenance
- Assembly Tips: Ensuring Secure Connections with Duplex Aluminum Pipe Joint

Assembly Tips: Ensuring Secure Connections with Duplex Aluminum Pipe Joint
Related Product
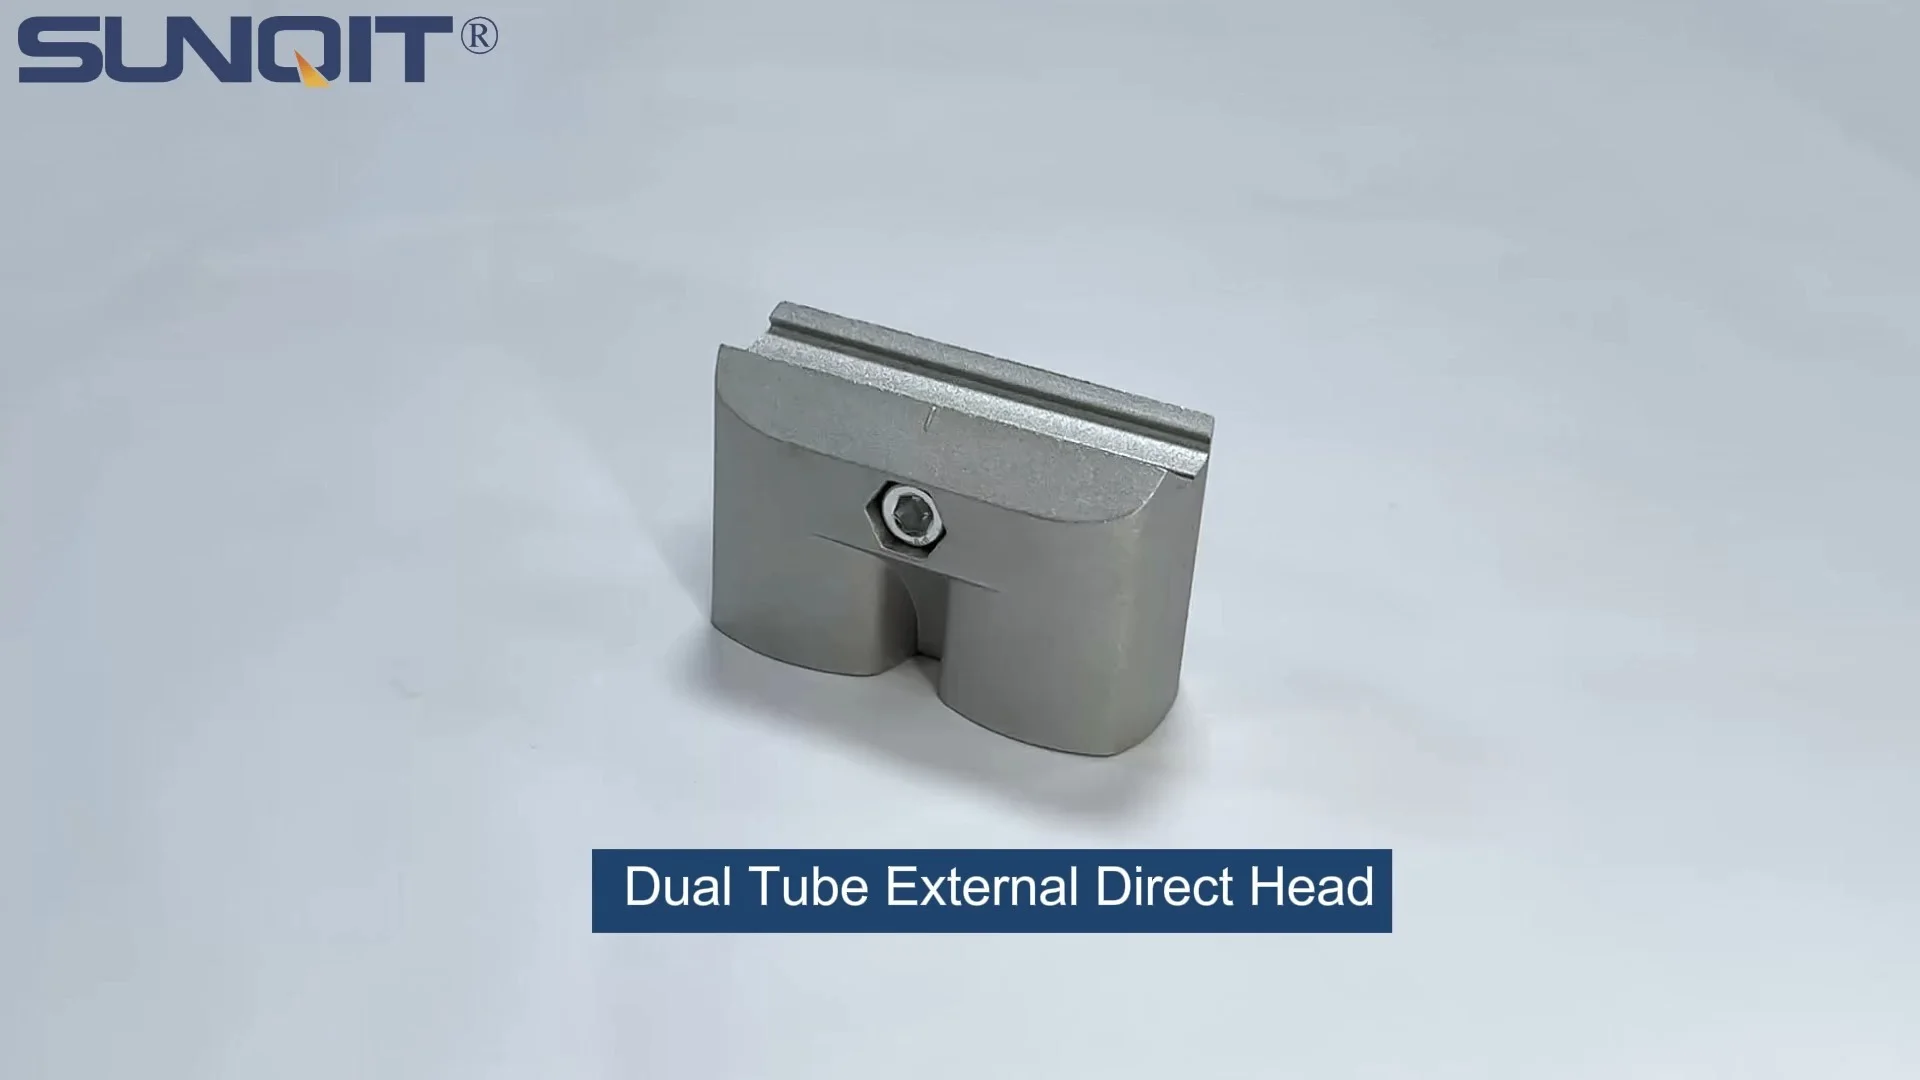
Duplex Aluminum Pipe Joint
Duplex Aluminum pipe joint used for one pcs 28pcs aluminum pipe and one pcs of 28mm duplex pipe connection in straight angle.
In the world of manufacturing and industrial setups, the difference between a smooth, efficient workflow and a frustrating, error-prone day often comes down to the smallest details—like the connections holding your equipment together. Whether you're building a workbench for your workshop, a roller track for material handling, or a frame for production lines, the stability of the entire structure hinges on how well its components are joined. This is where duplex aluminum pipe joints shine. Designed to offer strength, flexibility, and reliability, these joints are a cornerstone of modern lean systems and aluminum profile structures. But even the best components can fail if not assembled correctly. In this guide, we'll walk through practical, hands-on tips to ensure your duplex aluminum pipe joints create connections that stand the test of time—secure, stable, and ready to keep your operations running without a hitch.
Understanding Duplex Aluminum Pipe Joints: More Than Just a Connector
Before we dive into assembly tips, let's make sure we're all on the same page about what duplex aluminum pipe joints are and why they matter. Unlike basic plastic or steel joints, duplex aluminum pipe joints are engineered with dual functionality in mind—they're built to connect aluminum pipes (or aluminum profiles) with both strength and adaptability. Think of them as the "swiss army knife" of industrial connectors: they can handle angular adjustments, support heavy loads, and integrate seamlessly with a variety of aluminum pipe accessories, from clamps to brackets.
What sets duplex joints apart is their construction. Made from high-grade aluminum, they're lightweight yet surprisingly robust, resistant to corrosion, and designed to withstand the wear and tear of daily industrial use. This makes them ideal for environments where durability and low maintenance are priorities—like factories, warehouses, or workshops. Whether you're assembling a simple material rack or a complex conveyor system, these joints act as the glue that holds your aluminum pipe framework together, ensuring everything stays aligned and secure.
Pro Tip: Duplex aluminum pipe joints are often confused with standard single-piece joints, but their "duplex" design (featuring two interlocking components) allows for finer adjustments during assembly. This flexibility is a game-changer when you need precise alignment—say, for a roller track that needs to glide materials smoothly from one station to the next.
Why Secure Connections Matter: The Hidden Costs of Loose Joints
You might be thinking, "How big of a deal is a slightly loose joint, anyway?" The answer: bigger than you'd expect. A single insecure connection in your aluminum pipe structure can lead to a domino effect of problems, from minor annoyances to major operational headaches. Let's break it down:
Safety First
In any workspace, safety is non-negotiable. A wobbly workbench or a leaning material rack isn't just inefficient—it's a hazard. Loose joints can cause structures to shift unexpectedly, risking injury to workers or damage to equipment. For example, if a roller track's joints are loose, materials might jam or even fall off, creating a tripping hazard or damaging valuable inventory.
Efficiency Drain
Loose joints disrupt workflow. Imagine a production line where a conveyor belt frame, held together with duplex joints, starts to sag because of a weak connection. The belt might misalign, slowing down production as workers stop to adjust it. Over time, these small delays add up, cutting into productivity and increasing labor costs.
Premature Wear and Tear
When joints are loose, the structure doesn't distribute weight evenly. This uneven stress puts extra pressure on other components—like aluminum pipes or roller track connectors—causing them to wear out faster. What could have been a 5-year lifespan for your workbench might shrink to 2 years if joints aren't properly secured. Replacing parts early eats into your budget and creates unnecessary downtime.
The bottom line? Taking the time to ensure secure connections with your duplex aluminum pipe joints isn't just about "doing it right"—it's an investment in safety, efficiency, and long-term cost savings.

Common Challenges in Duplex Aluminum Pipe Joint Assembly (and How to Avoid Them)
Even experienced assemblers run into issues when working with duplex aluminum pipe joints. The good news is that most problems stem from a few common mistakes—ones that are easy to avoid with a little awareness. Let's walk through the biggest culprits and how to steer clear of them:
Mistake #1: Skipping Pre-Assembly Inspection
It's tempting to jump straight into building, but failing to inspect your parts first is a recipe for trouble. Aluminum pipes (especially if they're new) might have burrs or rough edges from manufacturing, which can prevent the joint from seating properly. Similarly, duplex joints themselves might have debris in their threads or misaligned components if they were stored improperly.
Solution: Before you start, lay out all your parts—aluminum pipes, duplex joints, and any accessories like clamps or washers. Run your finger along the ends of the pipes to check for burrs; if you feel any, gently file them down with a metal file. For the joints, blow out any dust or debris with compressed air and visually inspect the threads to ensure they're clean and undamaged.
Mistake #2: Over-Tightening (Yes, That's a Thing)
When it comes to securing joints, many people think "tighter is better." But with duplex aluminum pipe joints, over-tightening can actually weaken the connection. Aluminum is a softer metal than steel, so cranking down too hard on the joint can strip the threads, warp the joint, or even crack the aluminum pipe itself. This is especially common when using power tools like impact drivers—they deliver too much torque too quickly.
Solution: Stick to hand tools, like a hex key or adjustable wrench, and tighten the joint until it's snug—you should feel resistance, but the joint shouldn't bend or warp. A good rule of thumb: tighten until the joint can't rotate by hand, then give it a quarter-turn more. If you're unsure, check the manufacturer's torque specifications (most duplex joints come with guidelines).
Mistake #3: Misalignment During Assembly
Duplex joints are designed to allow some angular adjustment, but that doesn't mean you can force them into misaligned positions. If your aluminum pipes aren't straight or your joint is at a awkward angle during assembly, the connection will be under constant stress. Over time, this stress will loosen the joint, leading to wobbling or even failure.
Solution: Use a level or straightedge to ensure your aluminum pipes are aligned before securing the joint. For horizontal structures (like a workbench frame), check that the pipes are parallel and level; for vertical structures (like a material rack), ensure they're plumb. If you're assembling a roller track, lay the pipes on a flat surface first to confirm they're straight—this will save you headaches later when materials need to glide smoothly.

Step-by-Step Assembly Tips for Rock-Solid Connections
Now that we've covered the pitfalls to avoid, let's walk through the assembly process step by step. These tips are based on years of hands-on experience, and they'll help you create connections that are secure, stable, and built to last.
Step 1: Prepare Your Workspace and Tools
Assembly starts before you even pick up a pipe. Set yourself up for success with a clean, flat workspace—preferably a workbench or large table where you can lay out all your parts. Gather your tools: you'll need a hex key (the size depends on your joint—most duplex joints use 5mm or 6mm keys), a rubber mallet (for gentle tapping), a level, a tape measure, and a file (for deburring pipes). If you're working with long pipes, enlist a helper to hold them steady—trying to align a 10-foot aluminum pipe by yourself is a recipe for misalignment.
Step 2: Dry-Fit First (No Tools Allowed!)
Before you tighten anything, do a "dry fit" of your entire structure. Connect the aluminum pipes and duplex joints by hand, without using tools. This lets you check the overall alignment, make sure all parts fit together, and adjust the layout if needed. For example, if you're building a workbench, dry-fitting will reveal if the legs are too short or the top frame is misaligned—issues that are easy to fix now but a nightmare to correct after you've tightened all the joints.
During the dry fit, pay attention to how the duplex joints connect. They should slide onto the aluminum pipe smoothly, with no gaps or resistance. If a joint feels stuck, don't force it—check for debris or burrs (remember Step 1?) and clean or file as needed.
Step 3: Secure the Joints in the Right Order
Once your dry fit looks good, it's time to start tightening. But here's a key insight: the order in which you tighten joints matters. If you tighten one joint fully before others, you might pull the structure out of alignment. Instead, work in a "star pattern," similar to tightening lug nuts on a car tire. For a rectangular frame (like a workbench top), start with one corner joint, then tighten the opposite corner, then the other two. This distributes tension evenly, keeping the frame square.
For larger structures, like a multi-level material rack, tighten joints from the bottom up. Secure the base first, then work your way up to the top shelves. This ensures the structure is stable as you build, preventing it from shifting or tipping.
Step 4: Add Reinforcements (When Needed)
Most of the time, a well-tightened duplex joint is enough to secure your aluminum pipe structure. But if you're building something that will carry heavy loads—like a workbench that will hold machinery, or a roller track for bulky materials—adding reinforcements can give you extra peace of mind. Aluminum pipe accessories like angle brackets or parallel clamps can help distribute weight across multiple joints, reducing stress on any single connection.
For example, if you're building a workbench with a large top, adding a diagonal brace (secured with duplex joints) between the legs will prevent the frame from wobbling under heavy weight. Similarly, for a roller track that will carry heavy boxes, using duplex joints with built-in locking mechanisms (instead of standard adjustable joints) can add an extra layer of security.
Step 5: Test the Connection (Don't Skip This!)
You've tightened all the joints—now what? It's time to put the connection to the test. Gently shake the structure to see if any joints wiggle or shift. For a workbench, apply downward pressure to the top to check for flexing. For a roller track, roll a test weight (like a box of similar size to what you'll be moving) along it to ensure smooth, stable movement.
If you notice any wobbling, don't ignore it! Loosen the nearby joints, realign the pipes, and retighten. It's better to spend an extra 10 minutes fixing a minor issue now than to deal with a major failure later.

Tools of the Trade: What You Need for Perfect Duplex Joint Assembly
You wouldn't try to bake a cake without the right utensils, and assembling duplex aluminum pipe joints is no different. Having the right tools on hand will make the process faster, easier, and more precise. Here's a breakdown of the essentials:
| Tool | Why You Need It | Pro Tips for Use |
|---|---|---|
| Hex Keys (Allen Wrenches) | Duplex joints are typically secured with hex screws, so a set of hex keys (in metric sizes, since aluminum pipes are often measured in mm) is a must. | Invest in a set with ball-end tips—they allow you to reach screws at an angle, which is helpful for tight spaces. |
| Level (2-foot or longer) | Ensures your aluminum pipes are straight, level, and plumb during assembly. | Use a magnetic level for metal pipes—it will stick to the pipe, leaving your hands free to adjust the joint. |
| Rubber Mallet | For gently tapping pipes into place without damaging the aluminum or the joint. | Never use a steel hammer—aluminum dents easily! A rubber mallet delivers enough force to seat the pipe without causing harm. |
| Threadlocker (Optional) | A small drop of threadlocker (like Loctite) can prevent screws from loosening over time, especially in high-vibration environments. | Use blue threadlocker (removable) for most applications—red threadlocker is permanent and hard to remove if you need to disassemble later. |
| Metal File | To smooth burrs or rough edges on aluminum pipes, ensuring a tight fit with the joint. | Use a fine-tooth file and stroke in one direction (away from your body) to avoid creating new burrs. |
Troubleshooting: Fixing Common Duplex Joint Issues
Even with the best prep work, sometimes things go wrong. Here's how to troubleshoot the most common duplex aluminum pipe joint problems:
Problem: The Joint Keeps Loosening
Cause: Either the joint wasn't tightened enough, the threads are stripped, or there's vibration in the environment (like near a conveyor motor).
Fix: If it's loose but the threads are intact, retighten using the "quarter-turn after snug" rule. If the threads are stripped, replace the joint—stripped threads can't be repaired. For high-vibration areas, add threadlocker or use a locking duplex joint (look for models with a set screw that locks the joint in place).
Problem: The Pipe Wobbles in the Joint
Cause: The pipe diameter is too small for the joint, or the joint's internal grip is worn.
Fix: Check that the pipe and joint are compatible—most duplex joints are designed for specific pipe sizes (e.g., 28mm or 30mm aluminum pipes). If the pipe is too small, wrap a thin strip of aluminum foil around the end (this adds thickness) before inserting it into the joint. If the joint is worn, replace it.
Problem: The Joint Leaks (For Liquid-Carrying Pipes)
Cause: While duplex joints are primarily for structural use, some are used in liquid-carrying systems. Leaks here are usually due to misalignment or damaged O-rings (if the joint has them).
Fix: Disassemble the joint, check the O-ring for cracks or wear, and replace if needed. Reassemble, ensuring the pipes are perfectly aligned, and tighten the joint until the O-ring compresses slightly (you'll feel resistance).
Real-World Applications: How Secure Duplex Joints Improve Your Workspace
To bring this all to life, let's look at two common scenarios where secure duplex aluminum pipe joints make a tangible difference: building a workbench and assembling a roller track.
Scenario 1: The Rock-Solid Workbench
Imagine you're setting up a workbench in your garage for woodworking. You've got aluminum pipes for the frame, a plywood top, and duplex joints to connect everything. If your joints are loose, the bench will wobble when you're using a saw or drill, leading to imprecise cuts and frustration. But with proper assembly—cleaning the pipes, aligning the frame, tightening joints in a star pattern, and adding diagonal braces—your workbench becomes a stable platform. You can lean into your tools, apply pressure, and trust that the bench won't shift. The result? Better work, fewer mistakes, and a workspace that feels professional.
Scenario 2: The Smooth-Rolling Roller Track
Now, picture a warehouse where you need to move boxes from the receiving area to the shipping department. You've built a roller track using aluminum pipes, duplex joints, and roller track accessories. If the joints are misaligned or loose, the rollers will bind, and boxes will get stuck—slowing down your team and causing delays. But with careful assembly: aligning the pipes, tightening joints from the bottom up, and testing the track with weighted boxes—your roller track glides smoothly. Boxes move with minimal effort, workers stay efficient, and the entire operation hums along. That's the power of secure connections.
Maintenance: Keeping Your Duplex Joints Secure for the Long Haul
Assembling your duplex aluminum pipe joints correctly is the first step, but to keep them secure for years to come, a little maintenance goes a long way. Here's what to do:
Inspect Regularly
Set a schedule to check your joints—monthly for high-use structures (like a busy workbench or conveyor) and quarterly for lower-use ones (like a storage rack). Look for signs of looseness, corrosion, or wear. If you see rust (unlikely with aluminum, but possible if the joint is exposed to moisture), gently scrub it with a wire brush and apply a coat of anti-corrosion spray.
Retighten When Needed
Even the best joints can loosen over time, especially in high-vibration environments. During your inspections, give each joint a gentle tug—if it moves, retighten it with your hex key. This quick check takes 5 minutes and can prevent major issues down the line.
replace Worn Parts
Aluminum is durable, but it's not indestructible. If a joint is stripped, cracked, or otherwise damaged, replace it immediately. Don't try to "make do" with a faulty joint—you'll end up compromising the entire structure.
Final Thoughts: Secure Connections, Smoother Workflows
At the end of the day, assembling with duplex aluminum pipe joints isn't just about turning screws and connecting pipes—it's about building trust in your workspace. When you know your workbench won't wobble, your roller track won't jam, and your material rack won't lean, you can focus on what matters: doing great work, staying productive, and keeping your team safe. By following these tips—inspecting parts, aligning carefully, tightening in the right order, and maintaining regularly—you'll create connections that are more than secure; they'll be reliable partners in your daily operations.
So, the next time you pick up an aluminum pipe and a duplex joint, remember: the difference between a frustrating day and a fantastic one is in the details. Take your time, follow these steps, and build something that lasts.