- Company Articles
- Products and Technology
- Installation And Maintenance
- Assembly Tips for 1.0mm Stainless Steel Pipe in Lean Material Racks

Assembly Tips for 1.0mm Stainless Steel Pipe in Lean Material Racks
Related Product
1.0mm Stainless Steel Pipe
Stainless steel pipe, lean pipe, diameter is 28mm, material is SS201 or SS304, SS201 is normally used in the market. It knows a KARAKURI, KAIZEN material for industrial plant to improve efficiency, save labor cost, standard management.
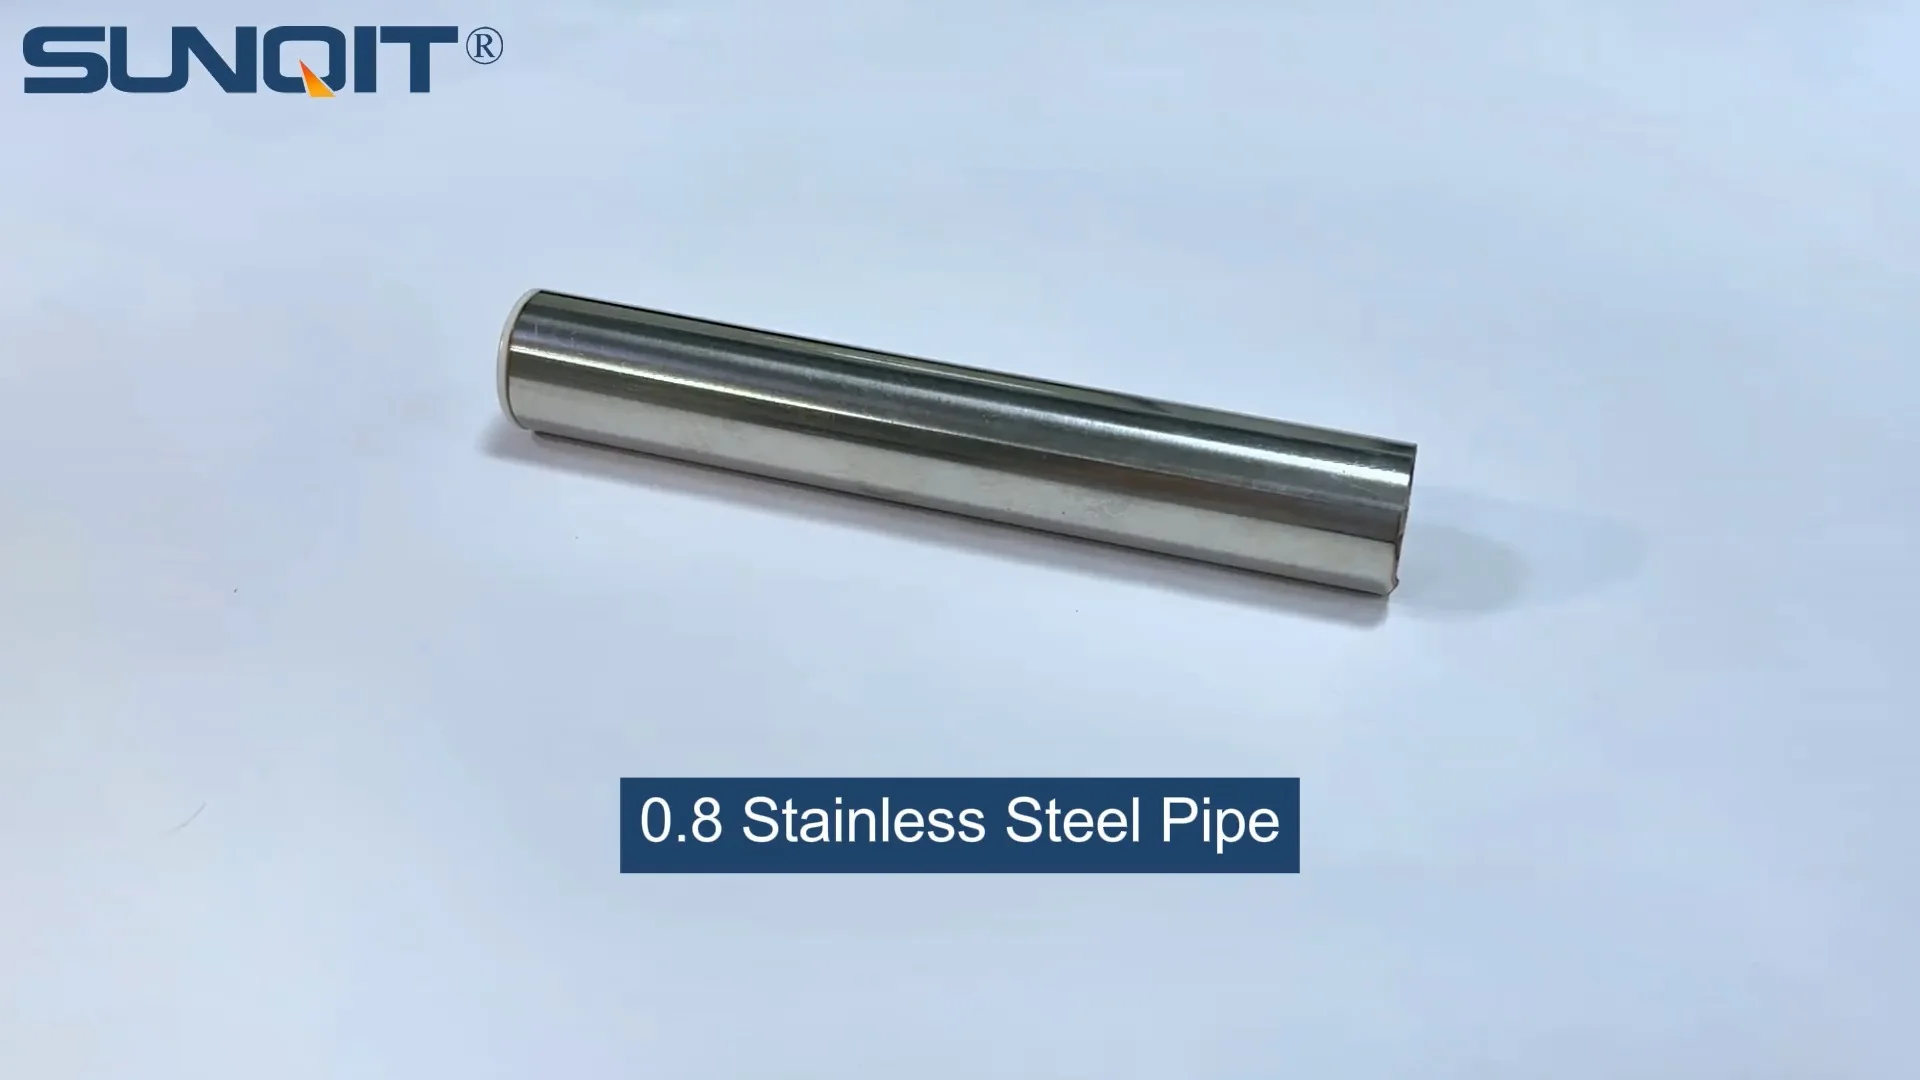
In the fast-paced world of lean manufacturing, efficiency isn't just a buzzword—it's the backbone of daily operations. Every tool, every workspace, and every material handling system plays a role in keeping workflows smooth, reducing waste, and ensuring teams can focus on what matters: building quality products. Among these critical components, lean material racks stand out as unsung heroes. They organize parts, streamline movement, and turn cluttered floors into well-oiled hubs of productivity. And at the heart of these racks? The 1.0mm stainless steel pipe.
Why 1.0mm stainless steel pipe, specifically? It's a sweet spot of strength and practicality. Thicker pipes might offer more heft, but they add unnecessary weight, making racks harder to move and assemble. Thinner ones risk bending under load, compromising safety. The 1.0mm variant, part of the stainless steel pipe series , hits that perfect balance: corrosion-resistant for long-term durability, lightweight enough for easy maneuvering, and sturdy enough to support the day-to-day demands of a busy factory floor. But here's the thing: even the best materials fall flat if they're not assembled correctly. A wobbly rack, misaligned tracks, or loose joints can turn a tool of efficiency into a bottleneck—or worse, a safety hazard.
That's where this guide comes in. Whether you're a seasoned facility manager assembling your tenth rack or a small business owner tackling your first DIY lean project, these tips will walk you through the process step by step. We'll cover everything from pre-assembly prep to troubleshooting common headaches, with a focus on using lean pipe joints , roller track components, and caster wheels to build a rack that's not just functional, but built to last. Let's dive in.
Pre-Assembly Preparation: Laying the Groundwork for Success
Before you even pick up a pipe cutter, preparation is key. Rushing into assembly with missing parts or a disorganized workspace is a recipe for frustration—and mistakes. Let's break down what you'll need to gather and set up first.
Materials Checklist: Gather Your "Building Blocks"
Your lean material rack is only as strong as its components. Here's a detailed list of what you'll need, with notes on why each part matters:
- 1.0mm Stainless Steel Pipe Series : This is your frame. Opt for 1.0mm wall thickness—any thinner and you risk bending under heavy loads (like stacks of raw materials or finished products). Lengths will vary based on your rack design, but common sizes are 1m, 1.5m, and 2m. Pro tip: Buy a few extra pipes than you think you need—mistakes happen, and having spares saves trips to the supplier.
- Lean Pipe Joints : These are the "glue" that holds your rack together. You'll need a mix of fixed and adjustable joints: 90° fixed joints for corners, 180° swivel joints for flexible sections, and 45° joints if your design has angled supports. Look for joints with zinc-plated or stainless steel construction to match the pipes' corrosion resistance. Avoid plastic joints—they're cheaper upfront but wear out quickly under stress.
- Roller Track : For material flow, roller tracks turn a static rack into a dynamic one. For 1.0mm pipes, a 40mm steel roller track with black ESD wheels is a solid choice (ESD, or electrostatic discharge, protection is crucial if you're handling sensitive electronics). Make sure the track comes with roller track placon mounts —these small brackets secure the track to the pipes and keep it aligned.
- Caster Wheels : Mobility is often overlooked but game-changing. Choose caster wheels with brakes (lockable) to keep the rack stationary when in use. Look for wheels with rubber or polyurethane treads—they're quieter and gentler on factory floors than hard plastic. Aim for at least 50mm diameter wheels; smaller ones get stuck on cracks or uneven surfaces.
- Workbench Top (Optional but Recommended) : If your rack doubles as a workstation, add a top surface. Aluminum honeycomb panels are lightweight and strong, or you can use a plywood sheet with a laminate finish for a budget-friendly option. Just ensure it's cut to fit the rack's top frame with a 2-3cm overhang on all sides for easy access.
Safety First: Protect Yourself and Your Workspace
Assembly might seem straightforward, but stainless steel pipes are sharp when cut, and joints can pinch fingers. Here's what you need to stay safe:
- Safety Gear : Wear cut-resistant gloves (nitrile or leather) to protect hands from sharp pipe edges, safety glasses to shield eyes from metal shavings, and closed-toe shoes—dropping a pipe on your foot hurts more than you'd think.
- Workspace Setup : Clear a flat, level area at least 3m x 3m. Lay down a rubber mat or old plywood to protect the floor (and your knees, if you're kneeling). Organize parts into bins: one for pipes, one for joints, one for hardware (screws, placon mounts). A labeled parts list taped to the wall keeps you from second-guessing what's what.
- Measure Twice, Cut Once : This old carpenter's adage applies here. Use a metal tape measure (fabric ones stretch) and a permanent marker to mark cut lines. Double-check measurements before cutting—shortening a pipe is easy; lengthening it isn't.
Essential Tools: What You Need to Get the Job Done Right
You wouldn't build a house with just a hammer, and you can't assemble a lean rack with just a wrench. Here's the toolkit that will make assembly smooth and frustration-free:
| Tool | Purpose | Pro Tip |
|---|---|---|
| Pipe Cutter | Cleanly cuts stainless steel pipes without deforming them. | Use a ratcheting pipe cutter for leverage—manual ones tire your hands quickly. replace blades after 10-15 cuts for clean edges. |
| Deburring Tool | Removes sharp edges (burrs) from cut pipes to prevent cuts and ensure joints fit snugly. | Run the tool around both the inside and outside of the pipe—burrs hide in both places. |
| Hex Key Set (Allen Wrenches) | Tightens set screws on lean pipe joints. | Get a set with ball-end hex keys—they reach screws at awkward angles. |
| Bubble Level | Ensures the rack is straight and level to prevent wobbling. | A 2ft (60cm) level is ideal—smaller ones miss subtle tilts. |
| Rubber Mallet | Taps joints into place without damaging pipes or threads. | Avoid metal hammers—they dent pipes and scratch finishes. |
| Cordless Drill | Secures caster wheels, roller track mounts, and workbench tops. | Use a torque setting (if available) to avoid over-tightening and stripping screws. |
Honorable mentions: A magnetic parts tray to keep small screws and hex keys from rolling away, and a carpenter's square to check 90° angles on joints. With these tools in hand, you're ready to start building.

Step-by-Step Assembly Guide: Building Your Rack from the Ground Up
Now for the fun part: putting it all together. We'll walk through assembling a basic 2-tier lean material rack with roller tracks and caster wheels. Adjust dimensions to fit your needs, but the process stays the same.
Step 1: Measure and Cut the Pipes
Start by laying out your design on paper (or use a free 3D modeling tool like SketchUp if you're tech-savvy). For our example, we'll build a rack that's 120cm wide, 60cm deep, and 150cm tall, with two shelves at 50cm and 100cm from the ground. Here's how many pipes you'll need (adjust lengths as needed):
- 4 vertical pipes: 150cm each (legs)
- 4 horizontal top frame pipes: 120cm (front/back) and 60cm (sides)
- 4 horizontal middle shelf pipes: 120cm (front/back) and 60cm (sides)
- 4 horizontal bottom frame pipes: 120cm (front/back) and 60cm (sides)
- 8 support pipes: 50cm each (to connect shelves to legs)
Using your tape measure and marker, mark each pipe at the desired length. Clamp the pipe to a workbench (use a soft jaw clamp to avoid scratching) and cut with the pipe cutter. Rotate the cutter as you go, tightening the blade slightly with each turn. Once cut, use the deburring tool to smooth both ends—this ensures the pipe slides into joints without getting stuck.
Step 2: Assemble the Frame with Lean Pipe Joints
Begin with the bottom frame—it's the foundation, so take your time to get it square. Take two 120cm pipes (front and back) and two 60cm pipes (sides). Connect them using 90° fixed lean pipe joints at each corner. Here's how:
- insert one end of a 120cm pipe into a 90° joint until it hits the stop inside the joint.
- Hand-tighten the joint's set screw to hold the pipe in place (you'll fully tighten later).
- insert a 60cm pipe into the other end of the 90° joint, repeating the process.
- Continue until all four corners are connected, forming a rectangle.
- Place the frame on the floor and use the carpenter's square to check that all corners are 90°. If not, gently bend the frame until the square fits snugly.
- Once square, fully tighten all set screws with the hex key. Use a rubber mallet to tap joints if they're misaligned—don't force them, as this can bend the pipes.
Next, attach the vertical legs. Slide a 150cm pipe into each corner joint (the bottom frame's 90° joints should have a second opening for the vertical pipe). Tighten the set screws, then add the middle and top frames using the same method. For extra stability, add diagonal support pipes between the vertical legs using 45° joints—this prevents the rack from swaying when loaded.
Step 3: Install Roller Tracks for Smooth Material Flow
Roller tracks transform shelves into material slides, letting parts glide from one end to the other with minimal effort. For the middle shelf (our "active" shelf), we'll install two parallel roller tracks. Here's how:
- Measure and mark where the tracks will go on the middle shelf's front and back horizontal pipes. Space them 40cm apart (adjust based on your materials' size).
- Attach roller track placon mounts to the pipes at the marked spots. These mounts have a U-shaped clamp that fits around the pipe; tighten the screws with a drill to secure them.
- Slide the roller track into the placon mounts. Most tracks have slots that fit over the mounts' tabs—push until it clicks into place.
- Use the bubble level to ensure the track is slightly angled downward (1-2°) from back to front—this gravity assist makes materials roll smoothly without being too fast.
- Tighten the placon mount screws fully to lock the track in place. Test the roll by placing a small box on the track—it should glide evenly without stopping or veering off.
Pro tip: If materials get stuck, check for debris in the track or misaligned wheels. A quick spray of silicone lubricant on the track's axles can also help.
Step 4: Attach Caster Wheels for Mobility
With the frame and tracks in place, flip the rack upside down (get a helper for this—lean racks are heavier than they look). Attach the caster wheels to the bottom frame's corners using the caster mounting plates. Most casters come with pre-drilled holes that line up with the plates. Use a drill to drive screws through the plates into the caster's base, tightening until the caster is secure and doesn't wobble. Once all four casters are on, flip the rack right-side up and lock the brakes to keep it steady while you finish.
Step 5: Add the Workbench Top (Optional)
If you're adding a workbench top, place it on the rack's top frame. Center it so there's an even overhang, then secure it with screws or clamps. For an aluminum honeycomb panel, use self-tapping screws that won't split the panel. For plywood, add angle brackets under the frame to support the top and prevent sagging under weight.
Step 6: Final Checks and Load Testing
You're almost done! Before putting the rack into use, run through these final checks:
- Levelness : Place the bubble level on the top shelf. If it's uneven, adjust the caster wheels (some have height-adjustable legs) or shim under the legs with small metal washers.
- Stability : Push gently on the rack from all sides. It should wobble minimally—excessive movement means loose joints or missing supports. Tighten any set screws that feel loose.
- Load Capacity : Test with gradually increasing weight. Start with 10kg, then 20kg, up to the rack's intended load (for 1.0mm pipes, aim for 50-75kg per shelf). If the rack sags or creaks, add more support pipes or reduce the load.
- Mobility : Unlock the caster brakes and push the rack across the floor. It should roll smoothly without sticking—if not, check for debris in the wheels or uneven caster height.

Troubleshooting Common Issues: Fixing What Goes Wrong
Even with careful assembly, problems can pop up. Here's how to diagnose and fix the most common headaches:
Loose Lean Pipe Joints
Joints that loosen over time are usually due to one of two issues: either the set screws weren't tightened enough initially, or the pipe wasn't fully inserted into the joint. To fix:
- Check if the pipe is fully seated in the joint—there should be no gap between the pipe end and the joint's internal stop.
- Retighten the set screw with the hex key, applying firm but steady pressure. If the screw spins without tightening, it may be stripped—replace the joint (it's cheaper than risking a collapse).
Misaligned Roller Tracks
If materials veer off the track or get stuck, the track is likely misaligned. Loosen the roller track placon mounts, realign the track with the level, and retighten. If the track itself is bent (common if it was dropped), replace it—bends cause permanent jams.
Wobbly Caster Wheels
Wobbly casters are often due to loose mounting plates or damaged wheels. Tighten the plate screws first—if that doesn't work, inspect the wheel bearings. If they're rusted or gritty, clean them with rubbing alcohol and lubricate with bearing grease. For cracked or worn wheels, replace them immediately—they're a safety hazard.
Maintenance Tips: Keeping Your Rack in Top Shape for Years
A well-maintained lean rack will last 5-10 years (or longer!). Here's how to keep it performing like new:
- Monthly Inspections : Walk around the rack and check for loose joints, bent pipes, or damaged tracks. Tighten any set screws that have worked loose—vibration from daily use can loosen them over time.
- Quarterly Cleaning : Wipe down stainless steel pipes with a soft cloth and mild soapy water to remove grease and dust (avoid abrasive cleaners, which scratch the finish). For roller tracks, use a small brush to clear debris from between the wheels.
- Semi-Annual Lubrication : Apply silicone spray to roller track axles and caster wheel bearings to keep them rolling smoothly. Avoid oil-based lubricants—they attract dust and gunk.
- replace Worn Parts Proactively : If a caster wheel starts squeaking or a track wheel cracks, replace it right away. Waiting leads to bigger problems (like a bent pipe from a stuck wheel).
Final Thoughts: Building More Than a Rack—Building Efficiency
Assembling a lean material rack with 1.0mm stainless steel pipe might seem daunting at first, but with the right tools, parts, and patience, it's a project anyone can tackle. The key is to take your time during preparation and assembly—rushing leads to mistakes, and mistakes lead to racks that don't work as intended.
Remember, this rack isn't just metal and joints—it's a tool that empowers your team to work faster, safer, and more efficiently. When parts glide smoothly on roller tracks, when the rack rolls easily to where it's needed, and when every shelf holds exactly what's needed, you're not just organizing space—you're building a leaner, more productive operation.
So grab your pipe cutter, gather your parts, and start building. Your future self (and your team) will thank you.