- Company Articles
- Products and Technology
- Solution
- Building Flexible Production Lines with T-Groove Aluminum Pipe: Step-by-Step Guide

Building Flexible Production Lines with T-Groove Aluminum Pipe: Step-by-Step Guide
Related Product
T-Groove Aluminum Pipe
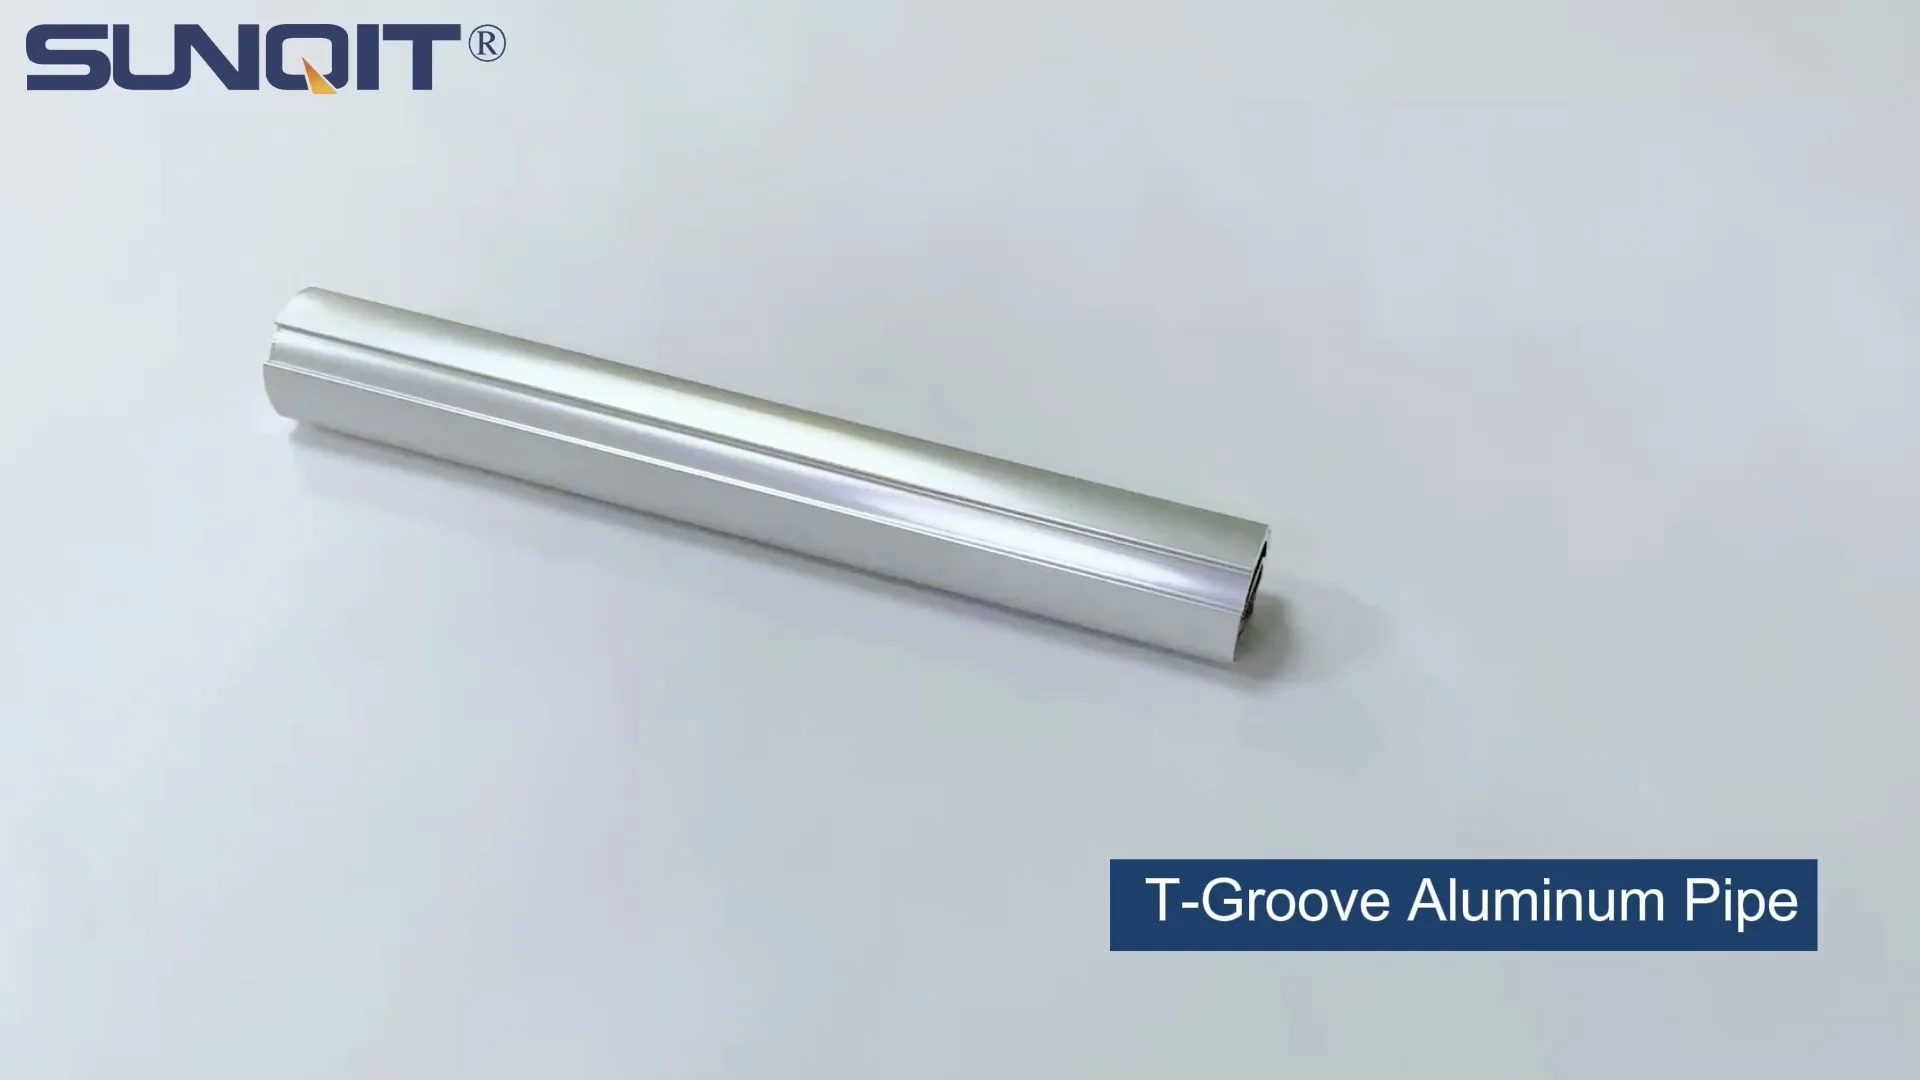
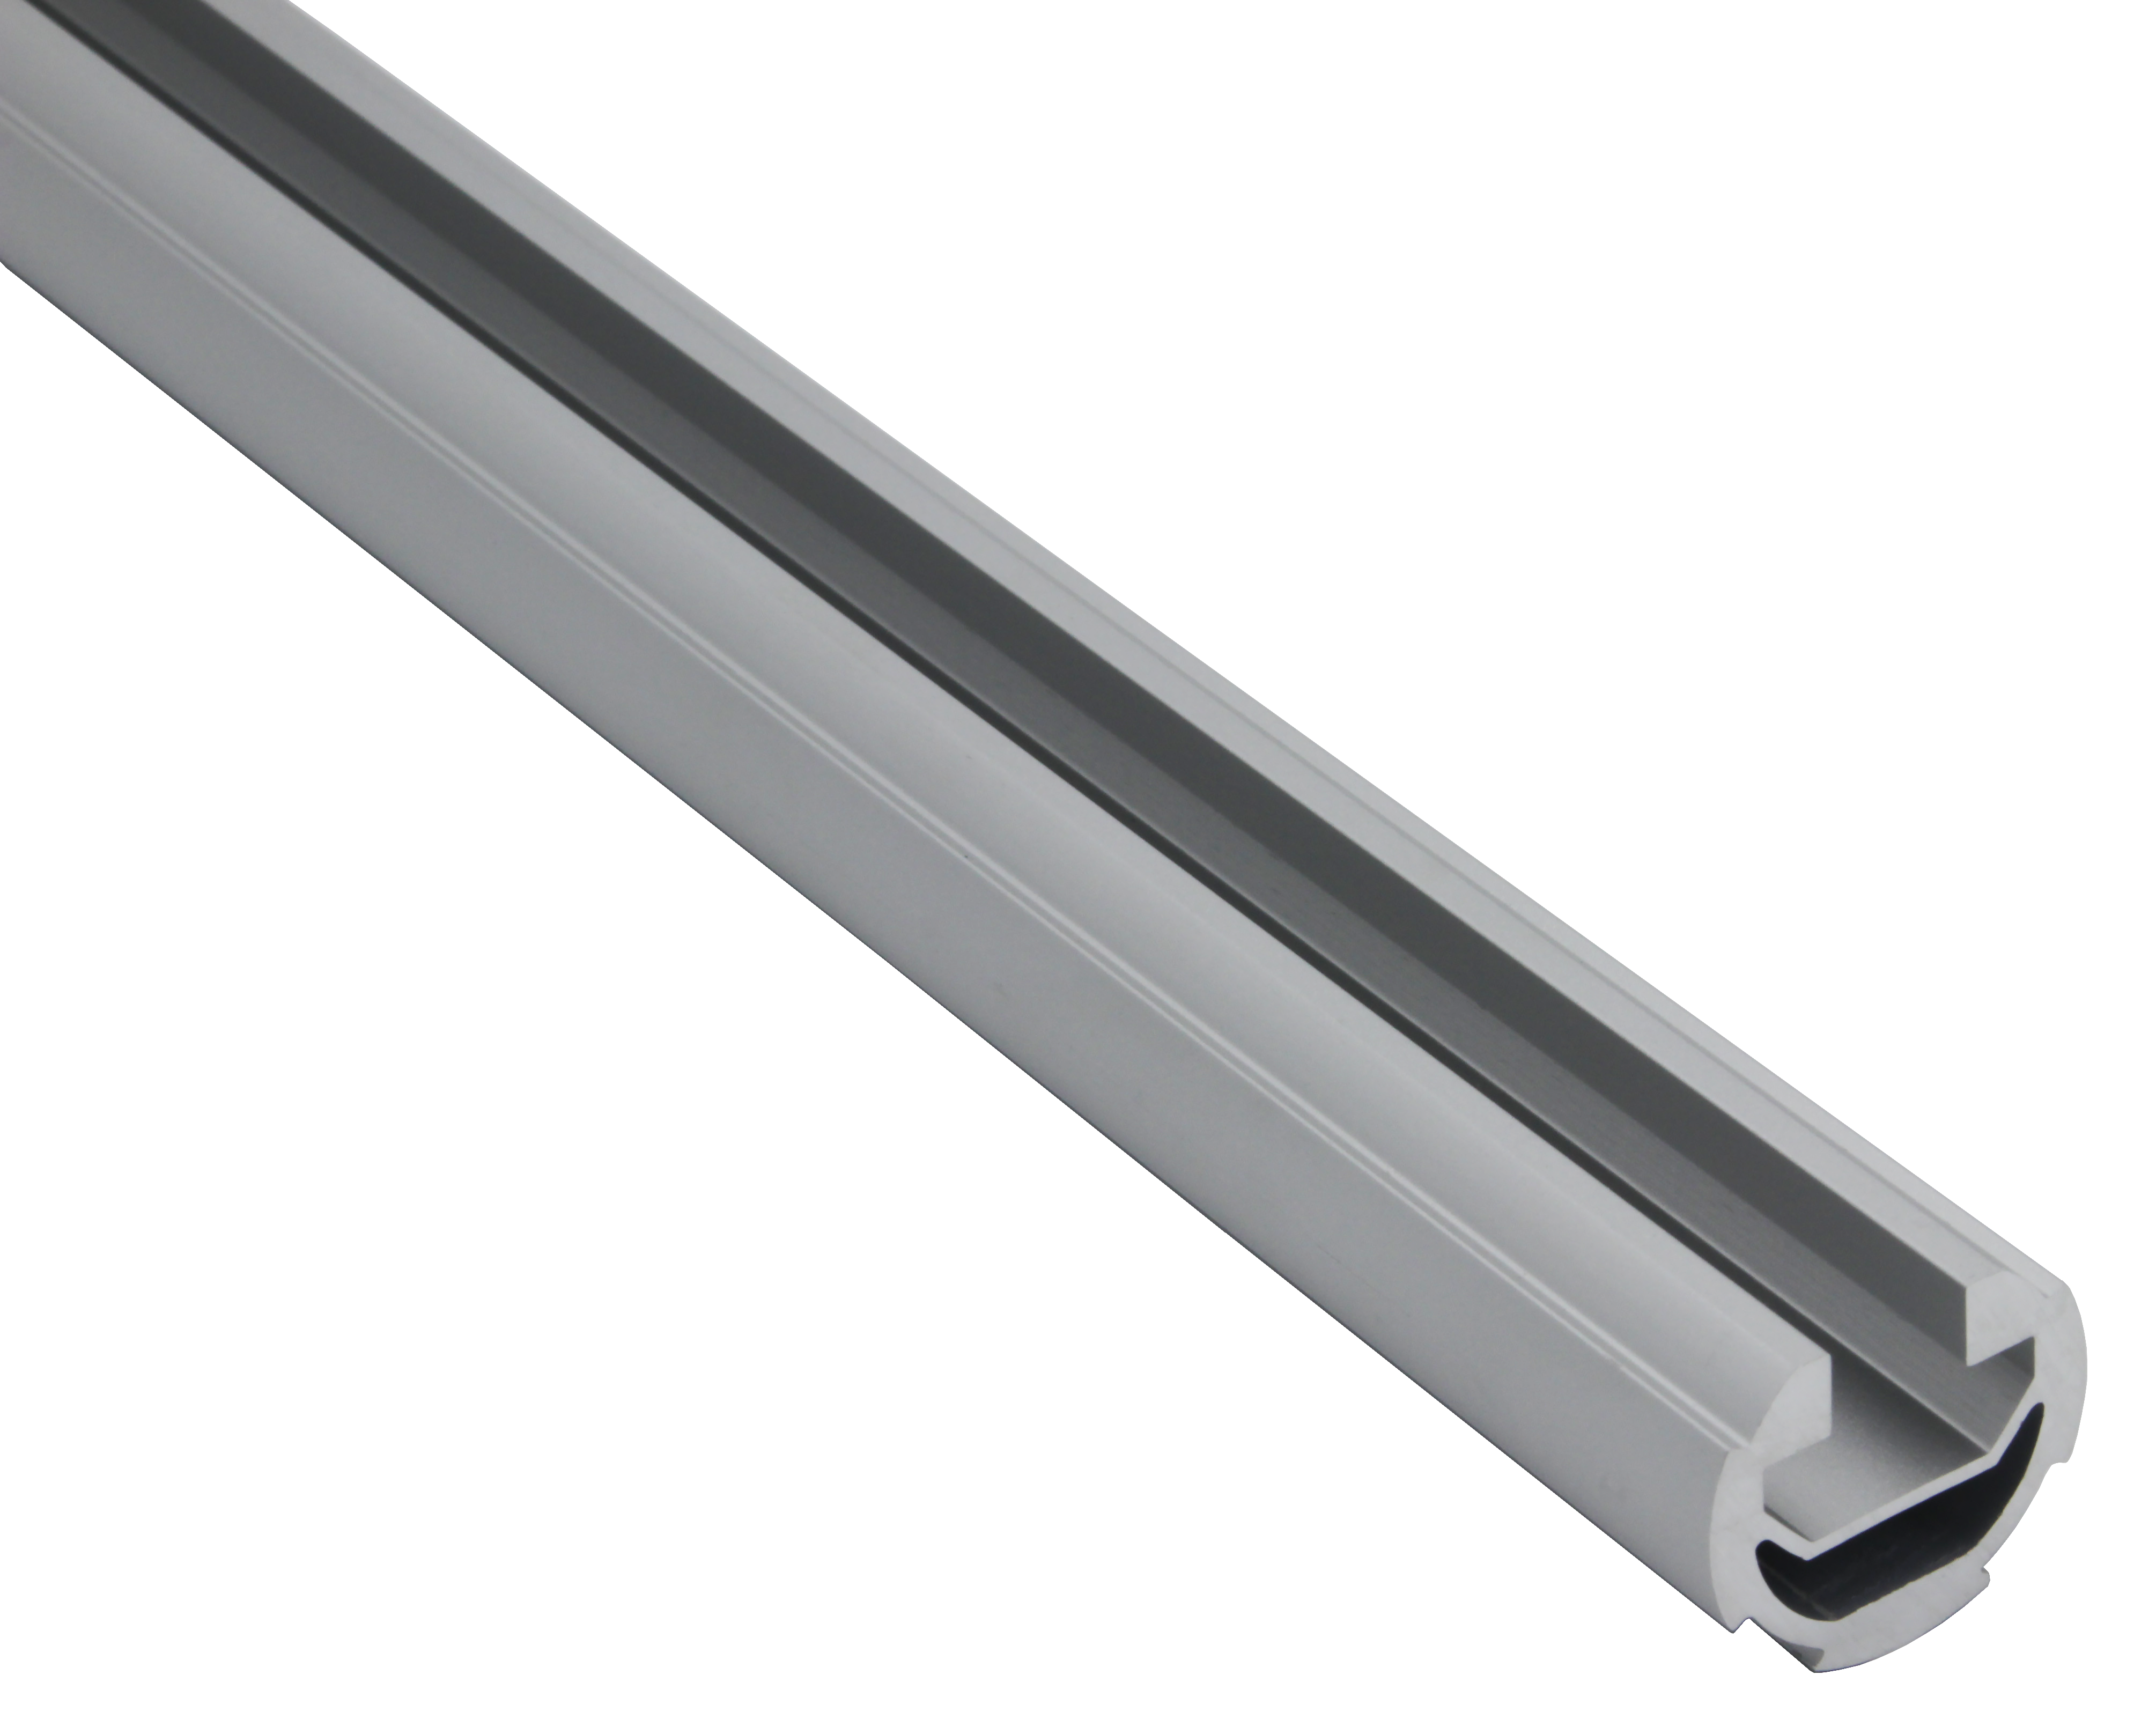
The aluminum pipe opening 10mm is installed into the T-shaped slider, which can be installed with casters or other matching functional parts. The groove can be used for positioning and is used for the track of the roller.
In today's fast-paced manufacturing world, the ability to adapt is no longer a luxury—it's a necessity. Production lines that once chugged along rigidly, built for single-product runs, now struggle to keep up with shifting consumer demands, shorter product lifecycles, and the need for rapid customization. If you've ever watched a factory floor grind to a halt during a line reconfiguration, or wished you could tweak your workflow without tearing down walls (or budgets), you're not alone. The solution? Flexible, modular systems that grow, change, and evolve with your business. And at the heart of this flexibility lies a deceptively simple tool: T-groove aluminum pipe.
You might be thinking, "Pipes? How revolutionary can they be?" But T-groove aluminum pipe isn't just any pipe. Its unique design—featuring a T-shaped slot running along its length—turns it into a building block for endless possibilities. Pair it with the right aluminum profile accessories, and you can assemble, disassemble, and reconfigure everything from workbenches to full production lines in hours, not weeks. No welding, no specialized tools, no permanent commitments. It's manufacturing adaptability, put together with a wrench and a vision.
In this guide, we'll walk you through why T-groove aluminum pipe is becoming the backbone of modern lean systems, break down the key components you'll need, and take you step by step from assessing your needs to building a production line that bends (but never breaks) with your business. Whether you're a small workshop looking to scale or a large manufacturer aiming to cut waste, this is your roadmap to a production line that works for you—today, tomorrow, and whatever comes next.
What Is T-Groove Aluminum Pipe, Anyway?
Let's start with the basics. T-groove aluminum pipe—also called T-slot aluminum pipe—is exactly what it sounds like: an extruded aluminum tube with a continuous T-shaped groove along one or more sides. This groove isn't just for show; it's the secret to its versatility. Inside the groove, you'll find channels that lock into specialized fasteners, brackets, and joints (the aluminum profile accessories we mentioned earlier). Twist a bolt, slide a connector, and suddenly two pipes become a frame. Need to adjust the height? Loosen the joint, reposition, and tighten—done. It's like building with giant, industrial-grade Legos, but sturdier, more functional, and designed for the demands of a factory floor.
But why aluminum? Unlike steel, aluminum is lightweight (so you can move sections by hand without heavy equipment) yet surprisingly strong—strong enough to support tool racks, conveyor systems, even heavy workbenches. It's also resistant to rust and corrosion, which matters in environments where spills or humidity are common. And because it's extruded, you get consistent quality and precision, so every pipe and accessory fits together like puzzle pieces, no guesswork required.
Think of it as the opposite of traditional rigid infrastructure. Where concrete floors and welded steel frames shout "permanent," T-groove aluminum whispers "let's see." It's the difference between building a house and building a tent—both provide shelter, but one can be packed up and moved when the weather changes. And in manufacturing, the "weather" is always changing.
Why T-Groove Aluminum Pipe Belongs in Your Lean System
Lean manufacturing is all about eliminating waste—whether that's wasted time, space, or resources. And T-groove aluminum pipe? It's practically a lean system in a box. Here's why:
Flexibility That Cuts Waste (and Costs)
Traditional production lines often end up as "one and done" investments. Build it for Product A, and when Product B comes along, you're stuck with a line that's either inefficient or obsolete. T-groove changes that. Since it's modular, you can repurpose components: last month's packaging station becomes this month's assembly bench. No need to buy new equipment—just reconfigure what you have. Over time, that reusability translates to serious cost savings. One manufacturer we worked with reported cutting their equipment costs by 30% in the first year just by repurposing T-groove frames.
Modularity That Speeds Up Changeovers
Changeover time—the time it takes to switch a line from producing one product to another—is the bane of many manufacturers. With rigid systems, this can take days. With T-groove? We've seen teams reconfigure a small assembly line in under two hours. How? Because aluminum profile accessories like quick-connect joints and snap-on brackets let you disassemble sections without tools (or with just a hex key). That means less downtime, more production, and happier operators who aren't stuck waiting for maintenance crews.
Lightweight Strength That Boosts Safety and Ergonomics
Aluminum's light weight isn't just about easy reconfiguration—it's about safety. Heavier steel frames require forklifts or cranes to move, increasing the risk of accidents. T-groove sections can often be carried by two people, reducing injury risks. Plus, since you can adjust heights and angles on the fly, you can build workbenches and flow racks that fit your operators, not the other way around. Better ergonomics mean fewer strains, lower turnover, and a more productive team.
Scalability That Grows With You
Start small: maybe a single workbench and a flow rack. As orders pick up, add another section. Need to expand into a new area? Disassemble part of the line, move it, and rebuild. T-groove grows with your business, so you never pay for capacity you don't need—until you need it.
Key Components: The Building Blocks of Your Line
Before you grab a pipe and start assembling, let's talk about the "ingredients" you'll need. T-groove systems thrive on variety, but there are a few core components that make up most production setups. Think of them as your starter kit:
Pro Tip: Not all T-groove systems are created equal. Stick to compatible brands for aluminum profile accessories—mixing and matching can lead to loose joints or misaligned slots. Most suppliers offer sample kits with pipes, joints, and brackets so you can test fit before buying in bulk.
1. T-Groove Aluminum Pipe (The "Bones")
This is your foundation. Pipes come in standard lengths (usually 2-6 meters) and widths (measured by the outer diameter or slot size). Common sizes include 20x20mm (small, for light-duty use like shelving), 30x30mm (medium, ideal for workbenches), and 40x40mm (heavy-duty, for conveyor frames or load-bearing structures). The slot size (e.g., 6mm, 8mm) determines which accessories fit, so double-check compatibility before ordering.
2. Aluminum Profile Accessories (The "Joints and Muscles")
These are what turn pipes into structures. The list is long, but here are the essentials:
- Connectors: For joining pipes at angles (90°, 45°, 135°) or straight lines. Look for internal rotary aluminum joints if you need parts that pivot.
- Brackets: Support cross-sections, shelves, or work surfaces. Roller track placon mounts, for example, let you attach roller tracks to frames for smooth material flow.
- End Caps: Cover exposed pipe ends to prevent snags (and improve safety).
- Fasteners: T-slot nuts, bolts, and washers that slide into the groove to secure accessories. These are the "glue" of the system—don't skimp on quality.
3. Workbenches and Flow Racks (The "Workhorses")
No production line is complete without places to work and store materials. T-groove workbenches (like the aptly named Workbench E) can be customized with tool rails, drawers, or ESD (electrostatic discharge) surfaces for sensitive electronics. Flow racks—think Material Rack B with 3 rows and 3 floors—use gravity and roller tracks to feed materials to operators, reducing reach and waste (hello, lean principles!).
4. Mobility Solutions (The "Wheels")
Casters and caster accessories turn fixed structures into mobile ones. Locking casters keep workbenches steady during use; swivel casters make it easy to move entire sections. For heavier loads, opt for heavy-duty split foot seats to distribute weight and prevent tipping.
5. Specialty Add-Ons (The "Extras")
Depending on your needs, you might add roller tracks (plastic or aluminum) for conveying parts, swivel roller balls (1 inch or 0.5 inch) for easy sliding, or even ESD workbench tops to protect sensitive components. These are the details that turn a basic frame into a tailored solution.
Quick Reference Table: Common T-Groove Pipe Sizes & Uses
| Pipe Size (mm) | Slot Width (mm) | Typical Load Capacity | Best For |
|---|---|---|---|
| 20x20 | 6 | Up to 50kg per linear meter | Shelving, small carts, light tool holders |
| 30x30 | 8 | Up to 150kg per linear meter | Workbenches, medium-duty racks, assembly stations |
| 40x40 | 8-10 | Up to 300kg per linear meter | Conveyor frames, heavy workbenches, load-bearing structures |
| 40x80 | 10 | Up to 500kg per linear meter | Large production line frames, industrial shelving |

Step-by-Step: Building Your Flexible Production Line
Now for the fun part: putting it all together. We'll walk through the process with a practical example: building a small assembly line for electronics components, complete with a workbench, a flow rack for parts, and a mobile testing station. Feel free to adapt these steps to your own needs!
Step 1: Assess Your Needs (Don't Skip This!)
Before you order a single pipe, ask: What's the goal of this line? Are you assembling small parts or heavy machinery? How many operators will use it? What's your available space? Sketch your workflow—where do materials enter? Where do finished products exit? Are there bottlenecks in your current process that need fixing? For our example, the electronics manufacturer needs a line that can handle 500 units/day, with space for two operators, and room to expand to 800 units next quarter.
Pro tip: Measure twice, cut once (or, in T-groove terms, "order once"). Use masking tape on the floor to outline your planned layout—this helps visualize spacing and catch issues (like a flow rack that blocks a door) before you start building.
Step 2: Design Your Layout (Paper First, Pipes Later)
With your needs clear, draft a layout. You don't need CAD software (though it helps for complex setups)—a sketch on graph paper works. For our electronics line, we'll need:
- A main workbench (Workbench E, single deck, no casters) for assembly.
- A flow rack (Material Rack B, 3 rows, 3 floors) to hold component bins, positioned so parts slide to the operator.
- A mobile testing cart with casters for quality checks.
- Clear pathways (at least 3 feet wide) between stations.
Mark pipe lengths and accessory types on your sketch. For the workbench, we'll use 40x40mm pipes for the frame (2 legs at 800mm, 2 side rails at 1200mm) and a plywood top. The flow rack will need 30x30mm pipes and 1-inch swivel roller balls to let bins glide smoothly.
Step 3: Gather Your Materials
Order your pipes, accessories, and tools. Most suppliers will cut pipes to your specified lengths, saving you time (and saw blades). For our example, the shopping list includes:
- 4x 40x40mm aluminum pipes (800mm, for workbench legs)
- 2x 40x40mm aluminum pipes (1200mm, for workbench rails)
- 8x 90° aluminum pipe joints (to connect legs and rails)
- 1x plywood worktop (1200x600mm)
- 1 set of Material Rack B components (30x30mm pipes, 3-row/3-floor brackets, 1-inch swivel roller balls)
- 4x locking casters (for the testing cart)
- T-slot nuts, bolts, and a hex key set
Double-check that all accessories are compatible with your pipe slot size (e.g., 8mm accessories for 40x40mm pipes with 8mm slots). Most suppliers list compatibility on their websites, but a quick call never hurts.
Step 4: Assemble the Frame (Start with the Basics)
Lay out your pipes and accessories on a flat surface (the floor works). Start with the largest structure—in our case, the workbench frame. Slide T-slot nuts into the grooves of the side rails, then attach the 90° joints. Align the legs, insert bolts through the joints and into the nuts, and tighten with a hex key (hand-tight is usually enough; overtightening can strip threads). Check that the frame is square by measuring diagonally—both measurements should be equal. If not, adjust the joints until it's level.
Pro tip: Use a rubber mallet to tap joints into place gently—this ensures a snug fit without damaging the aluminum.
Step 5: Add Workbenches and Flow Racks
Mount the plywood top to the workbench frame using brackets (pre-drill holes in the plywood to avoid splitting). For the flow rack, assemble the vertical frame first, then attach horizontal rails. Install the swivel roller balls along the rails—these should tilt slightly downward (about 5°) so bins slide toward the operator by gravity. Test with a sample bin to make sure it glides smoothly; adjust the angle by raising or lowering one end of the rail.
Step 6: Integrate Mobility (Where You Need It)
For the testing cart, attach casters to a small frame using castor installation bases. Make sure the casters are rated for the cart's weight (including tools and products). Locking casters are a must here—you don't want the cart rolling mid-test!
Step 7: Test, Adjust, Repeat
Now it's time to put your line to work. Run a small batch of products through the line and watch for snags: Is the flow rack too high for the operator to reach? Is the workbench surface slippery? Are there bottlenecks? For our electronics line, we noticed the roller balls on the flow rack were too close together, causing bins to jam. Spacing them 2 inches apart fixed the issue. Don't be afraid to tweak—modularity means you can always adjust a joint, add a bracket, or move a rail.

From Assembly Line to Adaptable Line: Real-World Results
Still skeptical? Let's look at a real example. A small automotive parts manufacturer we worked with was struggling with a rigid steel assembly line that took 3 days to reconfigure for new parts. They switched to T-groove aluminum pipe and aluminum profile accessories, building a line with interchangeable workbenches and flow racks. The result? Reconfigurations now take 2 hours instead of 3 days, and they've cut equipment costs by 40% by repurposing frames. "We used to avoid small orders because changeover was too expensive," their production manager told us. "Now we can take on custom runs and still turn a profit."
Another example: a medical device company needed an ESD-safe line for sensitive components. They used T-groove aluminum pipe with ESD-rated accessories and workbench tops, creating a static-free zone that met industry standards—all without hiring an electrician or installing permanent grounding. When they expanded, they simply added more sections to the line.
Maintenance: Keeping Your Line in Shape
T-groove systems are low-maintenance, but a little care goes a long way. Wipe down pipes occasionally with a damp cloth to remove dust and debris (this prevents gunk from building up in the T-slot). Check joints monthly and tighten any that are loose—vibration from machinery can loosen bolts over time. replace worn parts like caster wheels or roller balls promptly—these are cheap to replace and prevent bigger issues (like a wobbly workbench).
And remember: When it's time to reconfigure, save those old parts! T-groove components rarely wear out, so a pipe from last year's packaging station might be the perfect fit for next year's inspection bench.
Final Thoughts: Flexibility Isn't the Future—It's Now
In a world where manufacturing demands change faster than ever, rigid production lines are a liability. T-groove aluminum pipe isn't just a tool—it's a mindset shift. It's about building for change , not just for today's needs. It's about empowering your team to solve problems with a hex key and a vision, not a construction crew and a six-month timeline.
So whether you're assembling electronics, packaging food, or building machinery, ask yourself: Is your production line holding you back? Or is it ready to grow with you? With T-groove aluminum pipe, aluminum profile accessories, and a little creativity, the answer can be the latter. Your flexible future starts with a single pipe—and the courage to build something that bends, adapts, and thrives.
Now go grab that hex key. Your next production line is waiting.