- Company Articles
- Products and Technology
- Product knowledge
- Building Lean Workbenches with T Slot Aluminum Pipe: Workbench E Design

Building Lean Workbenches with T Slot Aluminum Pipe: Workbench E Design
Related Product
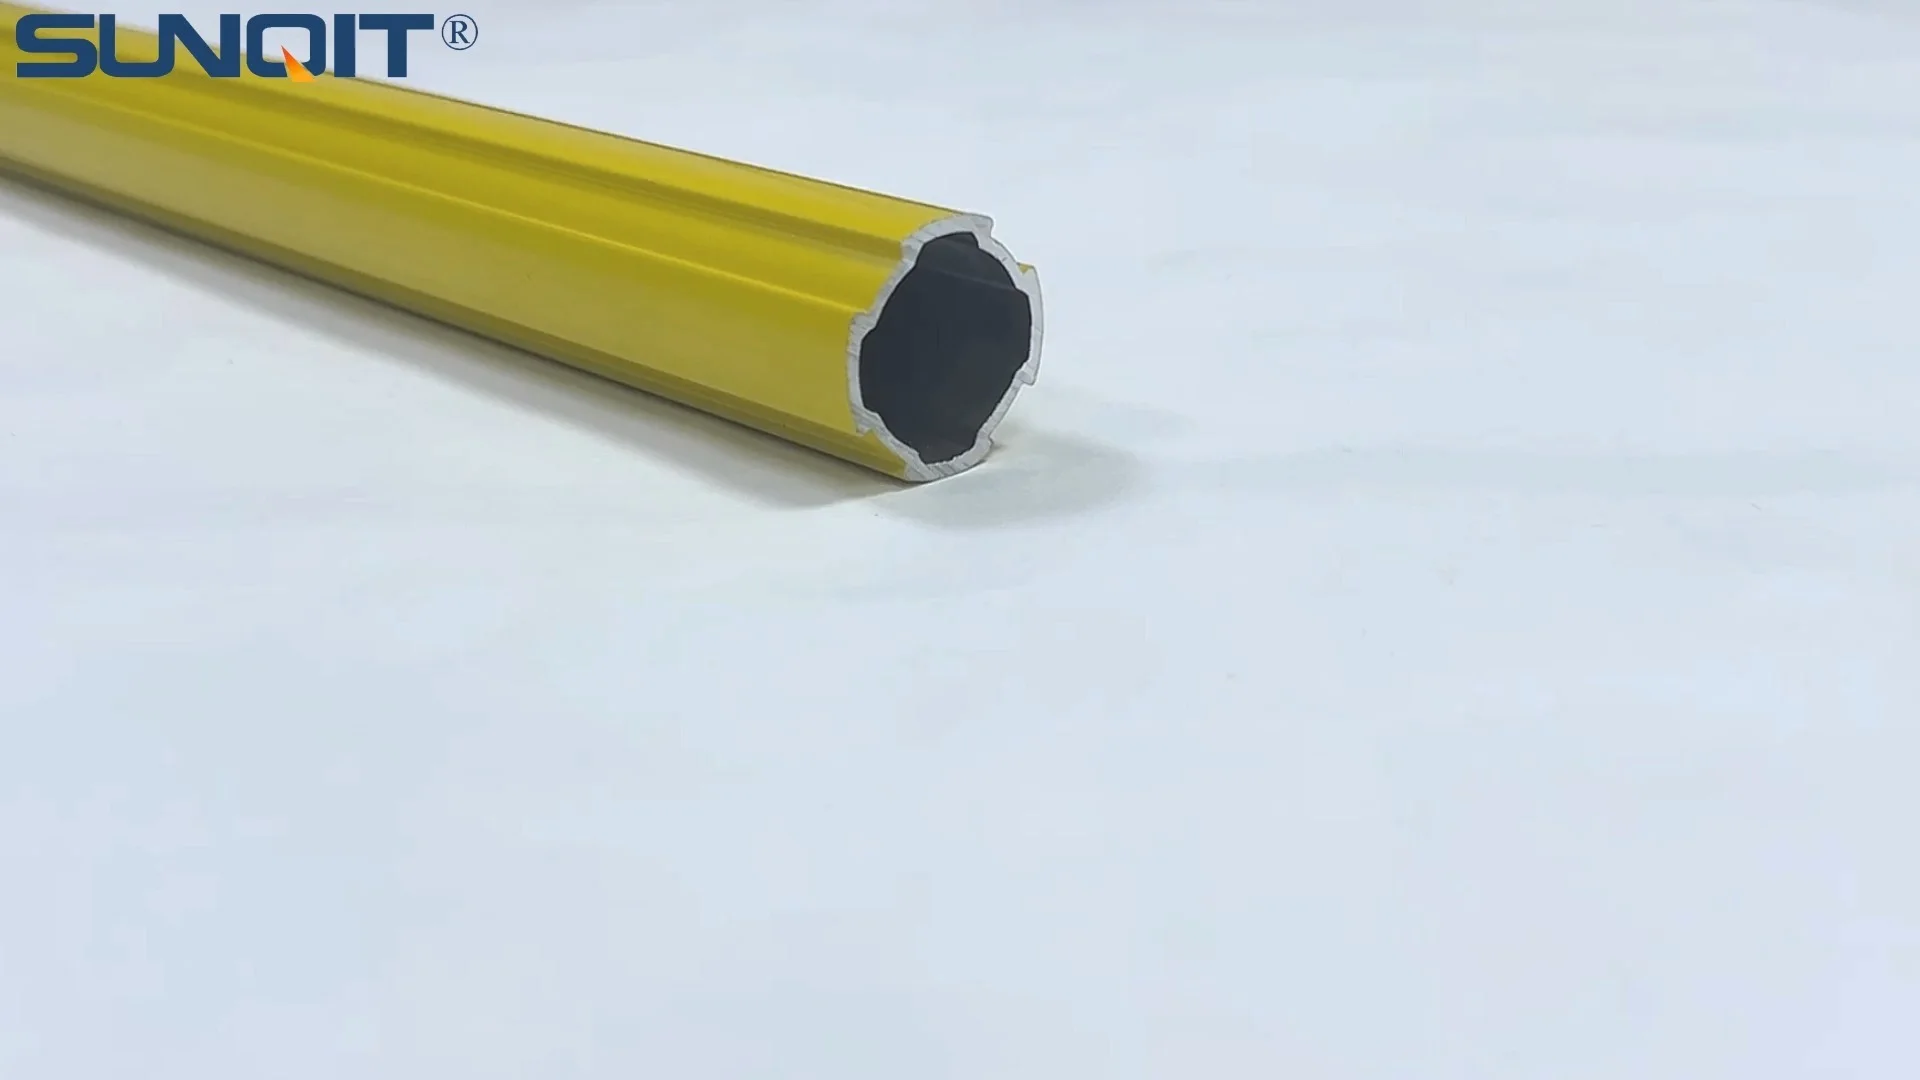
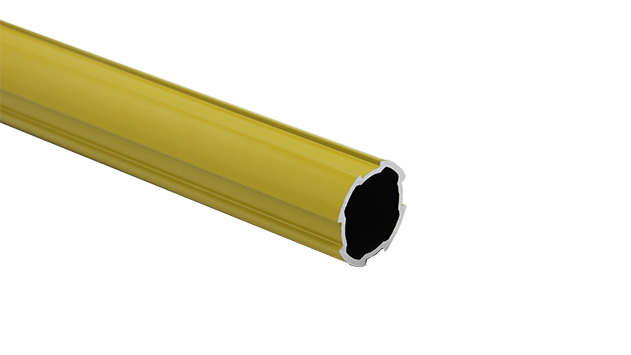
T Slot Aluminum Pipe
Aluminum pipe, it is used for workbench, flow rack,hand trolley assemble work with advantage of flexible and durable, yellow color makes it more attactive as a caution remind.
Walk into any manufacturing facility, warehouse, or small workshop, and you'll quickly spot the heartbeat of the operation: the workbench. It's where ideas take shape, parts are assembled, and products come to life. But not all workbenches are created equal. A clunky, rigid workbench can slow down workflows, create bottlenecks, and even demotivate teams. On the flip side, a well-designed workbench becomes an invisible ally—supporting efficiency, adaptability, and the core principles of lean manufacturing. Today, we're diving into one of the most versatile workbench designs on the market: the Workbench E (single deck-without caster) , built with T slot aluminum pipe and aluminum extrusion profiles. Whether you're setting up a new production line or revamping an existing workspace, this guide will show you how this simple yet powerful tool can transform your operations.
Why T Slot Aluminum Pipe for Lean Workbenches?
Before we jump into Workbench E itself, let's talk about the star material: T slot aluminum pipe. If you've ever struggled with traditional workbenches—those heavy, welded steel frames that require a team of people to move or modify—you'll appreciate why aluminum extrusion profiles have become a game-changer in lean manufacturing. Here's why they stand out:
Lightweight Yet Durable
Aluminum extrusion profiles are surprisingly strong for their weight. Unlike steel, they won't rust, making them ideal for humid or cleanroom environments. A typical 40x40mm aluminum profile can support hundreds of pounds, yet it's light enough for one person to carry and assemble. This balance of strength and portability means you can build a sturdy workbench without sacrificing flexibility.
Modularity at Its Core
The "T slot" in T slot aluminum pipe is a genius design feature. Those grooves running along the length of the profile let you attach accessories—like shelves, tool hooks, or material racks—anywhere you need them, without drilling holes or welding. Need to add a bin for small parts? Slide in a bracket. Want to raise the tabletop height? Swap out the legs for longer profiles. This modularity is the backbone of lean systems, where adaptability equals efficiency.
Cost-Effective in the Long Run
While aluminum extrusion profiles might cost a bit more upfront than basic plywood or steel, they pay for themselves over time. Since they're reusable (you can disassemble and reconfigure the workbench as your needs change), you won't have to buy a new workbench every time your production line shifts. Plus, their low maintenance (no painting or rust treatment) cuts down on long-term costs.
Quick Assembly, No Special Skills Needed
Forget hiring a welder or carpenter. T slot aluminum pipe assemblies use simple fasteners—like bolts, nuts, and aluminum profile accessories—to hold everything together. With a hex key and a rubber mallet, you can build a basic workbench in a few hours. This speed is a lifesaver for small businesses or teams that need to iterate quickly.
Meet Workbench E: The Single-Deck, Stationary Workhorse
Now that we've covered why T slot aluminum pipe is a smart choice, let's focus on the star of the show: Workbench E (single deck-without caster) . As the name suggests, this workbench features a single flat surface (the "deck") and no wheels, making it a stationary solution designed for stability. But don't let its simplicity fool you—Workbench E is a versatile tool that shines in environments where precision and fixed positioning matter most, like electronics assembly, quality control stations, or small-parts manufacturing.
Let's start with the basics. A standard Workbench E measures 1200mm in length, 600mm in depth, and 800mm in height—dimensions that strike a balance between workspace and footprint. The tabletop is typically made from a 18mm-thick aluminum honeycomb panel (lightweight but rigid) or MDF with a melamine coating (for a smooth, scratch-resistant surface). The frame is built using 40x40mm aluminum extrusion profiles, connected by internal rotary aluminum joints and aluminum profile accessories to ensure stability.
| Feature | Workbench E (Single Deck-Without Caster) | Workbench with Casters | Double-Deck Workbench |
|---|---|---|---|
| Dimensions (LxWxH) | 1200x600x800mm (standard) | 1200x600x850mm (includes caster height) | 1200x600x1600mm (two decks) |
| Load Capacity | 300kg (evenly distributed) | 200kg (casters limit weight) | 250kg per deck |
| Mobility | Stationary (fixed in place) | Mobile (casters with brakes) | Stationary (too heavy to move) |
| Best For | Precision tasks, heavy tools, fixed workflows | Flexible workstations, temporary setups | Storage-heavy environments, dual-task stations |
| Assembly Difficulty | Easy (1-2 hours with basic tools) | Moderate (casters add complexity) | Moderate (second deck requires alignment) |
What sets Workbench E apart is its focus on stability. Without casters, there's no risk of the workbench rolling during tasks that require steady hands—like soldering circuit boards or measuring components. Its low center of gravity (thanks to the single deck) also reduces wobble, even when you're leaning on the tabletop or placing heavy equipment. For teams that follow lean system principles, this stability translates to fewer errors and faster task completion.
The Building Blocks: Key Components of Workbench E
To build Workbench E, you'll need more than just aluminum extrusion profiles. Let's break down the essential components, from the frame to the finishing touches, and how they work together to create a functional, durable workbench.
1. Aluminum Extrusion Profiles: The Frame's Backbone
The frame of Workbench E is constructed using aluminum extrusion profiles —typically 40x40mm or 30x30mm, depending on the load capacity you need. For most applications, 40x40mm profiles are ideal: they're strong enough to support 300kg and wide enough to attach accessories. Look for profiles with a smooth, anodized finish (silver or black) to resist scratches and corrosion.
You'll need four vertical profiles for the legs (each 800mm long) and four horizontal profiles for the top frame (two at 1200mm, two at 600mm). Some designs also include diagonal braces (using shorter 40x40mm profiles) for extra stability, especially if you plan to place heavy tools on the workbench.
2. Aluminum Profile Accessories: The Glue That Holds It All Together
Without the right accessories, your aluminum extrusion profiles are just pieces of metal. Here are the must-have aluminum profile accessories for Workbench E:
- Internal Rotary Aluminum Joints: These small, cylindrical connectors fit inside the T slots of the aluminum profiles, allowing you to join two profiles at 90° angles (perfect for the corners of the frame). They're adjustable, so you can tweak the angle slightly if the profiles don't align perfectly.
- 90° Aluminum Profile Connectors: For joining horizontal and vertical profiles (like the legs to the top frame), these L-shaped brackets bolt directly into the T slots. They add rigidity to the corners, preventing the frame from wobbling.
- Adjustable Leveling Feet: Even the flattest floors have imperfections. Leveling feet screw into the bottom of the vertical leg profiles, letting you adjust each leg's height by a few millimeters. This ensures the workbench sits perfectly flat, which is critical for tasks like assembly or inspection.
- End Caps: These plastic or aluminum covers snap onto the ends of the profiles to hide sharp edges and prevent dust from collecting in the T slots. They're a small detail, but they make the workbench look polished and safe to use.
3. Tabletop: The Work Surface
The tabletop is where the magic happens, so choosing the right material is key. Here are the most common options for Workbench E:
- Aluminum Honeycomb Panel: Lightweight (around 5kg for a 1200x600mm panel) but incredibly strong, honeycomb panels are made of two thin aluminum sheets bonded to a honeycomb-shaped core. They're resistant to dents and heat, making them ideal for workshops with soldering irons or hot tools.
- Melamine-Coated MDF: More affordable than aluminum, MDF with a melamine top is smooth, easy to clean, and comes in colors like gray or black. It's a great choice for general-purpose workbenches (e.g., packaging, small parts assembly) but may scratch if you drag heavy metal tools across it.
- ESD-Compliant Laminate: If you're working with electronics (like circuit boards), opt for an ESD (electrostatic discharge) laminate top. This material prevents static electricity from building up, protecting sensitive components from damage.
4. Optional Add-Ons: Customizing for Your Needs
While Workbench E is designed as a basic single-deck workbench, you can enhance its functionality with a few extras:
- Shelves: Add a lower shelf using shorter aluminum extrusion profiles and brackets to store tools or materials within arm's reach.
- Tool Rails: Mount a 40x40mm profile along the back edge of the tabletop, then attach tool hooks or bins to keep frequently used tools organized.
- LED Task Lights: Drill a small hole through the top frame and mount an LED light bar to brighten the work surface—essential for detailed tasks like inspecting small parts.

Step-by-Step: Building Your Workbench E
Ready to roll up your sleeves and build Workbench E? Follow this step-by-step guide, and you'll have a functional workbench in no time. We'll assume you're using 40x40mm aluminum extrusion profiles, an aluminum honeycomb tabletop, and basic aluminum profile accessories.
Tools You'll Need
- Hex key set (most aluminum profile accessories use M5 or M6 bolts)
- Rubber mallet (for gently tapping profiles into place)
- Tape measure and carpenter's square (to ensure angles are 90°)
- Pencil (to mark drill holes for the tabletop)
- Drill and 3mm drill bit (if attaching the tabletop with screws)
- Level (to check if the workbench is flat)
Step 1: Assemble the Top Frame
Start by building the rectangular top frame. Take two 1200mm horizontal profiles and two 600mm horizontal profiles. Lay them on the ground in a rectangle, with the 1200mm profiles as the length and 600mm as the width.
At each corner, insert an internal rotary aluminum joint into the end of one profile, then slide the adjacent profile over the joint. Tighten the joint's bolt with a hex key until it's snug—don't overtighten, as you may need to adjust the angle later. Once all four corners are connected, use a carpenter's square to check that the frame is square (all angles 90°). If not, loosen the joints, adjust, and retighten.
Step 2: Attach the Legs
Next, add the vertical legs. Take the four 800mm vertical profiles and attach a 90° aluminum profile connector to the bottom end of each. Then, position each leg at a corner of the top frame, aligning the connector with the T slot of the horizontal profile. insert a bolt through the connector and into the horizontal profile, then tighten with a hex key. Repeat for all four legs.
For extra stability, add diagonal braces: cut two 600mm profiles (or measure the diagonal distance between two legs) and attach them between the legs using 45° aluminum profile connectors. This prevents the frame from swaying when you lean on the workbench.
Step 3: Install Leveling Feet
Screw an adjustable leveling foot into the bottom of each leg. Place the frame upright (you may need a helper to hold it steady) and use a level to check if the top frame is flat. If one corner is higher than the others, twist the corresponding leveling foot to lower it until the frame is level. This step is critical—an uneven workbench can cause tools to roll off or make tasks like assembly harder.
Step 4: Mount the Tabletop
Now it's time to add the tabletop. Place the aluminum honeycomb panel (or MDF sheet) on top of the frame, centering it so there's an equal overhang on all sides (usually 25-50mm). Mark the positions of the horizontal profiles on the bottom of the tabletop with a pencil—this is where you'll drill holes for the screws.
Drill a 3mm hole at each mark, then use self-tapping screws (or bolts with T nuts in the frame's T slots) to secure the tabletop to the frame. Space the screws every 200-300mm along the horizontal profiles to ensure the tabletop doesn't bow in the middle.
Step 5: Add Finishing Touches
Finally, snap end caps onto the exposed ends of the aluminum extrusion profiles to cover sharp edges. If you're adding accessories like shelves or tool rails, now's the time to attach them using T slot bolts and brackets. Give the workbench a final once-over with the level to ensure nothing shifted during assembly, and you're done!
Pro tip: If you're new to T slot aluminum assembly, start with a dry fit (no bolts) to make sure all the profiles align. This saves time and avoids stripping threads on the aluminum profile accessories.

Why Workbench E Fits Perfectly Into Lean Systems
At its core, lean system thinking is about eliminating waste—whether that's wasted time, space, or resources. Workbench E aligns with this philosophy in several key ways, making it more than just a work surface; it's a tool for optimizing your workflow.
1. Minimizes Wasted Space
Workbench E's compact footprint (1200x600mm) is designed to fit into tight spaces, making it ideal for small workshops or production lines where every square foot counts. Unlike bulky double-deck workbenches, it doesn't take up vertical space unnecessarily, leaving room for overhead storage or taller equipment nearby.
2. Reduces Motion Waste
In lean terms, "motion waste" refers to unnecessary movement by workers (e.g., walking to grab tools or materials). Workbench E's single deck puts everything at arm level, so you can arrange tools, parts, and bins within easy reach. Add a lower shelf or tool rail, and you'll cut down on the time spent bending or reaching, keeping workers focused on value-adding tasks.
3. Supports Standardization
Lean systems thrive on standardization—consistent processes and tools reduce variability and errors. Workbench E is easy to replicate: since it uses modular aluminum extrusion profiles and off-the-shelf aluminum profile accessories, you can build identical workbenches for every station on your production line. This consistency ensures workers can move between stations seamlessly, without adjusting to new layouts.
4. Enables Continuous Improvement
Lean isn't a one-time fix; it's about continuous improvement. Workbench E's modular design lets you experiment with new layouts or add accessories as you identify inefficiencies. For example, if you notice workers are spending too much time sorting parts, you can add a small bin rack using extra aluminum profiles. This flexibility keeps your workflow evolving, not stagnant.
5. Lowers Inventory Waste
By reusing components, Workbench E reduces "inventory waste" (excess materials or tools). Since you can disassemble and reconfigure the workbench, you won't need to stockpile spare parts for multiple workbench designs. And because aluminum extrusion profiles are widely available from suppliers, you can order replacements quickly if needed, avoiding overstocking.
Where Workbench E Shines: Real-World Use Cases
Workbench E isn't a one-trick pony. Its simplicity and stability make it useful in a variety of industries. Here are a few examples of how businesses are using it to streamline their operations:
Electronics Manufacturing: Precision Assembly Stations
In electronics factories, workers assemble circuit boards, sensors, and small components that require steady hands and precise alignment. Workbench E's stationary design prevents vibrations that could misalign parts, while its flat, smooth tabletop (often ESD-compliant) protects sensitive electronics from static damage. Teams often add LED task lights and tool rails with anti-static bins to keep soldering irons, tweezers, and components organized.
Small Parts Assembly: Toy and Hardware Production
Companies that make toys, small tools, or hardware (like screws and bolts) rely on Workbench E for assembly lines. The single deck provides enough space to lay out parts, while the low height (800mm) keeps workers comfortable during long shifts. Some teams attach roller tracks (using aluminum profile accessories) to the side of the workbench, allowing finished parts to slide down to a packaging station—reducing the need to carry items by hand.
Quality Control: Inspection and Testing Stations
Quality control (QC) teams need a stable surface to inspect products for defects. Workbench E's rigidity ensures that measuring tools (like calipers or microscopes) stay steady, leading to more accurate readings. Many QC stations add a white melamine tabletop to make small defects (like scratches or dents) easier to spot, along with a shelf for storing inspection checklists and report forms.
Lab Research: Clean, Organized Workspaces
Laboratories, whether in universities or medical facilities, require workbenches that are easy to clean and resistant to chemicals. Workbench E's aluminum honeycomb tabletop is non-porous and can be wiped down with disinfectants, making it ideal for biology or chemistry labs. Researchers often add pegboards (attached to the back of the workbench using T slot brackets) to hang lab tools like pipettes or beakers.
Making It Your Own: Customizing Workbench E
While Workbench E comes "standard" as a single-deck, stationary workbench, the beauty of T slot aluminum pipe is that you can tweak it to fit your unique needs. Here are a few customization ideas to inspire you:
Heavy-Duty Version: For Power Tools and Machinery
Need to place a drill press or bandsaw on your workbench? Upgrade to 45x45mm aluminum extrusion profiles (instead of 40x40mm) and add steel reinforcement plates under the tabletop. Swap the standard leveling feet for heavy-duty split foot seats to distribute the weight evenly and prevent the workbench from sinking into the floor.
Cleanroom-Ready: For Sterile Environments
In pharmaceutical or food packaging facilities, cleanliness is non-negotiable. Opt for anodized aluminum profiles (to resist bacteria growth) and a stainless steel tabletop (easy to sanitize). Add a lip around the edge of the tabletop to catch spills, and use plastic end caps (instead of metal) to avoid crevices where dust can hide.
Mobile Conversion: (Yes, Even Without Casters!)
While Workbench E is designed to be stationary, you can add temporary mobility by placing it on a pallet jack or attaching detachable caster wheels (using aluminum profile accessories) when you need to move it. Just remember to remove the casters and use the leveling feet for daily use to maintain stability.
Ergonomic Upgrade: For Worker Comfort
To reduce strain during long shifts, adjust the workbench height to match your team's needs. Use longer vertical profiles (e.g., 900mm for taller workers) or add height-adjustable legs (using telescoping aluminum extrusion profiles). You can also tilt the tabletop slightly (using adjustable hinges) to reduce wrist strain during tasks like assembly or writing.
Final Thoughts: Why Workbench E is a Lean Investment
Workbench E (single deck-without caster) isn't just a table—it's a foundation for efficient, adaptable, and lean workflows. By combining the strength of aluminum extrusion profiles , the flexibility of aluminum profile accessories , and the principles of lean system thinking, it solves one of the biggest challenges in manufacturing and workshop management: creating a workspace that grows with you.
Whether you're a small business owner setting up your first production line, a lab manager needing a clean, stable surface, or a lean coordinator looking to eliminate waste, Workbench E delivers. Its modular design means you won't outgrow it, its durability ensures it will last for years, and its simplicity makes it accessible to anyone, regardless of technical skill.
So, what are you waiting for? Grab some aluminum extrusion profiles, gather your tools, and start building a workbench that works as hard as your team does. With Workbench E, you're not just building a workspace—you're building a more efficient, productive future.