- Company Articles
- Products and Technology
- Installation And Maintenance
- Castor Fixed Plate Installation Mistakes to Avoid on Conveyors

Castor Fixed Plate Installation Mistakes to Avoid on Conveyors
Related Product
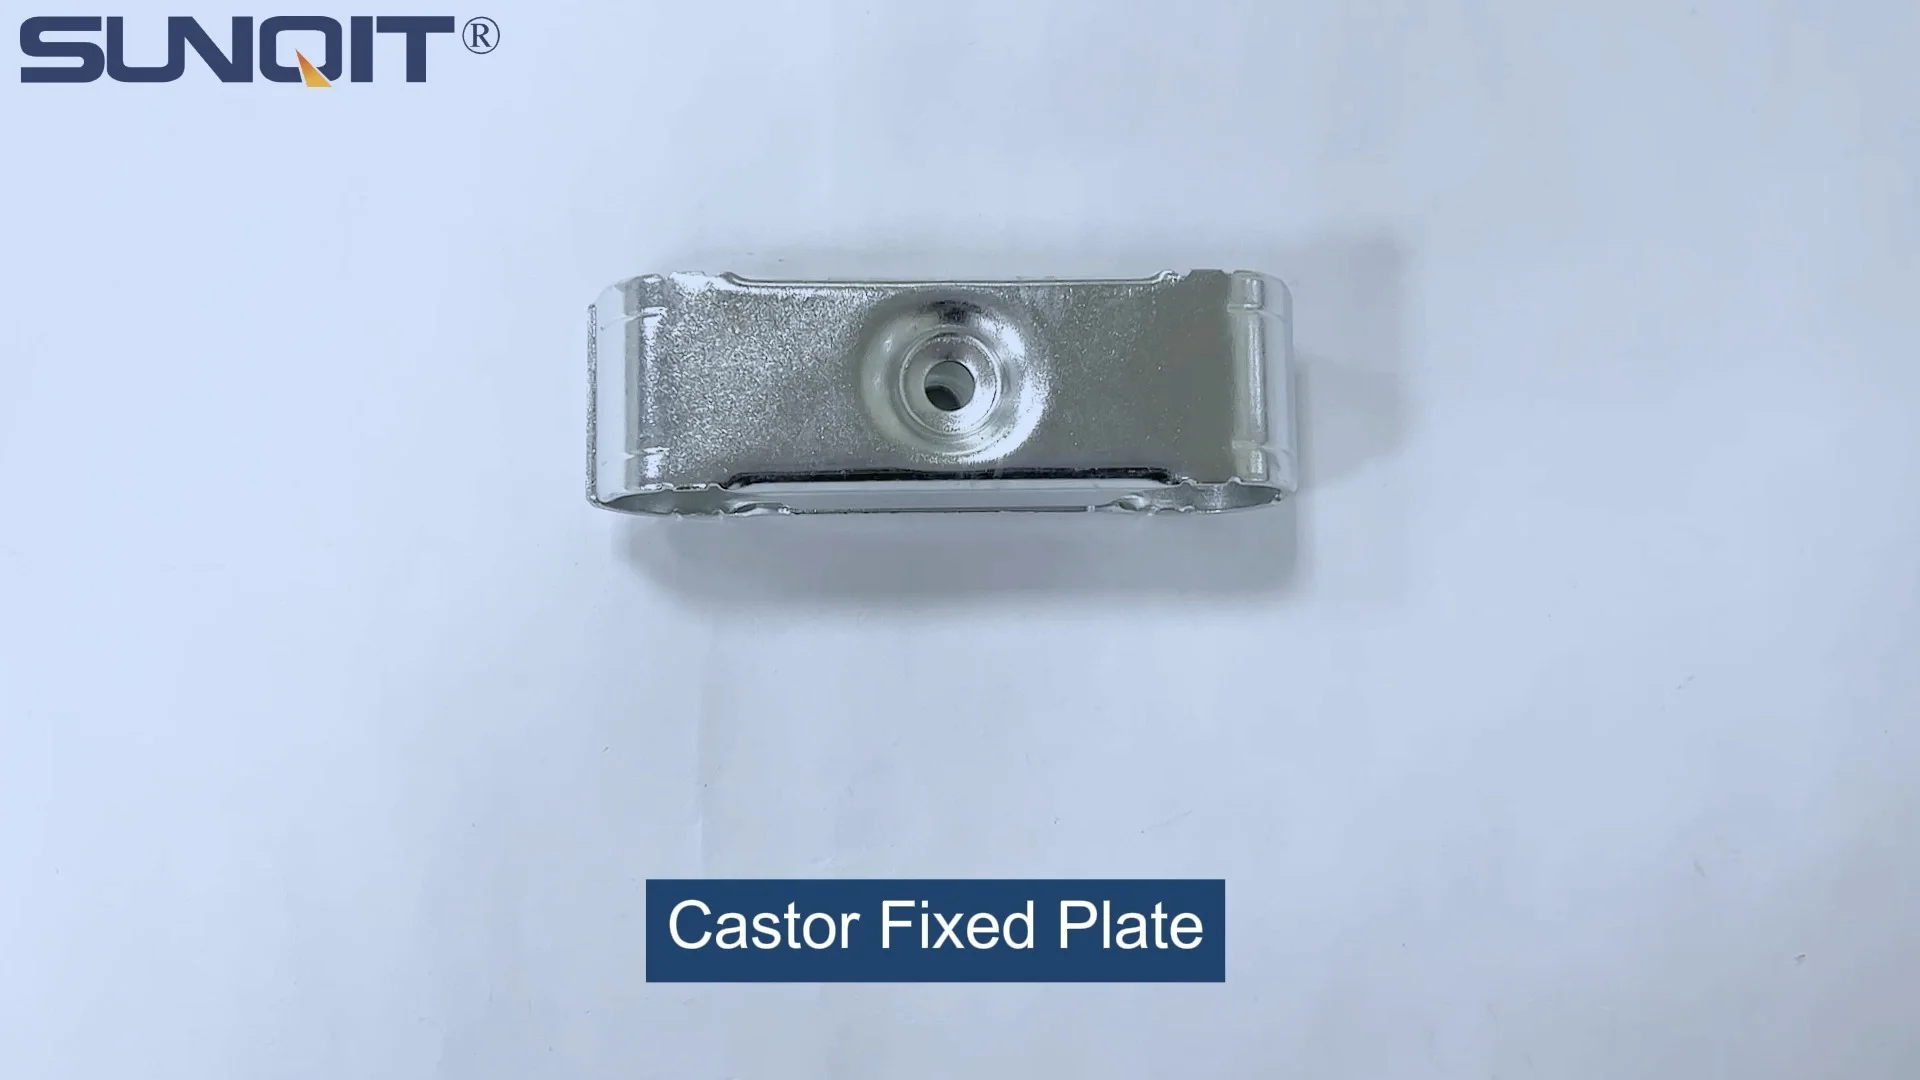
Castor Fixed Plate
Castor fixed plate, used for castor installation, one castor need two pcs castor plate to fix under the workbench, flow rack, and hand trolley.
In the rhythm of a busy production floor, conveyors are the unsung heroes—quietly moving materials, components, and finished products from point A to point B, keeping the entire operation flowing like a well-choreographed dance. But even the most robust conveyor system can stumble if one small, often overlooked part fails: the castor fixed plate. These unassuming metal plates are the critical link between the conveyor's casters and its frame, ensuring stability, alignment, and smooth movement. Yet, when installed incorrectly, they can turn a reliable conveyor into a source of downtime, safety hazards, and frustrating inefficiencies.
Whether you're setting up a new lean system or maintaining an existing line, avoiding common castor fixed plate mistakes isn't just about "getting it right"—it's about protecting your team, your productivity, and your bottom line. In this guide, we'll walk through the most frequent errors technicians and installers make, why they happen, and how to steer clear of them. We'll also touch on how these mistakes intersect with other key components like roller track, caster accessories, and even workbench setups, showing how every detail matters in creating a seamless production environment.
Mistake 1: Ignoring Load Capacity Requirements
One of the most dangerous assumptions in conveyor setup is, "This plate looks strong enough—how much weight can it really need to hold?" But castor fixed plates aren't one-size-fits-all, and underestimating their load capacity is a recipe for disaster.
Why It Happens
In the rush to get a conveyor up and running, installers often grab the first fixed plate they find in the parts bin, assuming that if it fits the caster and the frame, it's "good enough." They might overlook the conveyor's intended use: Is it moving lightweight electronics components or heavy metal parts? Are there peak loads during shift changes when multiple pallets stack up? Without calculating the total weight the plate will bear—including the conveyor's own frame, the casters, and the maximum load of materials—it's easy to pick a plate that's underrated.
The Consequences
A fixed plate that can't handle the load won't fail immediately, but over time, the stress will take its toll. You might first notice subtle signs: the plate bending slightly under pressure, the conveyor tilting to one side, or casters starting to wobble. Eventually, the plate could crack or snap entirely, causing the conveyor to seize up or even tip over. This isn't just a production issue—tipping conveyors pose serious safety risks to workers nearby, and sudden jams can damage the roller track, bending rollers or misaligning the entire system. In a lean system, where every minute of downtime eats into efficiency, this mistake can derail schedules and erode the "flow" that lean manufacturing aims to achieve.
How to Avoid It
Start by doing the math: Calculate the total load the conveyor will carry, including its own weight, the average material weight, and a 20% safety buffer (for unexpected peak loads). Then, check the manufacturer's specifications for both the castor fixed plate and the casters themselves—they should list maximum load ratings. If you're unsure, consult with your caster accessories supplier; they can help match the right plate to your needs. For example, a conveyor moving heavy automotive parts might require a thick, reinforced steel plate, while one transporting small plastic components could use a lighter aluminum option. When in doubt, over-engineer—opting for a higher load capacity than you think you need is far cheaper than replacing a failed plate (and the damage it causes).
| Conveyor Type | Estimated Total Load | Recommended Fixed Plate Material | Minimum Load Rating |
|---|---|---|---|
| Light-duty (electronics assembly) | 100-300 lbs | Aluminum | 400 lbs |
| Medium-duty (packaging line) | 300-800 lbs | Carbon steel | 1,000 lbs |
| Heavy-duty (automotive parts) | 800+ lbs | Reinforced steel | 1,500+ lbs |
Mistake 2: Incorrect Fastening Techniques
Even if you've chosen the right castor fixed plate for the load, it won't do its job if it's not fastened properly to the conveyor frame. This mistake is surprisingly common, often stemming from a "close enough" mindset or a lack of attention to detail with caster accessories like bolts, washers, and nuts.
Why It Happens
Fastening a fixed plate seems straightforward: line up the holes, insert bolts, tighten with a wrench. But "tight enough" is subjective, and many installers either overtighten (stripping threads or warping the plate) or undertighten (leaving room for movement). Others skip critical caster accessories, like lock washers or thread-locking compound, assuming that vibration from the conveyor won't loosen the bolts over time. Worse, some use the wrong type of fasteners—like substituting regular bolts for high-tensile ones—or reuse old, corroded bolts that are already weakened.
The Consequences
Loose or improperly fastened plates lead to a cascade of problems. First, the plate itself will shift, causing the caster to misalign with the conveyor frame. This misalignment puts extra stress on the roller track, leading to uneven wear on rollers and guides—you might notice products jamming or sliding off the track as they move. Over time, the movement can also cause the bolts to back out entirely, leaving the caster hanging loosely from the frame. In the worst cases, this can lead to the conveyor tipping or the caster breaking off, creating a tripping hazard or damaging nearby equipment (like a neighboring workbench).
Overtightening is just as bad: It can warp the fixed plate, bending it into a slight curve that prevents the caster from sitting flat. This uneven contact leads to premature caster wear, with wheels wearing down on one side faster than the other. Stripped threads mean you'll have to drill new holes in the frame to reattach the plate, adding unnecessary work and weakening the conveyor's structure.
How to Avoid It
Start by using the right hardware: Always follow the manufacturer's specs for bolt size, type (e.g., grade 8 for heavy loads), and torque. Invest in quality caster accessories like split lock washers or nylon-insert lock nuts to prevent loosening from vibration. If the conveyor will be in a high-vibration environment (common in manufacturing with heavy machinery), apply a thread-locking compound (like Loctite) to the bolts before tightening—this creates a secure bond that resists movement.
Use a torque wrench, not just a regular wrench, to ensure you're tightening bolts to the exact specification (typically listed in the conveyor's manual). For example, a 1/4-inch bolt might require 15 ft-lbs of torque, while a 3/8-inch bolt could need 30 ft-lbs. And never reuse old bolts—even if they look "okay," they may have stretched or corroded, reducing their holding power. Finally, schedule regular checks: Every few weeks, inspect the plates and retighten any bolts that have loosened—prevention is always cheaper than repair.

Mistake 3: Poor Alignment with Roller Track and Conveyor Frames
A conveyor's movement is only as smooth as its alignment. When the castor fixed plate isn't perfectly aligned with the conveyor frame and roller track, the entire system becomes a battle of friction and resistance—like trying to push a shopping cart with one wheel pointing sideways.
Why It Happens
Alignment issues often stem from rushing the installation process. Installers might eyeball the plate's position instead of using precision tools, or they might attach the plate before ensuring the conveyor frame itself is level. Others forget to account for the roller track's height and angle, assuming the plate can "adjust" to fit later. This is especially common when retrofitting old conveyors with new casters or plates—existing frame damage (like bent rails or rusted joints) can throw off alignment, but installers ignore these issues to save time.
The Consequences
Misaligned plates cause the conveyor to "crab walk"—moving slightly sideways instead of straight—putting uneven pressure on the roller track. Over time, this wears down the track's guides and rollers, creating grooves or flat spots on the wheels. You'll notice the conveyor becoming harder to push (even if it's motorized), with increased noise as metal grinds against metal. Products on the conveyor may shift or tip over, leading to damaged goods and wasted materials. In extreme cases, the misalignment can pull the roller track out of its mounts, requiring a complete track replacement.
This mistake also impacts nearby workbench setups. If the conveyor isn't aligned with the workbench, workers may have to stretch or reach awkwardly to load/unload materials, increasing fatigue and the risk of injury. In a lean system, where ergonomics and efficiency go hand in hand, this misalignment undermines the very principles of "flow" and "value."
How to Avoid It
Alignment starts with preparation: Before installing the fixed plate, ensure the conveyor frame is level and square. Use a spirit level to check both horizontal and vertical alignment—even a 1-degree tilt can cause major issues. Mark the plate's position with a pencil or tape, using the caster's mounting holes as a guide, and double-check measurements to ensure the plate is centered on the frame.
Next, align the plate with the roller track. The track should sit parallel to the conveyor's direction of movement, and the casters (once attached) should roll smoothly without rubbing against the track's edges. Use a straightedge to check that the plate's mounting holes line up with the caster's stem, ensuring the wheel sits directly under the track's centerline. If you're retrofitting, repair or replace any damaged frame sections first—don't try to "work around" bent rails or rusted joints.
Finally, test before finalizing: Tighten the bolts just enough to hold the plate in place, then gently push the conveyor back and forth. If it moves smoothly without wobbling or dragging, you're good to go. If not, loosen the bolts and adjust the plate's position—better to spend an extra 10 minutes aligning now than hours fixing track damage later.

Mistake 4: Neglecting Environmental Factors
Conveyors don't live in perfect environments. They're exposed to moisture from cleaning, chemicals from production processes, extreme temperatures (hot in foundries, cold in warehouses), and even corrosive dust (common in food processing or pharmaceutical settings). Yet, installers often treat castor fixed plates as "indestructible," ignoring how these environmental factors can degrade their performance over time.
Why It Happens
Many fixed plates are made of carbon steel, which is strong but prone to rust if not protected. Installers might assume that a quick coat of paint or the plate's "factory finish" is enough to resist corrosion, without considering the specific conditions of the workspace. For example, a conveyor in a bakery (with high humidity and flour dust) faces different challenges than one in an auto shop (with oil, grease, and cleaning solvents). Others forget that even indoor environments can have hidden moisture—like condensation from air conditioning units or steam from cleaning machines—leading to unexpected rust.
The Consequences
Rust and corrosion weaken the fixed plate from the inside out. What starts as a small spot of rust can spread, eating through the metal and creating holes or thin, brittle sections. A corroded plate can't support the caster properly, leading to the same issues as an underrated plate: bending, shifting, and eventual failure. In wet environments, rust can also spread to the caster's axle or bearings, causing the wheel to seize up and drag—this puts extra strain on the roller track, as the conveyor's movement becomes jerky and uneven.
In chemical-heavy environments, unprotected plates can degrade even faster. Solvents or acids can eat through paint and coatings, exposing the metal to direct damage. This isn't just a durability issue—corroded plates can also contaminate products, which is a critical concern in industries like food processing or electronics manufacturing.
How to Avoid It
Choose the right material for the environment: For wet or corrosive settings, opt for stainless steel fixed plates—they're resistant to rust and chemical damage, though slightly more expensive than carbon steel. For indoor, dry environments, carbon steel with a thick, baked-on enamel coating or zinc plating (galvanized) should suffice. If you're unsure, ask your supplier about material options—many now offer specialized coatings (like powder coating) that provide extra protection against specific chemicals or moisture levels.
Maintain the plate after installation: Regularly inspect for signs of rust or corrosion, especially in hard-to-reach areas (like under the plate where moisture can collect). Clean the plate with a mild detergent and water (avoid harsh chemicals that can strip coatings), and touch up any scratches or chips in the paint with a matching touch-up pen. In high-moisture areas, consider applying a rust-inhibiting spray (like WD-40 Specialist Long-Term Corrosion Inhibitor) to the plate and bolts every few months.

Mistake 5: Skipping Pre-Installation Inspection of Components
It's easy to assume that new parts are "perfect"—but even brand-new castor fixed plates, casters, or caster accessories can have hidden flaws that derail an installation. Skipping a quick pre-installation inspection is a mistake that costs time, money, and frustration.
Why It Happens
In fast-paced production environments, there's pressure to "get it done now." Installers might unbox the fixed plates, glance at them to ensure they're the right size, and start attaching them—without checking for cracks, burrs, or manufacturing defects. They might also overlook issues with the casters themselves, like bent stems or damaged wheels, assuming that if the plate fits, the caster will work. This "trust but don't verify" approach can turn a 30-minute installation into a 2-hour troubleshooting nightmare.
The Consequences
A cracked or warped fixed plate might seem "good enough" at first, but it will fail under load—often at the worst possible time (like during a peak production run). Burrs or sharp edges on the plate can cut or scratch installers during setup, creating a safety hazard. Misaligned mounting holes (a common manufacturing defect) mean the plate won't attach securely to the frame, leading to the same alignment issues we discussed earlier.
Faulty caster accessories, like bent bolts or damaged washers, can also cause problems. A washer with a burr might not sit flat against the plate, leaving gaps that allow movement. A bolt with a stripped thread will never tighten properly, no matter how careful you are with torque.
How to Avoid It
Take 5 minutes to inspect before installing: Check the fixed plate for cracks, dents, or warping—hold it up to a light to look for uneven edges or bends. Run your finger along the edges to feel for burrs (use gloves to avoid cuts). Check the mounting holes: They should be clean, round, and properly aligned (no oval shapes or off-center drilling). For casters, inspect the stem (it should be straight), the wheel (no cracks or flat spots), and the bearings (spin the wheel— it should turn smoothly without wobbling or grinding).
Inspect caster accessories too: Check bolts for stripped threads, washers for cracks, and lock nuts for intact nylon inserts. If anything looks off, set it aside and grab a replacement—don't try to "make it work" with a damaged part. Most suppliers have a return policy for defective components, so you won't be stuck paying for a faulty part.
Conclusion: The Small Part That Makes a Big Difference
Castor fixed plates might not be the most glamorous part of your conveyor system, but they're a reminder that in manufacturing, the smallest details often have the biggest impact. By avoiding these common mistakes—ignoring load capacity, skipping proper fastening, misaligning with roller track, neglecting environmental factors, and skipping inspections—you're not just installing a plate; you're building a foundation for reliability, safety, and efficiency.
Remember, a well-installed castor fixed plate works in harmony with your entire lean system: It keeps the conveyor aligned with roller track, reduces wear on caster accessories, and ensures that workbench setups remain ergonomic and productive. It's the kind of "invisible" work that keeps your production line moving, your team safe, and your customers happy.
So the next time you're installing or maintaining a conveyor, take a moment to appreciate the castor fixed plate. Treat it with the care it deserves, and it will repay you with years of trouble-free service. After all, in the world of manufacturing, success isn't just about the big machines—it's about getting the small things right, every single time.