- Company Articles
- Products and Technology
- Installation And Maintenance
- Castor Installation Base for Small Parts Storage: Material Rack B Organization Hacks

Castor Installation Base for Small Parts Storage: Material Rack B Organization Hacks
Related Product
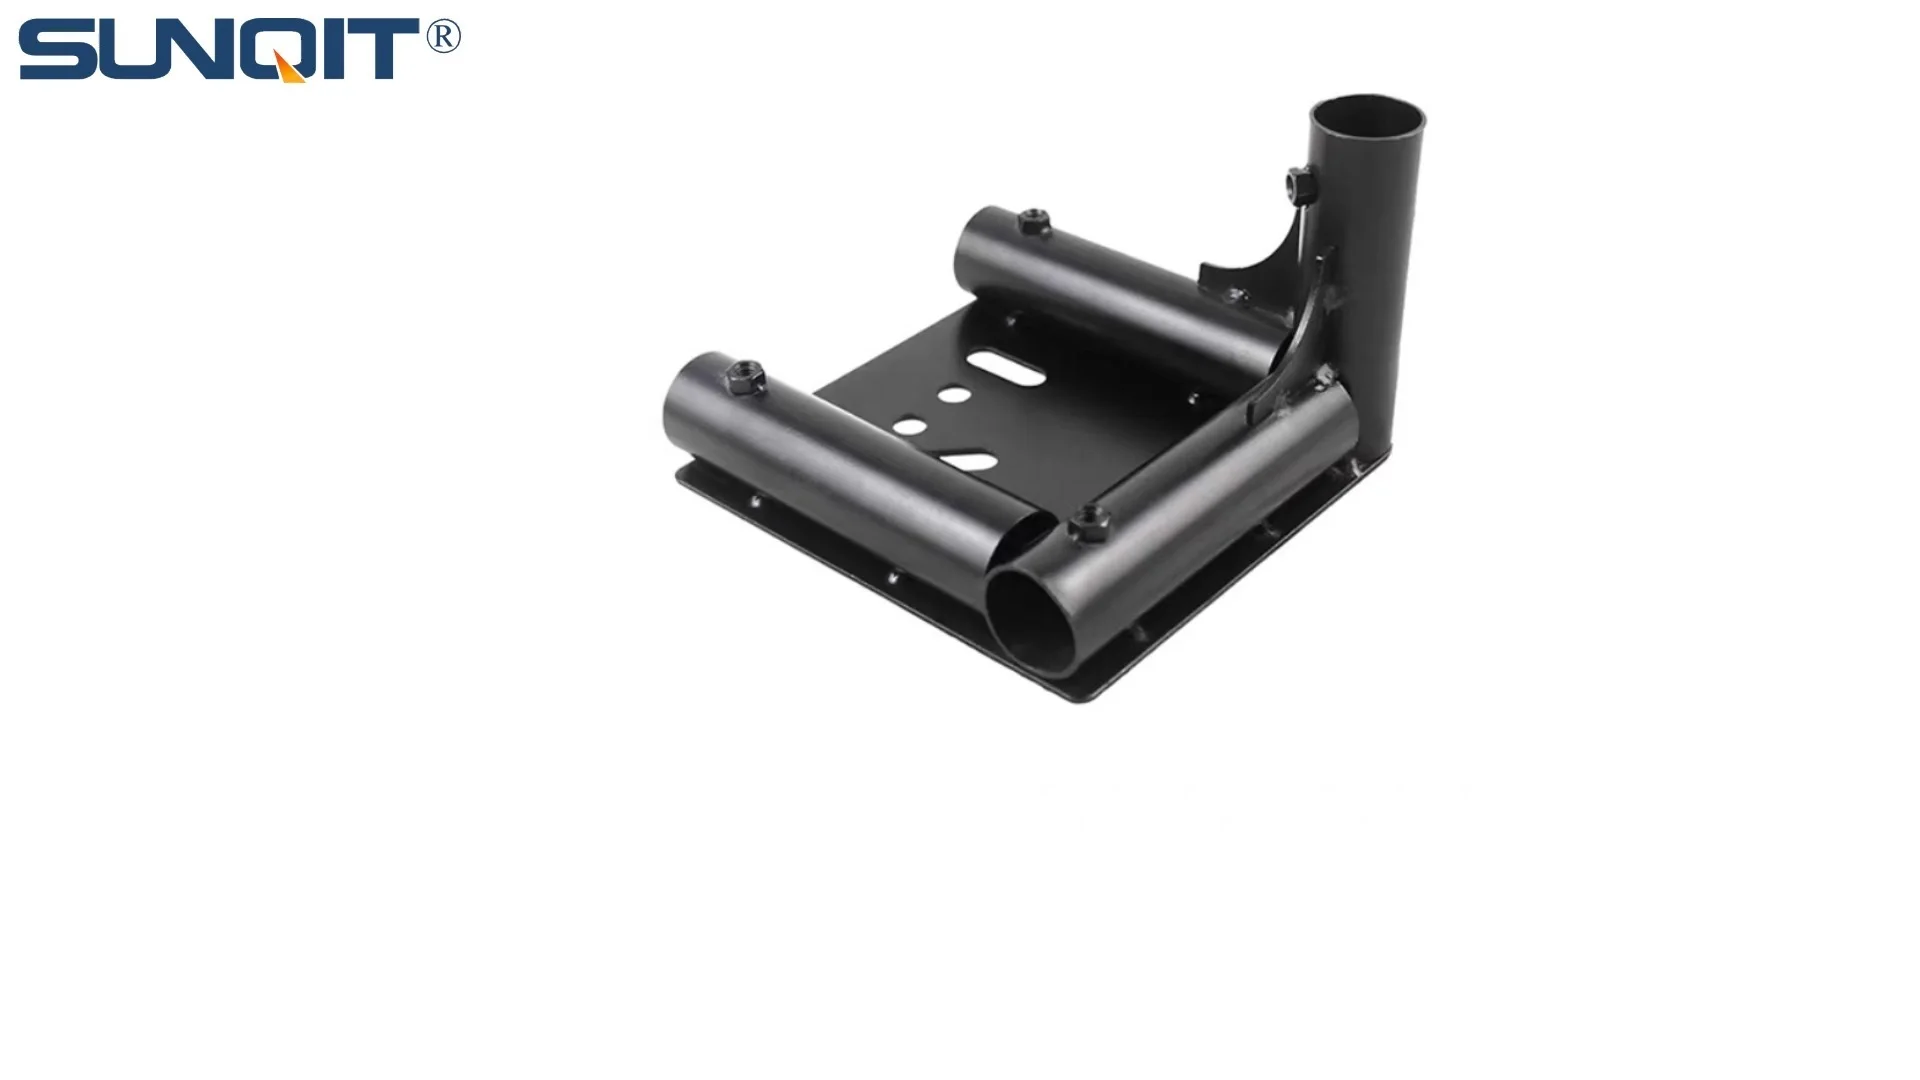
Castor Installation Base
Pipe fitting castor installation base,Well made, precise and strong. Made of high quality of steel,black painting surface treatment for greater resistance to corrosion. It is used for castor or foot lever connection with lean pipe.
Walk into any busy workshop, warehouse, or manufacturing floor, and you'll likely spot the same silent productivity killer: disorganized small parts storage. Screws vanish into corners, roller tracks get buried under piles of tools, and employees spend precious minutes—*hours*, over time—hunting for that one 0.5-inch swivel roller ball or plastic roller track guide rail they need to keep production moving. It's a scenario that feels inevitable, but it doesn't have to be. The solution lies in two unsung heroes of workspace efficiency: the
castor installation base
and the
material rack b (3 row and 3 floor)
. Together, they transform chaotic storage into a streamlined, mobile, and intuitive system that puts every part exactly where you need it, when you need it.
The Problem with "Good Enough" Storage
Traditional small parts storage often relies on static shelves, flimsy plastic bins, or makeshift wooden racks. These setups might work for a week or two, but they quickly fall apart under the demands of daily operations. Bins tip over, labels peel off, and the lack of mobility means heavy racks stay stuck in one spot—even if the workbench or assembly line they serve moves 20 feet away. worse, vertical space is wasted: shelves are either too shallow to hold bulkier items like aluminum guide rails or so overcrowded that you can't see what's on the bottom floor without kneeling.
For example, consider a facility using basic steel shelves for roller track components. The 40 steel roller track with yellow wheels ends up on the top shelf, out of reach without a ladder. The plastic roller track guide rails (grey, in this case) get mixed with yellow ones because there's no system to separate them. And when the assembly team needs to restock their workbench, someone has to make multiple trips to the storage area, carrying armfuls of parts—risking drops, damage, or missed items. It's not just frustrating; it's a drain on your team's energy and your company's bottom line.
Meet Your New Storage Power Couple: Castor Installation Base & Material Rack B
Enter the dynamic duo changing the game: the castor installation base and material rack b (3 row and 3 floor). Let's break down why they work—and how they transform storage from a headache into a competitive advantage.
What Is a Castor Installation Base?
Think of the castor installation base as the "mobility backbone" of your storage system. It's a sturdy, often steel or aluminum plate designed to attach securely to the bottom of racks, workbenches, or material carts. Equipped with high-quality caster wheels (often with brakes for stability), it turns static storage into a movable asset. Unlike cheap plastic casters that wobble or lock up, industrial-grade castor installation bases are built to handle heavy loads—think 500+ pounds of aluminum pipe, roller track, and small parts—without compromising on stability. They're also designed to protect floors, with soft rubber or polyurethane wheels that glide smoothly over concrete, tile, or warehouse flooring.
Why Material Rack B (3 Row and 3 Floor) Stands Out
If the castor base is the mobility, material rack b is the muscle. This rack is engineered for small parts efficiency, with a 3-row, 3-floor design that maximizes vertical and horizontal space. Each row is wide enough to hold standard bins or trays, while the three floors (typically spaced 18–24 inches apart) ensure you can separate parts by size, usage frequency, or department. What sets it apart from generic racks? Flexibility. The shelves are often adjustable, and the frame is compatible with aluminum profile accessories—meaning you can add dividers, label holders, or even mini aluminum roller tracks to guide parts toward the front for easy access. It's not just a rack; it's a customizable storage ecosystem.
Pro Tip:
Look for material rack b models with corrosion-resistant finishes, especially if you're storing metal parts like stainless steel swivel roller balls or aluminum extrusion profiles. A powder-coated or galvanized frame will stand up to oil, moisture, and daily wear, extending the rack's lifespan by years.

5 Hacks to Organize Small Parts Like a Pro
Now that you know the "what," let's dive into the "how." These five hacks will help you unlock the full potential of your castor installation base and material rack b, turning them into a storage system that works *with* your team, not against them.
Hack #1: Zone Your Rack by "Usage Frequency"
Not all parts are used equally—and your storage should reflect that. The key is to zone your material rack b (3 row and 3 floor) based on how often items are accessed. Here's how:
- First Floor (Eye Level & Easy Reach): Store high-frequency parts here—think daily-use items like 1-inch swivel roller balls, plastic roller track guide rails (yellow or grey), and aluminum guide rail a. This way, team members can grab what they need without bending, stretching, or using a ladder.
- Second Floor (Mid-Reach): Reserve this for medium-frequency parts: 0.5-inch swivel roller balls, roller track placon mount connectors, or caster accessories. These are items used a few times a week, so they don't need prime real estate but should still be accessible.
- Third Floor (Top Shelf): Use this for low-frequency or bulk storage: extra aluminum pipe, stainless steel pipe series, or seasonal items like holiday inventory labels. Since these are rarely needed, the extra effort to reach them is justified.
- Rows: Separate rows by part type. For example, row 1 for roller track components (roller track placon mount brackets, end supports), row 2 for aluminum profile accessories (aluminum profile end caps, t-slot rubber seal covers), and row 3 for casters and wheels (caster wheel, caster accessories).
Label *every* zone with clear, large-print tags (laminated to withstand grease and dust). For extra clarity, use color-coding: red for high-frequency, yellow for medium, blue for low. Your team will spend less time searching and more time building, assembling, or repairing.
Hack #2: "Follow the Workbench" with Castor Mobility
The biggest advantage of the castor installation base? It lets your storage *follow* your workflow. Instead of your team trekking back and forth between the storage area and their workbench, wheel the entire material rack b right to where the action is. Imagine this: the assembly line needs to restock on 38 aluminum roller track (black esd with side guide) for a rush order. Instead of two employees making four trips each, one person rolls the rack to the line, locks the castor brakes, and the team grabs parts as needed. It's like having a "mobile parts pantry" that eliminates wasted steps.
Pro tip: Train your team to "park" the rack in a designated spot when not in use—say, next to the main workbench e (single deck-without caster)—so everyone knows where to find it. And always engage the castor brakes when loading/unloading to prevent accidents.
Hack #3: Maximize Vertical Space with Aluminum Profile Accessories
Material rack b (3 row and 3 floor) already uses vertical space well, but you can take it further with aluminum profile accessories. Aluminum extrusion profiles are lightweight, strong, and infinitely customizable—perfect for adding "bonus storage" to your rack. Here's how:
- Side-Mounted Aluminum Rails: Attach aluminum guide rail b to the sides of the rack using aluminum pipe clamps. Hang tools, tape measures, or small bins for tiny parts like lean pipe joints here.
- Overhead Racks: Use L-shaped aluminum brackets to mount a small overhead shelf above the rack. Store bulky items like turnover trolley and rack components or extra plastic roller track guide rails here, keeping them off the main shelves.
- Dividers & Partitions: Add aluminum profile dividers to existing rows to separate similar parts—say, 40 steel roller track (yellow wheel) vs. 40 steel roller track (black esd wheel). This prevents mixing and makes inventory checks faster.
Aluminum profiles are ideal for this because they're modular: you can add, remove, or reposition accessories without drilling or welding. It's storage that grows with your needs.
Hack #4: Build a "Quick-Grab" Station for Hot Parts
Every workshop has "hot parts"—items used so frequently they deserve their own dedicated spot. For example, if your team goes through 1-inch swivel roller balls or aluminum roller track placon mount center support brackets daily, create a mini "quick-grab" station on your material rack b. Use a shallow bin or a small aluminum honeycomb panel mounted to the front of the rack (via aluminum pipe with board holder) to hold these items. Since the rack is on casters, you can wheel this station directly to the assembly line during peak hours, cutting grab time from 30 seconds to 5 seconds per part. Multiply that by 50 parts a day, and you're saving over 20 minutes per employee—*every day*.
Hack #5: Track Inventory with "Visual Management"
Even the best-organized rack falls apart if you don't track what's inside. Enter "visual management"—a lean system technique that uses sight to prevent stockouts and overstocking. Here's how to apply it to your material rack b:
- Bin Labels with Photos: Don't just write "roller track placon mount for aluminum profile flat"—add a small photo of the part. This eliminates confusion, especially for new team members or temporary staff.
- Minimum Stock Lines: Draw a red line on each bin to mark the "reorder point." When parts dip below this line, it's time to restock. For example, if you always need at least 10 aluminum guide rail b in stock, the red line goes at the 10-unit mark.
- Empty Bin Alerts: Use "empty bin" cards—small, bright orange cards placed in bins when they're empty. This signals the inventory team to restock immediately, so no one shows up expecting parts that aren't there.
- Digital Integration (Optional): For larger facilities, affix QR codes to each zone. Scanning the code pulls up real-time inventory levels on a tablet or phone, making stock checks a breeze.

Traditional vs. Organized: The Numbers Speak for Themselves
Still on the fence? Let's compare traditional storage to a system using material rack b and a castor installation base. The difference isn't just in convenience—it's in productivity, cost, and morale.
| Feature | Traditional Storage (Static Shelves) | Organized System (Material Rack B + Castor Base) |
|---|---|---|
| Time to Retrieve a Part | 2–5 minutes (searching, bending, stretching) | 15–30 seconds (zoned, labeled, at eye level) |
| Mobility | None—rack stays in one spot | Full mobility—rack moves to the workbench |
| Space Efficiency | Wasted vertical space; shelves overcrowded or underused | Maximizes vertical space with 3 floors; rows separate part types |
| Error Rate (Mistaken Parts) | 10–15% (mixing similar parts like yellow vs. grey roller track) | Less than 2% (color-coded zones, photo labels) |
| Employee Satisfaction | Low (frustration from disorganization) | High (system works *for* them, not against them) |
| Cost Savings (Annual) | None—wasted time = wasted labor | $5,000–$15,000+ (based on 20 minutes saved per employee/day) |

Maintenance: Keep Your System Running Smoothly
Like any tool, your material rack b and castor installation base need regular care to stay effective. Here's a quick maintenance checklist to follow monthly:
- Clean the Rack: Wipe down shelves and bins with a damp cloth to remove dust, grease, or debris. This prevents parts from sticking or labels from peeling.
- Inspect Casters: Check caster wheels for cracks, debris, or flat spots. Lubricate axles with a few drops of machine oil if they start to squeak. Tighten any loose bolts on the castor installation base—wobbling racks are a safety hazard.
- Tighten Joints: Over time, aluminum pipe joints or roller track connectors can loosen. Give them a quick twist with a wrench to keep the rack stable.
- update Labels: replace faded or peeling labels immediately. If part numbers change (e.g., a new aluminum guide rail b replaces the old model), update labels to avoid confusion.
- Reorganize: Take 15 minutes to rezone if needed. Maybe a part that was "low frequency" is now used daily—move it to the first floor! Storage systems should evolve with your workflow.
Final Thoughts: Storage as a Productivity Driver
At the end of the day, small parts storage isn't just about "putting things away"—it's about empowering your team to work faster, smarter, and with less stress. The castor installation base and material rack b (3 row and 3 floor) aren't just storage solutions; they're investments in efficiency. They turn wasted minutes into productive hours, chaos into clarity, and frustration into focus.
So, take a look at your current storage setup. Is it holding your team back? Or is it propelling them forward? With the right tools and a little organization, you can transform even the messiest storage area into a lean, mean, productivity machine. Your team will thank you—and your bottom line will too.