- Company Articles
- Products and Technology
- Product knowledge
- Choosing the Right Two Way Lean Pipe Joint for Your Material Rack Project

Choosing the Right Two Way Lean Pipe Joint for Your Material Rack Project
Related Product
Two Way Lean Pipe Joint
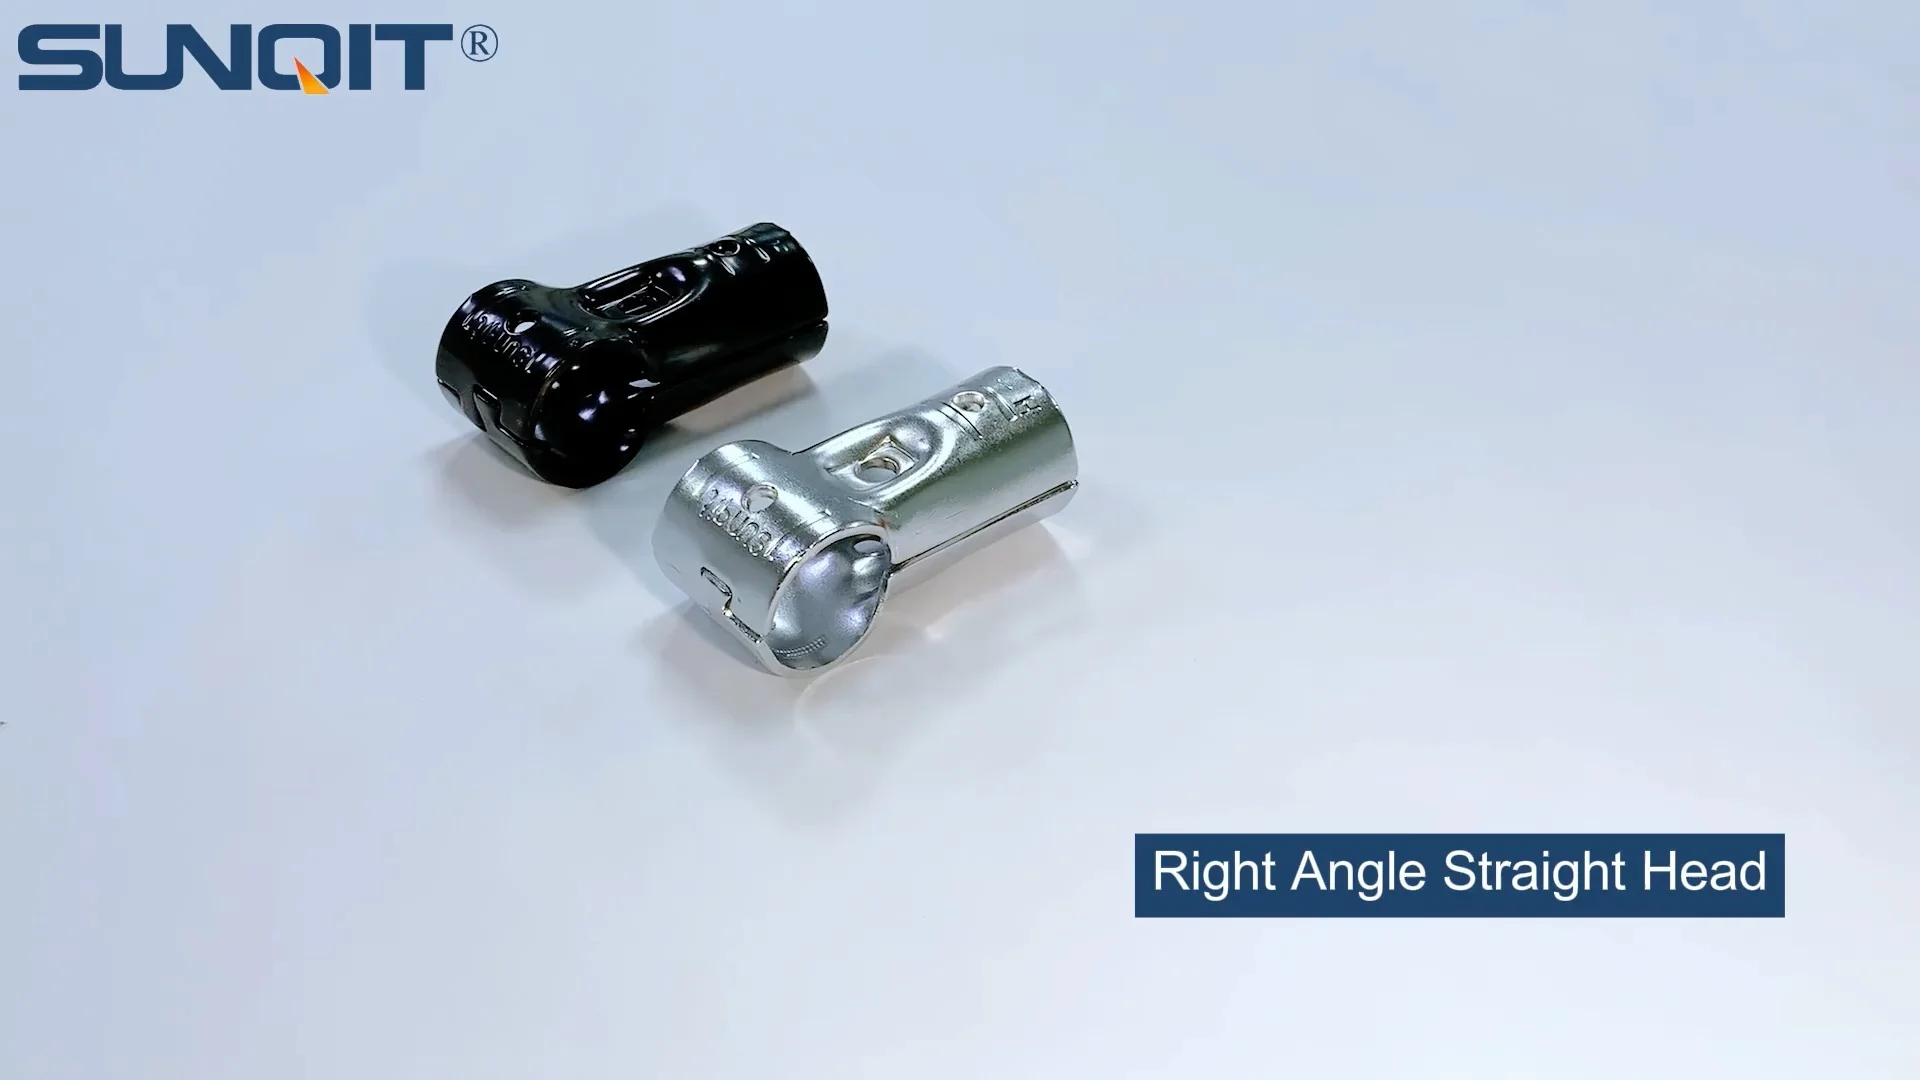
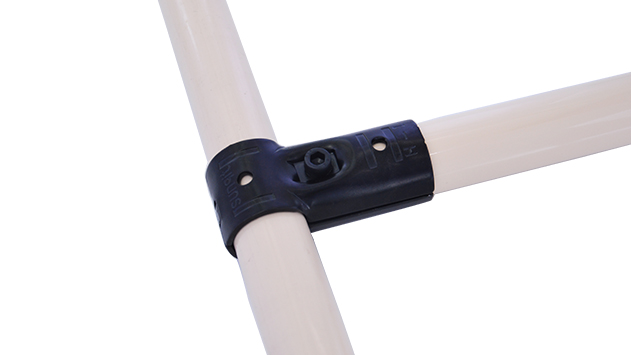
Two way lean pipe joint for 2 pcs 28MM lean pipe connection in straight angle, which used widely in workbench, flow rack, hand trolley frame connection.
Let's say you're knee-deep in planning a new material rack for your workshop. You've measured the space, sketched the layout, and even picked out the perfect lean pipe—strong, lightweight, and just the right color to match your workspace. But then you hit a snag: the joints. Specifically, the two way lean pipe joint. It's a small part, easy to overlook, but here's the thing: that tiny joint will determine whether your rack stands strong for years or wobbles like a Jenga tower after the first heavy load. Choosing the right one isn't just about checking a box on a parts list; it's about protecting your tools, streamlining your workflow, and avoiding the headache of a collapsed rack (and the costly mess that comes with it). In this guide, we'll walk through everything you need to know to pick the perfect two way lean pipe joint for your material rack project—no jargon, just practical advice from someone who's seen too many workshops struggle with the wrong parts.
What Even Is a Two Way Lean Pipe Joint, Anyway?
Before we dive into choosing one, let's make sure we're on the same page. A two way lean pipe joint is exactly what it sounds like: a connector designed to join two pieces of lean pipe at an angle (most commonly 90 degrees, though some are adjustable). Think of it as the hinge that turns separate pipes into a sturdy frame—whether you're building a simple shelving unit, a workbench, or the material rack we're focusing on here. It's part of the broader family of lean pipe accessories, those small but mighty components that turn raw pipes into functional, flexible structures.
Here's why they matter: Lean pipe systems are all about adaptability. Unlike fixed metal shelves, you can reconfigure a lean pipe rack on the fly—add a shelf, move a crossbar, or even disassemble it entirely if your needs change. But that flexibility relies on joints that can handle being adjusted without losing their grip. A cheap or ill-fitting two way joint? It'll loosen the first time you bump the rack, leaving you with a wobbly mess that undermines the whole point of going lean.
Key Factors to Consider When Picking Your Joint
Choosing a two way lean pipe joint isn't as simple as grabbing the first one you see on a supplier's website. To get it right, you'll need to ask yourself a few key questions. Let's break them down:
1. What Material Is Your Lean Pipe Made Of?
Lean pipes come in all flavors: steel, aluminum, even plastic-coated (often called PE-coated lean pipe). Your joint needs to play nice with whatever pipe you're using. For example, if you're using aluminum lean pipe—a popular choice for its lightweight feel and resistance to rust—you'll want an aluminum joint to match. Why? Steel joints can scratch aluminum pipes, and over time, that wear weakens the connection. Plus, mixing metals (like steel and aluminum) can cause galvanic corrosion, where the two metals react chemically and break down faster, especially in humid environments.
On the flip side, if you're using heavy-duty steel lean pipe for a rack that'll hold power tools or machinery, a steel two way joint is the way to go. It's stronger, can handle more weight, and won't bend under pressure the way a plastic or lightweight aluminum joint might. Moral of the story: Match the joint material to your pipe material as closely as possible.
2. How Much Weight Will the Rack Actually Hold?
This is where specs matter—no guessing allowed. Let's say your material rack will have three shelves, and each shelf needs to hold 75 pounds of parts. That means each joint supporting those shelves (and yes, every joint in the frame is a supporting player) needs to handle its share of that weight. Most joint manufacturers list a "load capacity" in pounds or kilograms—pay attention to that number.
Here's a pro tip: Always factor in a little extra. If your math says each joint needs to hold 30 pounds, go for one rated for 40 or 50. Workshops are unpredictable—someone might stack an extra box on a shelf, or a tool might get dropped on the rack. That extra capacity acts like insurance. A steel two way joint might handle 200-300 pounds, while a standard aluminum joint might top out at 150-200 pounds. For super-light loads (think small electronics components or office supplies), a plastic joint could work, but I'd still lean toward aluminum for longevity.
3. Is It Compatible with Your Pipe Size?
Lean pipes aren't one-size-fits-all. The most common diameters are 28mm (about 1.1 inches) and 30mm (1.18 inches), but you might also run into 20mm or 40mm in specialized setups. A two way joint designed for 28mm pipe will never fit a 30mm pipe properly—it'll be loose, wobbly, and eventually fail. Before you buy, double-check your pipe's diameter (a quick measurement with a tape measure works) and make sure the joint's specs match.
While we're on compatibility: If you're using PE-coated lean pipe (the kind with a plastic layer over steel), make sure the joint's clamping mechanism won't tear or crack that coating. Some joints have smooth, rounded grips that work great with coated pipes, while others have sharp edges that can wear through the plastic over time—exposing the steel underneath to rust.
4. What's the Environment Like in Your Workshop?
Humidity, temperature swings, and even exposure to chemicals can turn a "good enough" joint into a disaster. Let's say your workshop is near a wash station, where water splashes are common, or you live in a coastal area with salty air. In those cases, a plain steel joint will rust quickly—even if it's painted. Instead, go for stainless steel or aluminum lean pipe joints, which resist corrosion.
On the flip side, if your workshop is dry and climate-controlled (like an electronics assembly clean room), aluminum joints are perfect—they're lightweight, won't rust, and look sleek. For workshops with oil or grease (like auto repair shops), look for joints with a textured grip; the extra friction helps keep the joint tight even when pipes get slippery.
5. Are You Willing to Spend a Little More for Long-Term Peace of Mind?
It's tempting to grab the cheapest joint to save a few bucks—$5 here, $10 there. But let me share a story: A friend of mine runs a woodworking shop and once skimped on joints to save $45 on a rack. Six months later, during a busy morning, the top shelf collapsed, sending a stack of lumber crashing down. He spent $300 replacing damaged tools and lost half a day of work cleaning up. The moral? A $15 joint instead of a $5 one would've saved him hundreds.
That said, you don't need to buy the priciest joint on the market. For most small to medium material racks, mid-range aluminum or coated steel joints (think $10-$20 each) hit the sweet spot—durable enough for daily use, affordable enough to stay within budget.
A Closer Look: Comparing Common Two Way Lean Pipe Joints
To make this easier, let's compare three of the most popular types of two way lean pipe joints. This table breaks down their key features, so you can see at a glance which might work best for your project:
| Joint Type | Material | Typical Load Capacity (Per Joint) | Best For | Pros | Cons |
|---|---|---|---|---|---|
| Standard Steel Two Way Joint | Painted or galvanized steel | 200-300 lbs | Heavy-duty racks, workshops with dry environments | Strong, affordable, widely available | Prone to rust if not galvanized; heavy; can scratch uncoated pipes |
| Aluminum Lean Pipe Joint | Anodized aluminum | 150-200 lbs | Light to medium racks, clean rooms, humid environments | Lightweight, corrosion-resistant, easy to adjust | Lower load capacity than steel; more expensive than basic steel joints |
| Plastic-Coated Steel Joint | Steel core with plastic coating | 100-150 lbs | Light-duty racks, workshops with frequent pipe adjustments | Gentle on PE-coated pipes, affordable, comes in colors | Lowest load capacity; plastic coating can chip over time |
As you can see, there's no "one best joint"—it depends on your needs. If you're building a rack for heavy car parts, the standard steel joint is your friend. If you're organizing small electronic components in a climate-controlled lab, aluminum lean pipe joints will serve you better. And if you're on a tight budget and the rack is temporary, plastic-coated steel might be enough (just don't expect it to last forever).

Installing Your Two Way Lean Pipe Joint: Tips for a Rock-Solid Fit
Even the best joint will fail if it's installed wrong. Follow these steps to make sure your material rack stays stable for years:
1. Start with Clean, Straight Pipes
Before you even touch the joint, check your lean pipe. If the ends are bent, dented, or covered in grease, the joint won't seat properly. Use a pipe cutter to trim bent ends (a hacksaw works too, just take your time for a straight cut). Wipe the pipe clean with a rag—grease or dust will make it harder for the joint to grip.
2. Don't Over-Tighten (or Under-Tighten)
Most two way joints use a clamp-style design: you slide the pipe into the joint, then tighten a bolt or screw to secure it. The key here is balance. If you under-tighten, the pipe will slip; if you over-tighten, you could crack the joint, strip the threads, or even crush the pipe (especially if it's aluminum).
A good rule of thumb: Hand-tighten the bolt until it's snug, then give it a quarter turn with a wrench. For aluminum joints, go even gentler—aluminum is softer than steel, so over-tightening is a bigger risk. If you hear a "creaking" sound as you tighten, stop—you're about to damage something.
3. Check for Square (If Building a Right-Angle Rack)
If your material rack has square corners (most do), use a carpenter's square to make sure the two pipes meet at exactly 90 degrees before fully tightening the joint. A rack that's "out of square" will wobble, and over time, the uneven stress will loosen the joints. Lay the frame on the floor, measure the diagonals—if they're equal, the rack is square.
4. Add Reinforcements for Extra Stability
For tall racks (over 5 feet) or those holding heavy loads, consider adding extra support. A diagonal brace (connected with a three-way joint) can drastically reduce sway. You can also use gusset plates (small metal brackets) at the corners to spread the weight across the joint and pipe—especially useful if you're using aluminum lean pipe, which is strong but less rigid than steel.

Common Mistakes to Avoid (So You Don't Regret Your Choice)
Even with the best intentions, it's easy to slip up when choosing or installing two way lean pipe joints. Here are the mistakes I see most often—and how to steer clear:
Mistake #1: Assuming "All Joints Are the Same"
I once had a client tell me, "It's just a metal connector—how different can they be?" Spoiler: Very. A cheap joint from a no-name brand might look like a quality one, but it'll use thinner metal, weaker bolts, and shoddy threading. Spend 5 minutes reading reviews or asking your supplier for recommendations—most lean pipe suppliers will happily point you to their most reliable joints.
Mistake #2: Ignoring the "Little" Details, Like Vibration
Workshops are noisy, busy places—and all that activity creates vibration. Over time, even a properly tightened joint can loosen if it's not designed to handle shakes and bumps. Look for joints with locking features, like a set screw (a small extra screw that tightens against the pipe) or a nylon insert in the bolt (which creates friction and prevents loosening). These small details make a huge difference in long-term stability.
Mistake #3: Forgetting to Re-Tighten After the First Week
Even the best-installed joints can loosen a bit after the first few days of use, as the pipes and joints "settle" into place. Mark your calendar to check all joints one week after building the rack—you'll probably find a few that need a quick tweak. After that, a monthly check is enough for most workshops.
Real-World Example: How the Right Joint Saved a Project
Let's wrap this up with a story about how choosing the right two way lean pipe joint made all the difference. Meet Raj, who runs a small automotive repair shop. He needed a material rack to hold oil filters, brake pads, and other small parts—something that could fit in a tight corner but still hold a decent amount of weight.
Raj started with steel lean pipe (he had some leftover from a previous project) and budget-friendly steel two way joints. The rack looked great at first, but within a month, he noticed the corners were wobbling. He tightened the joints, but they loosened again within a week. Then, during a busy Saturday, a shelf full of oil filters collapsed—spilling everywhere and forcing him to close early to clean up.
Frustrated, Raj called his lean pipe supplier, who asked about his workshop. Turns out, Raj's shop is near a pressure washer, and the floor is often damp—perfect for rusting uncoated steel joints. The supplier recommended switching to galvanized steel joints (which resist rust better) and adding a diagonal brace for stability. Raj invested $60 in new joints and braces, re-built the rack, and hasn't had a problem since. "I wish I'd spent the extra money upfront," he told me later. "It would've saved me the headache of a collapsed shelf and lost business."
Final Thoughts: Your Joints Are the Heart of Your Rack
When you're building a material rack, it's easy to focus on the big stuff—the pipes, the shelves, the overall size. But the two way lean pipe joint? It's the unsung hero. It's the reason your rack stands tall, holds your tools, and keeps your workflow moving. Choosing the right one isn't just about specs—it's about understanding your workshop, your needs, and the real-world demands your rack will face.
So take your time. Measure your pipes. Check the load capacity. Think about humidity, weight, and how often you'll adjust the rack. And when you finally twist that joint into place, you'll know you've built something that'll last—not just for months, but for years. After all, a great material rack isn't just about storage—it's about peace of mind. And that starts with the right joint.