- Company Articles
- Products and Technology
- Installation And Maintenance
- Cleaning & Maintenance Best Practices for M10*56 Rubber Leveling Feet

Cleaning & Maintenance Best Practices for M10*56 Rubber Leveling Feet
Related Product
M10*56 Rubber Leveling Feet
Adjustable leveling feet are designed to keep machines level when placed on uneven or sloped ground. Otherwise known as adjustable equipment feet, they are available to order in a wide variety of size and load capacity combinations.
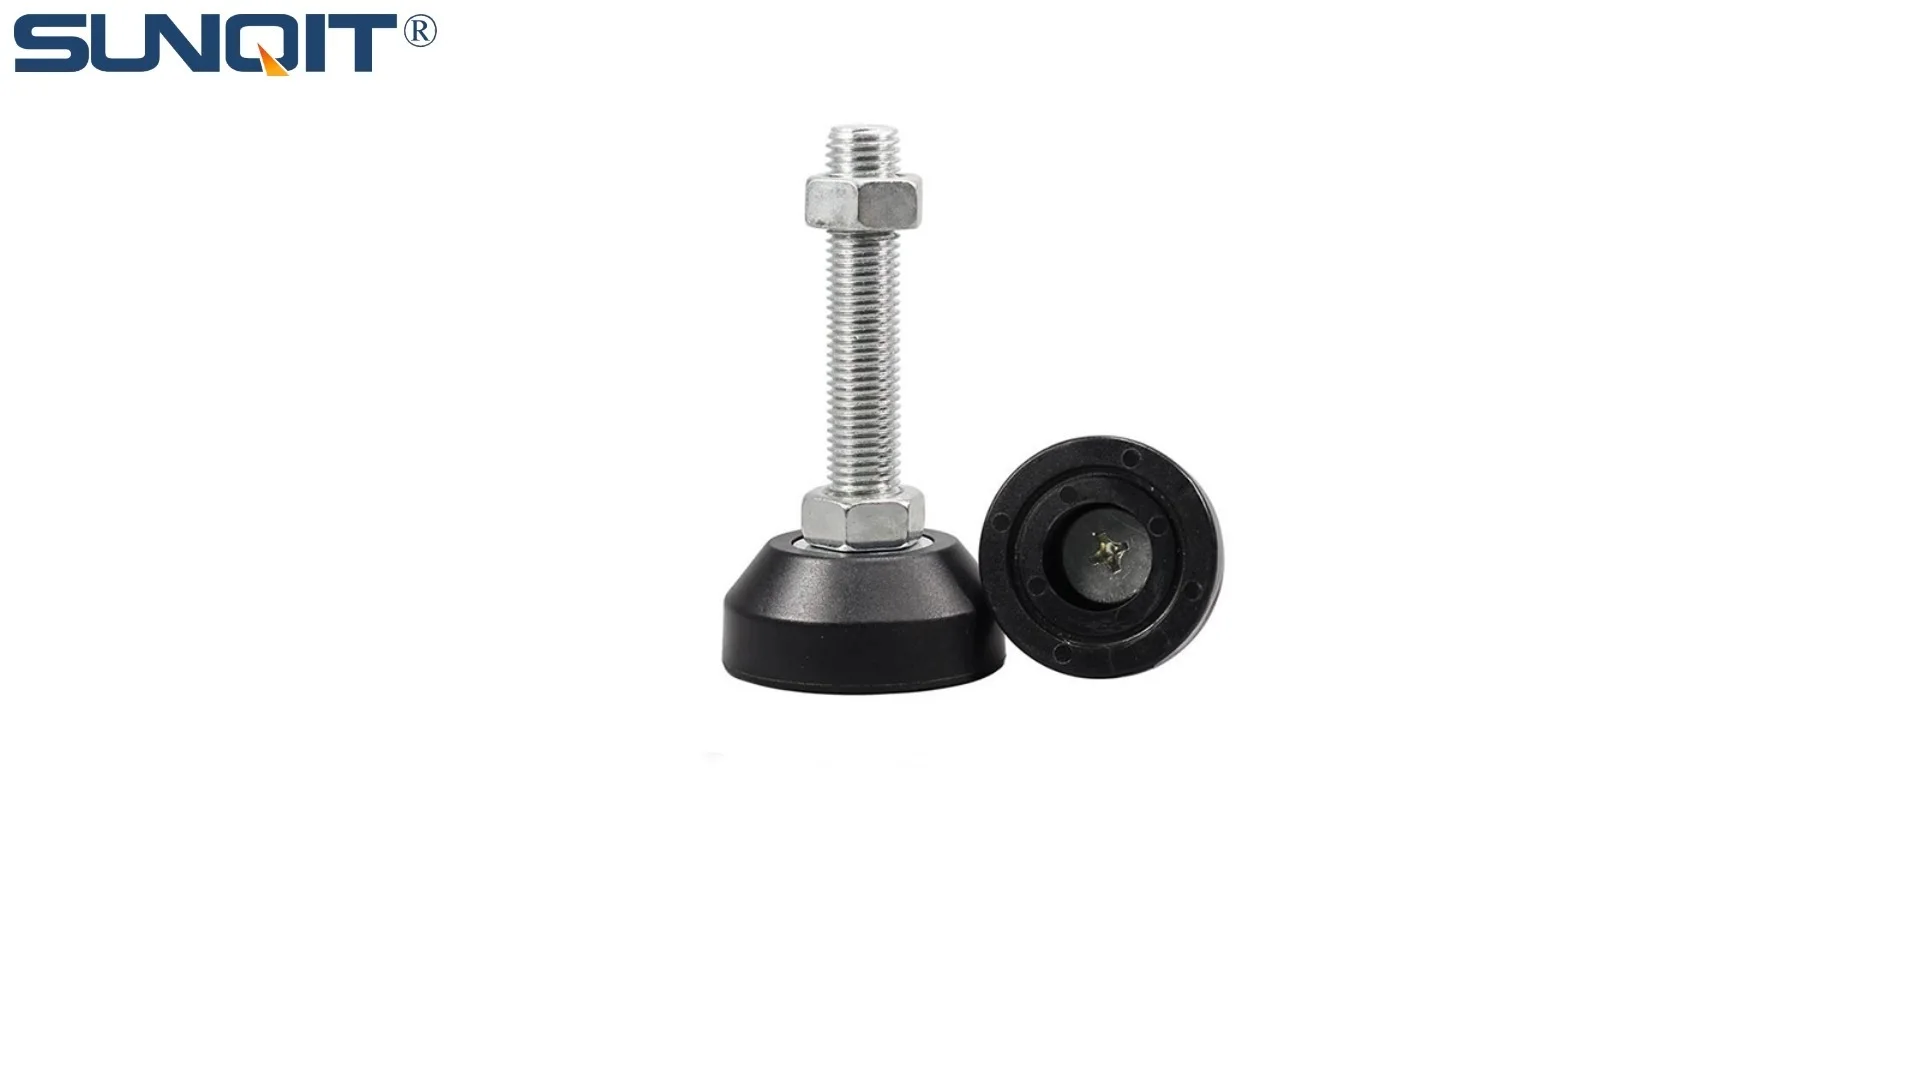
Walk into any busy workshop, manufacturing floor, or even a home garage, and you'll likely spot a workbench that seems to "just work." It holds tools steady, supports heavy parts without wobbling, and stays put even when someone leans on it. What makes that possible? More often than not, it's the small, unassuming components underneath: the M10*56 rubber leveling feet. These little devices might not grab attention, but they're the backbone of stability for everything from simple workbenches to complex lean pipe workbench setups. Yet, like any hardworking tool, they need care to keep performing their best. In this guide, we'll break down the why and how of cleaning and maintaining M10*56 rubber leveling feet—so your workbench (and your workflow) stays steady for years to come.
Why M10*56 Rubber Leveling Feet Deserve Your Attention
Before diving into cleaning and maintenance, let's take a second to appreciate what these leveling feet do. The "M10*56" refers to their size: a 10mm diameter thread (M10) and 56mm length—common dimensions for medium-to-heavy-duty setups like workbenches, material racks, or even conveyor systems. The rubber base is key: it grips floors to prevent sliding, absorbs vibrations from machinery, and cushions the weight of whatever's on top. Unlike generic adjustable leveling feet, these are designed to balance precision (keeping surfaces level) with durability (standing up to oil, grease, and daily wear).
But here's the thing: even the sturdiest leveling feet can fail if neglected. Dust, oil, and debris build up in the threads, making it hard to adjust height. Rubber hardens or cracks when exposed to harsh chemicals or UV light. Loose threads or worn rubber mean your workbench starts to wobble, tools slide, and worst-case, parts get damaged or someone gets hurt. In lean manufacturing setups—where efficiency and safety are everything—a wobbly lean pipe workbench isn't just annoying; it slows down production and risks errors. So, taking 10 minutes a month to care for these feet isn't just maintenance—it's an investment in your team's productivity.
Step-by-Step Cleaning: Keeping Your Leveling Feet Debris-Free
Cleaning M10*56 rubber leveling feet isn't complicated, but it does require a gentle touch—especially for the rubber base and threaded stem. Here's how to do it right:
1. Gather Your Tools
You won't need anything fancy: a soft-bristled brush (an old toothbrush works!), a lint-free cloth, mild dish soap, warm water, and a small container for soapy water. Avoid harsh chemicals like bleach or solvents—they'll break down the rubber over time. For stubborn grime in the threads, a pipe cleaner or cotton swab can help reach tight spots.
2. Prep the Area
If possible, lift the workbench (or whatever the leveling feet are attached to) slightly to take pressure off the feet. You don't need to fully disassemble—just enough to rotate the feet without straining. If lifting isn't an option, at least sweep or vacuum around the base to remove loose dirt first. This prevents rubbing grit into the rubber during cleaning, which can scratch or wear it down.
3. Clean the Rubber Base
Dip your cloth in soapy water and gently wipe the rubber base. Focus on the bottom (where it touches the floor) and the edges, where dust and oil tend to collect. If there's caked-on grime (like dried coolant or grease), let the soapy cloth sit on the area for 30 seconds to loosen it before wiping. Avoid scrubbing hard—rubber is durable, but aggressive scrubbing can wear away the texture that helps it grip.
4. Tackle the Threads
The threaded stem is where debris really likes to hide. Use the soft brush to sweep away loose dirt, then dip the brush in soapy water and gently scrub between the threads. For extra-tight spots, twist a damp cotton swab into the threads—this will pull out dust and grime that the brush misses. Once clean, dry the threads thoroughly with a cloth. If they're still sticky, a quick wipe with a dry cloth (no oil!) should do the trick—we'll talk about lubrication later.
5. Dry Completely
Rubber and metal don't mix well with moisture. After cleaning, pat the rubber base and threads with a dry cloth, then let them air-dry for 10–15 minutes before putting weight back on them. Moisture trapped in the threads can lead to rust, and wet rubber is more likely to pick up new dirt when you adjust the feet later.
Pro Tip: Clean More Often in Messy Environments
If your workshop deals with oil, coolant, or metal shavings (looking at you, machining departments!), clean the leveling feet every 2–3 weeks instead of monthly. These substances speed up rubber degradation and thread buildup—staying ahead of the mess saves you from bigger repairs later.

Maintenance: Beyond Cleaning—Keeping Feet Functional
Cleaning removes debris, but maintenance ensures your leveling feet keep working like new. Think of it as regular check-ups for your workbench's "feet." Here's what to do:
1. Inspect for Wear and Tear
Every time you clean, take 2 minutes to inspect the leveling feet for signs of damage. Look for:
- Cracks in the rubber base: Small cracks might seem harmless, but they'll grow over time—especially if the feet are under heavy load. Cracks let moisture seep in, leading to mold or rot, and reduce grip.
- Thread damage: Stripped or bent threads make it impossible to adjust height. Run your finger along the threads—if they feel rough or uneven, or if the foot wobbles when you twist it, the threads are worn.
- Loose connections: If the foot spins freely without adjusting height, the nut (the part that locks it in place under the workbench) might be loose. Tighten it with a wrench, but don't overdo it—stripping the nut is worse than a loose foot!
2. Adjust and Tighten as Needed
Even if nothing looks broken, check if the workbench is still level. Place a bubble level on the surface—if it's off, gently twist the leveling feet to adjust. As you do this, pay attention to how smoothly they turn. If they're stiff, it might mean the threads need a light lubricant. Use a dry graphite lubricant (not oil!)—oil attracts dust, which will gunk up the threads again. A tiny sprinkle of graphite powder on the threads, then twist the foot back and forth, will make adjustments smooth without the mess.
3. replace When Necessary
No part lasts forever, and leveling feet are no exception. If you spot cracks in the rubber, stripped threads, or the foot won't stay tight, it's time to replace it. Don't wait for the workbench to wobble dangerously—catch it early. When buying replacements, stick to the same M10*56 size and look for high-quality rubber (check for certifications like "oil-resistant" if you work with fluids). Generic adjustable leveling feet might be cheaper, but they often have softer rubber that wears out faster.
Signs It's Time to replace (Not Repair):
• The rubber base is hard and brittle (press it with your thumb—if it doesn't flex, it's gone bad).
• Threads skip or "jump" when adjusting (you turn the foot, but the height doesn't change smoothly).
• The foot leans to one side (the stem is bent or the rubber is unevenly worn).

How M10*56 Leveling Feet Work with Other Components
Your leveling feet don't work alone—they're part of a system. In many setups, especially in lean manufacturing, workbenches might pair leveling feet with caster and accessories for flexibility. For example, a mobile workbench might have casters for moving it around the shop and leveling feet that drop down when it's in place, locking it steady. In these cases, cleaning and maintaining the leveling feet becomes even more important—if they fail, the caster system has to bear extra weight, leading to premature caster wear too.
Lean pipe workbenches are another common pairing. These workbenches use aluminum pipes and joints to create customizable setups, and M10*56 leveling feet are often used to keep the frame stable. Since lean systems are all about efficiency, a wobbly bench throws off the entire workflow—parts slide, tools fall, and workers waste time readjusting. By keeping the leveling feet in top shape, you're not just maintaining a part—you're keeping the whole lean system running smoothly.

Cleaning vs. Maintenance: A Quick Reference Table
| Task | How Often? | Tools Needed | Goal |
|---|---|---|---|
| Clean rubber base | Monthly (or every 2–3 weeks in messy areas) | Soft cloth, mild soap, warm water | Remove grime, preserve grip, prevent rubber degradation |
| Clean threads | Monthly | Soft brush, cotton swabs, soapy water | Ensure smooth adjustment, prevent rust |
| Inspect for wear | Every cleaning session | Your eyes, bubble level | Catch damage early, avoid failures |
| Lubricate threads | Every 3 months (or if adjustment is stiff) | Dry graphite lubricant | Keep adjustments smooth |
| replace feet | When cracks, stripped threads, or wobbling occur | Wrench, replacement M10*56 feet | Restore stability and safety |
Final Thoughts: Small Parts, Big Impact
M10*56 rubber leveling feet might not be the flashiest tools in your workshop, but they're the foundation of a safe, efficient workspace. By taking the time to clean them regularly, inspect for wear, and replace when needed, you're ensuring your workbench stays level, your tools stay put, and your team can focus on what matters—getting the job done right. And when paired with other components like lean pipe workbenches or caster and accessories, well-maintained leveling feet keep your entire setup running like a well-oiled machine.
So, next time you walk past that steady workbench, take a second to appreciate the little feet holding it up. Then, grab a cloth and a brush—and give them the care they deserve. Your future self (and your workflow) will thank you.