- Company Articles
- Products and Technology
- Installation And Maintenance
- Cleaning T-Groove Aluminum Pipe: Maintenance Tips for Longevity

Cleaning T-Groove Aluminum Pipe: Maintenance Tips for Longevity
Related Product
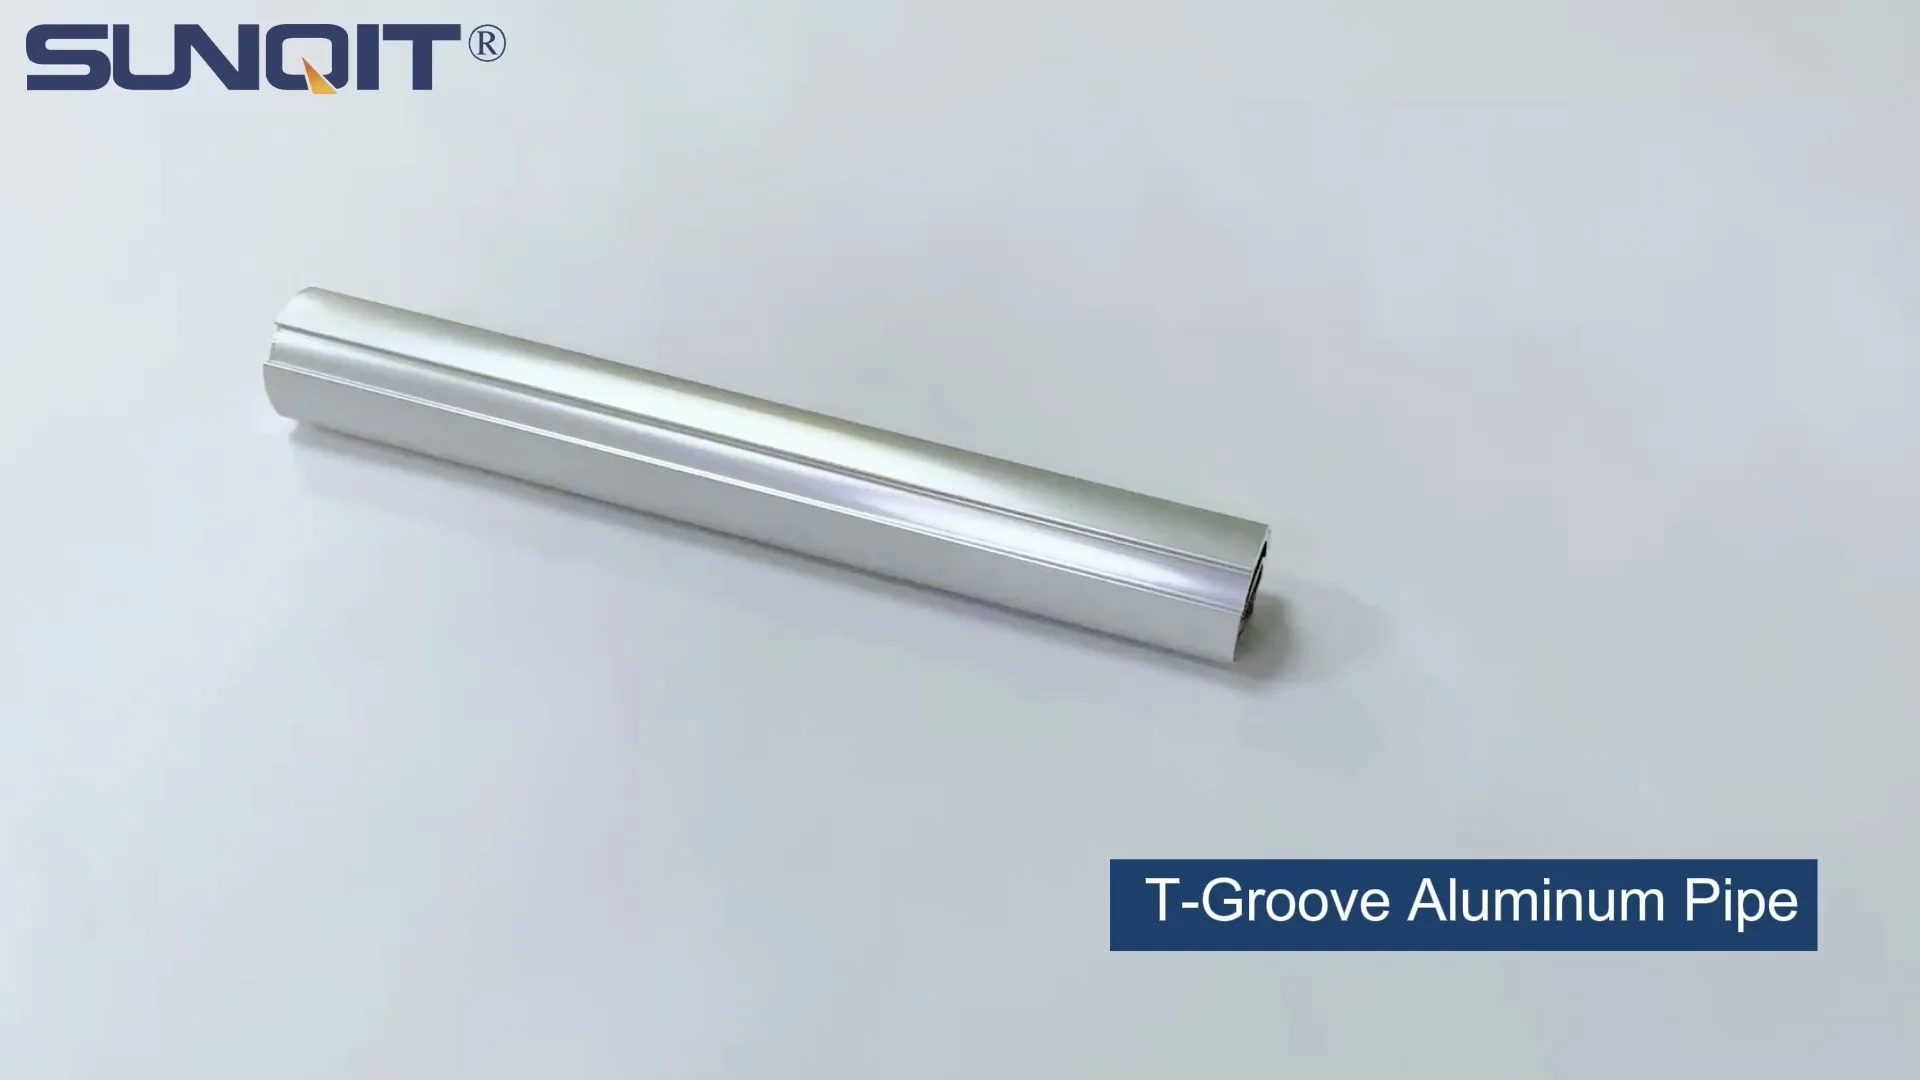
T-Groove Aluminum Pipe
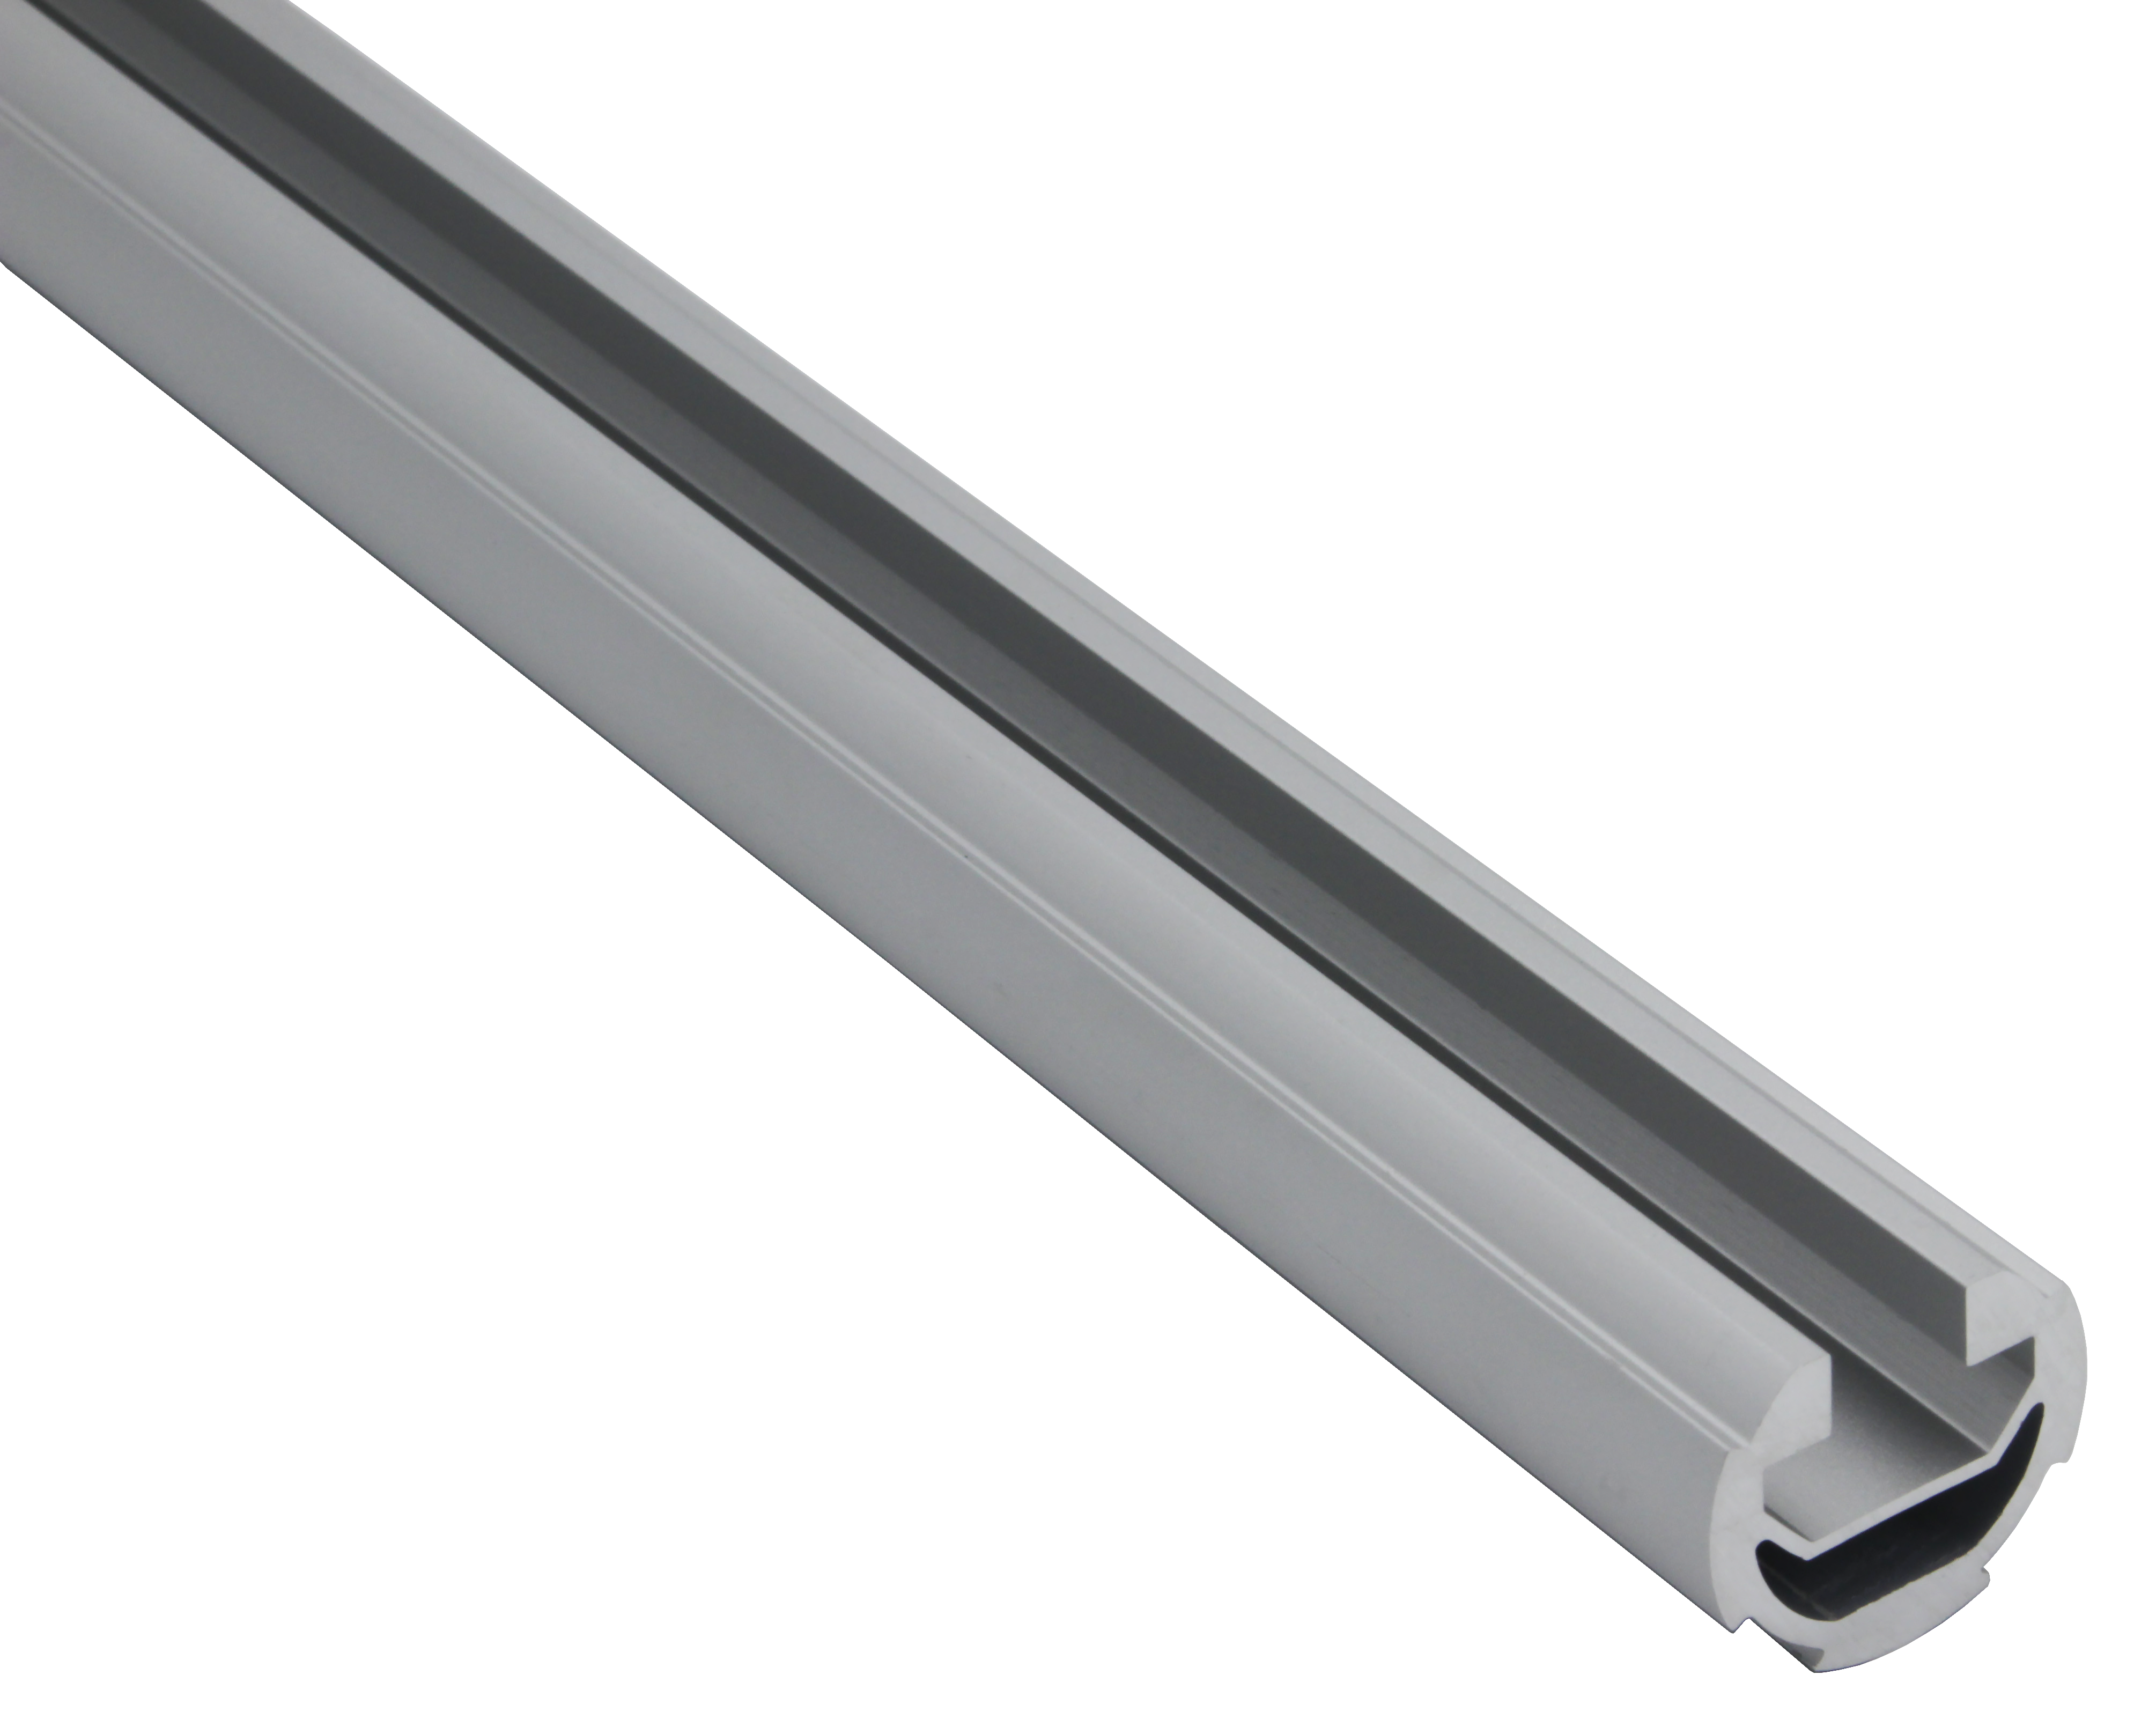
The aluminum pipe opening 10mm is installed into the T-shaped slider, which can be installed with casters or other matching functional parts. The groove can be used for positioning and is used for the track of the roller.
Walk into any modern workshop, manufacturing floor, or even a well-organized garage, and you're likely to spot it: the sleek, silver gleam of T-groove aluminum pipes holding up workbenches, supporting material racks, or forming the backbone of modular assembly stations. These unassuming components are the unsung heroes of efficient workflows—lightweight yet sturdy, customizable, and built to adapt. But like any hardworking tool, they need a little care to keep performing at their best. If you've ever struggled with a stuck bracket, a corroded joint, or a workbench that just doesn't "feel" as smooth as it used to, chances are your T-groove aluminum pipes are crying out for a good clean. In this guide, we'll dive into why maintaining these pipes matters, how to clean them properly, and the small habits that will extend their lifespan for years to come.
Why T-Groove Aluminum Pipe Maintenance Isn't Just "Extra Work"
First, let's talk about what makes T-groove aluminum pipes so indispensable. Made from aluminum extrusion profile—heated aluminum forced through a die to create its signature T-shaped groove—these pipes are designed for flexibility. The T-groove acts as a built-in channel for aluminum profile accessories: brackets, connectors, shelves, and even tools can slide into place and lock securely, letting you reconfigure workspaces on the fly. It's why they're the backbone of lean manufacturing systems, from assembly lines to small-scale workshops.
But here's the catch: that same T-groove that makes them so versatile is also a magnet for trouble. Dust, metal shavings, oil, and even spilled coolant love to settle into those narrow channels. Over time, this gunk builds up, turning a smooth-sliding accessory into a stuck, frustrating mess. Worse, if moisture gets trapped in the groove (common in humid workshops), it can start to corrode the aluminum—slowly eating away at its structural integrity. And let's not forget the cost: replacing a single T-groove pipe might not break the bank, but multiply that by an entire workbench or material rack, and suddenly "quick fixes" become expensive headaches. Maintenance isn't just about keeping things shiny; it's about protecting your investment and keeping your workflow uninterrupted.
Gathering Your Tools: What You'll Need for Effective Cleaning
Before you dive in, let's round up the tools. The good news? You probably already have most of these in your workshop or garage. The key is to avoid harsh chemicals or abrasive tools that could scratch the aluminum or damage the groove. Here's your checklist:
- Soft-bristle brushes: A small paintbrush or toothbrush (new, of course) works wonders for dislodging debris from the T-groove. Avoid wire brushes—they'll scratch the surface.
- Microfiber cloths: These are gentle on aluminum and great for wiping away dust and residue without leaving lint behind.
- Mild detergent: A few drops of dish soap or a pH-neutral cleaner (like Simple Green) mixed with warm water is all you need. Skip bleach, ammonia, or heavy-duty degreasers—they can strip the aluminum's protective oxide layer.
- Compressed air can or air compressor: Perfect for blowing out stubborn dust from tight corners of the T-groove.
- Plastic picks or toothpicks: For prying out caked-on grime that brushes can't reach. Opt for plastic over metal to avoid scratching.
- Non-abrasive sponge: A soft sponge (no scouring pads!) for wiping down the outer surfaces of the pipe.
- Lint-free towels: For drying the pipes thoroughly after cleaning—moisture is the enemy here.
- Rubber gloves: To protect your hands from and any sharp edges on the pipes.
- Optional: Silicone lubricant (food-grade if used near machinery): A tiny dab on T-groove edges can help accessories slide smoothly, but use sparingly—too much attracts dust.
Step-by-Step: How to Clean T-Groove Aluminum Pipes Like a Pro
Now, let's get into the nitty-gritty. Follow these steps, and your T-groove pipes will look (and function) like new. We'll break it down into prep, cleaning, drying, and reassembly—no guesswork involved.
1. Preparation: Disassemble and Clear the Area
Start by removing any aluminum profile accessories attached to the pipes. This includes brackets, shelves, workbench tops, or connectors. It might seem tedious, but cleaning around attached parts will leave hidden grime behind—and that grime will only get worse over time. Lay out the accessories on a clean towel or workbench; you'll want to clean those too (we'll cover that later). If the pipes are part of a larger structure like a workbench, check if you can temporarily detach them—even removing one section at a time makes cleaning easier. If disassembly isn't possible, cover nearby equipment with a drop cloth to protect it from water and debris.
2. Dry Cleaning: Brush and Blow Away Loose Debris
Before introducing water, get rid of as much dry dust and dirt as possible. Grab your soft-bristle brush and gently scrub along the length of the T-groove. Hold the brush at a slight angle to reach into the groove's corners—this is where most debris hides. Work in one direction to avoid pushing dirt back into the groove. Next, use compressed air to blow out any remaining dust. Hold the air nozzle a few inches from the groove and move it slowly along the pipe—this will dislodge particles that the brush missed. If you're using an air compressor, set the pressure to low (around 30-40 PSI) to avoid denting the aluminum or damaging the groove edges.
3. Wet Cleaning: Tackle Grease and Grime
Now it's time to tackle sticky residue, oil, or coolant. Mix a small bowl of warm water with a few drops of mild detergent—you want suds, but not a foam party. Dip your microfiber cloth into the solution, wring it out well (you don't want dripping water), and wipe down the entire outer surface of the pipe. For the T-groove itself, dip your soft brush into the soapy water, shake off excess, and scrub gently along the groove. Focus on areas with visible grease or grime—you might need to repeat this a few times. If you encounter a stubborn spot (like dried glue or paint), use a plastic pick to gently scrape it away—never use a metal tool, as it can scratch the aluminum extrusion profile.
Once the groove is clean, wipe it down with a damp (not wet) microfiber cloth to remove soap residue. Then, go over the outer surface again with a clean, damp cloth to ensure no soap is left behind. Soap residue can attract dust, so thorough rinsing is key here.
4. Drying: Prevent Water Spots and Corrosion
Aluminum dries quickly, but don't skip this step—trapped moisture in the T-groove can lead to white, powdery corrosion (aluminum oxide) over time. Use a lint-free towel to dry the outer surface first, then gently run the towel along the T-groove. For hard-to-reach areas, use compressed air again to blow out moisture—hold the pipe at an angle so water runs out of the groove. If possible, let the pipes air-dry for 10-15 minutes in a well-ventilated area before reassembling. Avoid direct sunlight, which can cause water spots.
5. Cleaning Accessories: Don't Forget the Small Parts
While the pipes dry, turn your attention to the aluminum profile accessories you removed earlier—brackets, connectors, and fasteners. These can get just as grimy as the pipes, and dirty accessories will re-contaminate clean pipes. Wipe them down with a soapy microfiber cloth, rinse with water, and dry thoroughly. For threaded parts or tight crevices, use a toothbrush to dislodge debris. If an accessory is rusted (unlikely if it's aluminum, but possible for steel components), a quick wipe with a vinegar-dampened cloth can help—just dry immediately afterward.
6. Reassembly: Put It All Back Together (and Check for Wear)
Once everything is dry, it's time to reassemble. As you reattach accessories, take a moment to inspect both the pipes and the parts for signs of wear. Are the T-groove edges bent or dented? Are the accessories cracked or warped? If so, now's the time to replace them—using damaged parts can lead to instability or jamming. If you're using silicone lubricant, apply a tiny amount to the edges of the T-groove (not inside it!) to help accessories slide. Tighten fasteners just enough to hold securely—over-tightening can strip threads or deform the aluminum extrusion profile.

Tackling Common Issues: From Corrosion to Stubborn Grime
Even with regular cleaning, you might run into specific problems. Let's troubleshoot the most common ones:
White, Powdery Corrosion (Aluminum Oxide)
Aluminum naturally forms a thin oxide layer that protects it from further corrosion, but if moisture is trapped in the T-groove for too long, this layer can thicken into a white, powdery substance. Don't panic—this is usually superficial. Mix equal parts water and white vinegar, dip a microfiber cloth into the solution, and gently wipe the affected area. The vinegar will dissolve the oxide. Rinse with clean water and dry thoroughly. To prevent it from returning, make sure the T-groove is always dry after cleaning.
Caked-On Grease or Oil
Machinery oil or coolant can build up into a sticky mess. For this, add a drop of dish soap to warm water and let the brush soak in the solution for a minute before scrubbing. For extra tough spots, use a plastic pick to loosen the grease first. Avoid using degreasers unless absolutely necessary—they can damage the aluminum's finish. If you must use one, test it on a small, hidden area first and rinse thoroughly.
Dents or Bent T-Groove Edges
Dents in the pipe itself are hard to fix, but bent T-groove edges can sometimes be gently straightened with a pair of plastic pliers (metal pliers will scratch). Grip the edge lightly and apply slow, even pressure to bend it back into shape. If the bend is severe, the pipe might need to be replaced—damaged grooves won't hold accessories securely.

Preventive Maintenance: Keep Your Pipes Clean for Longer
The best way to keep T-groove aluminum pipes in top shape is to prevent dirt and grime from building up in the first place. Here's a simple schedule to follow:
| Task | Frequency | Tools Needed | Why It Matters |
|---|---|---|---|
| Brush T-grooves for loose debris | Weekly | Soft-bristle brush | Prevents dust from caking into hard-to-remove grime |
| Wipe outer surfaces with microfiber cloth | Bi-weekly | Microfiber cloth | Removes surface dust and fingerprints that attract moisture |
| Deep clean (full disassembly and wet cleaning) | Monthly (or quarterly for low-use setups) | Full cleaning kit (brushes, soap, compressed air) | Eliminates hidden grime and checks for wear |
| Inspect accessories for wear | Monthly | Visual inspection | Catches damaged parts before they jam or break |
| Check for moisture in T-grooves | After cleaning or spills | Compressed air, lint-free towel | Prevents corrosion from trapped water |
Other preventive tips: If your workbench or rack is near a window or door, use a plastic cover when not in use to keep out dust and rain. Avoid placing T-groove pipes near areas with heavy oil splatter or chemical spills—if they do get splashed, clean them immediately. And if you're using the pipes in a humid environment (like a garage with poor ventilation), consider running a dehumidifier nearby to reduce moisture in the air.
Common Mistakes to Avoid
Even with the best intentions, it's easy to make missteps that can damage your T-groove aluminum pipes. Here are the top mistakes to steer clear of:
- Using abrasive tools: Steel wool, wire brushes, or scouring pads will scratch the aluminum, making it more prone to corrosion and dirt buildup.
- Overlooking the T-groove during cleaning: It's easy to wipe the outer surface and call it a day, but the groove is where most problems start. Always prioritize cleaning the groove.
- Using too much lubricant: A little silicone lubricant helps accessories slide, but too much will attract dust and create a sticky mess in the T-groove.
- Letting pipes air-dry without wiping: Air-drying alone can leave water spots, especially if the air is dusty. Always dry with a lint-free towel first.
- Ignoring small dents or bends: A bent T-groove edge might seem minor, but it can cause accessories to jam or loosen over time. Fix or replace damaged pipes promptly.
Long-Term Care: Extend the Lifespan of Your Aluminum Extrusion Profile
With proper cleaning and maintenance, T-groove aluminum pipes can last for decades. Here are a few extra tips to maximize their lifespan:
- Store unused pipes properly: If you have extra pipes, store them in a dry, cool area away from direct sunlight. Hang them horizontally on racks to prevent bending, and cover them with a cloth to keep out dust.
- Use protective caps for unused T-grooves: If a section of the T-groove isn't holding an accessory, plug it with plastic end caps (available at most hardware stores). This prevents debris from settling in.
- Avoid overloading: Aluminum extrusion profile is strong, but it has limits. Check the manufacturer's weight limits for your pipes and accessories—overloading can bend or warp the T-groove.
- replace worn accessories: Aluminum profile accessories like brackets or connectors wear out over time. Replacing them when they start to show signs of wear (like cracks or stripped threads) protects the pipes from damage.
Final Thoughts: Clean Pipes, Smooth Workflows
T-groove aluminum pipes are the backbone of efficient, flexible workspaces—from home garages to industrial factories. By taking the time to clean and maintain them, you're not just keeping them looking good; you're ensuring they function smoothly, last longer, and save you money on replacements. Remember: a little brush and wipe today can prevent a stuck accessory or corroded pipe tomorrow. So grab your tools, set a regular schedule, and give your T-groove pipes the care they deserve—your workflow (and your wallet) will thank you.