- Company Articles
- Products and Technology
- Installation And Maintenance
- Common Castor Installation Base Mistakes: Avoid These in Material Rack B Setup

Common Castor Installation Base Mistakes: Avoid These in Material Rack B Setup
Related Product
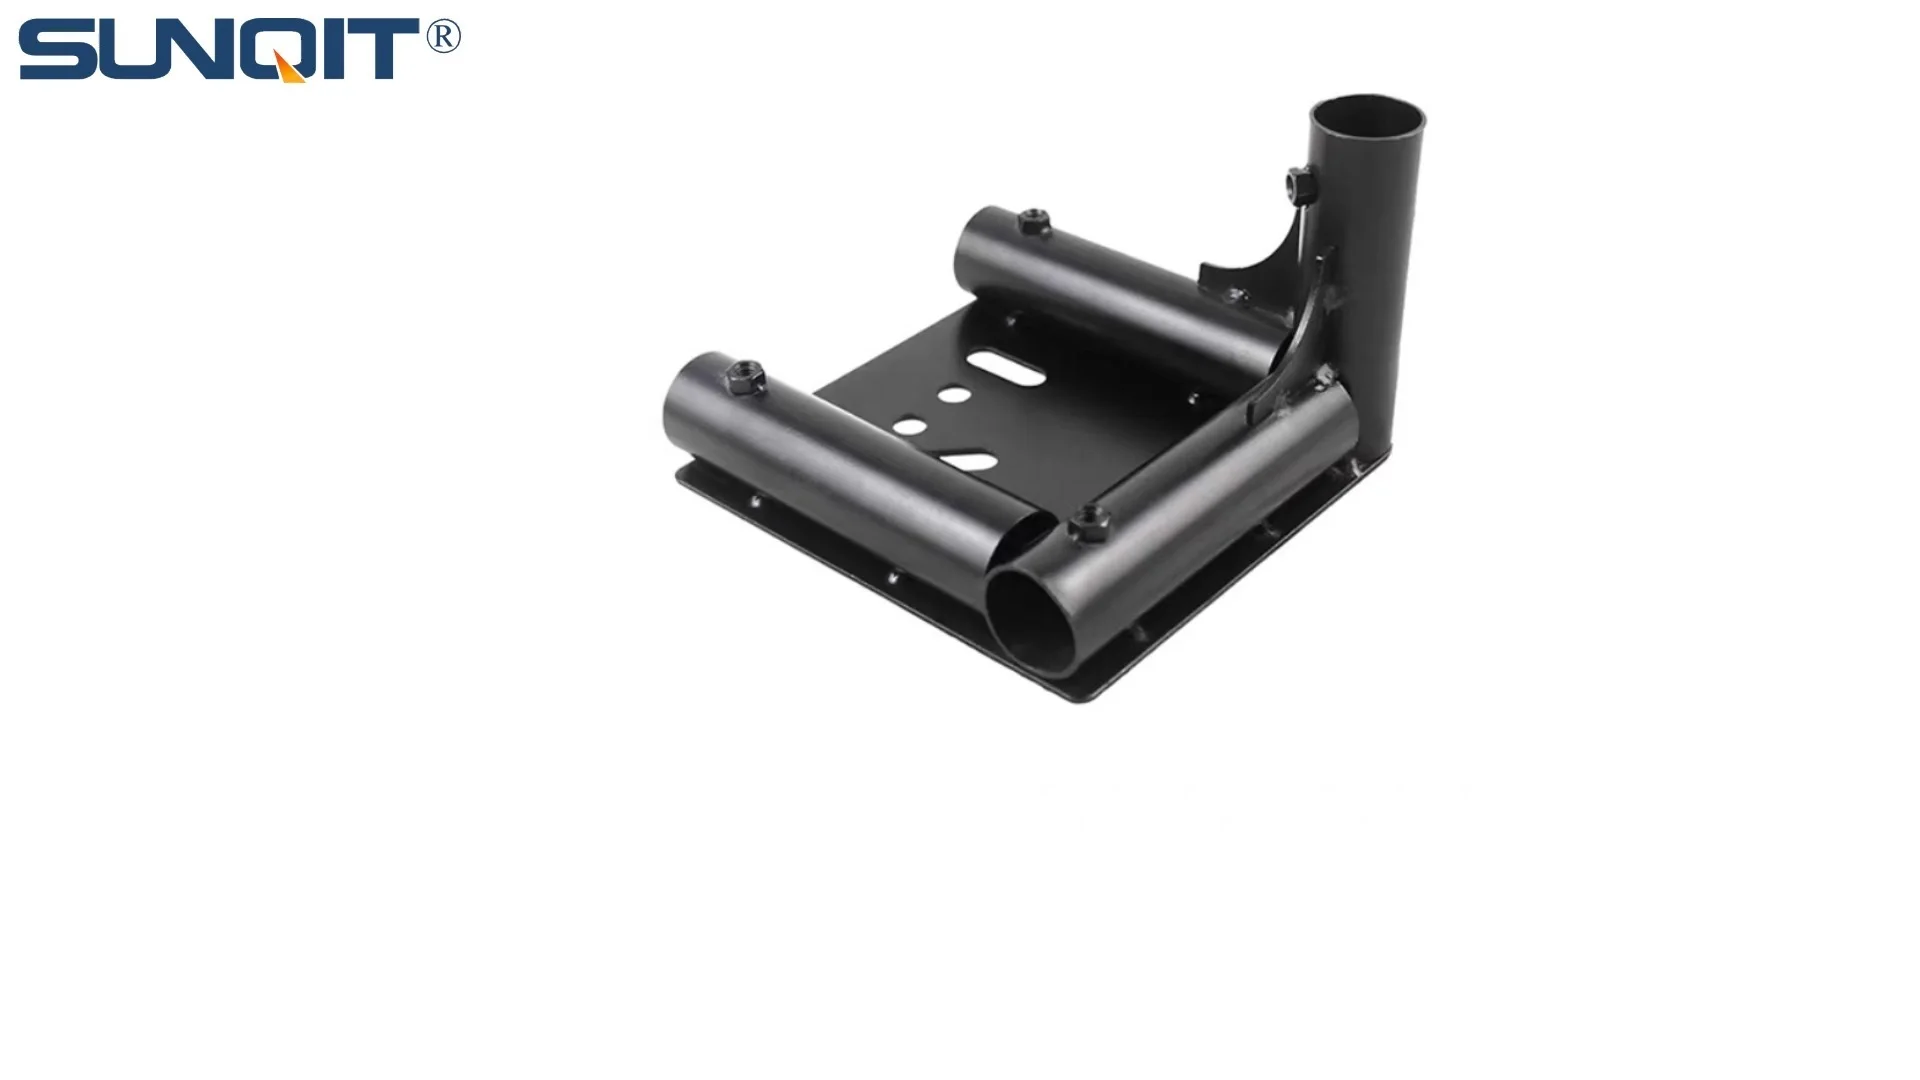
Castor Installation Base
Pipe fitting castor installation base,Well made, precise and strong. Made of high quality of steel,black painting surface treatment for greater resistance to corrosion. It is used for castor or foot lever connection with lean pipe.
Introduction: The Hidden Cost of Overlooking the Basics
In the fast-paced world of manufacturing and warehouse operations, every second counts. We often focus on big-picture goals like optimizing production lines or reducing waste, but sometimes the smallest details can derail even the most well-planned processes. One such detail? The humble castor installation base. It might not seem glamorous, but when setting up critical equipment like the material rack b (3 row and 3 floor) —a workhorse in many facilities for organizing tools, parts, and inventory—getting the castor installation right is non-negotiable.
Over the years, I've visited countless workshops and factories where teams invest in high-quality lean system components but cut corners on installation. The result? Wobbly racks that slow down workflows, damaged inventory from unexpected tipping, and even safety hazards for workers. What's frustrating is that these issues are almost always preventable. In this article, we'll dive into the most common mistakes people make when installing castor bases on Material Rack B, why they happen, and exactly how to avoid them. Whether you're a seasoned facility manager or a new team lead tasked with setting up your first rack, this guide will help you ensure your setup is stable, efficient, and built to last.
Why Material Rack B Matters in Your Lean System
Before we jump into the mistakes, let's take a moment to appreciate why the material rack b (3 row and 3 floor) is such a staple in lean operations. Designed with three rows and three levels, it's built to maximize vertical space while keeping items easily accessible—perfect for reducing the time workers spend searching for tools or parts. When integrated into a lean system , it becomes a linchpin for 5S principles (Sort, Set in Order, Shine, Standardize, Sustain), helping maintain a clutter-free workspace and minimizing motion waste.
But here's the catch: none of these benefits matter if the rack isn't mobile and stable. That's where castors come in. The right caster wheel and installation base allow you to move the rack smoothly between workstations, adapt to changing production needs, and even clean underneath it without heavy lifting. However, if the castor installation base is flawed, the rack becomes more of a liability than an asset. Let's explore the mistakes that turn this essential tool into a headache.

Common Mistake #1: Choosing the Wrong Castor Installation Base Size
The "One-Size-Fits-All" Myth
Walk into any hardware store or browse an industrial supplier's website, and you'll see castor installation bases in all shapes and sizes. It's tempting to grab the first one that looks "about right" for your Material Rack B, but this is where trouble starts. The base size isn't just about fitting the rack—it's about distributing weight evenly and ensuring stability.
I recently consulted with a small electronics manufacturer that had purchased four Material Rack B units. They opted for a generic 4x4-inch castor base because it was on sale, assuming it would work with their racks. Within a week, two of the racks were leaning noticeably to one side. Upon inspection, we the base was too small: the rack's legs were 6 inches apart, but the base only covered 4 inches, leaving the edges unsupported. Every time someone loaded the top shelf, the uneven weight distribution caused the rack to wobble.
Why it happens: Many teams assume that as long as the base has holes that line up with the rack's legs, it's a match. They don't consider the rack's footprint or the distribution of weight across its three floors. Material Rack B is wider than some single-row racks, so a base that works for a smaller rack might be undersized here.
The fix: Always measure the distance between the rack's legs first. For Material Rack B, the standard leg spacing is 18 inches front-to-back and 24 inches side-to-side (check your specific model's manual to confirm). Your castor installation base should be at least 80% of that width and depth to ensure full contact. For example, if the legs are 24 inches apart, a base of 20 inches or more will provide the stability you need. When in doubt, ask your supplier for recommendations—reputable lean pipe supplier teams are happy to help you match bases to racks.

Common Mistake #2: Ignoring Load Capacity Limits
"It Looks Sturdy Enough"—Until It Isn't
Load capacity is another area where optimism often trumps reality. A castor base might claim to support 500 lbs, but that doesn't mean it can handle 500 lbs when paired with Material Rack B's three floors of heavy tools. Here's the thing: the total weight includes not just the rack itself (which can be 70-100 lbs empty) but also everything you stack on it—from metal parts to bulky equipment.
A furniture manufacturer I worked with learned this the hard way. They installed castor bases rated for 300 lbs per wheel on their Material Rack B, assuming four wheels would give them a 1200 lbs total capacity. What they forgot was that weight isn't always evenly distributed. One day, a worker loaded the top shelf with 400 lbs of wooden planks, and the front two castors buckled under the strain. The rack tipped forward, sending planks crashing to the floor and narrowly missing a colleague.
Why it happens: Load capacity ratings can be misleading if you don't read the fine print. Many bases are rated for "static" load (weight when stationary) but fail under "dynamic" load (weight when moving). Material Rack B is often moved to restock or clean, so dynamic load matters. Additionally, teams often forget to account for "shock load"—the extra force when the rack is rolled over uneven floors or bumped into a wall.
The fix: Calculate your maximum possible load first. Start with the rack's empty weight, then add the heaviest items you'll store on each shelf (be generous—better to overestimate than underestimate). For Material Rack B, which has three floors, a safe rule of thumb is to assume the top shelf might hold 30% of the total load, the middle 40%, and the bottom 30% (since heavier items are often stored lower for safety). Then, choose a castor base with a dynamic load rating that's at least 50% higher than your total calculated weight. This buffer accounts for uneven loading and movement.

Common Mistake #3: Poor Alignment During Installation
When "Close Enough" Leads to Wobbles
Imagine building a bookshelf and not lining up the screws straight—you'd end up with a wobbly mess, right? The same logic applies to castor installation. Even if you've chosen the right size and load capacity, misaligning the base with the rack's legs can ruin everything. I've seen racks where the castors were installed at a slight angle, causing the rack to veer to one side every time it was pushed. Over time, this uneven movement wears down the caster wheel bearings and can even bend the rack's frame.
A food packaging plant I visited had this exact issue. Their Material Rack B was supposed to glide smoothly between the filling line and the labeling station, but instead, it required two people to push it—one to steer and one to apply force. The problem? The castor bases were mounted ¼ inch off-center on two of the legs. At first, it was a minor annoyance, but after six months, the uneven pressure cracked one of the rack's support beams. The repair cost? Over $200, not to mention the downtime.
Why it happens: Rushing is the biggest culprit here. When teams are under pressure to set up equipment quickly, they skip the step of marking pilot holes or using a level. Instead, they eyeball the base position and start drilling. Another issue is using worn or mismatched tools—dull drill bits can cause the base to shift mid-installation, throwing off alignment.
The fix: Slow down and use a template. Most caster accessories kits include a paper template or a plastic guide to mark where the holes should go—use it! Place the template on the rack's leg, mark the hole positions with a pencil, and double-check with a level to ensure the base is straight. If your kit doesn't have a template, create one by tracing the base onto cardboard. For extra precision, clamp the base to the leg temporarily before drilling to prevent shifting. Trust me, taking five extra minutes here will save you hours of frustration later.
Common Mistake #4: Overlooking Environmental Factors
Why Your Floor Type and Conditions Matter
Castor bases don't exist in a vacuum—they interact with your facility's floor every day. A base that works perfectly on smooth concrete might fail miserably on a floor with cracks, uneven tiles, or debris. Yet, many teams choose castor bases without considering their unique environment, leading to premature wear and instability.
Consider a automotive repair shop I worked with in a older building. Their floors were dotted with small cracks and oil stains, and they'd installed standard caster wheel bases on their Material Rack B. Within a month, the wheels were getting stuck in cracks, and the oil made the rack slippery when moved. Even worse, the constant jostling from uneven floors loosened the base bolts, making the rack wobble. They thought the solution was to replace the wheels, but the real issue was the base design—they needed bases with larger, shock-absorbing wheels and locking mechanisms to handle the rough terrain.
Why it happens: We often assume all industrial floors are the same, but that's far from true. A warehouse with polished concrete has different needs than a workshop with epoxy-coated floors or a factory with metal grating. Additionally, factors like temperature (extreme heat or cold can affect wheel material) and exposure to chemicals (oils, solvents) play a role. Teams rarely factor these into their base selection, leading to mismatched components.
The fix: Conduct a "floor audit" before choosing your castor base. Walk the path where the Material Rack B will move and note any obstacles: cracks, thresholds, or changes in floor height. If your floor is uneven, opt for bases with swivel casters that can pivot to absorb shocks. For oily or wet environments, look for bases with non-slip caster wheel materials like polyurethane, which grip better than rubber. And don't forget about temperature—if your facility gets very cold, avoid plastic wheels that can become brittle; metal or rubber is more durable in those conditions.
Common Mistake #5: Skipping Post-Installation Testing
"If It Stands, It's Good Enough"—Wrong!
You've chosen the right base size, checked the load capacity, aligned everything perfectly, and accounted for your floor conditions. Now you're done, right? Wrong. The final step—testing—is often the most overlooked, and it's the step that catches the issues you might have missed. Even a small mistake, like a loose bolt or a slightly misaligned wheel, can reveal itself during testing, but if you skip this step, you won't know until it's too late.
A pharmaceutical company I advised had a near-miss because of this. They'd installed four Material Rack B units and immediately loaded them with sensitive lab supplies. A week later, during a routine inspection, they noticed one rack was leaning slightly. When they emptied it and checked the base, they one of the bolts had worked itself loose—something that would have been caught during a simple shake test after installation. Luckily, they caught it before the rack tipped, but it was a wake-up call about the importance of testing.
Why it happens: Testing feels like a "nice-to-have" when you're eager to start using the rack. Teams assume that if the rack stands upright and rolls, it's fine. But stability under load is different from stability when empty, and small issues like loose bolts or misaligned wheels often only show up when the rack is in use.
The fix: Create a simple testing checklist. After installation, do the following: (1) Shake the rack gently from all sides—if it wobbles, check the base bolts and alignment. (2) Roll it across the intended path at normal speed—listen for unusual noises (grinding, squeaking) which indicate wheel or base issues. (3) Load it with weight (use sandbags or boxes to simulate your typical load) and repeat the shake and roll tests. (4) Lock the brakes (if your castors have them) and try to push the rack—if it moves, the brakes aren't engaging properly. This 10-minute test can save you from costly repairs and safety incidents down the line.
A Quick Reference: Common Mistakes and Solutions
| Mistake | Why It Happens | Consequence | Solution |
|---|---|---|---|
| Wrong base size | Assuming "one-size-fits-all" | Uneven weight distribution, wobbling | Measure leg spacing; choose base 80% of rack width/depth |
| Ignoring load capacity | Focusing on static load, not dynamic | Base buckling, rack tipping | Calculate total load + 50% buffer; check dynamic rating |
| Poor alignment | Rushing installation, no template | Uneven rolling, frame damage | Use template, clamp base, check with level |
| Overlooking environment | Assuming all floors are the same | Wheel damage, stuck casters | Audit floor conditions; choose wheels for terrain |
| Skipping testing | Eagerness to use the rack | Loose bolts, hidden wobbles | Shake test, roll test, load test post-installation |
Conclusion: Invest in the Base, Invest in Your Team
At the end of the day, the castor installation base might seem like a small part of your lean system , but it's the foundation that keeps your Material Rack B—and your workflow—stable. By avoiding these five common mistakes, you're not just preventing headaches—you're investing in efficiency, safety, and the long-term success of your operations. Remember, a well-installed rack moves smoothly, stays upright, and lets your team focus on what they do best: creating value.
So the next time you're setting up a material rack b (3 row and 3 floor) , take a deep breath, measure twice, and test thoroughly. Your future self (and your team) will thank you. And if you're ever in doubt, reach out to your lean pipe supplier —they're there to help you get it right the first time.