- Company Articles
- Products and Technology
- Installation And Maintenance
- Common Installation Mistakes with End Support for Roller Track Placon Mount with Wheel

Common Installation Mistakes with End Support for Roller Track Placon Mount with Wheel
Related Product
End Support for Roller Track Placon Mount with Wheel
End support for roller track placon mount with wheel,the special design with end wheel,make it with more flexible function for roller track and pipe connection and give more option for selection for building flow rack system.
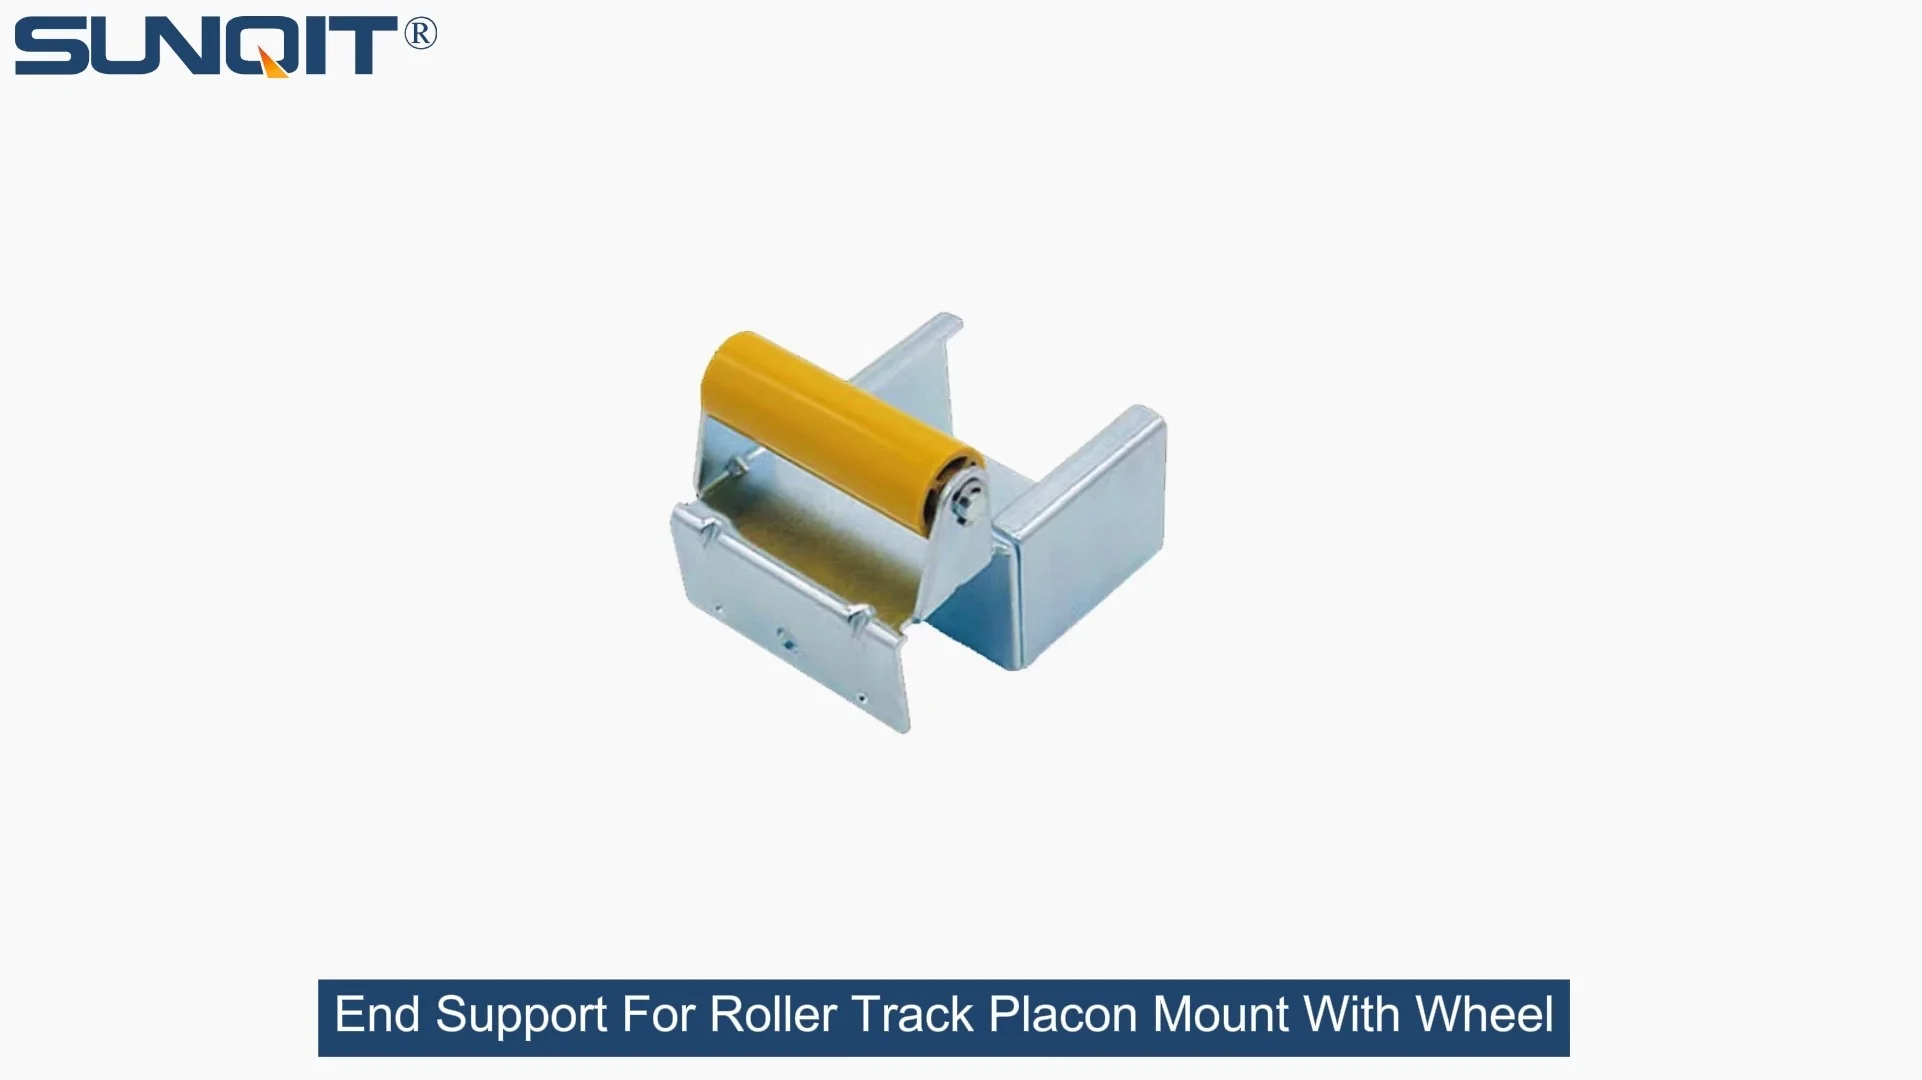
Roller tracks are the unsung heroes of modern manufacturing and logistics. They quietly keep production lines moving, warehouses organized, and assembly processes efficient—whether you're handling small electronic components in a 3C factory or heavy automotive parts on a conveyor system. But here's the thing: even the sturdiest roller track can fail if one tiny part is installed wrong. Today, we're zooming in on a component that's easy to overlook but critical to performance: the end support for roller track placon mount with wheel. These small but mighty parts anchor your track, absorb impact, and keep everything aligned. Get them right, and your lean system hums along. Get them wrong, and you're looking at jams, downtime, and even safety hazards. Let's walk through the most common installation mistakes we've seen (and how to avoid them).
The Hidden Cost of "Good Enough" Installations
Before we dive into specific mistakes, let's talk about why this matters. Imagine a busy warehouse where a misaligned roller track end support causes a cart to jam mid-transport. Workers stop, supervisors scramble, and a 10-minute delay turns into an hour of lost productivity. Or think about a medical device assembly line where a loose end support leads to uneven product movement—suddenly, precision parts are scratched, and quality checks fail. These aren't just hypothetical scenarios; they're real problems we've helped manufacturers fix. The end support might seem like a small detail, but in the world of lean manufacturing, details make or break efficiency.
1. Choosing the Wrong Material: When "Close" Isn't Good Enough
One of the first mistakes happens before the wrench even comes out: picking the wrong materials for the end support. Many installers grab whatever aluminum profile or steel bracket is handy, assuming "metal is metal." But here's the catch: roller tracks face constant stress—vibration from moving loads, weight from stacked products, even environmental factors like humidity or static electricity in ESD workstations. Using a flimsy plastic bracket instead of reinforced aluminum, or skimping on corrosion-resistant steel in a damp warehouse, is a recipe for early failure.
Material Mix-Up: What Happens When You Choose Wrong
| Common Wrong Material | Why It Fails | Better Alternative |
|---|---|---|
| Thin-gauge steel brackets | Bends under heavy loads; rusts quickly in humid areas | Anodized aluminum profile with 2.0mm+ thickness |
| Generic plastic end caps | Cracks from impact; melts near heat sources (like conveyors) | Reinforced nylon with steel inserts |
| Uncoated steel wheels | Creates static buildup in ESD-sensitive zones (e.g., 3C assembly) | ESD-safe black wheels with conductive coating |
Pro tip: Always check the load rating of your end support against the maximum weight your roller track will carry. If you're installing in a specialized environment—like a medical device cleanroom or an automotive paint shop—ask your supplier about material certifications. A good lean solution provider will help you match materials to your specific needs, not just sell you a one-size-fits-all part.
2. Skipping the Pre-Install Alignment Check: The "Eyeball It" Trap
You've got your materials, you're ready to mount the end support—so you hold it up, eye it against the track, and drill. Sounds quick, right? But "eyeballing" alignment is one of the easiest ways to create a lopsided roller track. Even a 1-degree misalignment can cause wheels to rub against the track edges, wearing down both components and creating that annoying "screech" sound during operation. Over time, this friction can bend the end support bracket or loosen the mounting screws, leading to bigger issues down the line.
How to spot this mistake early: After mounting, roll a test cart along the track. If it veers to one side, wobbles, or requires extra force to push, alignment is off. Another telltale sign? Uneven wear on the wheel treads—one side will look more worn than the other. The fix here is simple but often skipped: use a level and a measuring tape. Mark the track's position first, then align the end support so it's perfectly parallel. For longer tracks, use string lines or laser levels to ensure consistency across the entire length.
3. Overlooking Load Distribution: When "Tight" Becomes "Too Tight"
We get it—you want that end support to stay put, so you crank down the bolts as hard as possible. But overtightening is just as bad as undertightening. Aluminum profile and placon mounts are designed to flex slightly under load; clamping them with excessive force can warp the metal, creating stress cracks. Even worse, overtightening strips threads in the mounting holes, making it impossible to reattach the support later if you need to adjust or replace it.
On the flip side, loose bolts are a disaster waiting to happen. A few weeks of vibration from moving carts, and suddenly the end support shifts, throwing the entire track out of alignment. The sweet spot? Use a torque wrench set to the manufacturer's recommended specs (usually 8-12 Nm for aluminum components). If you don't have a torque wrench, a good rule of thumb is to tighten until the bolt resists, then give it a quarter-turn more—no gorilla strength needed.
4. Ignoring Environmental Needs: ESD, Corrosion, and Temperature
Your roller track doesn't exist in a vacuum. A warehouse in coastal Guangdong has different needs than a desert factory in Arizona, just as a semiconductor plant needs ESD protection that a furniture assembly line might not. Yet installers often treat end supports as "one and done," forgetting to account for the environment they'll live in.
Take ESD workstations, for example. In electronics manufacturing, static electricity can fry sensitive components. If your end support uses non-conductive materials or isn't grounded properly, that static builds up on the roller track—and suddenly, you're throwing away defective circuit boards. Similarly, in food processing or pharmaceutical facilities, using non-stainless steel parts can lead to rust, which contaminates products and violates safety standards.
Solution: Make a checklist of your environment's needs before installing. Do you need ESD-safe wheels? Stainless steel brackets for corrosion resistance? Heat-resistant materials near ovens or welders? Your lean solution should adapt to these conditions, not fight them. When in doubt, talk to your supplier about customizing components—many, like aluminum pipe accessories, can be treated with special coatings or finishes to match your workspace.
5. Rushing the Final Test: "It Looks Good, So It Must Work"
You've aligned, tightened, and double-checked the materials—now you're ready to call it a day. But skipping the final load test is a mistake we see all the time. A track might look perfect empty, but add a full cart of parts, and suddenly the end support sags, or the wheels lock up. Testing under real-world conditions is the only way to be sure your installation holds up.
How to test properly: Start with 50% of your maximum expected load, roll it back and forth 10 times, and check for shifting or unusual noises. Then ramp up to 100% load and repeat. Finally, do a "shock test"—gently tap the end support with a rubber mallet to simulate impact from a sudden stop. If everything stays in place and moves smoothly, you're good to go. If not, now's the time to adjust, not after production starts.
A Step-by-Step Guide to Getting It Right
Now that we've covered what not to do, let's walk through the correct installation process. Think of this as your lean manufacturing playbook for end supports—simple, repeatable, and focused on preventing mistakes before they happen.
- Prep Your Workspace: Clear the area around the roller track. Gather tools (level, torque wrench, measuring tape, marker) and lay out all parts—end support, wheels, bolts, placon mounts, and any aluminum profile accessories. Check that each part is undamaged (no cracks, bent threads, or missing components).
- Mark the Track Position: Use a measuring tape to mark where the end support will attach to the frame or conveyor. For long tracks, mark every 1-2 meters to ensure alignment. Use a level to draw a straight reference line—this is your guide for mounting.
- Attach the Placon Mount: Secure the placon mount to the aluminum profile first (not the track). Tighten bolts to the recommended torque—remember, "snug but not stripped."
- Mount the End Support: Align the end support with your reference line, then attach it to the placon mount. Double-check with the level to ensure it's straight up and down (vertical) and parallel to the track (horizontal).
- Install the Wheel: Slide the wheel onto the end support axle, then secure it with the retaining clip or nut. Spin the wheel by hand—if it wobbles or sticks, check for debris in the axle or a bent component.
- Test and Adjust: As we mentioned earlier, test with real loads, check for alignment, and tweak as needed. If the track still shifts, add shims under the placon mount to level it out.
Pro tip: Take photos during installation. If you need to replicate the setup elsewhere in your facility (or troubleshoot later), having a visual record saves time and reduces errors. It's a small step that fits right into the "sustainable improvement" mindset of lean solution design.

Keeping Your End Supports (and Your Sanity) in Check
Installation is just the start—even the best end supports need a little TLC to stay effective. Think of it like maintaining a car: regular check-ups prevent breakdowns. Here's a quick maintenance routine to add to your schedule:
- Weekly: Inspect wheels for cracks or wear. Spin them to ensure smooth movement—grinding sounds mean it's time to clean or replace the axle.
- Monthly: Tighten bolts (they loosen over time with vibration). Check for rust or corrosion, especially in humid areas—clean with a wire brush and apply anti-rust spray if needed.
- Quarterly: Re-align the track if you notice carts veering. Measure the distance between end supports—if it's changed, the placon mount might be slipping.
- Annually: replace worn wheels or brackets. Even high-quality aluminum profile parts wear out eventually, and swapping them out before they fail saves downtime.
Remember, maintenance isn't just about fixing problems—it's about making your lean system more efficient over time. If you notice the same end support keeps loosening, maybe the location needs a stronger bracket. If wheels wear out quickly, consider upgrading to a heavier-duty material. Small adjustments add up to big improvements in the long run.

Final Thoughts: Details That Drive Lean Success
At the end of the day, installing end supports for roller track placon mounts with wheels is about more than just following steps—it's about respecting the role every component plays in your lean system. A misaligned support isn't just a minor hassle; it's a bottleneck waiting to happen. But when you take the time to choose the right materials, align carefully, and maintain consistently, you're not just building a better roller track—you're building a more reliable, efficient, and resilient operation.
Whether you're running a small workshop or a large-scale production line, these lessons apply. Lean manufacturing isn't about perfection; it's about progress. By avoiding these common mistakes, you're one step closer to the smooth, uninterrupted workflow that makes lean pipe, aluminum profile, and conveyor systems so valuable in the first place.
So the next time you're installing an end support, take a deep breath, grab your level, and remember: the difference between a "good enough" installation and a great one is in the details. Your team, your products, and your bottom line will thank you.