- Company Articles
- Products and Technology
- Installation And Maintenance
- Common Installation Mistakes with One Way Rotatory Straight Lean Pipe Joint Chrome (Avoid These!)

Common Installation Mistakes with One Way Rotatory Straight Lean Pipe Joint Chrome (Avoid These!)
Related Product
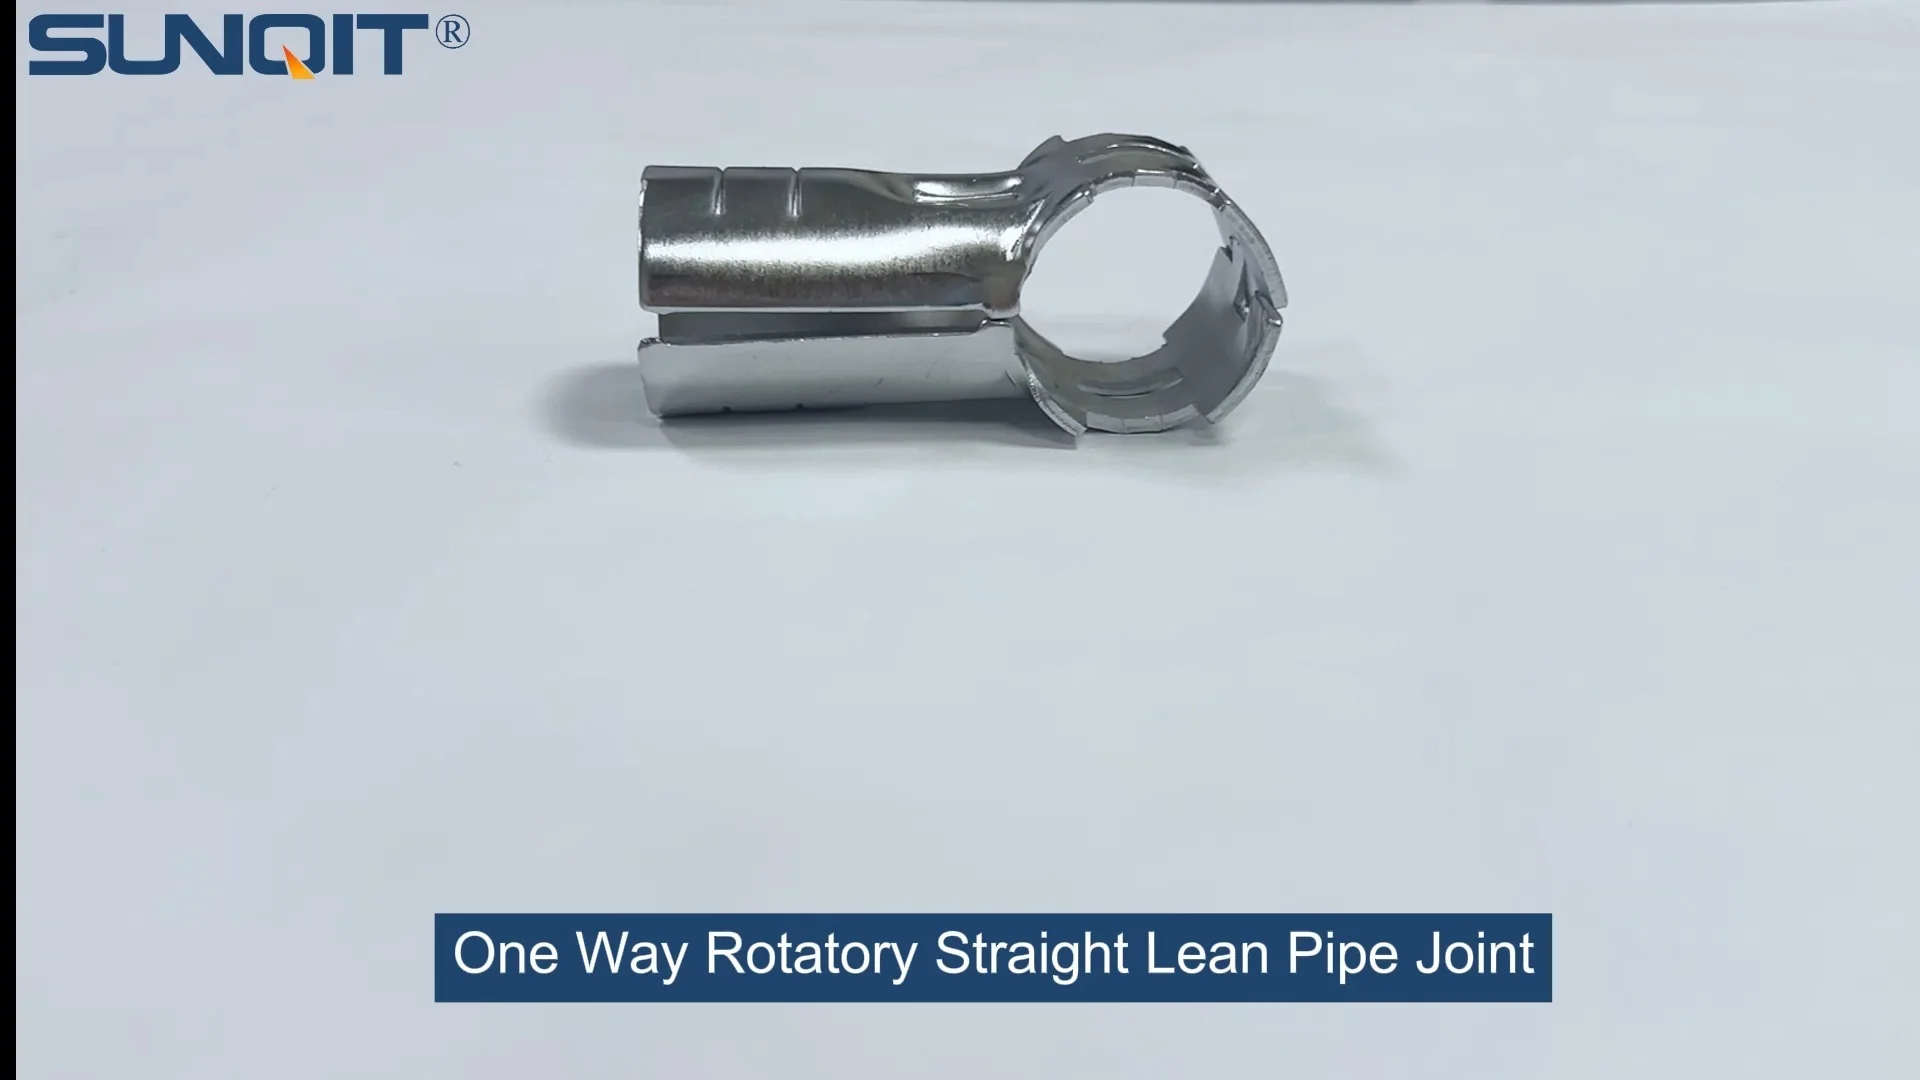
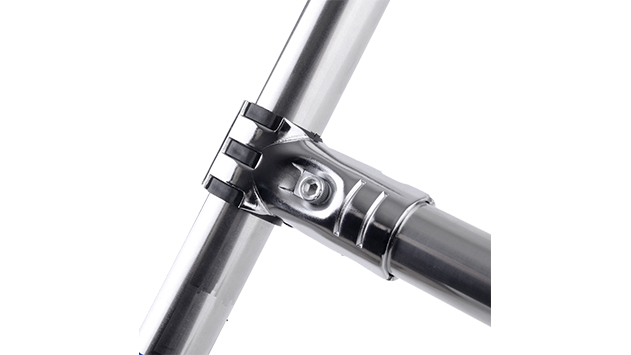
One Way Rotatory Straight Lean Pipe Joint Chrome
Two way lean pipe joint for 2 pcs 28MM lean pipe connection in straight angle with rotatory fucntion, which used widely in workbench, flow rack, hand trolley frame connection.
If you've ever walked through a well-organized factory floor, warehouse, or assembly line, you've probably seen the backbone of lean manufacturing in action: structures built with lean pipe and joints. Among these components, the one way rotatory straight lean pipe joint chrome stands out as a workhorse. It's the unsung hero that lets you build flexible, customizable workbenches, flow racks, and material handling systems—all while keeping processes efficient and adaptable. But here's the thing: even the sturdiest lean pipe joint can fail if installed wrong. Whether you're a seasoned facility manager or a new technician setting up your first lean system, avoiding installation mistakes isn't just about saving time—it's about ensuring safety, maximizing durability, and keeping your operations running smoothly. In this guide, we'll walk through the most common slip-ups people make when installing these chrome-plated joints, why they happen, and exactly how to steer clear of them. Let's dive in.
What Even Is a One Way Rotatory Straight Lean Pipe Joint Chrome?
Before we jump into mistakes, let's make sure we're on the same page about the star of the show. A one way rotatory straight lean pipe joint chrome is a specialized connector designed to link lean pipes (those lightweight, often steel or aluminum tubes used in lean systems) at straight angles—with a twist: it allows one-way rotation. This rotation lets parts of your structure pivot or adjust in a specific direction, which is game-changing for applications like adjustable workbenches, tiltable flow racks, or material feeders where controlled movement is key. The "chrome" coating isn't just for looks, either; it adds corrosion resistance, making the joint durable in busy, sometimes damp industrial environments.
These joints are the glue that holds lean systems together. Think about it: a wobbly workbench or a flow rack that jams because of a poorly installed joint can slow down production, frustrate workers, and even lead to accidents. That's why getting installation right matters—whether you're building a simple assembly station or a complex conveyor system.
Mistake #1: Over-Tightening (or Under-Tightening) the Joint
Let's start with the most common culprit: improper tightening. You'd think "tighten the joint until it's secure" is straightforward, but in reality, there's a sweet spot between "loose enough to rotate" and "so tight it breaks."
The Problem with Over-Tightening
Picture this: You're assembling a workbench, and you want it rock-solid. You grab your wrench and crank down on the joint nut as hard as you can. "Tighter is better," you think. But here's what's really happening: The chrome-plated threads on the joint are under immense pressure. Over time, those threads can strip, leaving you with a joint that won't hold at all. Worse, the one-way rotation mechanism inside might get stuck. Remember, this joint is supposed to rotate in one direction—over-tightening can jam the internal components, turning a "rotatory" joint into a "permanently fixed" one. That defeats the whole purpose of choosing a rotatory model!
I once visited a small electronics factory where a team had over-tightened their lean pipe joints on a testing workbench. Within a month, the rotation feature seized up, and they couldn't adjust the angle of their equipment. By the time they noticed, the threads were stripped, and they had to replace all eight joints—costing time and money they didn't need to spend.
The Flip Side: Under-Tightening
On the other end of the spectrum is under-tightening. Maybe you're in a hurry, or you're worried about stripping the threads, so you give the nut a few half-hearted turns and call it a day. Now, your structure is wobbly. Every time someone leans on the workbench or a heavy part slides down the flow rack, the joint shifts. Over time, this looseness can stress the lean pipe itself, bending or warping it. Even worse, a loose joint can cause the entire structure to collapse—especially if it's holding heavy materials. I've seen a material rack (loaded with plastic components) topple because a few under-tightened joints gave way. No one was hurt, but the parts scattered everywhere, and production halted for hours.
Pro Tip: Use a torque wrench (set to the manufacturer's recommended torque—usually 15-20 Nm for most lean pipe joints) to get it right. If you don't have a torque wrench, a good rule of thumb is to tighten until the joint feels secure, then give it a quarter-turn more. Test the rotation afterward: it should move smoothly in one direction without slipping.
The Problem with Under-Tightening
Under-tightening is just as bad, if not worse. A joint that's too loose will let the lean pipe wiggle, which puts extra stress on the entire structure. Over time, this can bend the pipe or wear down the joint's internal components. In a busy warehouse, a loose joint might even cause the structure to shift while workers are loading or unloading materials—hello, safety hazard.
Mistake #2: Misaligning the Lean Pipe and Joint
Imagine building a house with crooked studs—everything else will be off, right? The same goes for lean pipe joints. If your lean pipe isn't perfectly aligned with the joint's socket before tightening, you're setting yourself up for failure.
What Misalignment Looks Like
Misalignment can happen in two ways: angular misalignment (the pipe is at a slight angle to the joint, not straight) or axial misalignment (the pipe isn't fully inserted into the joint socket). Let's break them down.
Angular Misalignment: You're in a rush, so you eyeball the pipe and joint, thinking "close enough." But even a 5-degree angle off-center creates uneven stress. When you tighten the joint, the pipe will bend slightly to fit, weakening it over time. I've seen this lead to cracked pipes in high-vibration areas (like near machinery). The joint itself will also wear unevenly—one side taking all the load—shortening its lifespan.
Axial Misalignment: This is when the pipe isn't pushed all the way into the joint's socket. Maybe you stopped when you felt a little resistance, or you didn't check the insertion depth mark (yes, many joints have a line indicating how far the pipe should go). A pipe that's only halfway inserted has less surface area gripping the joint, so it's more likely to slip or twist. In a flow rack, this could mean products get stuck or slide off track.
How to Fix It: Always use a level or a straightedge to check alignment before tightening. Most lean pipes are straight, so lay the pipe and joint on a flat surface (like a table) to ensure they're co-linear. Look for insertion depth marks on the joint—push the pipe in until it hits that mark. If there's no mark, aim for inserting the pipe at least 3-4 cm into the socket (that's about the width of two fingers). For extra precision, mark the pipe with a pencil at the correct depth before inserting.

Mistake #3: Using Incompatible Lean Pipes or Accessories
Not all lean pipes are created equal, and using the wrong one with your one way rotatory straight lean pipe joint chrome is a recipe for disaster. Let's say you have a joint designed for 28mm diameter lean pipes, but you grab a 30mm aluminum profile instead. It might "fit" if you force it, but it won't hold securely.
The Dangers of Mismatched Pipe Sizes
Lean pipes come in standard diameters: 28mm (the most common), 30mm, and sometimes 20mm for lightweight applications. The joint's socket is machined to match a specific diameter. If your pipe is too small, it'll rattle inside the joint—even if you tighten the nut. If it's too large, you'll have to hammer it in, which can damage the joint's internal walls or the pipe itself. I once saw a warehouse use 30mm steel pipes with 28mm joints; within weeks, the pipes had dented the joint sockets, making them useless for future projects.
Accessories Matter Too
It's not just pipes—accessories like washers or locking collars can cause issues if they're incompatible. For example, some joints require a specific type of washer to prevent the nut from loosening. Using a washer that's too thick can push the joint out of alignment; one that's too thin won't distribute pressure evenly, leading to leaks (if you're using the joint in a wet area) or premature wear.
| Mistake | Consequence | How to Avoid |
|---|---|---|
| Using 30mm pipe with a 28mm joint | Pipe damages joint socket; loose fit | Check joint specs for pipe diameter; measure pipes before use |
| Mixing steel pipes with aluminum joints (without coating) | Galvanic corrosion (rust from metal reaction) | Use corrosion-resistant washers or stick to same-metal combinations |
| Using generic nuts instead of joint-specific nuts | Threads strip; nut loosens over time | Always use the nuts provided with the joint (they're designed for the threads) |
Mistake #4: Ignoring the Load Capacity
"It's just a joint—how much weight can it really hold?" Spoiler: more than you think, but not. Every one way rotatory straight lean pipe joint chrome has a maximum load rating, and exceeding it is a huge risk.
Why Load Capacity Matters
Manufacturers test these joints to determine how much weight they can support safely—both static (stationary weight, like a shelf full of parts) and dynamic (moving weight, like products sliding down a flow rack). Exceeding that rating puts stress on the joint's internal components, especially the rotation mechanism. Over time, the joint may start to rotate in both directions (losing its "one-way" feature) or even snap under heavy loads.
I worked with a furniture manufacturer that used these joints on a flow rack for wooden planks. They assumed the joint could handle 50kg, but the actual rating was 30kg. Within three months, two joints failed, and a stack of planks crashed to the floor—luckily no one was hurt, but it cost them downtime and replacement parts.
Pro Tip: Always check the load rating label on the joint packaging or the manufacturer's specs online. If you're unsure, calculate the total weight your structure will hold (including the weight of the pipes and accessories) and divide by the number of joints. For example, a workbench with 4 legs (4 joints) holding 100kg should have joints rated for at least 25kg each (plus a 20% safety margin, so aim for 30kg+). When in doubt, overestimate—better safe than sorry.
Mistake #5: Skipping Post-Installation Checks
You've tightened the joints, aligned the pipes, used the right parts—done, right? Wrong. Skipping post-installation checks is like baking a cake and not tasting it before serving: you might miss a critical flaw.
What to Check After Installation
Here's a quick checklist to run through once your structure is built:
- Rotation Test: Gently rotate the joint in its intended direction. It should move smoothly, with no grinding or sticking. If it's stiff, loosen the nut slightly (a quarter-turn) and try again.
- Stability Test: Push or shake the structure gently. It should feel solid—no wobbling or creaking. If it moves, check for loose joints or misaligned pipes.
- Weight Test: Load the structure with a small amount of weight (half of what it will normally hold) and leave it for 24 hours. This "settling" period can reveal weak joints that loosen under pressure.
- Visual Inspection: Look for signs of stress: bent pipes, cracks in the joint, or stripped threads. If you see any, disassemble and fix the issue before using the structure.
A manufacturing plant I consulted for once skipped these checks on a new conveyor system. They started using it immediately, and by the end of the day, a joint had loosened, causing a bottleneck in production. A 10-minute check could have prevented hours of downtime.
Putting It All Together: A Lean Installation Process
Now that we've covered the mistakes, let's outline a simple, foolproof process to install your one way rotatory straight lean pipe joint chrome correctly:
- Prep Your Workspace: Clear a flat, clean area to work. Lay out all parts (pipes, joints, nuts, washers) and check for defects (dents, rust, stripped threads).
- Check Compatibility: Verify pipe diameter matches the joint socket. Ensure accessories (washers, collars) are the right type for the joint.
- Align and insert: Use a level to align the pipe and joint. insert the pipe to the depth mark (or 3-4 cm) and hold it steady.
- Tighten to Spec: Use a torque wrench to tighten the nut to the manufacturer's recommended torque (usually 15-20 Nm). If no torque wrench, tighten until snug, then a quarter-turn more.
- Test and Adjust: Rotate the joint, check stability, and load-test lightly. Adjust any loose or stiff joints as needed.
Conclusion: Small Mistakes, Big Consequences (But Easy to Avoid)
Installing a one way rotatory straight lean pipe joint chrome might seem like a small task, but it's the foundation of a functional, safe lean system. Over-tightening, misalignment, incompatible parts, ignoring load limits, and skipping checks are all mistakes that can turn a simple assembly job into a costly headache. But with a little patience, the right tools, and attention to detail, you can avoid these pitfalls.
Remember: lean manufacturing is all about efficiency and continuous improvement. Taking the time to install your joints correctly isn't just "doing it right"—it's keeping your operations lean, your workers safe, and your equipment working for years to come. So next time you pick up a wrench, take a deep breath, follow these tips, and build something that lasts.