- Company Articles
- Products and Technology
- Installation And Maintenance
- Common Mistakes to Avoid When Installing M10*56 Rubber Leveling Feet

Common Mistakes to Avoid When Installing M10*56 Rubber Leveling Feet
Related Product
M10*56 Rubber Leveling Feet
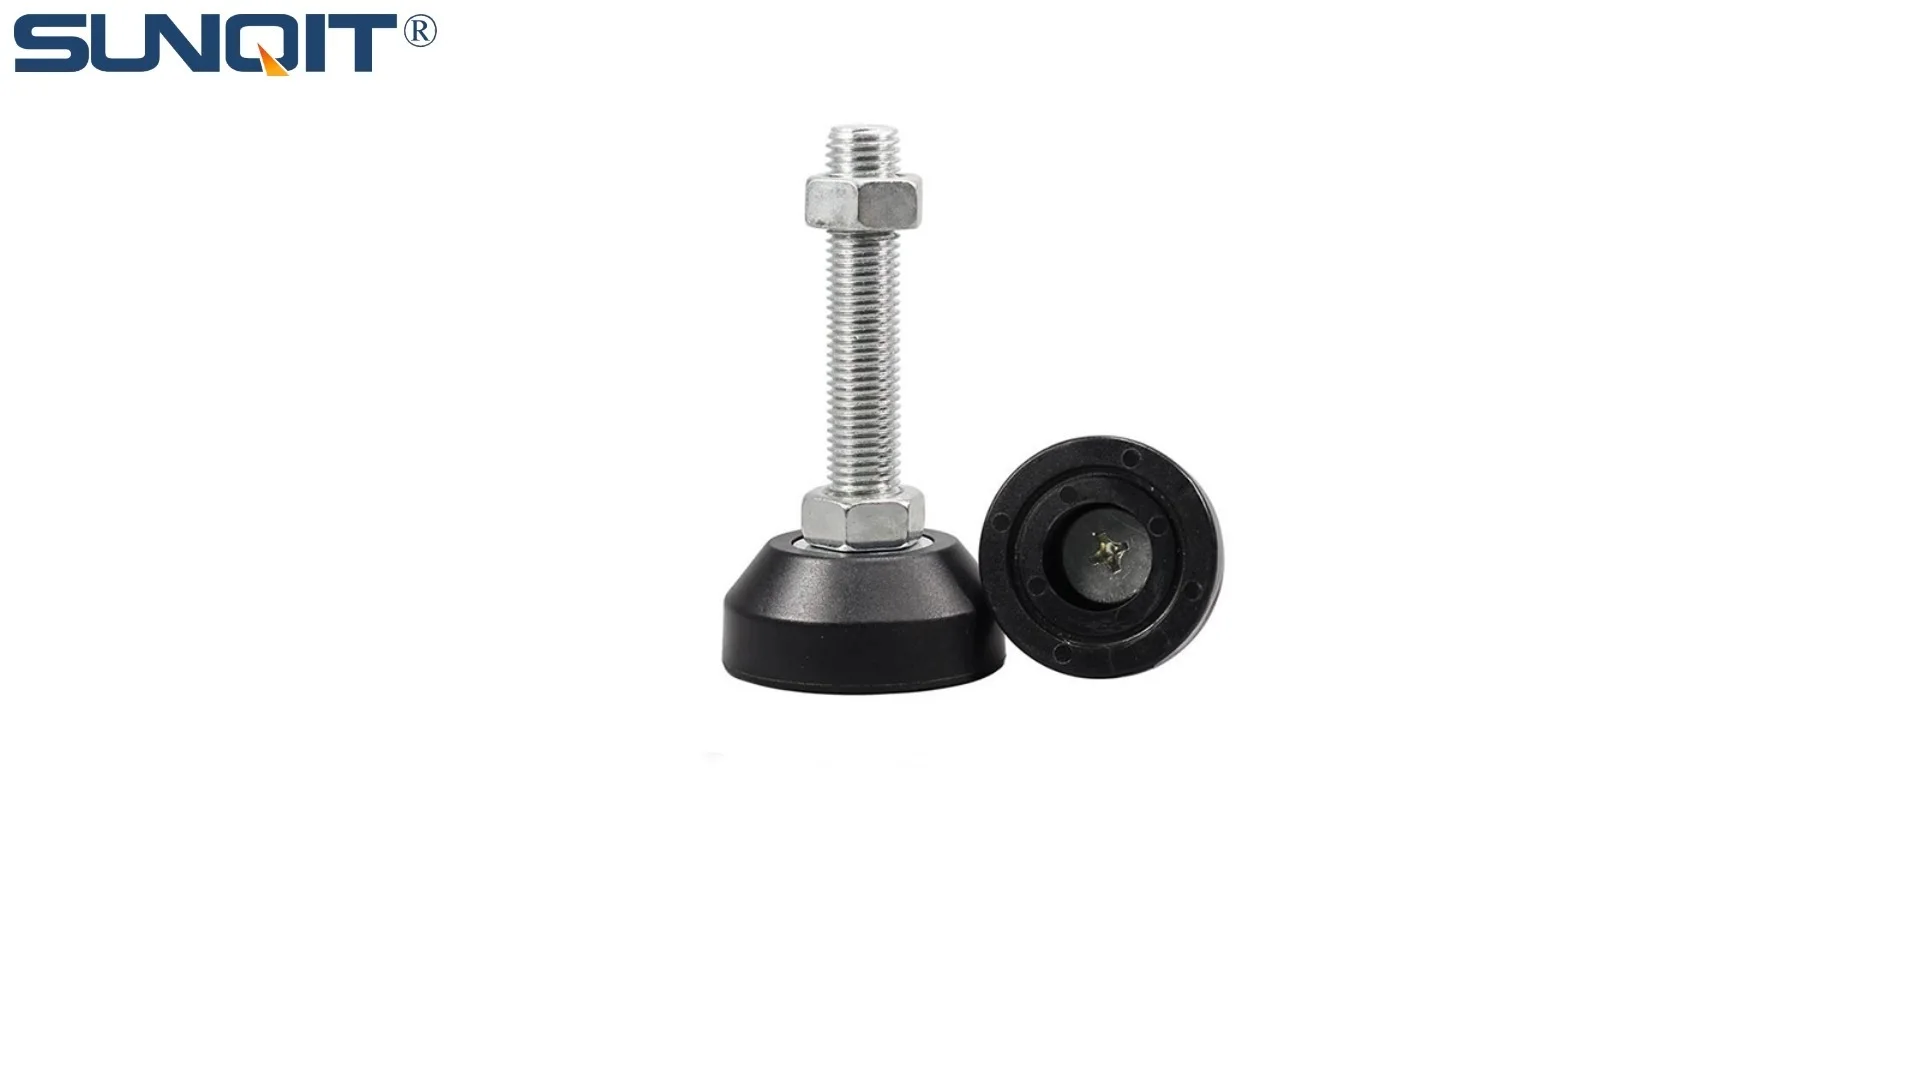
Adjustable leveling feet are designed to keep machines level when placed on uneven or sloped ground. Otherwise known as adjustable equipment feet, they are available to order in a wide variety of size and load capacity combinations.
Why Getting It Right Matters More Than You Think
Walk into any workshop, factory floor, or even a home garage, and you'll likely spot a workbench holding tools, parts, or equipment. Whether it's a sleek aluminum workbench in a high-tech manufacturing plant or a sturdy lean pipe workbench in a small-scale assembly shop, one component often goes unnoticed but plays a critical role: the humble leveling foot. Specifically, M10*56 rubber leveling feet—those small, threaded devices that screw into the base of workbenches to adjust height and ensure stability.
You might be thinking, "How complicated can installing a leveling foot be? Just screw it in, right?" But here's the thing: I've seen too many teams overlook the details, only to deal with wobbly workbenches, damaged equipment, or even safety hazards down the line. When a workbench isn't properly leveled, it's not just an annoyance—it can throw off measurements, cause parts to slide, or stress the workbench frame over time. And when that workbench is part of a lean system, where efficiency and precision are everything, those small mistakes can add up to big delays and costs.
In this article, we're going to dive into the most common mistakes people make when installing M10*56 rubber leveling feet, why they happen, and exactly how to avoid them. Whether you're setting up a new lean pipe workbench or upgrading an existing aluminum workbench, these tips will save you time, frustration, and maybe even a few headaches. Let's get started.
Common Mistake #1: Ignoring Load Capacity—"It Looks Sturdy Enough, Right?"
Let's start with a mistake I see all the time: underestimating how much weight the leveling feet need to support. M10*56 rubber leveling feet come with specific load capacity ratings, usually listed in kilograms or pounds. This number tells you the maximum weight each foot can safely hold without deforming, cracking, or failing. But too often, teams just grab the first set of feet they find, assuming "if it fits the thread, it'll work."
Here's why that's a problem. Imagine you're setting up a lean pipe workbench to hold heavy machinery parts—say, 500 kg total. If your M10*56 feet are rated for 100 kg each, and the workbench has four feet, that might seem like 400 kg total capacity. But wait—what if the load isn't evenly distributed? Maybe one corner holds a 200 kg tool, exceeding the 100 kg limit for that foot. Over time, the rubber could compress permanently, the thread might strip, or the foot could even snap. Suddenly, your "sturdy" workbench is leaning to one side, and you're left wondering why.
Pro Tip:
Always calculate the total load your workbench will carry, then divide by the number of leveling feet (plus a 20% safety margin). For example, a 500 kg load on 4 feet needs feet rated for at least 150 kg each (500 ÷ 4 = 125 kg + 20% = 150 kg). Check the manufacturer's specs for your M10*56 feet—this info is usually printed on the packaging or available in the product datasheet.
The consequences of ignoring load capacity aren't just about the feet themselves. A workbench that sags under weight can warp the frame, especially if it's an aluminum workbench with a lightweight profile. Warped frames mean misaligned shelves, drawers that jam, or even stress cracks in the aluminum extrusion. And if the workbench holds sensitive equipment, like measuring tools or electronic components, an uneven surface can throw off calibrations, leading to faulty products or wasted materials.
So, how do you avoid this? Start by asking: What's the heaviest item this workbench will ever hold? Will the load be spread out or concentrated in one area? Then, match that to the load rating of your M10*56 feet. If you're unsure, reach out to your lean pipe supplier or aluminum profile supplier—they can help you pick the right feet for the job. Remember, it's better to overestimate than to cut corners here.

Common Mistake #2: Skimping on Thread Engagement—"A Few Turns Should Be Enough"
Let's talk threads. M10*56 refers to the thread size (M10, meaning 10mm diameter) and the length of the threaded shaft (56mm). When you screw the leveling foot into the workbench leg, how many threads actually "bite" into the material? If you're only screwing it in 10mm deep because "it feels tight," you're setting yourself up for trouble.
Thread engagement is the length of the threaded shaft that's fully inserted into the workbench leg. For M10 threads, most engineers recommend at least 1.5 times the thread diameter in engagement—so 15mm (10mm x 1.5) for M10. That means if your workbench leg is made of aluminum (which is softer than steel), you might need even more engagement to prevent stripping.
Why does this matter? Let's say you're installing feet on an aluminum workbench with thin legs. You screw the M10*56 foot in just 8mm, thinking "it's not going anywhere." But over time, as the workbench vibrates (from tools, machinery, or even people leaning on it), the foot starts to loosen. The threads, only partially engaged, can't grip well, so the foot spins, and the workbench becomes wobbly. In the worst case, the threads in the aluminum leg strip completely, leaving you with a hole that's too big to fix—you'll have to replace the entire leg, which is a hassle and a waste of money.
I once visited a small workshop where they'd installed M10*56 feet on a lean pipe workbench by hand, just "until they felt tight." Three months later, half the feet had worked themselves loose, and one had even fallen off entirely. The workbench was leaning so badly that a box of small parts had slid off, scattering across the floor. When we checked the threads, most were only engaged by 5-10mm—way below the recommended 15mm.
Pro Tip:
Use a ruler or depth gauge to measure thread engagement. For M10*56 feet, aim for at least 15-20mm of engagement into the workbench leg. If the leg is too short to allow that (common with some lightweight aluminum profiles), consider using a longer threaded insert or reinforcing the leg with a steel nut welded or glued into place. This gives the threads more material to grip, even in softer metals.
Another thread-related mistake? Using damaged or dirty threads. If the M10 threads on the foot are bent, rusted, or covered in oil, they won't seat properly. Similarly, if the tapped hole in the workbench leg has debris or cross-threads (from a previous botched installation), the foot won't screw in straight. Always inspect both the foot threads and the leg hole before installation—clean them with a wire brush, and run a tap through the hole to fix any minor cross-threading. Your future self (and your workbench) will thank you.

Common Mistake #3: Forgetting the Floor—"The Floor's Flat, So Why Bother?"
"The floor looks flat to me," is a phrase I've heard more times than I can count. But here's a secret: very few floors are truly flat. Even in new buildings, concrete floors can have subtle slopes, dips, or bumps from uneven pouring. And in older workshops? Forget about it—years of heavy equipment rolling over the floor can create ruts, or moisture can cause the concrete to heave.
When you install M10*56 rubber leveling feet without first checking the floor, you're essentially assuming the feet will "fix" any unevenness. But if the floor has a 10mm dip in one corner, and you set all four feet to the same height, that corner will be (hanging) or only partially touching. The workbench will rock back and forth, putting extra stress on the other three feet. Over time, those feet will wear unevenly, the rubber will compress more on the loaded corners, and you'll end up with a workbench that's even more unlevel than when you started.
Let's take an example. A team sets up a new aluminum workbench in a corner of their shop. They screw in the M10*56 feet, hand-tighten them, and call it a day. A week later, they notice that tools on the left side keep sliding to the right. When they place a level on the workbench, it's obvious—the right side is 8mm lower than the left. The culprit? The floor itself slopes 8mm from left to right. The leveling feet were never adjusted to compensate, so the workbench just followed the floor's contour.
Pro Tip:
Always use a spirit level (or a digital level app on your phone) before and after installing leveling feet. Start by placing the level on the workbench frame (without feet) to check the floor's slope. Then, install the feet loosely, adjust each one until the workbench is level (both side-to-side and front-to-back), and only then tighten them fully. For extra precision, mark the floor with tape where each foot will go, and measure the height at each mark—this helps you pre-adjust the feet before installing.
Another floor-related mistake is ignoring debris. If there's a small rock, a piece of tape, or even a thick layer of dust under one of the feet, it will act like a shim, lifting that corner slightly. You might think the workbench is level, but as soon as that debris shifts or compresses, the foot will sink, and the workbench will wobble. Always clean the floor thoroughly before installing the workbench—sweep, vacuum, and even wipe the area with a damp cloth if needed. Your future self will appreciate not having to re-level the workbench a week later.

Common Mistake #4: Over-Tightening (or Under-Tightening)—"Crank It Until It Won't Move!"
Let's talk about torque—the amount of force you use to tighten the leveling feet. It's a balancing act: too loose, and the foot will wiggle; too tight, and you'll damage the threads, the rubber, or the workbench leg.
Over-tightening is a big one. I've seen people use pipe wrenches or power drills to "really lock it in," thinking more force = more secure. But M10 threads are designed to handle a specific amount of torque. Exceed that, and you risk stripping the threads in the workbench leg (especially if it's aluminum, which is softer than steel). Or, the rubber part of the leveling foot can crack or compress permanently—remember, rubber is elastic, but it has limits. Once it's crushed, it won't bounce back, and the foot will be shorter than intended, throwing off your level.
On the flip side, under-tightening is just as bad. If you only hand-tighten the foot without using a wrench, it might feel secure at first, but vibrations from the workbench will loosen it over time. I once saw a lean pipe workbench where the feet were so loose that you could spin them by hand after just a month of use. The workbench had become a hazard—every time someone leaned on it, it shifted, and tools would rattle.
So, how tight is "just right"? Most manufacturers recommend a torque of 15-20 Nm for M10*56 rubber leveling feet (check the datasheet to be sure). To put that in perspective, hand-tightening with a standard wrench is usually around 10-15 Nm—so you might need a small torque wrench to get it precise. If you don't have a torque wrench, here's a trick: tighten until you feel resistance, then give it a quarter-turn more. That's usually enough to seat the threads without overdoing it.
Mistake
What Happens
How to Fix It
Over-tightening
Stripped threads, cracked rubber, warped workbench leg
Use a torque wrench set to 15-20 Nm; stop if you feel the rubber deforming
Under-tightening
Feet loosen over time, workbench wobbles, tools slide
Hand-tighten, then use a wrench for a quarter-turn; check after a week and retighten if needed
Another thing to watch for is cross-threading when tightening. This happens when the foot isn't aligned straight with the threaded hole—you start screwing it in at an angle, and the threads grind against each other, damaging both the foot and the leg. To avoid this, start by hand-screwing the foot into the hole. If it doesn't turn smoothly without resistance, stop! Back it out, realign it, and try again. Never use a wrench to start the thread—your hand is the best tool for feeling if it's going in straight.
And here's a pro move: after installing all four feet and leveling the workbench, go back and check each foot's tightness. Sometimes adjusting one foot can loosen another, so a final once-over ensures everything is secure.
Common Mistake #5: Forgetting About the Environment—"Rubber Is Rubber, Right?"
M10*56 rubber leveling feet are made of rubber, but not all rubber is created equal. The environment where your workbench lives—moisture, chemicals, temperature extremes—can degrade the rubber over time, leading to cracks, hardening, or slipping. And if you ignore these factors during installation, you'll be replacing feet far sooner than you should.
Let's start with moisture. If your workshop is humid, or if the floor gets wet (from spills, cleaning, or outdoor exposure), the rubber feet can absorb water. Over time, this can cause the rubber to swell, then dry out and crack. Or, if the feet are in standing water, the metal thread part can rust, making it impossible to adjust or remove them later. I visited a coastal workshop once where the aluminum workbench feet had rusted solid because the floor was frequently hosed down. The team couldn't adjust the level anymore, and the rubber had turned brittle and cracked—they had to cut the feet off with a hacksaw to replace them.
Chemicals are another enemy. If your workbench is near a area where oils, solvents, or cleaning agents are used, those substances can break down the rubber. For example, mineral oil or degreasers can cause rubber to swell or become sticky, reducing its grip on the floor. Even some floor cleaners with harsh detergents can degrade rubber over time. Always check the rubber's chemical resistance rating—most manufacturers list which chemicals the rubber can withstand. If you're using aggressive chemicals, look for feet with oil-resistant or chemical-resistant rubber (often labeled as "Nitrile" or "Viton" rubber).
Temperature matters too. In a workshop with extreme heat (like near ovens or welding stations), rubber can soften and lose its shape. In cold environments, it can harden and become brittle, cracking under pressure. If your workbench is in a unheated garage that drops below freezing in winter, or a factory with high-temperature processes, make sure the M10*56 feet are rated for that temperature range.
Pro Tip:
If your environment is tough (wet, chemical-heavy, or extreme temperatures), consider adding a protective layer. For moisture, place a small rubber mat under each foot to absorb water. For chemicals, wipe up spills immediately and avoid getting cleaners directly on the feet. And for temperature extremes, check the manufacturer's specs—some feet are rated for -40°C to 80°C, while others can only handle room temperature.
Finally, friction. The rubber on leveling feet is supposed to grip the floor, preventing the workbench from sliding. But if the floor is very smooth (like polished concrete) or very rough (like unfinished concrete), the grip can suffer. On smooth floors, the feet might slide when the workbench is bumped; on rough floors, the rubber can wear down quickly from abrasion. If you're on a smooth floor, look for feet with a textured rubber base for better grip. On rough floors, consider adding a thin plywood sheet under the workbench to protect the feet from abrasion.
Wrapping It Up: Small Details, Big Results
Installing M10*56 rubber leveling feet might seem like a simple task, but as we've covered, the small details make all the difference. From checking load capacity to accounting for floor unevenness, from tightening with care to considering the environment—each step plays a role in keeping your workbench stable, safe, and functional for years to come.
Remember, a workbench is more than just a table. It's where parts are assembled, measurements are taken, and products are built. When it's stable and level, it supports your team's efficiency and precision. When it's not? It becomes a source of frustration, delays, and even risk.
So, the next time you're setting up a lean pipe workbench, aluminum workbench, or any workbench that uses M10*56 rubber leveling feet, take a few extra minutes to avoid these mistakes. Check the load capacity, measure thread engagement, level the floor, tighten carefully, and think about the environment. Your team, your equipment, and your bottom line will thank you.
And if you're ever unsure? Reach out to your lean pipe supplier or aluminum profile supplier. They're experts in these components and can help you choose the right feet, tools, and techniques for your specific setup. After all, there's no such thing as a "silly question" when it comes to getting the job done right the first time.