- Company Articles
- Products and Technology
- Installation And Maintenance
- Common Mistakes to Avoid When Installing Roller Track Placon Mount Joints

Common Mistakes to Avoid When Installing Roller Track Placon Mount Joints
Related Product
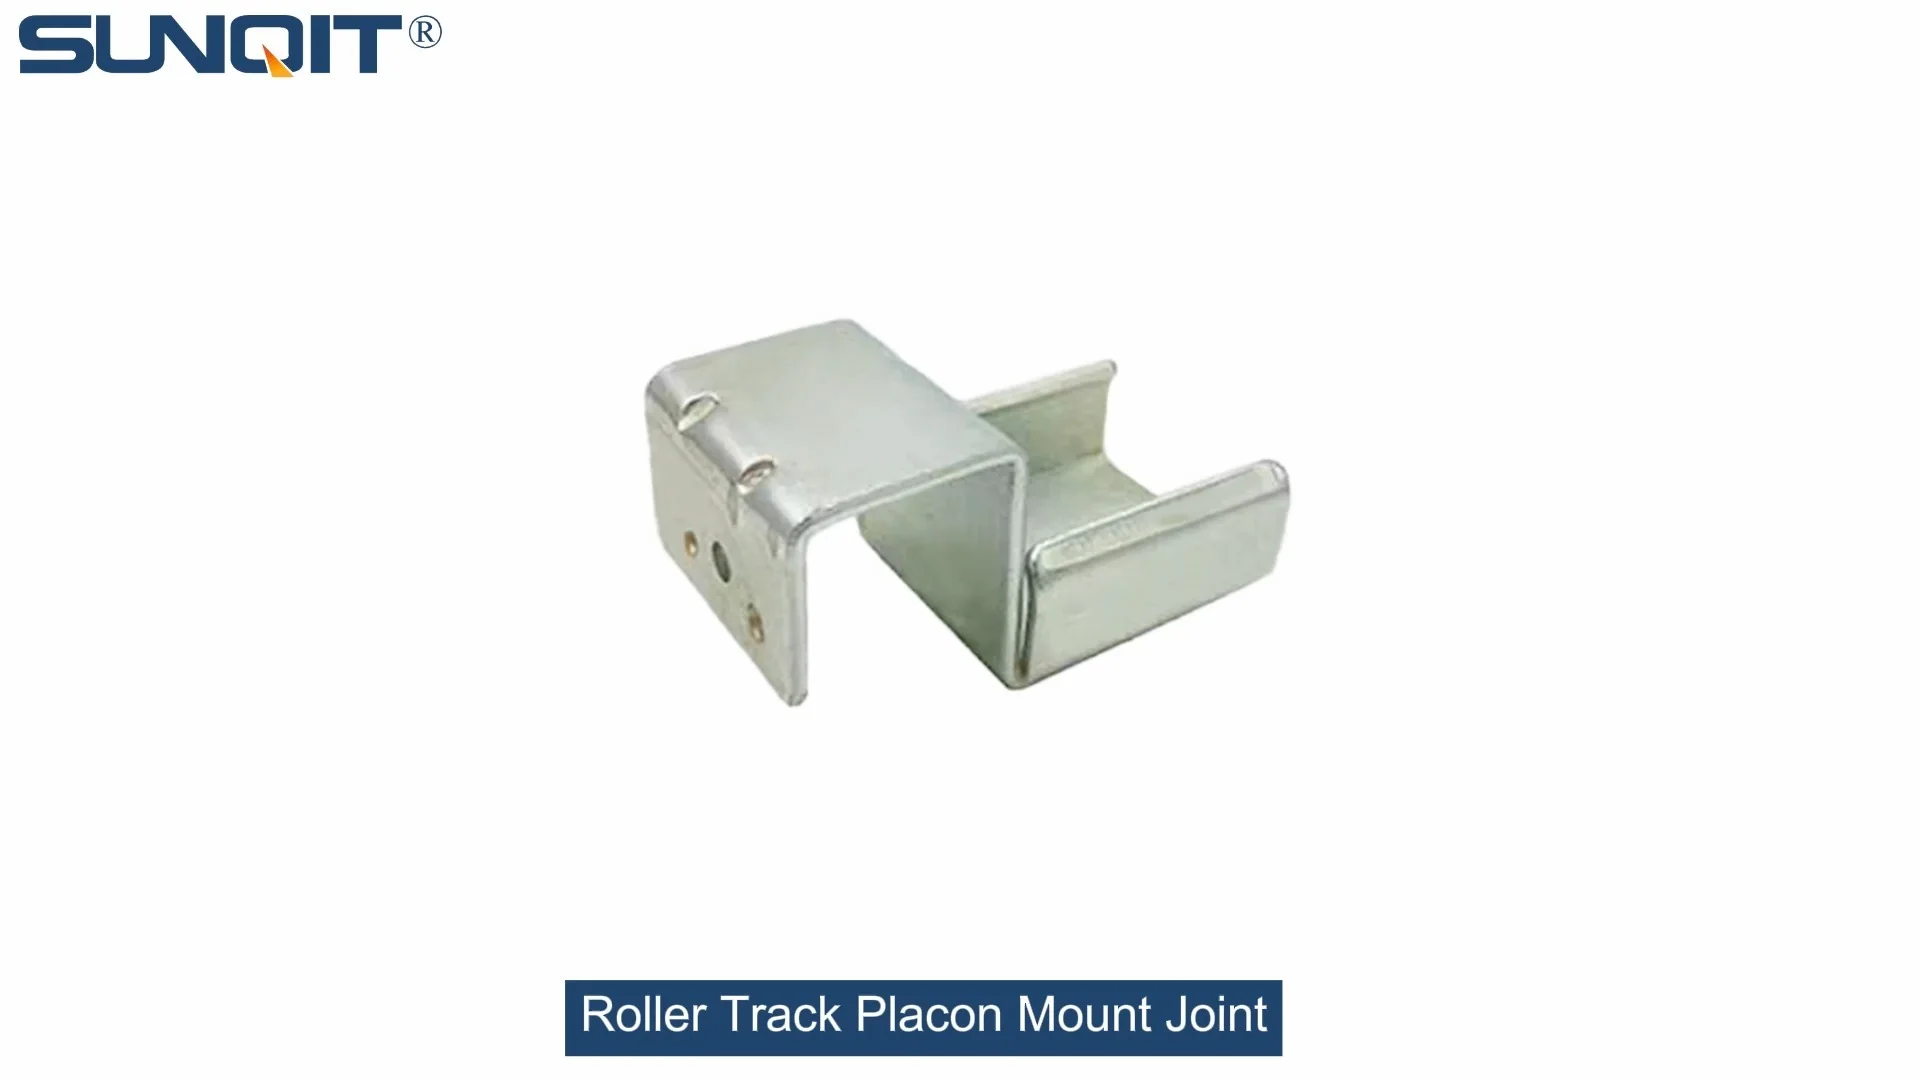
Roller Track Placon Mount Joint
Roller track placon mount work as a connector for roller track and pipe or aluminum profile in rack syetem, it is a necessary parts in rack system which widely used in industrial plant and logistic,warehouse storage.
Roller track placon mount joints might seem like small components in your lean production system, but their installation quality directly impacts everything from material flow efficiency to workplace safety. These unassuming connectors bridge roller tracks to aluminum profiles, ensuring smooth movement of parts in assembly lines, warehouses, and manufacturing cells. Yet, even seasoned technicians often stumble over subtle errors during installation—mistakes that can lead to jamming conveyors, frequent breakdowns, or even production halts. Let's walk through the most common pitfalls and how to steer clear of them, drawing on real-world scenarios from 3C assembly floors to medical device workshops.
1. Skipping Pre-Installation Component Verification
Imagine unboxing a batch of roller track placon mount joints, eager to get your new conveyor system up and running, only to find halfway through installation that some parts don't fit. This scenario is more common than you'd think, and it's almost always avoidable. Many teams rush past the critical first step: verifying each component against project specifications.
Key checks include:
- Dimension matching : Are the placon mounts compatible with your aluminum profile? A "roller track placon mount for aluminum profile high" won't seat properly on a flat-profile rail, just as a "flat" mount will wobble on high-profile extrusions.
- Condition inspection : Dented mounting plates or cracked plastic guides might seem minor, but they'll cause uneven loading. I once saw a 3C assembly line where a hairline crack in a placon mount joint led to a 2mm misalignment, jamming smartphone cases mid-conveyor.
- Accessory completeness : Missing washers or mismatched screws (common with bulk orders) force improvisation—like using a longer bolt that protrudes and scratches products. Always cross-reference the packing list with your BOM before starting.
Pro tip
: Take 10 minutes to sort components by type (e.g., "roller track placon mount center support bracket" vs. "end support with stop") and label them by installation location. This prevents mix-ups when mounting tracks in sequence.
2. Choosing the Wrong Placon Mount Type for Your Load
Not all placon mounts are created equal—and selecting the wrong variant for your load is a recipe for disaster. Let's say you're installing a roller track for heavy automotive parts. Opting for a lightweight "40 roller track placon mount flat" instead of the reinforced "high" version might save a few dollars upfront, but it won't withstand daily impacts from metal components. Conversely, over-engineering with heavy-duty mounts on a light-duty medical device line wastes budget and adds unnecessary weight.
The root cause? Teams often treat placon mounts as generic parts, ignoring load rating labels. Check the manufacturer's specs: a typical "roller track placon mount bracket" handles 50kg per linear meter, while specialized "center support brackets" can manage up to 120kg. For mixed loads (common in warehouse logistics), calculate the maximum point load—like when a turnover trolley slams onto the track—and add 20% buffer.
| Placon Mount Type | Best For | Load Capacity (Per Meter) | Common Application |
|---|---|---|---|
| Roller Track Placon Mount for Aluminum Profile Flat | Light, uniform loads | 30-50kg | Electronic component trays |
| Roller Track Placon Mount for Aluminum Profile High | Medium-heavy loads, vertical stress | 80-100kg | Automotive sub-assemblies |
| Roller Track Placon Mount Center Support Bracket | Long spans, point loads | 100-120kg | Medical device sterilization racks |

3. Over-Tightening (or Under-Tightening) Fasteners
"Just crank it until it won't turn" is a dangerous mindset when securing placon mount joints. Over-tightening bolts stretches threads, strips aluminum profile T-slots, or cracks plastic components. Under-tightening, meanwhile, leads to loosening under vibration—especially in high-speed conveyor lines—causing tracks to shift and products to tip.
The solution lies in torque control, but it's not as simple as grabbing a wrench. Most aluminum profile systems require 4-6 Nm for M5 screws and 8-10 Nm for M6, but placon mount materials matter too: plastic-reinforced joints need lower torque than steel ones. I worked with a medical device manufacturer where technicians used impact drivers (set to max!) on plastic placon mounts, shattering the internal threads and requiring a full line rebuild.
Pro tip
: Invest in a preset torque screwdriver for small fasteners. For bulk installations, mark the correct torque setting on the tool with tape—this keeps temporary workers or new team members from guessing.

4. Ignoring Lean System Compatibility
Roller track placon mount joints don't exist in isolation—they're part of a larger lean pipe ecosystem. A common mistake is treating them as standalone components, forgetting to check compatibility with existing lean pipe workbenches, aluminum guide rails, or conveyor systems.
For example, if your line uses "internal rotary aluminum joints" to connect basic aluminum tubes, the placon mount must align with the joint's rotation range. A misalignment here can create dead zones where parts get stuck. Similarly, ESD workbench setups require conductive placon mounts to maintain static control—using standard plastic mounts risks electrostatic discharge damage to circuit boards.
I witnessed this issue at a consumer electronics plant: they installed new roller tracks with standard placon mounts alongside ESD workstations. Within a week, static charges built up on the conveyor, frying $10k worth of microchips. The fix? Swapping to ESD-rated placon mounts with conductive coatings—simple, but only after costly downtime.

5. Rushing Alignment and Leveling
"Close enough" doesn't cut it when installing roller track placon mount joints. Even a 1° angular misalignment over 3 meters of track creates a 5cm height difference at the end—enough to derail boxes or cause parts to slide sideways. Yet many teams skip the leveling step, relying on "eyeballing" or assuming the aluminum profile is perfectly straight (spoiler: it rarely is, especially after shipping).
The right approach involves:
- Using a spirit level along both axes (horizontal and vertical) for each placon mount.
- Checking alignment with a string line or laser level across the entire track length before final tightening.
- Accounting for thermal expansion: aluminum profiles expand in heat, so leave 1-2mm gaps between track sections in warm environments (like injection molding facilities).
A warehouse client once tried to save time by mounting placon joints directly to uneven concrete. The result? Their flow rack system developed a "wave" pattern, where boxes would slow down then suddenly lurch forward—damaging fragile medical supplies. Leveling each placon mount with shims took an extra hour, but eliminated product loss entirely.
6. Skipping Post-Installation Load Testing
You've aligned the tracks, torqued the screws, and everything looks perfect—so why not start production immediately? Because visual checks alone miss hidden issues. A placon mount might seem secure, but under dynamic load (like a fully loaded turnover trolley hitting the track), it could shift or flex beyond safe limits.
Load testing doesn't need fancy equipment. Start with 50% of the rated load, run it through 100 cycles, then inspect for:
- Loose fasteners (retorque and check again)
- Unusual noises (grinding suggests misalignment)
- Track deflection (more than 3mm under max load means insufficient support)
In one automotive parts plant, a team skipped load testing and launched production with full bins of engine components. By lunch, three placon mount joints had failed—one even sheared off—because the dynamic load of bouncing bins exceeded static ratings. Testing with half-loads first would have revealed the issue before costly damage occurred.
7. Forgetting Long-Term Maintenance Access
It's easy to focus solely on getting the system running, but installation should also consider future maintenance. Mounting placon joints in hard-to-reach spots—likea wall or under a workbench—makes replacing worn roller tracks a nightmare. Technicians end up spending hours disassembling adjacent components instead of 10 minutes swapping a joint.
Leave at least 30cm of clearance around placon mount brackets for tool access. If space is tight (common in compact 3C assembly cells), opt for "swivel roller balls" or "all direction roller track" systems that allow partial disassembly without full removal. Remember: downtime during maintenance costs just as much as downtime from installation errors.
Best Practices Recap
| Mistake | Impact | Prevention Step |
|---|---|---|
| Skipping component checks | Misalignment, jamming | Verify dimensions, condition, and accessory completeness pre-installation |
| Wrong placon mount type | Overloading, failure | Match mount load rating to application (e.g., high-profile for heavy parts) |
| Poor torque control | Loosening or stripped threads | Use preset torque tools; follow 4-6 Nm (M5) / 8-10 Nm (M6) guidelines |
| Ignoring lean system compatibility | Static damage, dead zones | Check ESD requirements and joint rotation ranges |
Final Thoughts
Installing roller track placon mount joints is a blend of precision and practicality. These small components carry big responsibility—keeping your lean system flowing, your products safe, and your team productive. By slowing down to verify parts, choose wisely, and test thoroughly, you'll avoid the headaches of rework and downtime. And when in doubt? Reach out to your lean pipe supplier for spec sheets or installation guides—most (like SunQit) offer free technical support to ensure your system performs as designed. After all, a smooth-running conveyor isn't just about parts; it's about keeping your entire production ecosystem in harmony.