- Company Articles
- Products and Technology
- Installation And Maintenance
- Common Mistakes to Avoid When Using Saddle Pipe Clamps in Manufacturing

Common Mistakes to Avoid When Using Saddle Pipe Clamps in Manufacturing
Related Product
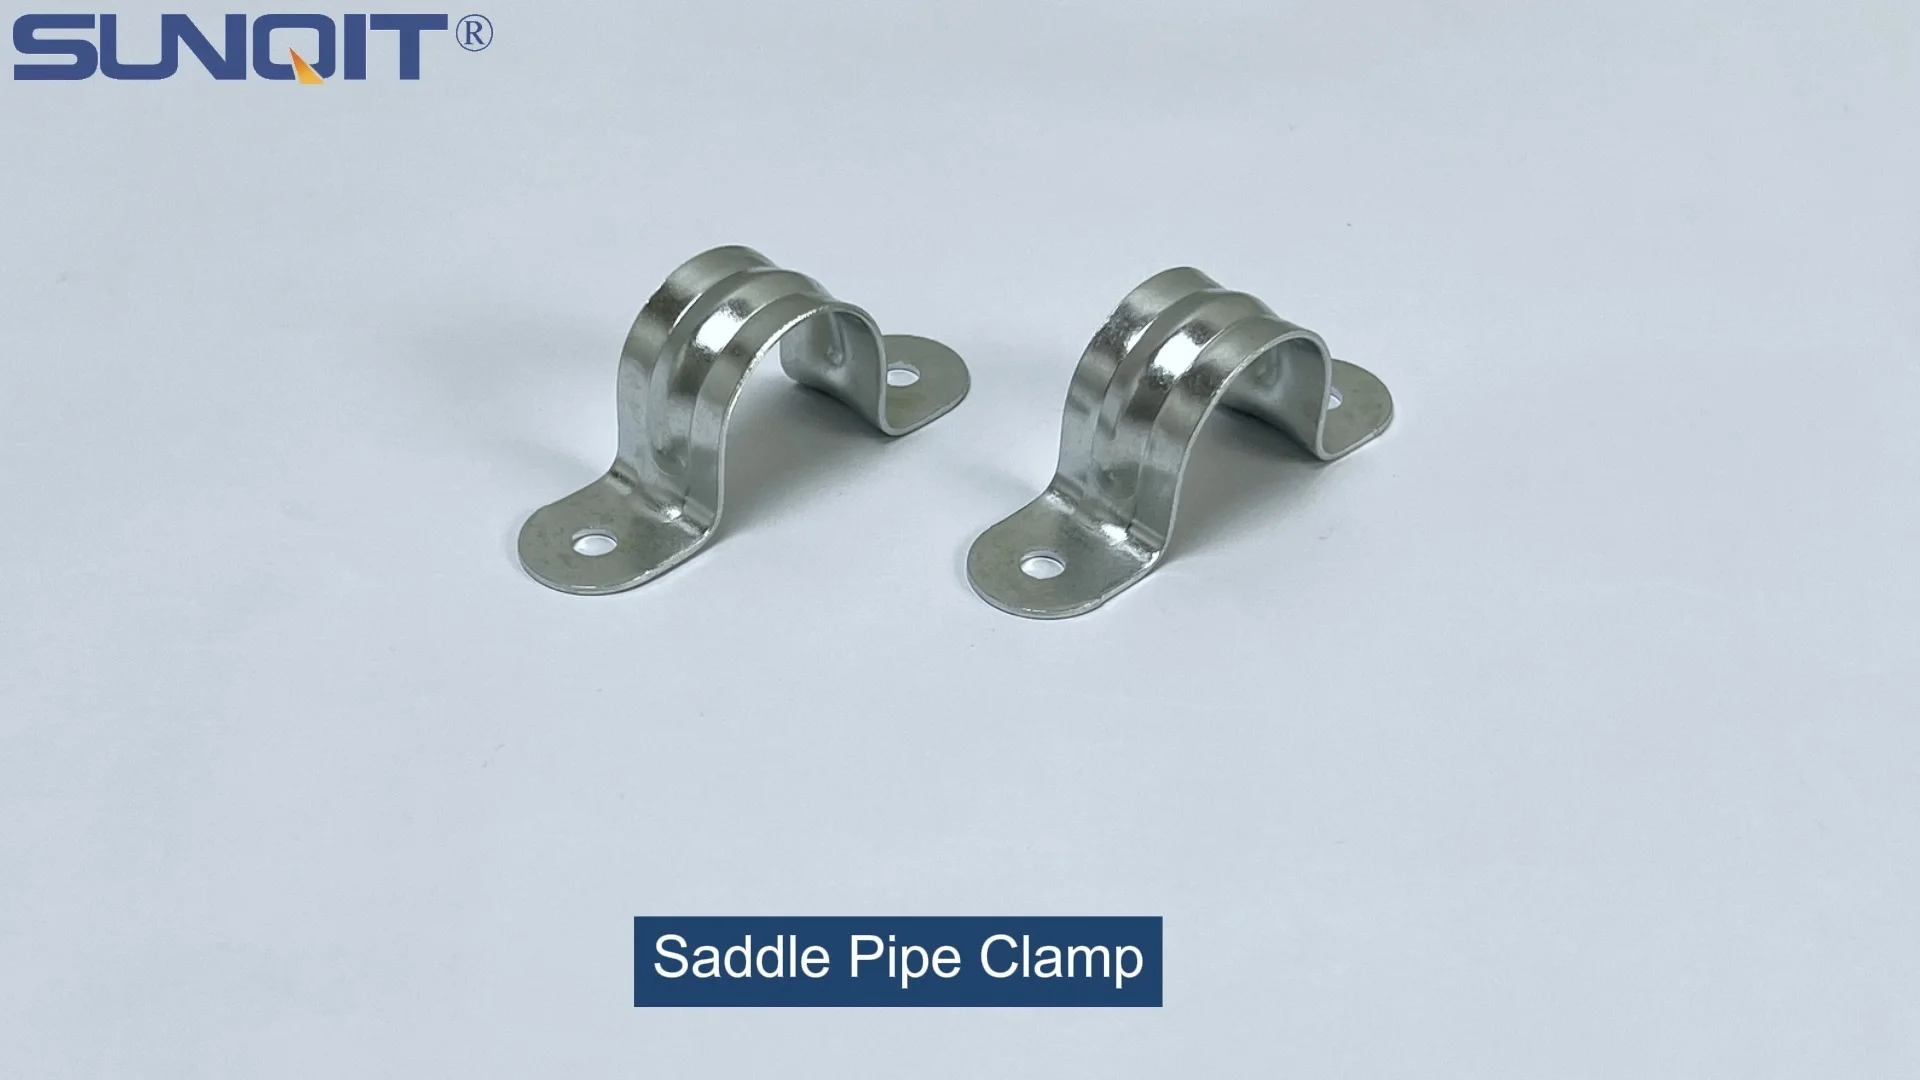
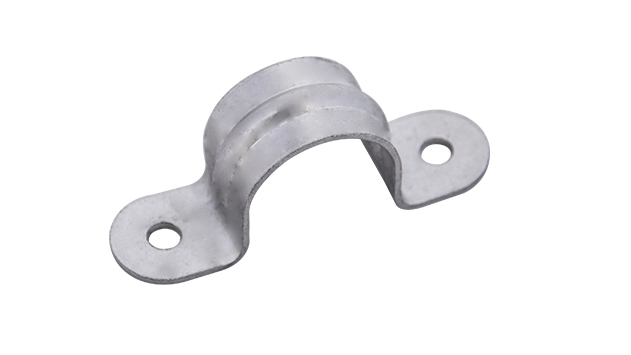
Saddle Pipe Clamp
Saddle pipe clamp, used for board connect with pipe, usually for table top installation.
In the fast-paced world of manufacturing, where every second counts and efficiency is king, it's easy to overlook the small components that keep operations running smoothly. One such unsung hero? The saddle pipe clamp. These unassuming devices play a critical role in holding together the backbone of your production line—whether it's securing aluminum pipes in a lean system, stabilizing conveyor rails, or supporting material racks. Yet, for something so essential, saddle pipe clamps are often the victim of hasty decisions, incorrect installation, and neglect. The result? Wobbly workbenches, jamming conveyors, unexpected downtime, and even safety hazards that put your team at risk. In this article, we'll dive into the most common mistakes manufacturers make when using saddle pipe clamps, why they happen, and how to steer clear of them to keep your lean system strong, your production line moving, and your operations as efficient as possible.
Mistake #1: Choosing the Wrong Material for Your Work Environment
Not all saddle pipe clamps are created equal—and one of the biggest missteps you can make is picking a clamp material that's ill-suited to your factory's environment. Saddle pipe clamps come in a range of materials, from stainless steel and aluminum to plastic and coated steel, each with its own strengths and weaknesses. But when teams grab the first clamp they see on the shelf without considering factors like moisture, temperature, chemicals, or even simple wear and tear, they're setting themselves up for failure.
Let's break down the options. Stainless steel clamps, for example, are tough against corrosion—ideal for damp environments like food processing plants or facilities near the coast. Aluminum clamps, on the other hand, are lightweight and resistant to rust, making them a popular choice for lean systems where portability and aesthetics matter (think cleanroom assemblies or aluminum pipe workbenches). Plastic clamps, while affordable, are best for light-duty, dry applications; they'll warp or crack under heavy loads or exposure to chemicals. Coated steel clamps (like those with a PE coating) offer a balance of strength and corrosion resistance but can chip if scraped repeatedly, exposing the steel underneath to rust.
Real-World Example: A mid-sized electronics manufacturer in the Pacific Northwest recently expanded their production floor to include a new cleaning station for circuit boards. The station used aluminum pipes to support a conveyor system, and the team opted for standard steel saddle pipe clamps to save costs. What they didn't account for? The constant humidity from the cleaning solvents and the region's rainy climate. Within six months, the clamps began to rust—first small spots, then flaking that loosened their grip on the aluminum pipes. The conveyor started to wobble, causing circuit boards to slip off the line and get damaged. By the time maintenance intervened, they had to replace not just the clamps but also several corroded pipe sections, costing thousands in parts and downtime.
The consequences of mismatched materials go beyond rust. In high-temperature environments (like near ovens or welding stations), plastic clamps can melt or become brittle, losing their clamping force. In chemical-heavy areas (such as automotive paint shops), uncoated metals may react with solvents, weakening the clamp's structure. Even in dry, standard factories, using a lightweight plastic clamp on a heavy-duty aluminum pipe rack can lead to bending or snapping under the weight of materials.
How to Avoid It: A Material Selection Guide
The key is to start with a thorough assessment of your work environment. Ask yourself:
- What's the moisture level? High humidity, standing water, or frequent cleaning with water-based solutions call for stainless steel or aluminum clamps.
- Are there chemicals involved? Solvents, oils, or acids require corrosion-resistant materials like stainless steel or coated steel (check the coating's chemical resistance specs).
- Temperatures extremes? For heat above 100°C (212°F), avoid plastic—opt for stainless steel or aluminum. For freezing conditions, ensure the material won't become brittle (some plastics crack in cold).
- Load requirements? Heavy loads (over 50kg per clamp) demand steel or aluminum; light loads (under 10kg) might work with high-quality plastic.
To make it easier, refer to this quick reference table for common clamp materials:
| Material | Best For | Weaknesses | Top Environments |
|---|---|---|---|
| Stainless Steel | Corrosion resistance, heavy loads, high temps | Heavier, more expensive than aluminum | Food processing, marine, chemical plants |
| Aluminum | Lightweight, rust-resistant, moderate loads | Softer than steel; prone to denting under extreme force | Cleanrooms, lean systems, dry factories |
| Plastic (Nylon/PP) | Light loads, dry environments, low cost | Not heat/corrosion/load resistant | Office settings, light-duty shelving, temporary setups |
| PE-Coated Steel | Balanced strength and corrosion resistance | Coating can chip if scraped; not for heavy chemicals | General manufacturing, warehouses, assembly lines |
By matching the clamp material to your environment, you'll extend the life of your clamps, reduce maintenance headaches, and keep your lean system stable for years.
Mistake #2: Over-Tightening (or Under-Tightening) the Clamp
If there's one step in saddle pipe clamp installation that's often treated as an afterthought, it's torque—the amount of force applied when tightening the clamp's bolts. Too loose, and the clamp slips; too tight, and you risk damaging the pipe, stripping the threads, or even cracking the clamp itself. Yet, many teams rely on "feel" alone: "Give it a good twist with a wrench, and that should do it." But "good twist" is subjective—and it's a recipe for disaster.
Let's start with under-tightening. When a clamp isn't tightened enough, it can't generate the friction needed to hold the pipe in place. Over time, vibration from conveyors, moving parts, or even foot traffic shakes the clamp loose. The pipe shifts, throwing off alignment in your lean system—maybe a material rack tilts, a conveyor belt misaligns, or a workbench wobbles. In worst cases, the pipe could slide completely out of the clamp, causing a collapse.
Over-tightening is just as bad. Cranking the bolt too hard can warp the clamp's saddle (the curved part that grips the pipe), leaving gaps where the pipe can slip. It can also strip the threads on the bolt or the clamp's nut, making it impossible to re-tighten later. For softer pipes—like aluminum or plastic—over-tightening can crush or dent the pipe, weakening its structural integrity. Imagine tightening a steel clamp onto an aluminum pipe with all your might: the aluminum will deform, creating a permanent indent that compromises the pipe's strength.
Case Study: A automotive parts supplier was building a new assembly line using aluminum pipes and saddle pipe clamps to support a roller track for moving engine components. The maintenance team, in a rush to meet a deadline, used impact wrenches to tighten the clamps—no torque settings, just "as tight as possible." A week later, operators noticed the roller track was sagging in spots. Upon inspection, maintenance found that over half the clamps had warped saddles, and several aluminum pipes were dented where the clamps had crushed them. The dented pipes couldn't support the weight of the engine parts, causing the track to dip and jam. Fixing it required replacing 24 clamps and 12 damaged pipes, delaying production by two days.
The Fix: Use Torque Specifications and the Right Tools
The solution is simple: always follow the manufacturer's torque specifications. Every clamp comes with a recommended torque range (usually in Nm or ft-lbs), based on the material, bolt size, and pipe type. For example, a 1/4-inch stainless steel clamp on an aluminum pipe might call for 8-10 Nm (5.9-7.4 ft-lbs), while a 3/8-inch plastic clamp on a plastic pipe could need just 3-5 Nm (2.2-3.7 ft-lbs).
- Invest in a torque wrench. A basic click-type torque wrench costs around $50 and ensures you hit the exact torque spec. Avoid impact wrenches unless they have adjustable torque settings (most don't, and they're easy to overdo).
- Check the manufacturer's data sheet. If you can't find it, ask your supplier (reputable lean pipe suppliers will have this info on hand).
- Test and adjust. After tightening, give the pipe a gentle tug to ensure it doesn't move. If it slips, tighten to the upper end of the torque range (but never exceed it).
- Account for pipe material. Softer pipes (aluminum, plastic) need lower torque than steel pipes to avoid crushing.
Mistake #3: Ignoring Pipe and Clamp Size Compatibility
Here's a scenario we've all seen: a team needs to replace a broken clamp, so they grab one from the spare parts bin that "looks about the same size." The problem? "About the same" isn't good enough. Saddle pipe clamps are designed to fit specific pipe diameters, and using a clamp that's too small or too large for your pipe is a surefire way to create instability.
Let's break it down. A clamp that's too small will pinch the pipe, especially if it's made of soft material like aluminum. This pinching can deform the pipe, weakening it and creating stress points that crack over time. For rigid pipes (like steel), a too-small clamp might not even close properly, leaving gaps that let the pipe slip. On the flip side, a clamp that's too large won't grip the pipe tightly. The saddle won't make full contact with the pipe's surface, reducing friction and allowing the pipe to rotate or slide—even if you tighten the bolt to the max.
Worse, mixing sizes can lead to "false security." A clamp that's slightly too large might feel tight at first, but vibration will quickly loosen it. By the time you notice the pipe shifting, the damage is already done—maybe a conveyor has jammed, or a workbench has tilted, spilling tools and materials.
The Hidden Culprit: Pipe Accessories
It's not just the pipe's raw diameter you need to consider—accessories like plastic pipe end caps, sleeves, or insulation can add thickness. For example, if you're using a plastic pipe end cap to protect the end of an aluminum pipe, that cap adds 1-2mm to the pipe's outer diameter. A clamp that fits the bare pipe perfectly might now be too small once the cap is on, leading to over-tightening and pipe damage.
Example: A pharmaceutical company uses lean pipe workbenches with aluminum pipes, each fitted with plastic pipe end caps to prevent dust buildup in the pipes. When replacing a clamp on one workbench, the technician grabbed a clamp labeled for 28mm pipes (the diameter of their aluminum pipes). But with the plastic end cap (adding 2mm), the total diameter was 30mm. The 28mm clamp couldn't fully close, so the technician forced it shut by overtightening the bolt. A month later, the plastic end cap cracked under the pressure, and the clamp began to loosen. The workbench wobbled, causing a lab technician to spill a vial of medication—resulting in a costly cleanup and a safety report.
How to Get the Right Fit
- Measure the pipe's actual diameter. Don't rely on the pipe's labeled size (e.g., "1-inch aluminum pipe" might have an outer diameter of 25.4mm, but some manufacturers vary slightly). Use a caliper to measure the outer diameter (OD) at the point where the clamp will sit.
- Include accessories in your measurement. If using end caps, sleeves, or insulation, measure the OD with the accessory installed. Add 1-2mm to your clamp size if needed.
- Check the clamp's size range. Most clamps list a compatible pipe OD range (e.g., "25-28mm"). Ensure your measured OD falls within that range.
- Test before final installation. Slide the clamp onto the pipe (with accessories) and tighten it to 70% of the recommended torque. Wiggle the pipe—if it moves, the clamp is too large. If the clamp distorts the pipe, it's too small.

Mistake #4: Skipping Regular Inspections and Maintenance
Once a saddle pipe clamp is installed, it's easy to forget about it. Out of sight, out of mind—until it fails. But clamps don't last forever. Vibration, temperature changes, and even normal wear and tear loosen bolts, weaken materials, and reduce grip over time. Skipping routine inspections means you won't catch these issues until they cause downtime or safety problems.
Consider this: a typical manufacturing plant has hundreds, if not thousands, of saddle pipe clamps holding together everything from workbenches to conveyor systems. If just 1% of those clamps fail, you could be looking at dozens of repairs—and that's assuming they fail one at a time. In reality, clamps in high-stress areas (like near vibrating machinery) often wear out at the same rate, leading to multiple failures at once.
So what should you look for during inspections? Loose bolts, rust or corrosion, cracked or warped saddles, and pipe damage (like dents or scratches from the clamp). Even small signs—like a bolt that's backed off by a quarter-turn—can indicate a problem. Left unaddressed, that quarter-turn becomes a full turn, then the pipe shifts, and suddenly your lean system is anything but lean.
Real-Life Impact: A beverage bottling plant had a lean system of roller tracks and material racks held together with steel saddle pipe clamps. The maintenance schedule focused on "big-ticket" items like conveyor motors and filling machines, but clamps were rarely checked. After a year of operation, a routine safety walkthrough revealed that over 20% of the clamps on the material racks were loose—some bolts had backed out completely. The racks, which held heavy cases of bottled water, were leaning precariously. The plant had to shut down production for two hours to tighten all clamps and replace 12 that were corroded. The cost? $15,000 in lost production and $500 in replacement parts. All because they skipped a 30-minute monthly inspection.
Creating a Maintenance Routine
The good news is that clamp maintenance is quick and easy—if you make it a priority. Here's how to build a simple routine:
- Schedule regular inspections. For high-vibration areas (near motors, conveyors), inspect monthly. For low-stress areas (static workbenches), quarterly inspections are enough.
- Use a checklist. Note clamp location, torque level, signs of corrosion/wear, and pipe condition. This helps track trends (e.g., "Clamps near Conveyor #3 always loosen faster").
- Retighten as needed. Use a torque wrench to re-tighten loose bolts to the manufacturer's specs. Don't just "nip them up"—use the correct torque.
- replace worn clamps. If a clamp is rusted, cracked, or has stripped threads, replace it immediately. Don't wait for it to fail.
- Train your team. Teach operators to spot obvious issues (wobbling pipes, loose clamps) and report them. They're the first line of defense.

Mistake #5: Overlooking Compatibility with Lean System Design
Saddle pipe clamps don't exist in a vacuum—they're part of a larger lean system, working alongside pipes, joints, rollers, and other components. Yet many teams choose clamps in isolation, without considering how they'll interact with the rest of the system. This leads to clamps that don't fit with joints, block access to other parts, or even weaken the system's overall structure.
For example, using a bulky saddle clamp on a pipe that needs to connect to a lean pipe joint can create a conflict—the clamp's design might prevent the joint from rotating or attaching properly. Or, choosing a clamp with a fixed saddle (instead of a swivel design) on a pipe that needs to angle slightly could force the pipe into a rigid position, adding stress to the system.
Another common issue is spacing. Clamps that are placed too close to joints or other clamps restrict movement and make maintenance harder. Imagine trying to tighten a bolt on a clamp that's right next to a lean pipe joint—the joint blocks your wrench, so you can't get a good grip. You end up under-tightening the clamp, and it loosens weeks later.
Scenario: A furniture manufacturer redesigned their assembly line using a lean system with aluminum pipes, roller tracks, and swivel roller balls for moving parts. They chose standard fixed saddle clamps to secure the roller tracks to the aluminum pipes. But the roller tracks needed to tilt slightly (5 degrees) to allow parts to flow smoothly. The fixed clamps forced the tracks into a horizontal position, creating a "dead spot" where parts got stuck. To fix it, the team had to replace all fixed clamps with swivel saddle clamps (which allow minor angle adjustments), costing extra time and money.
Designing for Compatibility
- Map your lean system first. Before choosing clamps, sketch or model how pipes, joints, clamps, and other components will interact. Note angles, movement (e.g., swiveling parts), and access for maintenance.
- Choose clamps with the right features. Need adjustability? Opt for swivel saddle clamps. Working in tight spaces? Low-profile clamps with slim bolts. Near moving parts? Clamps with rounded edges to prevent snags.
- Check for clearance. Ensure there's at least 5cm (2 inches) of space between clamps and nearby joints, rollers, or moving parts. This makes tightening, inspection, and replacement easier.
- Consult your lean pipe supplier. Reputable suppliers have experience with system design—ask for recommendations on clamps that work with your specific pipes, joints, and accessories.
Saddle pipe clamps may be small, but their impact on your manufacturing operations is huge. By avoiding these common mistakes—choosing the wrong material, improper torque, mismatched sizes, skipping maintenance, and ignoring system compatibility—you'll keep your lean system running smoothly, reduce downtime, and create a safer workplace. Remember, lean manufacturing is about eliminating waste, and nothing wastes time, money, or resources like a failed clamp. Take the time to select, install, and maintain your clamps properly, and you'll reap the rewards of a stronger, more efficient production line. After all, in manufacturing, the little things often make the biggest difference.