- Company Articles
- Products and Technology
- Product knowledge
- Comparing Aluminum Guide Rail B Sizes: Which Dimension Fits Your Workbench?

Comparing Aluminum Guide Rail B Sizes: Which Dimension Fits Your Workbench?
Related Product
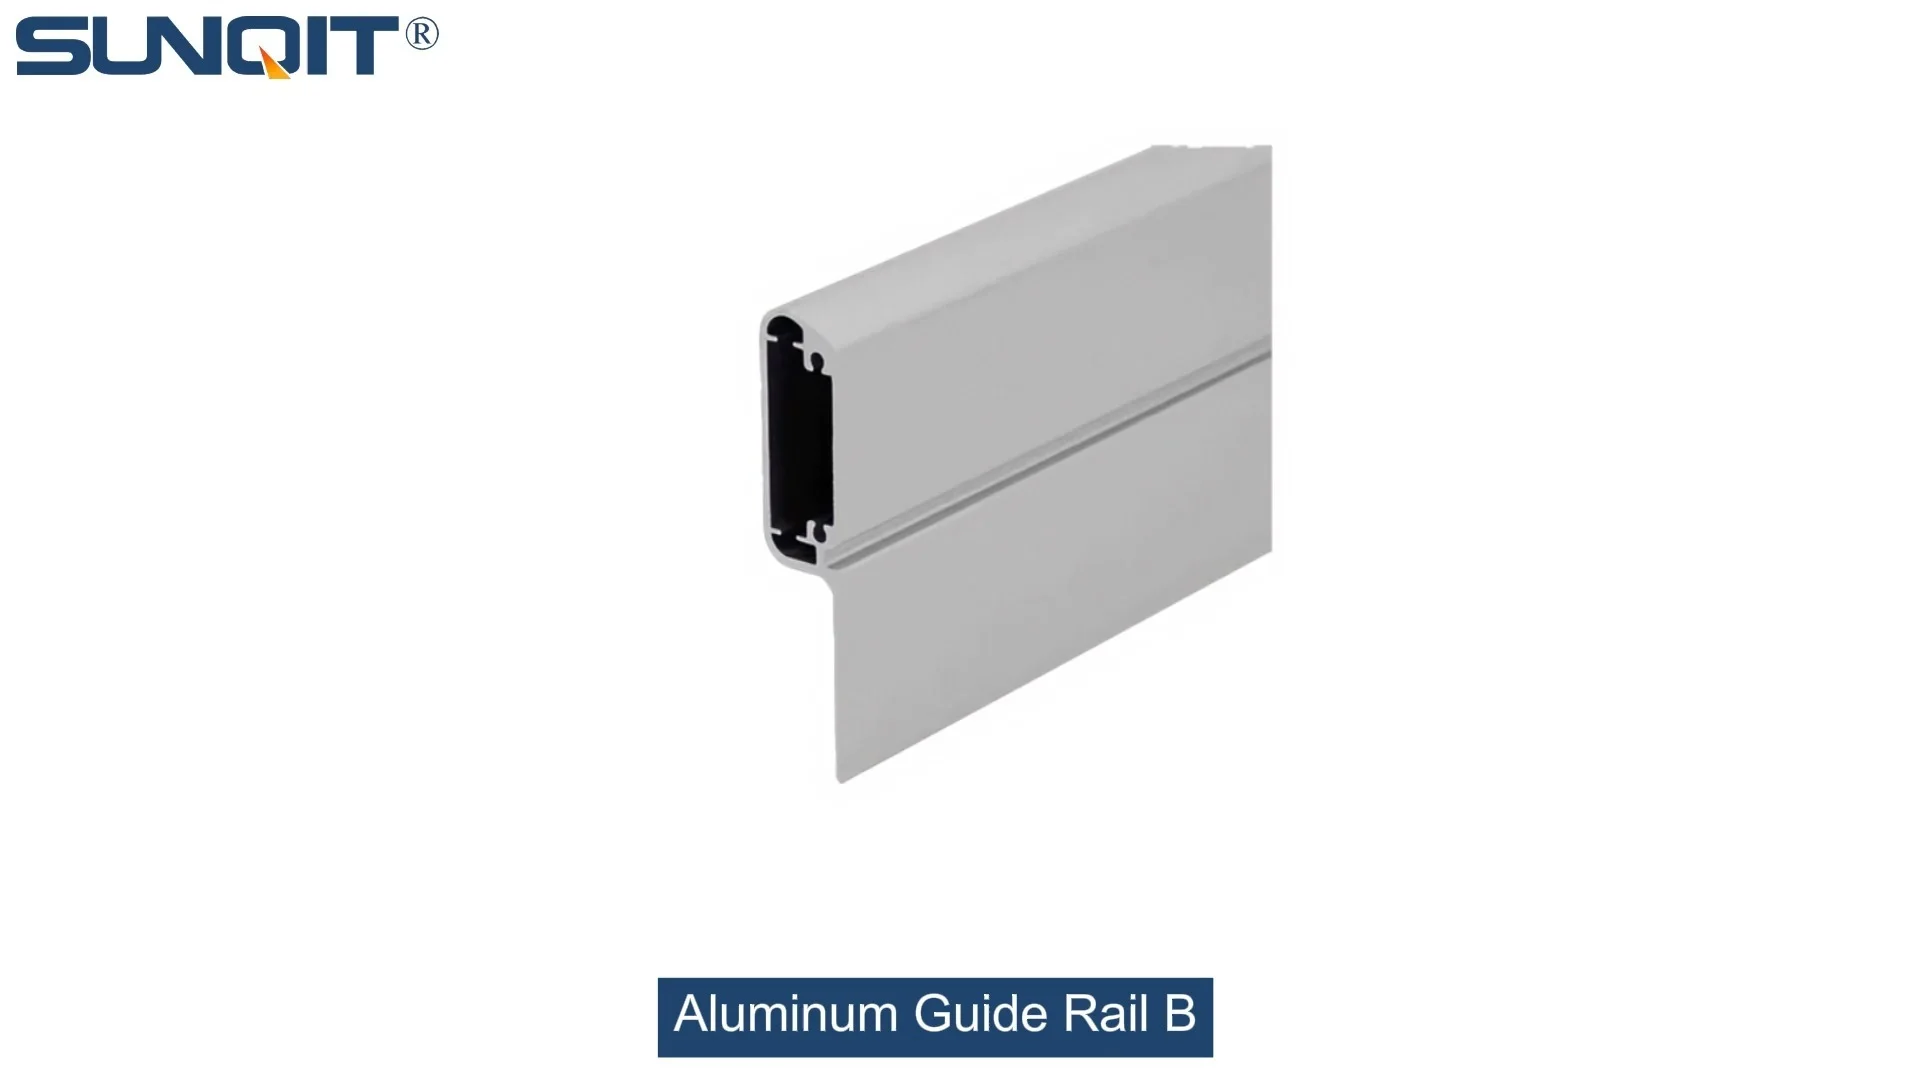
Aluminum Guide Rail B
The aluminum guide rails hold the transport goods securely on the roller track. For installation, the guide rails are simply pushed over the roller tracks.To protect sensitive products.
In the bustling world of manufacturing, where every second counts and precision is non-negotiable, there's a silent hero working behind the scenes of your production line: the Aluminum Guide Rail B. Tucked into the edges of workbenches, material racks, and flow systems, this unassuming component is the backbone of smooth material flow. It guides circuit boards through 3C assembly lines, directs medical device parts in cleanrooms, and ensures automotive components glide seamlessly from station to station. But here's the thing—if this "hero" comes in the wrong size, it can quickly turn from a helper into a bottleneck: (material jams), wobbly workbenches, and even slowed production rates. So how do you choose the right Aluminum Guide Rail B size for your workbench? Let's dive in.
First Things First: What Even Is Aluminum Guide Rail B?
Before we start comparing sizes, let's make sure we're all on the same page. Aluminum Guide Rail B isn't just a random piece of metal—it's a carefully engineered part of lean pipe systems, designed to work hand-in-hand with workbenches, flow racks, and conveyor systems. Made from high-grade aluminum, it's lightweight yet durable, resistant to rust (critical for clean environments like medical labs), and built with T-slot grooves that let you easily attach accessories like roller tracks or stop brackets. Think of it as the "traffic director" of your workstation: it keeps (materials) moving in the right direction, at the right speed, without chaos.
But why aluminum, specifically? Unlike steel, aluminum won't add unnecessary weight to your workbench, making it easier to reconfigure if your production needs change (hello, lean manufacturing's "sustainable improvement"!). Plus, its smooth surface reduces friction, so even delicate parts—like smartphone screens or surgical tools—glide without scratches. And let's not forget cost: aluminum guide rails are reusable, so when you redesign your line, you can repurpose them instead of buying new. That's lean thinking in action.
The Key Sizes: A Side-by-Side Comparison
Aluminum Guide Rail B comes in three primary sizes, each tailored to different workloads and workbench types. To help you visualize, we've broken them down in the table below—then we'll unpack each one to see where they shine.
| Dimension (Width × Height) | Wall Thickness | Load Capacity (kg/m) | Best For Workbench Types | Top Accessories to Pair With | Real-World Application |
|---|---|---|---|---|---|
| 30×20mm | 1.2mm | 50–80 | Light-duty Workbench E, small ESD Workstations | 0.5–1 inch Swivel Roller Balls, Plastic Guide Rails (Yellow/Grey) | Phone circuit boards, sensor components, small medical syringes |
| 40×30mm | 1.5mm | 80–120 | Standard Workbench E, middle layers of Material Rack B | Aluminum Guide Rail A, 40 Steel Roller Track (Black/White Wheels) | Laptop casings, electric toothbrush motors, lab test tube racks |
| 50×40mm | 2.0mm | 120–180 | Heavy-duty Workbenches, bottom layers of Material Rack B | 85 Staggered Roller Track, End Support with Wheel Stop | Car door panels, large medical monitors, industrial motor parts |
1. The 30×20mm: For Small Parts, Big Precision
At just 30mm wide and 20mm tall, with a 1.2mm wall thickness, this is the "lightweight champion" of guide rails. It's built for workbenches that handle small, delicate items—think Workbench E (single deck, no casters) used in 3C assembly lines for phone or smartwatch components. Its load capacity (50–80 kg/m) might seem low, but when you're moving circuit boards or tiny sensor chips, you don't need brute strength—you need finesse.
Picture this: A worker at an ESD Workstation () is assembling AirPods. The tiny battery modules (each weighing just 20g) need to move from the tray to the assembly jig. A 30×20mm guide rail, paired with 0.5-inch swivel roller balls, ensures these modules glide smoothly without static buildup (thanks to ESD-compatible plastic parts). If you tried a larger rail here, the modules would slide off-center, causing delays. Small size = big precision for small parts.
2. The 40×30mm: The "Goldilocks" of Guide Rails
Not too small, not too big—the 40×30mm guide rail is the most versatile option, and it's no coincidence it's the most popular in factories. With a 1.5mm wall thickness and 80–120 kg/m capacity, it balances strength and flexibility, making it perfect for standard Workbench E setups and the middle layers of Material Rack B (3 rows, 3 floors). This is the size you'll see in most general assembly lines, from laptop factories to medical device workshops.
Take a medical equipment plant assembling blood pressure monitors. The monitor's main casing (weighing ~300g each) needs to move from the injection molding station to the wiring station on a Material Rack B. The middle layer uses 40×30mm rails with 40 Steel Roller Track (black wheels for ESD protection). The weight is just right—heavy enough to need structure, light enough to avoid overloading. And when the factory expands to make larger monitors later? They can keep the same rails by adding stronger roller brackets. That's the beauty of lean reusability.
3. The 50×40mm: For Heavy-Duty Workloads
When your workbench is handling big, bulky items—like car door panels or industrial-sized medical imaging machines—you need the 50×40mm guide rail. With a 2.0mm thick wall and 120–180 kg/m capacity, it's the "workhorse" that won't buckle under pressure. This size is ideal for heavy-duty workbenches (think: those with steel tops) and the bottom layers of Material Rack B, where the heaviest loads sit.
A car parts supplier in Guangzhou learned this the hard way. They were using 40×30mm rails on their bottom Material Rack B layer to hold steel brake calipers (each ~2kg). After a week, the rails started bending, causing the calipers to tilt and scratch. Switching to 50×40mm rails with 85 Staggered Roller Track (steel wheels) solved the problem—now the calipers roll straight, and the rails show zero deformation after 6 months of use. Moral of the story: When in doubt about weight, go bigger (but not unnecessarily—wasting space is unlean too!).

Matching Size to Your Workbench: A Practical Guide
Now that you know the sizes, how do you pick the right one for your workbench? It starts with asking three questions: What am I putting on the rail? How heavy is it? And what's my workbench designed to do? Let's break it down by common workbench types.
Workbench E (Single Deck, No Casters): Small vs. Standard Loads
Workbench E is the "everyday workbench"—simple, sturdy, and used for everything from soldering to packaging. If yours is handling small parts (e.g., phone charging ports, watch gears), the 30×20mm rail is your friend. It keeps the bench lightweight and leaves room for tools and workers' hands. But if you're assembling larger items (e.g., tablet screens, small power tools), step up to 40×30mm. Pro tip: Check your bench's weight limit! A Workbench E with a wooden top can handle more than one with a plastic top, so pair rail size with bench strength.
ESD Workstations: Sensitive Parts Need Special Care
ESD Workstations are all about protecting sensitive electronics from static damage. Here, rail size matters less than compatibility with ESD accessories. For tiny components (e.g., microchips), 30×20mm rails with black ESD roller wheels are a must—they conduct static away from parts. For larger ESD-safe items (e.g., laptop motherboards), 40×30mm rails work, but avoid 50×40mm unless the parts are heavy (over 1kg each). Remember: ESD rails need to connect to your bench's grounding system, so pick a size that fits ESD brackets without modification.
Material Rack B (3 Rows, 3 Floors): Layer by Layer Strategy
Material Rack B is a vertical storage hero, but each layer has different needs. The top layer? Light stuff like instruction manuals or small screws—30×20mm rails. Middle layer: medium parts (e.g., phone batteries, small valves)—40×30mm. Bottom layer: the heavy hitters (e.g., metal toolboxes, large plastic molds)—50×40mm. This "layered approach" keeps the rack balanced (no top-heavy tipping!) and ensures each rail works only as hard as it needs to. A warehouse in Shanghai did this and cut material retrieval time by 20%—workers no longer have to hunt for parts on overcrowded layers.

Industry Spotlight: How Top Sectors Choose Their Rails
Different industries have different priorities—what works for a 3C factory might flop in a medical lab. Let's look at three key sectors and their go-to Aluminum Guide Rail B sizes.
3C Assembly: Small, Fast, and Precise
In 3C (computers, communications, consumer electronics), speed and precision rule. Factories here move millions of tiny parts daily, so they lean hard on 30×20mm and 40×30mm rails. Take a smartphone factory: The PCB (printed circuit board) line uses 30×20mm rails with 1-inch swivel roller balls to move boards (each ~150g) between soldering and testing. The final assembly line, where workers attach screens (heavier, ~300g), uses 40×30mm rails with aluminum guide rails. Why not 50×40mm? Too bulky—3C lines are tight on space, and smaller rails mean more workbenches per square meter.
Medical Devices: Clean, Strong, and Sanitary
Medical manufacturing demands cleanliness and durability—no rust, no cracks where bacteria can hide. Aluminum guide rails (naturally rust-resistant) are perfect here, with sizes depending on the device. For surgical tools (e.g., scalpels, forceps), 30×20mm rails with plastic guide rails (easy to wipe down) work. For larger equipment (e.g., MRI machine components), 50×40mm rails with stainless steel roller tracks (to handle weight and frequent cleaning). A orthopedic implant factory in Suzhou uses 40×30mm rails for hip replacement parts—strong enough to support metal components, smooth enough to avoid scratches on polished surfaces.
Automotive Parts: Heavy-Duty and Reliable
Cars are built with big, heavy parts—think engine blocks, door frames, and axles. Automotive plants live and die by 50×40mm rails, often paired with 85 Steel Roller Track (staggered wheels for stability). A car door panel (weighing ~8kg) needs a rail that can handle constant, heavy use without bending. But it's not all large: The electronics section (e.g., dashboard screens) still uses 40×30mm rails. The key here is mixing sizes to match the part, not the industry.

Beyond Size: 5 Pro Tips for Perfect Selection
Size is critical, but there's more to choosing a guide rail. Here are five extra factors to ensure you get it right:
- Check Your Lean Pipe System Compatibility: If your workbench is built with 28mm lean pipes, make sure the rail's brackets fit those pipes. Mismatched parts mean extra drilling or adapters—wasting time and money.
- Think About Future Changes: Will you need to add more weight later? Pick a rail with 20% extra capacity now (e.g., if you need 80kg/m, go for 100kg/m). Lean systems are about improvement—don't box yourself in.
- Count the Accessories: Do you need stops, guides, or labels on the rail? Smaller rails (30×20mm) have less space for accessories, so if you need multiple brackets, size up slightly.
- Test Before Buying in Bulk: Order one sample rail and mount it on your workbench. Slide your actual parts over it—do they glide? Tilt? Get workers' feedback—they'll be the ones using it daily.
- Ask About Custom Cuts: Most suppliers (like Sunqit) can cut rails to your exact workbench length. No more sawing off excess or leaving gaps—perfect fit, less waste.
Final Thoughts: Your Rail, Your Line, Your Success
Aluminum Guide Rail B might not be the flashiest part of your production line, but it's the unsung hero that keeps things moving. Choosing the right size isn't just about measurements—it's about understanding your parts, your workbench, and your workers' needs. Whether you're assembling tiny sensors or heavy car parts, there's a rail size that fits like a glove.
And remember: lean manufacturing is about continuous improvement. If you pick a size and later realize it's not working, don't stress—aluminum rails are reusable. Swap them out, repurpose them elsewhere, and keep refining. That's how great lines become legendary.
So, what's next? Grab a measuring tape, weigh your parts, and look at your workbench. Then, pick the size that makes your line flow smoother, your workers happier, and your production leaner. Your "invisible" is waiting—and it's time to give it the perfect fit.