- Company Articles
- Products and Technology
- Installation And Maintenance
- Complete Guide to Roller Track Placon Mount Connector Installation Steps

Complete Guide to Roller Track Placon Mount Connector Installation Steps
Related Product
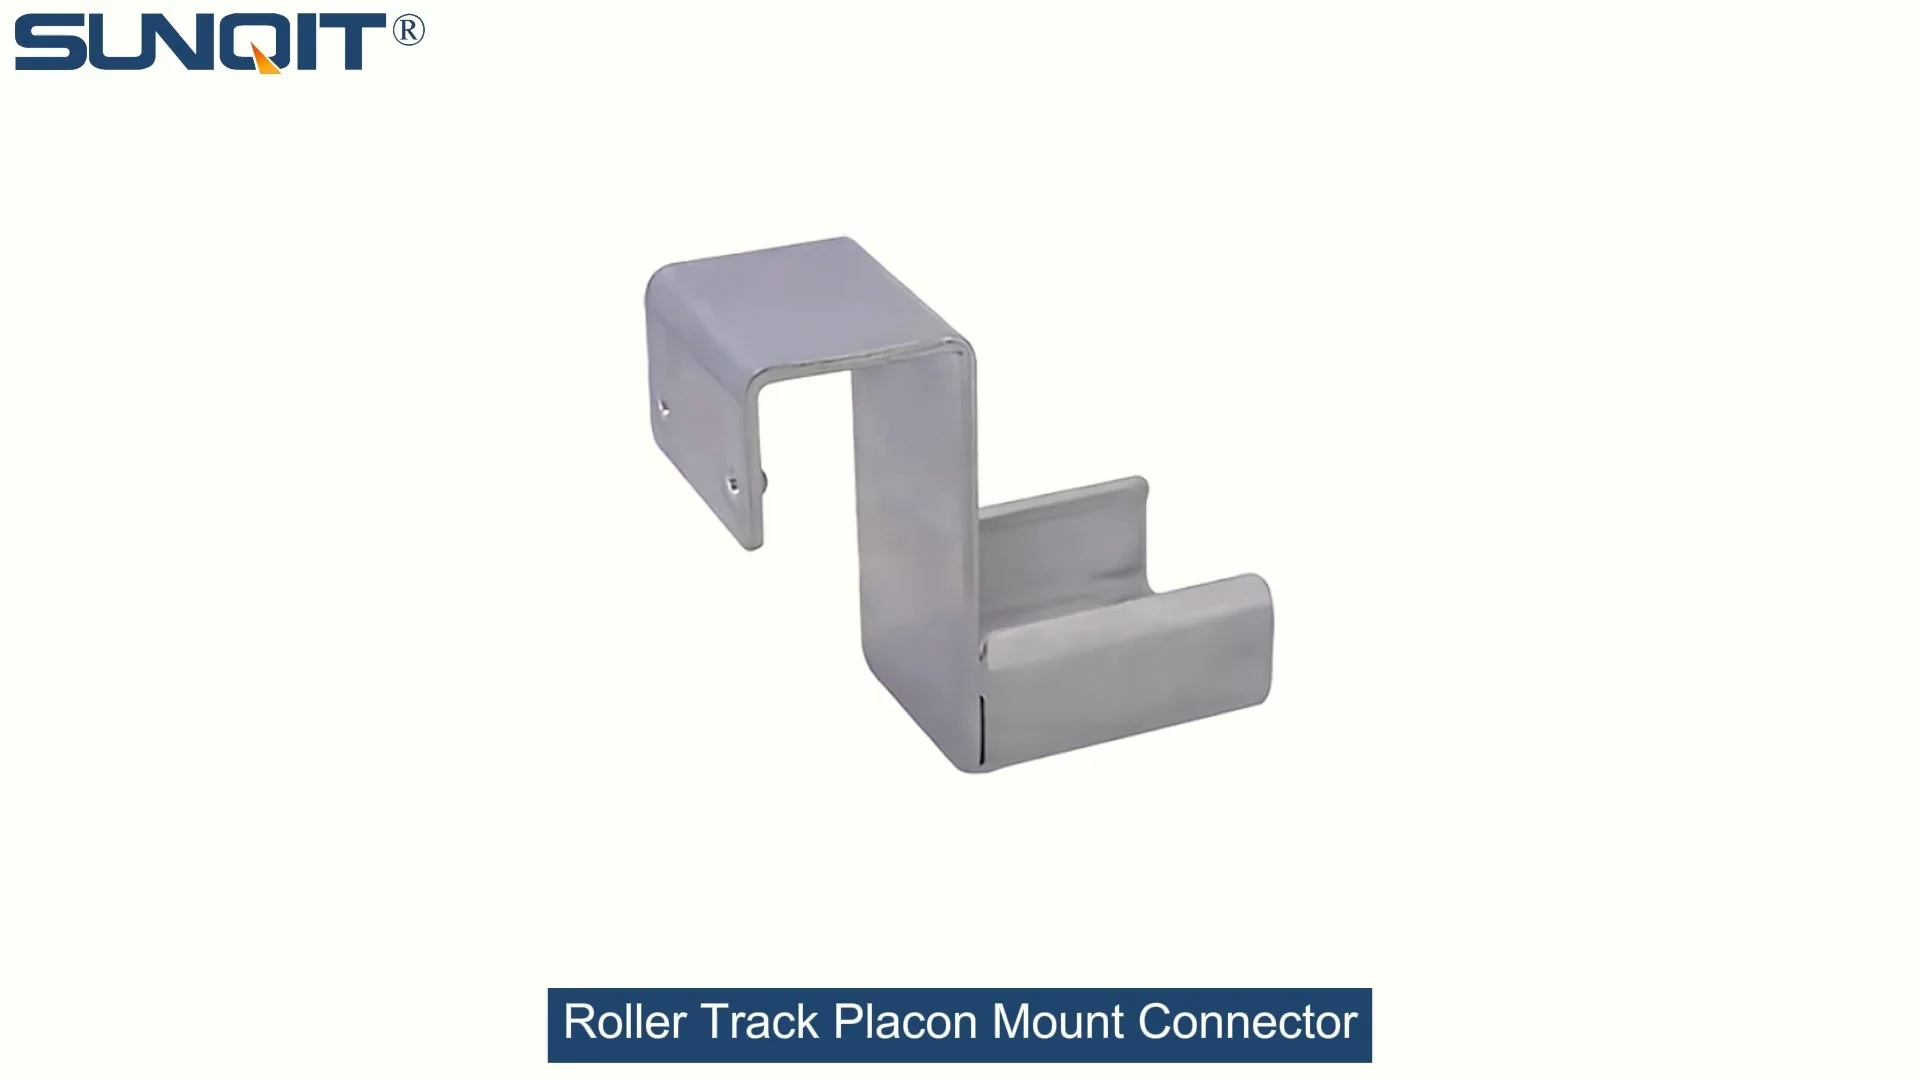
Roller Track Placon Mount Connector
Roller track placon mount work as a connector for roller track and pipe or aluminum profile in rack syetem, it is a necessary parts in rack system which widely used in industrial plant and logistic,warehouse storage.
If you've ever walked through a well-organized warehouse or a smooth-running production line, you've probably seen roller tracks hard at work—moving materials, parts, and products with ease. But what keeps those roller tracks stable and aligned? Enter the roller track placon mount connector. These small but mighty components are the backbone of any reliable roller track system, ensuring everything stays in place while materials flow seamlessly. Whether you're setting up a new lean pipe system or upgrading an existing one, getting the installation right is key to maximizing efficiency. Let's dive into this step-by-step guide to make sure your connectors are installed like a pro.
Why Roller Track Placon Mount Connectors Matter in Lean Systems
In the world of lean manufacturing, every detail counts. Roller track placon mount connectors might not be the most glamorous parts, but they play a huge role in keeping your operations lean and efficient. They connect roller tracks to aluminum profiles, workbenches, or other structures, ensuring stability even when heavy loads are moving. A poorly installed connector can lead to wobbly tracks, jammed materials, and even downtime—something no production manager wants to deal with. By taking the time to install these connectors correctly, you're investing in smoother workflows, fewer disruptions, and a system that can adapt as your needs change.
Tools & Materials You'll Need
| Tools | Materials |
|---|---|
| Phillips-head screwdriver or electric drill | Roller track placon mount connectors (check quantity!) |
| Tape measure (10ft/3m minimum) | Aluminum profile (matching your roller track system) |
| Spirit level (2ft/60cm for accuracy) | Roller track sections (pre-cut to your required length) |
| Marker or pencil | Fasteners (screws, bolts—check the connector's specs) |
| Rubber mallet (for gentle adjustments) | Washers (if recommended by the manufacturer) |
| Hex key set (for specialized fasteners) | Anti-slip pads (optional, for extra stability) |
Pro tip: Lay out all your materials and tools on a clean workbench before starting. This saves time and helps you spot missing parts early—no one wants to pause halfway through to hunt for a screw!

Pre-Installation Checklist: Don't Skip This!
Before you start tightening screws, take 5 minutes to go through this quick checklist. It'll save you from headaches later:
- Inspect the connectors: Look for cracks, bent parts, or damaged threads. A faulty connector won't hold properly, so swap out any that look off.
- Measure twice, cut once (if needed): If your roller tracks or aluminum profiles need trimming, double-check lengths against your layout plan. Rushing this step leads to uneven tracks.
- Check the mounting surface: Whether you're attaching to a workbench, a wall, or a standalone frame, make sure the surface is flat and sturdy. A wobbly base means wobbly tracks.
- Sort your fasteners: If your connectors came with different screw sizes, separate them into small bowls. Mixing them up can strip threads or leave connections loose.

Step-by-Step Installation Guide
-
Mark Your Mounting Points
Start by placing your aluminum profile (the structure your roller track will attach to) on a flat surface. Lay your roller track section next to it—this is your "dry fit." Use the tape measure to mark where the connectors will go. A good rule of thumb: space connectors every 12-18 inches (30-45cm) along the track for medium loads. For heavier items (like metal parts), move them closer—every 8-10 inches (20-25cm). Mark each spot with your pencil; these are your drill points.
Pro tip: Use the spirit level here to ensure the aluminum profile is straight before marking. Even a tiny slope can cause materials to roll too fast or get stuck later.
-
Pre-Drill Holes (If Needed)
Most aluminum profiles and connectors come with pre-drilled holes, but if yours don't, now's the time to drill. Use a drill bit slightly smaller than your screws (this helps the threads grip better). Drill slowly to avoid cracking the aluminum—gentle pressure is key. Clean up any metal shavings with a dry cloth so they don't scratch your tracks later.
-
Attach the Connector to the Aluminum Profile
Take one roller track placon mount connector and line up its holes with the marks you made on the aluminum profile. insert a screw through the connector and into the pre-drilled hole. Tighten it by hand first to avoid cross-threading, then use your screwdriver or drill (on low speed!) to snug it up. Don't over-tighten—aluminum can warp if you crank too hard. Repeat this for all connectors along the profile.
Pro tip: If your connector has a "top" and "bottom," check the manufacturer's label. Some are designed to face a specific direction for maximum strength.
-
Mount the Roller Track to the Connector
Now it's time to connect the roller track itself. Lift the track section and align its mounting holes with the tabs or slots on the connectors. Slide the track into place—you should feel it "click" if it's a snug fit. insert screws through the track and into the connectors, again starting by hand. Once all screws are in, tighten them evenly (left to right, top to bottom) to avoid putting too much pressure on one spot.
-
Check Alignment with the Spirit Level
Grab your spirit level and place it along the top of the roller track. The bubble should sit dead center. If it's leaning left or right, loosen the connector screws slightly, adjust the track, and retighten. Do this for the entire length of the track—even a small dip can cause materials to get stuck halfway. For longer tracks (over 6ft/1.8m), check alignment in 2ft/60cm sections to catch any dips.
-
Test the Track with a Sample Load
Now for the fun part: testing! Grab a box, a part, or a container similar to what you'll be moving on the track. Place it at one end and give it a gentle push. It should roll smoothly without stopping or wobbling. If it jams, check for misaligned connectors or loose screws. If it rolls too fast, you might need to adjust the slope (lean the track up slightly at the start) or add friction pads (some connectors have slots for these).
-
Secure the Entire Assembly (If Needed)
If your roller track is part of a larger system—like a lean pipe workbench or a conveyor setup—now's the time to anchor it. Use brackets or clamps to attach the aluminum profile to the main structure. Make sure all connections are tight, but leave a tiny bit of "give" if the system needs to expand or contract with temperature changes (metal and plastic do that!).

Safety First: Important Tips
Installing connectors might seem straightforward, but safety should always come first. Here are a few reminders:
- Wear gloves: Aluminum edges can be sharp, and screws can slip—protect your hands.
- Use eye protection: Drilling or cutting metal sends shavings flying. Safety glasses are a must.
- Don't over-tighten: Stripped screws or cracked aluminum profiles are common mistakes. Tighten until snug, then stop.
- Get help for long tracks: A 10ft roller track is heavy! Ask a coworker to hold it while you install connectors to avoid strains or drops.
Troubleshooting Common Issues
Even with careful installation, things can go wrong. Here's how to fix the most common problems:
Track is wobbly side-to-side
Check if connectors are spaced too far apart. Add extra connectors between existing ones for stability. Also, ensure the aluminum profile isn't bent—replace it if it is.
Materials keep getting stuck
Look for debris in the roller wheels (dust, small screws, or dirt). Clean the track with a dry cloth. If the wheels are sticky, a drop of lubricant (like WD-40) on the axles can help—just don't overdo it (grease attracts dust).
Connectors feel loose after a few weeks
Vibration from moving materials can loosen screws over time. Check connections monthly and retighten as needed. For high-vibration areas, use thread-locking glue (like Loctite) on the screw threads (just a tiny drop!).
Maintenance: Keeping Your Connectors (and Tracks) in Top Shape
Installing your roller track placon mount connectors is just the first step. To keep them working well for years, follow these simple maintenance tips:
- Monthly check-ups: Walk along the track and wiggle each connector. If it moves, tighten the screws. Look for rust (if using steel parts) or cracks in plastic components.
- Clean regularly: Wipe down the track and connectors with a damp cloth to remove dust and grime. For greasy environments (like automotive shops), use a mild degreaser.
- replace worn parts: If a connector's threads are stripped or a roller wheel is cracked, swap it out immediately. Waiting leads to bigger problems.
- Adjust as needed: As your production needs change (heavier loads, new products), revisit your connector spacing. Adding an extra connector or two can handle the extra weight.
Real-World Applications: Where These Connectors Shine
Wondering how these connectors fit into real lean systems? Let's look at a few examples:
Warehouse Order Fulfillment
In a busy warehouse, roller tracks with placon mount connectors are used to slide bins from storage to packing stations. By mounting the tracks to aluminum profiles attached to workbenches, workers can easily grab items without bending or reaching—cutting down on fatigue and speeding up orders.
3C Assembly Lines
In electronics manufacturing (think phones or laptops), precision is key. Roller tracks with these connectors keep circuit boards, screens, and small parts moving smoothly between workstations. The stability ensures delicate components don't get jostled or damaged during assembly.
Medical Device Production
Medical facilities need ultra-reliable systems. Roller tracks with placon mount connectors are used here to move sterile parts or tools between cleanrooms. The secure connections prevent contamination from loose debris, and the easy adjustability means the system can adapt as new devices are developed.
Final Thoughts: Your Lean System Deserves the Best
Installing roller track placon mount connectors might seem like a small task, but it's one that has a big impact on your overall efficiency. By taking the time to do it right—measuring carefully, aligning properly, and testing thoroughly—you're building a system that works with your team, not against them. Remember, lean manufacturing is all about continuous improvement, and a well-installed roller track system is a perfect example of that. It adapts, it endures, and it helps your business stay competitive.
So, grab your tools, double-check those measurements, and get ready to enjoy smoother workflows. Your future self (and your production metrics) will thank you!