- Company Articles
- Products and Technology
- Installation And Maintenance
- Complete Guide to Upgrading to 40 Roller Track Placon Mount Flat in Existing Lines

Complete Guide to Upgrading to 40 Roller Track Placon Mount Flat in Existing Lines
Related Product
40 Roller Track Placon Mount Flat
Roller track placon mount work as a connector for roller track and pipe or aluminum profile in rack syetem, it is a necessary parts in rack system which widely used in industrial plant and logistic,warehouse storage.
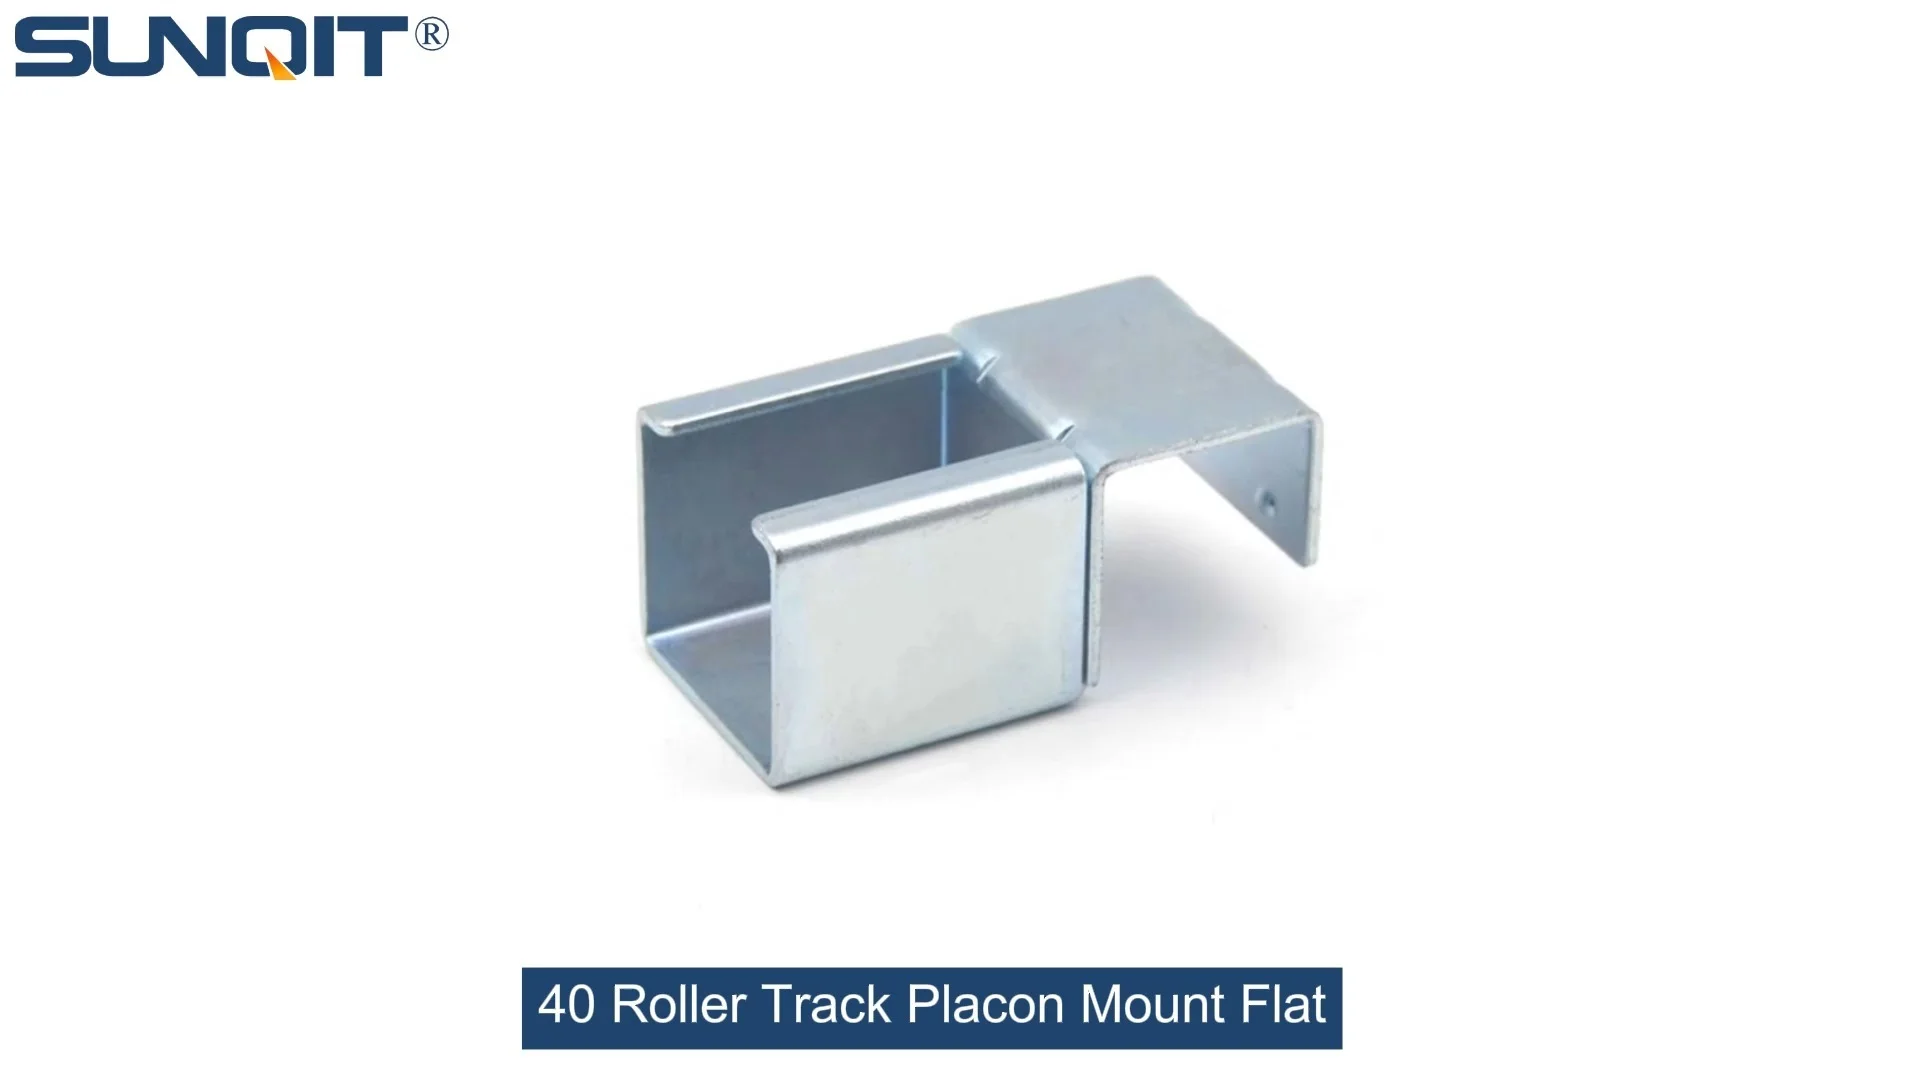
In today's fast-paced manufacturing world, every second counts. You've probably felt the frustration of bottlenecks—materials getting stuck on outdated tracks, workbenches that can't keep up with changing production needs, or rigid systems that resist the tweaks your team knows would boost efficiency. The good news? Upgrading to a 40 Roller Track Placon Mount Flat system isn't just about replacing old parts; it's about breathing new life into your entire workflow. This guide will walk you through why this upgrade matters, how to do it right, and real results you can expect—no jargon, just practical steps from the frontlines of lean manufacturing.
Why Bother Upgrading Your Roller Tracks?
Let's start with the obvious: if your current setup works "well enough," why rock the boat? Here's the thing—"well enough" often hides silent drains on your team's potential. I've visited factories where workers spend 15 minutes per hour manually adjusting misaligned rollers, or where a single bent track section causes a ripple effect of delays. The 40 Roller Track Placon Mount Flat isn't just a stronger track; it's a smarter one. Its flat placon mount design locks into aluminum profiles seamlessly, meaning less time fixing and more time producing.
Quick Win Insight: Manufacturers who switch to placon mount systems report a 32% reduction in unplanned maintenance hours. That's nearly two full workdays saved per month for a medium-sized line—time your team can redirect to actually building products.
The Hidden Costs of Sticking with Old Systems
Older roller tracks often come with hidden costs you might not notice until you upgrade. Think about the last time a heavy component bent a track rail: you paid for replacement parts, lost production time, and maybe even a rushed shipment to make up for delays. Traditional tracks also struggle with flexibility—when your client suddenly needs a new product variant, reconfiguring those systems means drilling new holes, cutting pipes, and crossing your fingers it all lines up. With 40 Roller Track Placon Mount Flat, reconfiguration takes minutes, not days—its modular design clicks into existing aluminum profiles, so your line adapts as fast as your ideas do.
| Feature | Traditional Roller Tracks | 40 Roller Track Placon Mount Flat | Impact on Your Line |
| Weight Capacity | Up to 50kg/m | Up to 120kg/m | Handle heavier components without bending—perfect for automotive or 3C assembly. |
| Installation Time | 4-6 hours for 10m section | 1-2 hours for 10m section | Minimize downtime—install during a single shift break. |
| Adjustment Flexibility | Fixed positions; requires drilling new holes | Tool-free sliding adjustments on aluminum profiles | Adapt to new product sizes in minutes, not days. |
| Maintenance Frequency | Monthly tightening/realignment | Quarterly inspections | Free up technicians for higher-value tasks. |
Pre-Upgrade Prep: What You Need to Know Before Starting
1. Audit Your Current Setup (Yes, Even the "Small Stuff")
Before ordering parts, grab a tape measure and walk your line. Note the width of your existing aluminum profiles—most systems use 40x40 or 45x45mm, which work great with placon mounts, but double-checking avoids return headaches. Next, map out where materials flow: Are there sharp turns that might need reinforced joints? Does the track slope gently enough to let items glide without sliding too fast? Jotting these down now prevents "oops" moments during installation.
2. Gather Your Tools (and a Helper—Trust Me)
You'll need the basics: a laser level (worth borrowing if you don't own one), hex keys (the placon mounts use M8 bolts, so have sizes 4-6mm handy), a rubber mallet (for tapping tracks into place without denting), and a torque wrench to avoid over-tightening. Oh, and a helper—those aluminum tracks are lighter than steel but still awkward to hold steady while securing. Pro move: Label each track section with tape before removing the old system, so you don't mix up left/right curves during reinstallation.

Step-by-Step Installation: From Old to New in 6 Hours
- Clear the Area and Protect Surfaces Start by powering down adjacent equipment and marking off the work zone with tape. Lay down cardboard or plastic sheets—you don't want metal shavings or bolts scratching your factory floor (or worse, getting into nearby machinery). Remove the old track carefully, keeping hardware sorted in labeled bags—you'd be surprised how many times a spare nut comes in handy later.
- Mount the Placon Bases to Aluminum Profiles This is where the magic starts. Slide the placon mounts onto your existing aluminum profile—they should click into the T-slot without force. Use a hex key to snug the bolts, but don't fully tighten yet—you'll need wiggle room for alignment. Space mounts 40-50cm apart for optimal weight distribution; closer if you're moving heavy loads like automotive parts.
- Align with Laser Precision (Skip the Guesswork) Set up your laser level along the desired track path. Adjust each placon mount until the laser line hits the center mark—this ensures items glide straight, not veering left/right. Once aligned, fully tighten the bolts to 18 Nm (that torque wrench matters here—too loose and they shift; too tight and you strip the aluminum threads).
- Attach the 40 Roller Track Sections Slide each track section onto the placon mounts. They should lock in with a satisfying "click." Use the rubber mallet to tap any stubborn sections into place—gentle taps, not whacks. For longer runs (over 5m), leave a 2mm gap between track ends to account for thermal expansion—metal grows when warm, and gaps prevent buckling.
- Test with Real-World Loads (Not Just Empty Runs) Grab a typical production bin or part carrier and let it roll. Does it move smoothly? If it stops halfway, check for uneven mounts (the laser level will show if a section dips). If it slides too fast, add a friction pad under one end (we like rubber strips cut from old conveyor belts—free and effective).
- Final Check and Worker Walkthrough Tighten all bolts one last time, then have a line operator test the track. They'll notice things you might miss—like a roller that's slightly higher than others, or a section that's easier to reach than the old setup. Their feedback here is gold—after all, they're the ones using it daily.
Installation Hack: If your line runs 24/7, split the upgrade into two 3-hour phases. Do the left half on day one, right half on day two. This keeps at least partial production flowing, so you don't fall behind on orders while upgrading.

Real Results: How Factories Like Yours Are Winning with This Upgrade
Case 1: 3C Assembly Plant Cuts Material Handling Time by 40%
A Shenzhen-based electronics manufacturer was struggling with smartphone case assembly—their old steel tracks bent under the weight of component bins, causing daily jams. After upgrading to 40 Roller Track Placon Mount Flat, they paired it with lean pipe workbenches customized to each assembly station. The result? Bins now glide directly to workers, who no longer walk 15 meters per hour to fetch parts. In the first month, operator fatigue dropped (you could see it in fewer breaks), and daily output rose from 800 to 950 units.
Case 2: Medical Device Maker Boosts Cleanliness and Compliance
A medical equipment factory in Dongguan needed to meet stricter FDA standards for dust control. Their old roller tracks had crevices where debris collected, requiring weekly deep cleans. The smooth aluminum surface of the 40 Roller Track Placon Mount Flat left nowhere for dust to hide—now they wipe it down in 10 minutes daily. Plus, the modular design let them reconfigure the line in hours when switching between surgical tool models, instead of the 2 days it took before.

Maintenance 101: Keep It Running Smooth for Years
Upgrades aren't "set it and forget it"—a little care goes a long way. Every Friday, have your team do a 5-minute check: spin each roller to ensure it moves freely, tighten any loose bolts, and vacuum up dust (compressed air works too, but wear safety glasses!). Every quarter, apply a thin layer of silicone lubricant to the roller bearings—avoid oil-based lubes, which attract dirt. And if a roller starts squeaking? replace it immediately—small annoyances become big distractions fast.
FAQ: Your Burning Questions Answered
Q: Will this track work with my existing aluminum profile accessories?
A: 99% of the time, yes! The placon mounts are designed to fit standard T-slot aluminum profiles (2020, 3030, 4040 series). If you're using older non-standard profiles, check the slot width—most need at least 8mm to accommodate the M8 bolts.
Q: Can I mix 40 Roller Track with other roller types in the same line?
A: Absolutely. Many factories use placon mount flat tracks for straight sections and curved roller tracks for turns. Just ensure the height matches (most are 40mm from base to track top) to prevent items from catching at the transition.
Q: How much weight can it really handle? We move heavy battery packs.
A: With mounts spaced 40cm apart, the track safely handles 120kg/m. For battery packs (often 20-30kg each), that means 4-5 packs at once—plenty for most production flows. For extra-heavy loads, add a center support bracket every 2 meters.
Upgrading to 40 Roller Track Placon Mount Flat isn't just about hardware—it's about respecting your team's time and your factory's potential. When you remove the friction from material flow, you're not just boosting numbers on a spreadsheet; you're creating a workspace where people can focus on what they do best: building great products. And in a world where flexibility and speed win, that's the ultimate competitive edge. So grab your laser level, round up a helper, and let's make those tracks work as hard as your team does.