- Company Articles
- Products and Technology
- Installation And Maintenance
- Corrugated Aluminum Pipe Installation Mistakes to Avoid in Lean Systems

Corrugated Aluminum Pipe Installation Mistakes to Avoid in Lean Systems
Related Product
Corrugated Aluminum Pipe
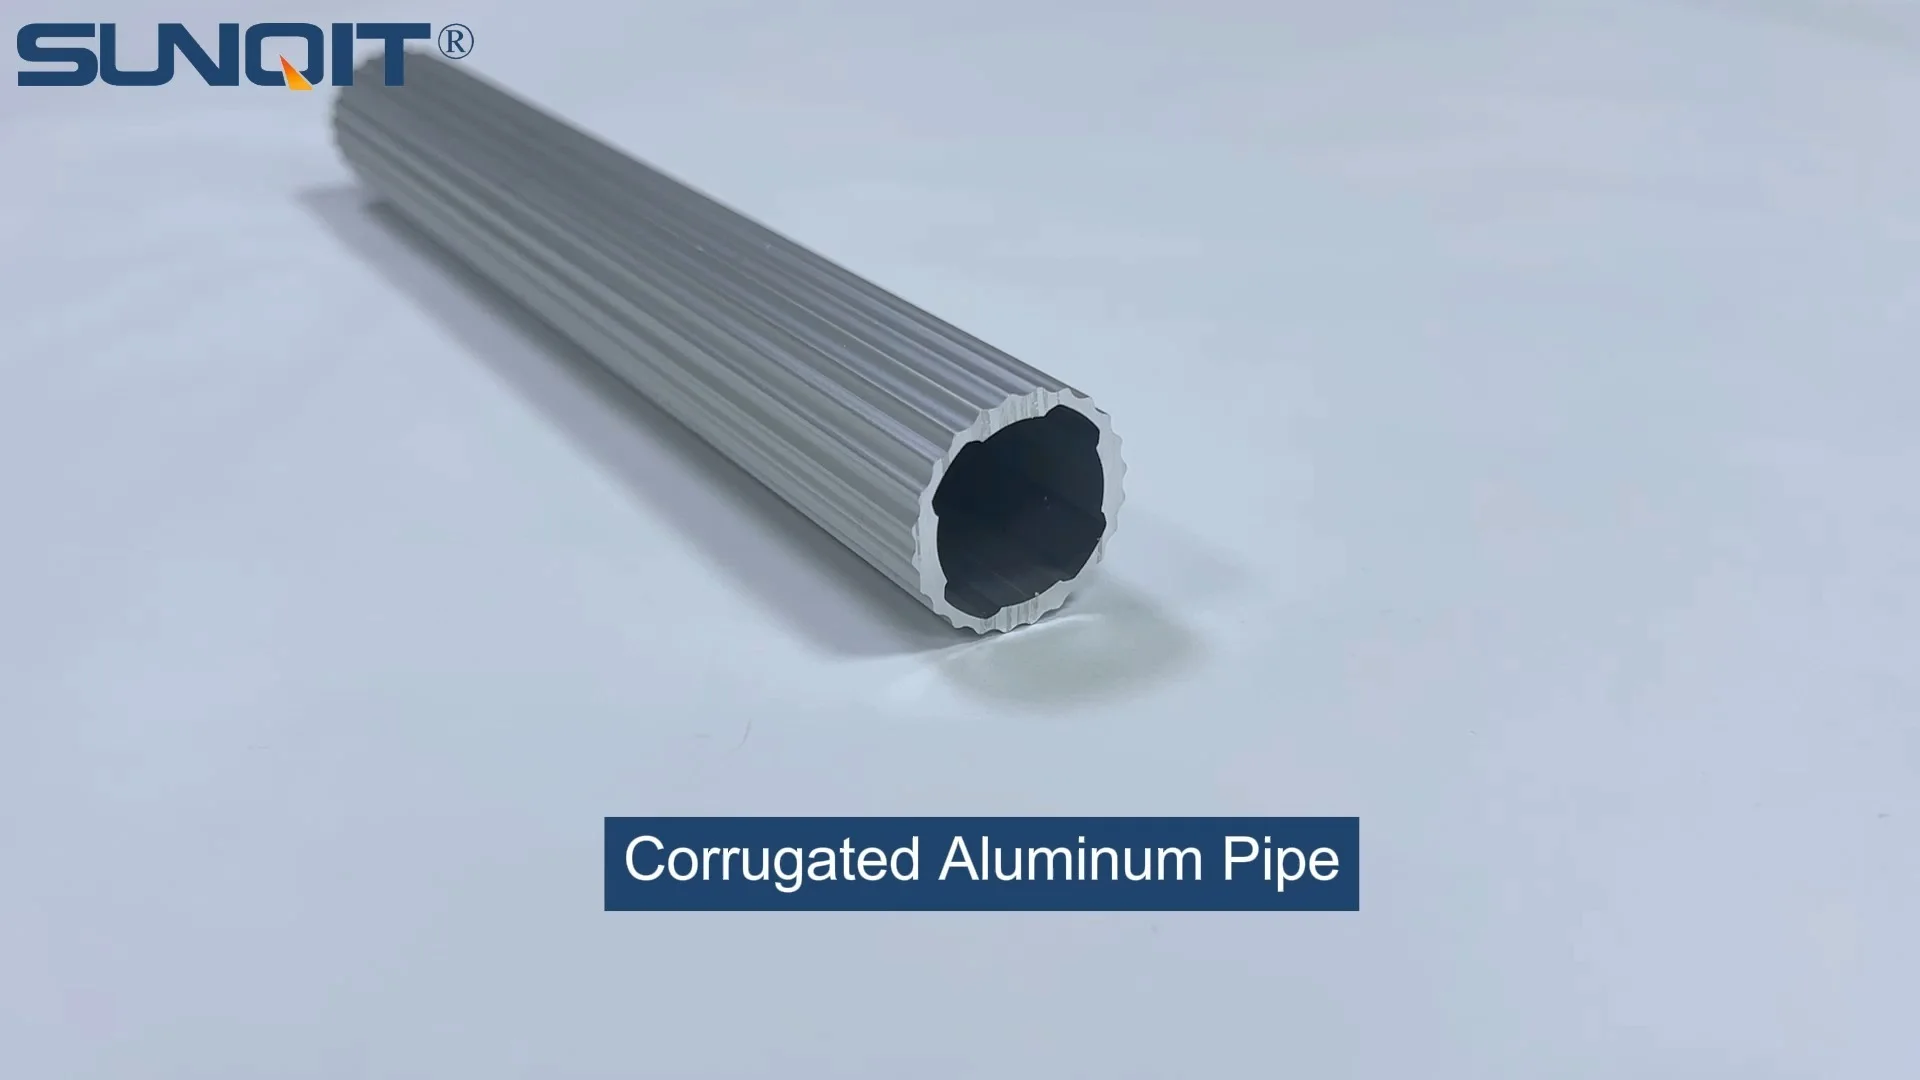
Product Description The slot side is 10mm which can work with a T sliding block for connection accessories Quick Detail Product name Corrugated Aluminum pipe model GLT28-T-3010A Material Science 6005-T6 thickness 1.7mm surface treatment anodic oxidat
Corrugated Aluminum Pipe Installation Mistakes to Avoid in Lean Systems
In the world of lean manufacturing, every component plays a role in keeping workflows smooth, efficient, and waste-free. Among these components, corrugated aluminum pipes have emerged as unsung heroes—lightweight, durable, and infinitely adaptable, they form the backbone of everything from material racks to assembly line structures. But here's the thing: even the best materials can fail if installed incorrectly. When it comes to integrating corrugated aluminum pipes into a lean system, a single misstep—whether choosing the wrong thickness, skimping on joint quality, or overlooking alignment—can turn a tool for efficiency into a source of delays, safety risks, and frustration. Let's dive into the most common installation mistakes and how to steer clear of them, ensuring your lean system lives up to its promise of seamless productivity.
Mistake #1: Underestimating Load Capacity—Choosing a Pipe That Can't Keep Up
One of the first decisions in any installation is selecting the right corrugated aluminum pipe. It's easy to default to the thinnest or cheapest option, especially when working within budget constraints. But here's where many teams go wrong: they fail to calculate the actual load the pipe will bear, leading to a mismatch between the pipe's capabilities and the demands of the job.
Corrugated aluminum pipes come in various thicknesses—common options include 0.8mm, 1.0mm, 1.2mm, 1.5mm, and 2.0mm. A 0.8mm pipe might work for lightweight applications like holding small tools on a workbench, but slap that same pipe onto a material rack supporting heavy components, and you're asking for trouble. I've seen assembly lines where a 1.2mm pipe was used to support a three-tier material rack (think "material rack b (3 row and 3 floor)" from many supplier catalogs), only to bow under the weight of metal parts within weeks. The result? The rack tilted, bins slid off, and production ground to a halt while the team scrambled to replace the bent pipes.
The consequences of under-sizing go beyond bent metal. A pipe that can't handle the load may vibrate excessively, loosening joints over time. In worst-case scenarios, it could collapse, risking injury to workers or damage to expensive equipment. So how do you avoid this?
Start by calculating the maximum load the pipe will carry. This isn't just the weight of the materials—it includes dynamic forces, too. For example, if the pipe is part of a roller track system where materials slide or roll across it, factor in the impact of sudden stops or starts. Next, check the manufacturer's specifications. Reputable suppliers will provide load capacity charts, often listing maximum weight per linear meter for each pipe thickness. When in doubt, round up. A 1.5mm pipe might cost a bit more than a 1.2mm, but the peace of mind (and avoided downtime) is worth it.
Don't forget to pair the pipe with the right aluminum profile accessories. Even a thick pipe will struggle if mounted on flimsy brackets. Reinforced supports, heavy-duty split foot seats, or suction cup anti-slip foot adjusters can distribute weight more evenly, reducing stress on the pipe itself. Think of it as building a house: a strong foundation (accessories) makes the walls (pipes) stronger, too.
| Corrugated Aluminum Pipe Thickness (mm) | Recommended Max Load (kg/m) | Ideal Applications |
|---|---|---|
| 0.8mm | 5-8 kg/m | Light tool holders, small shelving on workbenches |
| 1.0mm | 8-12 kg/m | Single-tier material racks, lightweight turnover trolleys |
| 1.2mm | 12-18 kg/m | Dual-tier racks, hand trolleys (e.g., hand trolley a/b/c) |
| 1.5mm | 18-25 kg/m | Multi-tier racks (3+ rows), roller track supports |
| 2.0mm | 25-35 kg/m | Heavy-duty material handling, floor-standing structures |
Mistake #2: Using the Wrong Joints (or Failing to Tighten Them Properly)
Corrugated aluminum pipes are only as strong as the joints holding them together. Yet, time and again, teams cut corners here—either by using the wrong type of joint or by guessing at how tight they need to be. Let's break this down: joints are not one-size-fits-all, and "good enough" tightening is rarely good enough.
First, choosing the right joint. The market is flooded with options: internal rotatary aluminum joints, external straight aluminum joints, 90° aluminum crossing joints, parallel aluminum joint a/b—the list goes on. Each is designed for a specific purpose. For example, an internal rotatary joint is perfect for structures that need slight adjustability, like a workbench with a tilting top. But use that same joint on a fixed material rack, and you'll end up with a wobbly setup that shifts every time someone bumps it. Conversely, an external straight joint offers rigidity but zero flexibility—great for a straight conveyor rail, terrible if you need to angle the pipe 45°.
Then there's the issue of aluminum pipe clamps. These small but critical accessories secure pipes to profiles or other structures. Using a flimsy plastic clamp on a pipe that vibrates (like those near a roller track) is a recipe for disaster. The clamp will loosen, the pipe will shift, and before you know it, your "roller track placon mount for aluminum profile flat" is misaligned, causing materials to jam.
But even the right joint can fail if not tightened properly. I once visited a facility where the team used high-quality 90° aluminum profile connectors but hand-tightened them with a regular wrench. A few weeks later, during a routine inspection, we found that over half the joints had loosened—some by as much as a full turn. Why? Because aluminum expands and contracts with temperature changes, and without precise torque, the joints couldn't maintain their grip. The structure looked solid at first glance, but a gentle push revealed alarming wobble.
So how to get joints right? Start by matching the joint to the application. Ask: Does this structure need to be fixed or adjustable? Will it vibrate? Is it load-bearing or decorative? Consult your supplier's catalog—most list recommended joint types for common setups (e.g., "use parallel aluminum joint b for securing two parallel pipes on a workbench").
Next, invest in a torque wrench. Most joint manufacturers specify a torque range (e.g., 25-30 Nm for aluminum profile connectors). Tightening to the lower end of the range ensures a secure fit without stripping the threads. For critical joints, use thread locker (the removable kind—you don't want to weld joints together permanently!). And don't forget to check joints periodically, especially in high-vibration areas. A quick 5-minute inspection every month can catch loosening before it becomes a problem.

Mistake #3: Misaligning with Roller Track Systems—When "Close Enough" Isn't Close Enough
Corrugated aluminum pipes often work hand-in-hand with roller tracks to move materials through a lean system. Whether it's a simple gravity-fed roller track on a workbench or a complex conveyor system, alignment between the pipe (which often forms the track's frame) and the roller track itself is non-negotiable. Yet, many teams treat alignment as an afterthought, leading to jams, slowdowns, and frustrated operators.
Here's a common scenario: A team installs a corrugated aluminum pipe frame to support a roller track. They eye-ball the alignment, secure the roller track placon mounts (those handy brackets that attach the track to the pipe), and call it a day. But when they test it by sliding a bin down the track, the bin catches halfway, requiring a hard push to get it moving. The culprit? The pipe frame is slightly tilted, or the roller track isn't perfectly parallel to the pipe. Even a 1° misalignment can create enough friction to bring materials to a halt.
Roller tracks rely on smooth, consistent movement. Each roller (whether it's a "stainless steel swivel roller balls 1 inch" or a "40 steel roller track yellow wheel") needs to rotate freely, and the track itself must be level and straight. When the supporting corrugated pipe is misaligned, the track bends or twists, causing rollers to bind. Over time, this wears down the roller bearings, leading to even more problems.
Another alignment issue involves roller track connectors. These small but vital parts link sections of roller track together. If the corrugated pipe isn't straight, the connectors can't seat properly, creating gaps or overlaps between track sections. I've seen this turn a 10-foot roller track into a bumpy ride, with bins bouncing instead of gliding. Operators end up manually lifting bins over the "rough spots," defeating the purpose of an automated material flow.
So how to ensure perfect alignment? Start with the basics: use a laser level. A cheap laser level from a hardware store can save hours of frustration. Mount the corrugated aluminum pipe frame first, then use the laser to confirm it's level (both horizontally and vertically). Once the frame is set, attach the roller track placon mounts—use "roller track placon mount for rail connection" or "roller track placon mount center support bracket" as needed—to keep the track steady.
Next, check the roller track itself. Lay a straightedge across the rollers to ensure they're all at the same height. For longer tracks, use a string line to confirm straightness. When connecting track sections, make sure the roller track connectors are fully seated and secured with the correct fasteners. Finally, test the track with the actual materials it will carry—don't just use a lightweight box. If a bin of parts catches, adjust the alignment until it slides smoothly with minimal effort.
Remember: in lean systems, every second counts. A misaligned roller track might only add a few seconds per bin, but multiply that by hundreds of bins per day, and you're looking at hours of wasted time. Get the alignment right, and you'll keep materials moving—and your team productive.
Mistake #4: Overlooking Environmental Factors—When the Workspace Fights Back
Corrugated aluminum pipes are tough, but they're not invincible. One of the most overlooked installation mistakes is failing to account for the environment where the pipe will live. Whether it's extreme temperatures, humidity, static electricity, or corrosive substances, the workspace itself can sabotage even the best-laid installation plans.
Let's start with static electricity. In electronics manufacturing, where esd workstations are the norm, using non-ESD corrugated aluminum pipes is a critical error. Aluminum is conductive, but standard corrugated pipes might not have the right surface treatment to dissipate static. Without proper grounding, static charges can build up on the pipe, zapping sensitive components like circuit boards as they slide down a roller track. I've heard horror stories of batches of smartphones being ruined because a static discharge from a misused pipe fried their microchips—costing the company thousands in rework.
Then there's humidity and corrosion. A warehouse in a coastal area, where salt air hangs thick, will eat through untreated aluminum over time. The same goes for facilities with high moisture, like food processing plants or laundries. A standard corrugated aluminum pipe might look fine for the first few months, but eventually, you'll notice white, powdery corrosion (aluminum oxide) eating away at the surface. Left unchecked, this weakens the pipe, making it prone to cracking.
Extreme temperatures are another culprit. In a foundry or a cold storage facility, aluminum expands and contracts significantly. A pipe installed in a hot environment might tighten joints to the point of cracking when the temperature drops. Conversely, a pipe in a freezer might loosen joints as it warms up during maintenance, leading to instability.
So how to adapt to the environment? Start by conducting a quick assessment: Is the area ESD-sensitive? High humidity? Exposed to chemicals? Then choose materials and accessories accordingly.
For ESD workstations: Opt for corrugated aluminum pipes with a conductive coating, or pair standard pipes with ESD-compliant accessories like "black esd wheel" roller tracks or conductive aluminum pipe clamps. Ensure the entire structure is grounded to a common earth point.
For humid or corrosive environments: Look for pipes with a protective coating (like anodized aluminum) or switch to stainless steel pipe series if budget allows. Stainless steel resists corrosion far better than bare aluminum and is worth the investment in coastal or industrial settings.
For extreme temperatures: Use joints with a bit of flexibility, like internal rotatary aluminum joints, to accommodate expansion and contraction. Avoid over-tightening joints, and use materials with similar thermal expansion rates (e.g., pair aluminum pipes with aluminum profile accessories, not plastic).
Think of it this way: Your corrugated aluminum pipe is a team player. It needs to get along with its environment to perform well. Ignore the environment, and you're setting the stage for conflict.
Mistake #5: Skipping Pre-Installation Planning—Flying Blind Leads to Costly Rework
It's tempting to dive straight into installation—unbox the pipes, grab some joints, and start building. But without proper planning and measurement, you're essentially flying blind. I've seen teams spend days assembling a structure, only to realize it's too tall, too short, or doesn't fit through the door to the production floor. The result? Tearing it down, returning parts, and starting over—all while the project deadline looms.
Pre-installation planning isn't just about sketching a rough design on a napkin. It's about measuring twice (or three times), accounting for space constraints, and ensuring the structure integrates with existing equipment. Let's break down the key steps many teams miss:
1. Measuring the space (and double-checking). A material rack might look great on paper, but if the ceiling is lower than you thought, or there's a column in the way, that "3 row and 3 floor" rack won't fit. Use a laser measure for accuracy, and map the area with dimensions for height, width, and depth. Don't forget to account for clearance—e.g., a hand trolley needs space to maneuver around the rack, so add at least 3 feet to the rack's width for walkways.
2. Considering existing infrastructure. Will the new corrugated aluminum pipe structure attach to existing aluminum profiles or workbenches? If so, you need to match the profile size (e.g., 2020 vs. 3030 vs. 4040 aluminum profiles) and hole spacing. Mismatched profiles mean you'll need adapters, which add cost and complexity. I once saw a team try to bolt a 4040 aluminum profile to a 3030 workbench—they ended up drilling new holes, weakening the workbench and voiding its warranty.
3. Planning for future expansion. Lean systems evolve, and your pipe structure should too. Installing a fixed rack with no room to add shelves later is short-sighted. Instead, use modular components: "workbench e (single deck-without caster)" can be upgraded with casters later, and "basic aluminum tube" can be extended with additional pipes and joints if needed. Leave extra holes in profiles, or use t-slot aluminum pipes that allow accessories to be added anywhere along the length.
4. Testing the design (before cutting pipes). If you're working on a complex structure, build a small-scale prototype first. Use cardboard tubes or PVC pipes to mock up the design—this will reveal flaws in the layout (e.g., a roller track that's too steep, or a joint that blocks access to a shelf). Prototyping takes an extra hour or two but saves days of rework.
Finally, create a parts list. Nothing derails an installation faster than realizing you're missing a handful of "3030 aluminum profile end caps" or "caster accessories" halfway through the build. Check and double-check the list against your design, and order extras of small parts—they have a way of getting lost in the shuffle.
Wrapping Up: Installation as the Foundation of Lean Success
At the end of the day, installing corrugated aluminum pipes in a lean system isn't just about screwing parts together—it's about respecting the purpose of lean itself: eliminating waste, boosting efficiency, and creating a workspace that works with your team, not against them. By avoiding these five mistakes—underestimating load capacity, misusing joints, misaligning with roller tracks, ignoring the environment, and skipping planning—you'll ensure your corrugated aluminum pipe structure becomes a silent partner in productivity, not a source of headaches.
Remember: Every component, from the thinnest 0.8mm pipe to the smallest aluminum pipe clamp, plays a role. Take the time to do it right, and your lean system will reward you with smoother workflows, fewer delays, and a team that can focus on what they do best—making great products.