- Company Articles
- Products and Technology
- Product knowledge
- Cutting 3060 Aluminum Angle Yards: Tools & Precision Techniques

Cutting 3060 Aluminum Angle Yards: Tools & Precision Techniques
Related Product
3060 Aluminum Angle Yards
It used for 90° flat connection for 20 series aluminum profile.
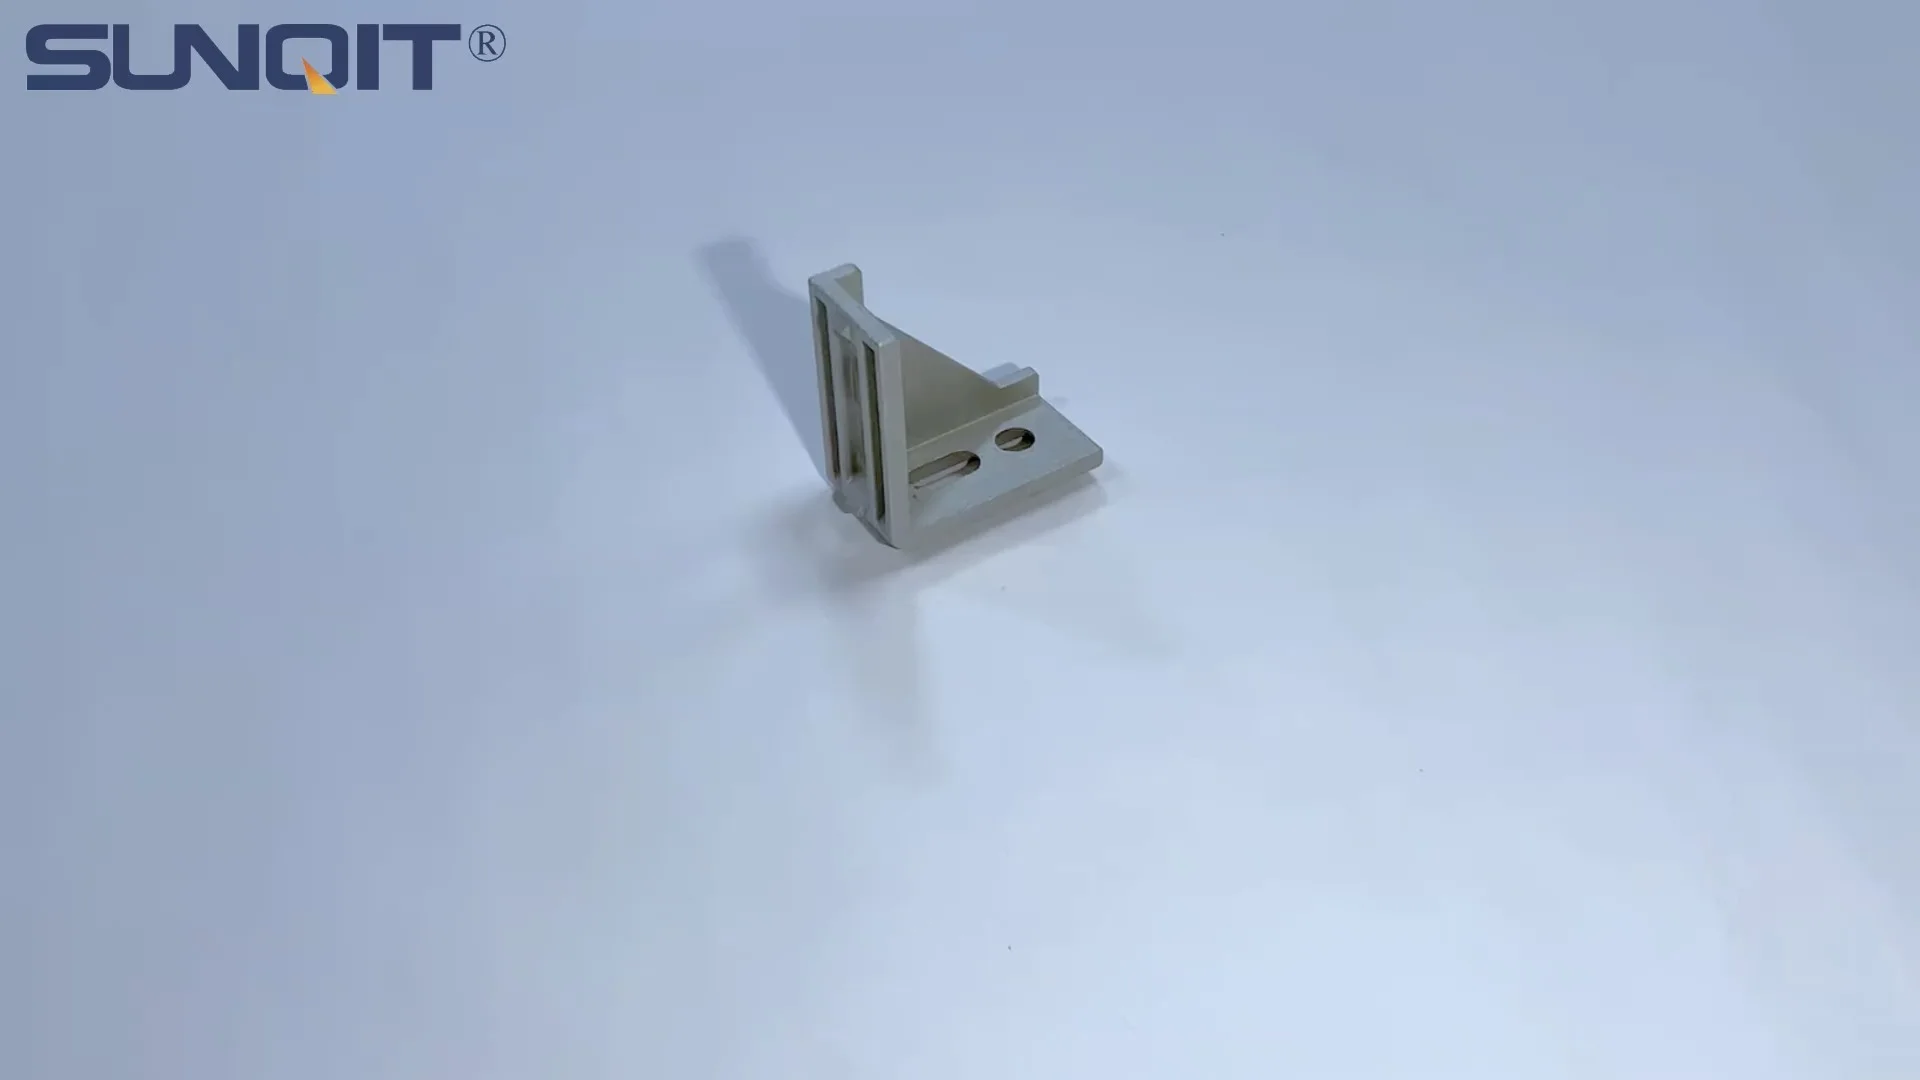
If you've ever stood in front of a pile of aluminum extrusion profile, wondering how to turn those rigid, shiny lengths into a functional workbench or a sturdy material rack, you know the first hurdle: cutting them cleanly. Aluminum—especially 3060 aluminum angle yards—isn't like wood or plastic. It's tough but finicky; too much force, and you'll warp it. Too little precision, and your project turns into a wobbly mess. But here's the good news: with the right tools, a steady hand, and a few tricks I've picked up over years of working with aluminum profile, you'll be cutting 3060 like a pro in no time. Let's dive in.
What Are 3060 Aluminum Angle Yards, Anyway?
First, let's get clear on what we're dealing with. 3060 aluminum angle yards are a type of aluminum extrusion profile, named for their dimensions: 30mm by 60mm. Picture a right angle—one leg is 30mm wide, the other 60mm—with a hollow, lightweight core and a smooth, often anodized finish. They're part of the "angle" family of aluminum profiles, prized for their structural strength and versatility. You'll find them in everything from factory workbenches (where they form the frame) to DIY shelving units, and even in industrial material racks, where their rigidity keeps heavy loads stable.
What makes 3060 special? Unlike solid steel angles, they're light enough to carry with one hand but strong enough to support hundreds of pounds when assembled with the right aluminum profile accessories—think brackets, corner codes, and end caps. And because they're extruded (pulled through a die), their dimensions are consistent down to the millimeter, which is great… as long as your cuts are just as precise. A 1-degree off-angle cut might not sound like much, but when you're joining four 3060 pieces to make a workbench frame, that tiny error multiplies into a table that rocks like a seesaw.
Why Precision Matters (Spoiler: It's Not Just About Looks)
I once watched a colleague ruin $200 worth of 3060 angle yards because he rushed a cut. He eyeballed the line, used a dull blade, and ended up with a jagged, slanted edge. When he tried to attach it to another piece with a 90° aluminum profile connector, the joint gapped so badly he might as well have used duct tape. Moral of the story? Precision in cutting 3060 isn't a "nice-to-have"—it's the backbone of your project.
Here's why it counts:
- Structural Integrity: 3060 angle yards are often load-bearing. A crooked cut weakens the joint, turning a sturdy workbench into a hazard when you set heavy tools on it.
- Assembly Ease: Aluminum profile accessories like 3060 aluminum profile end caps or corner codes only fit if the cut is square. A 2mm (deviation) means the end cap won't snap into place, leaving you sanding frantically or, worse, buying new material.
- Material Waste: Aluminum isn't cheap. A bad cut turns a 6-foot length into scrap. I've seen hobbyists blow through their budget by discarding 20% of their material due to sloppy cuts—don't be that person.
- Aesthetics: Let's be honest: a project with clean, straight cuts looks professional. Whether it's a garage workbench or a display rack for your small business, crisp edges make all the difference in how it's perceived.

Tools You'll Need (No, a Kitchen Knife Won't Work)
Cutting 3060 aluminum angle yards requires tools that balance power and finesse. Aluminum is soft compared to steel, but it's also gummy—it can melt or clog blades if you're not careful. Below's a breakdown of the essentials, plus why they matter and pro tips I've learned the hard way.
| Tool Type | Purpose | Best For | Pro Tips |
|---|---|---|---|
| Miter Saw with Aluminum Blade | Primary cutting tool for straight, square cuts | Large batches or long lengths of 3060 | Use a 60-tooth blade (more teeth = cleaner cuts). Set RPM to 3,000 or lower—high speed melts aluminum. |
| Circular Saw with Carbide Blade | Portable option for on-site cuts or curved lines | Projects where a miter saw isn't accessible | Clamp the material to a workbench. Let the blade spin up fully before cutting—no "plunge starts." |
| Bench Vice & Clamps | Securing the angle yard to prevent movement | All cuts—never cut freehand! | Use soft jaws (rubber or wood) to avoid scratching the aluminum's finish. |
| Digital Calipers & Speed Square | Measuring and marking precise cut lines | Ensuring 90° or custom angles (e.g., 45° for corners) | Mark the line with a fine-tip permanent marker—tape the surface first if you're worried about smudges. |
| Deburring Tool | Removing sharp burrs from cut edges | Post-cut finishing | Use a 45° deburring bit. Run it along both inner and outer edges—burrs aren't just sharp; they prevent accessories from fitting. |
| Hacksaw (Last Resort) | Manual cutting for small jobs or tight spaces | When power tools aren't available | Use a 32-teeth-per-inch (TPI) blade. Lubricate with cutting oil to reduce friction. |
Honorable mentions: A jigsaw with a metal-cutting blade works for curved cuts (though 3060 angle yards rarely need curves), and a bench grinder can clean up messy edges, but it's easy to overdo it and thin the material. Stick to the basics above, and you'll avoid 90% of common mistakes.
Pro Move: I keep a separate blade for aluminum—wood blades get clogged with resin, and steel blades are too aggressive. A dedicated aluminum blade costs $20–$30, but it'll save you hours of sanding and wasted material.

Step-by-Step: Cutting 3060 Like a Pro
Now that you've got the tools, let's walk through the process. I'll break it down into 5 steps, from measuring to finishing, with pitfalls to avoid.
Step 1: Measure Twice, Cut Once (Yes, It's a Cliché for a Reason)
Aluminum doesn't forgive measurements. Start by figuring out the exact length you need. For example, if you're building a workbench with 3060 legs, measure the height from floor to tabletop, then subtract the thickness of the tabletop material (e.g., plywood or aluminum honeycomb panel). Write the measurement down—memory is unreliable, especially when you're juggling multiple cuts.
Next, mark the cut line. Use a speed square to align the mark across both legs of the angle yard—this ensures the cut is square, not just straight on one side. If you're cutting multiple pieces to the same length, use a stop block on your miter saw (clamp a scrap of wood to the fence at your desired length) to avoid measuring each one individually. Trust me: this saves 10+ minutes per 10 cuts.
Watch Out: Aluminum is slippery. When marking, press the square firmly against the angle yard's edge—even a 1mm shift can throw off your cut.
Step 2: Secure the Angle Yard (No Wobbly Business)
A moving workpiece = a bad cut. Clamp the 3060 angle yard to your workbench or miter saw's fence using a bench vice or C-clamps. If you're using a miter saw, position the material so the cut line is just beyond the blade—this prevents the blade from binding as it exits the cut. For extra security, wrap masking tape around the area where the clamp touches the aluminum to protect the finish from scratches.
Pro tip: If the angle yard is longer than your workbench, support the overhang with a sawhorse or a stack of sturdy boxes. Unsupported material sags, leading to uneven cuts. I once ruined a 4-foot piece because the end drooped mid-cut—the blade veered, and now that piece is a very expensive paperweight.
Step 3: Cut Slowly, Let the Blade Do the Work
Aluminum cutting is a marathon, not a sprint. Start the saw and let the blade reach full speed before making contact. Then, push the blade through the angle yard at a steady, moderate pace—about 1–2 inches per second. If you force it, the blade will bog down, melt the aluminum, or kick back. You'll know you're going too fast if you see a trail of molten aluminum (it looks like silver string) or hear a high-pitched squeal.
For miter saws: Lower the blade gently into the material. Keep your hand on the trigger but avoid pressing down—let gravity and the blade's rotation do the cutting. For circular saws: Guide the saw along the marked line, keeping the base plate flat against the material. If the saw vibrates excessively, stop—check if the material is clamped tightly or if the blade is dull.
Step 4: Deburr Immediately (Those Edges Are Sharp!)
The moment you finish cutting, the 3060 angle yard will have burrs—those ragged, sharp edges where the blade exited. Left unchecked, they'll cut fingers, catch on gloves, or prevent aluminum profile accessories from fitting. Grab your deburring tool and run it along both the inner and outer edges of the cut. A few passes with a medium-grit sandpaper (120–180 grit) will smooth any remaining roughness.
Bonus: If you're using the angle yard with 3060 aluminum profile end caps, deburring is non-negotiable. End caps have tight tolerances—even a small burr will make them pop off or sit unevenly. I once spent 20 minutes wrestling with an end cap before realizing a tiny burr was the culprit. Lesson learned: deburr first, assemble later.
Step 5: Clean the Cut (Aluminum Dust Is Sneaky)
Aluminum dust and shavings might look harmless, but they're abrasive and can scratch the angle yard's finish if left on. Wipe the cut area with a clean rag or paper towel. For stubborn residue (like oil from the blade), use isopropyl alcohol—it evaporates quickly and won't damage the aluminum. If you're cutting multiple pieces, sweep or vacuum the workbench periodically—you don't want dust getting into your eyes or tools.

Troubleshooting: When Things Go Wrong (And They Will)
Even pros make mistakes. Here's how to fix common issues when cutting 3060 aluminum angle yards:
Problem: The Cut Is Crooked
Cause: The material shifted during cutting, or the blade wasn't square to the angle yard. Fix: Double-check clamps and square alignment before cutting. If the cut is slightly off (less than 1mm), sand the edge with a sanding block until it's square. For bigger mistakes, measure the error—if it's more than 3mm, cut a new piece. Wasting 6 inches of aluminum is better than building a wobbly project.
Problem: The Blade Is Clogged with Aluminum
Cause: Blade speed was too high, or the blade is dull. Fix: Stop cutting, let the blade cool, then use a wire brush to remove the gunk. If the blade is dull (you'll notice it tearing instead of cutting), replace it. To prevent clogs, spray the blade with cutting fluid (WD-40 works in a pinch) before cutting—it reduces friction and keeps aluminum from sticking.
Problem: The Aluminum Chipped or Cracked
Cause: The blade teeth are too large (e.g., a 24-tooth wood blade) or you started the cut too aggressively. Fix: Use masking tape along the cut line before marking—tape prevents chipping. For small chips, sand the area smooth. For cracks, discard the piece—aluminum doesn't "heal," and cracks will spread under load.
From Cut to Project: Building a Simple Workbench
Now that you can cut 3060 aluminum angle yards cleanly, let's put that skill to use. A basic workbench is a perfect first project—it uses 4–6 pieces of 3060 (for legs and rails) and common aluminum profile accessories. Here's a quick overview:
- Cut the legs: 4 pieces of 3060 at 34 inches (adjust for your height). Deburr and clean.
- Cut the rails: 4 pieces at 24 inches (width) and 2 pieces at 48 inches (length). These connect the legs into a rectangle.
- Assemble with corner codes: Use 90° aluminum profile connectors to join the rails to the legs. Tighten the bolts just enough to hold them square—over-tightening can warp the angle yards.
- Add the tabletop: Screw a plywood or aluminum honeycomb panel to the rails. Use washers under the screws to avoid denting the aluminum.
- Level and secure: Adjust the legs with shims if needed, then add 3060 aluminum profile end caps to the bottom of the legs to protect floors.
The key here? All those cuts you made need to be identical in length and square. If the legs are off by 5mm, the workbench will rock. If the rails aren't parallel, the tabletop won't sit flat. But with the techniques we've covered, you'll nail it on the first try (or second—no judgment).
Final Thoughts: Precision = Pride
Cutting 3060 aluminum angle yards isn't just about making a straight line—it's about respecting the material and the project you're building. Aluminum extrusion profile is a blank canvas, and your cuts are the first brushstrokes. Take your time, use the right tools, and don't rush the process. The first few cuts might feel awkward, but soon you'll be measuring, clamping, and cutting with confidence.
And when you step back and see that workbench or material rack—sturdy, square, and built to last—you'll know it was worth the effort. Because in the end, the best projects aren't just about function—they're about the pride of saying, "I built that. And I built it right."