- Company Articles
- Products and Technology
- Installation And Maintenance
- DIY Guide: Installing 38 Aluminum Roller Track Black at Your Facility

DIY Guide: Installing 38 Aluminum Roller Track Black at Your Facility
Related Product
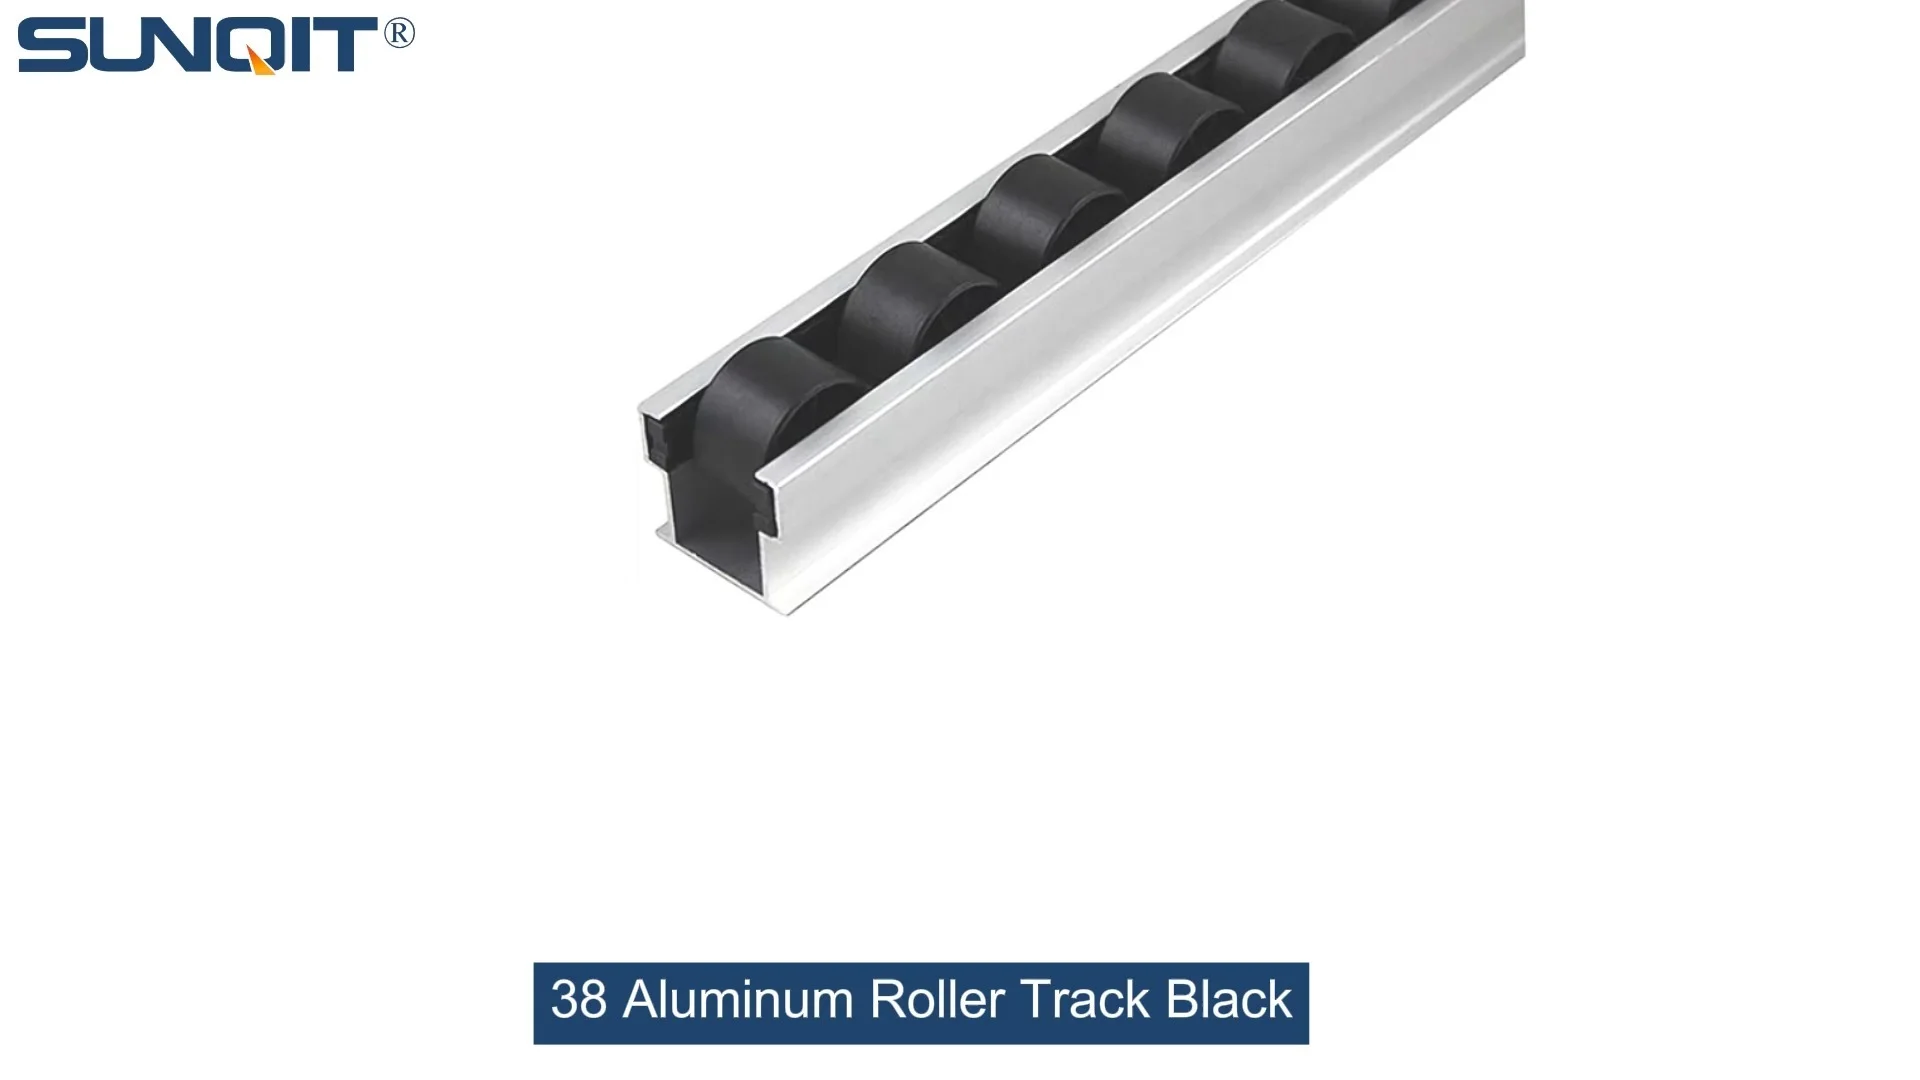
38 Aluminum Roller Track Black
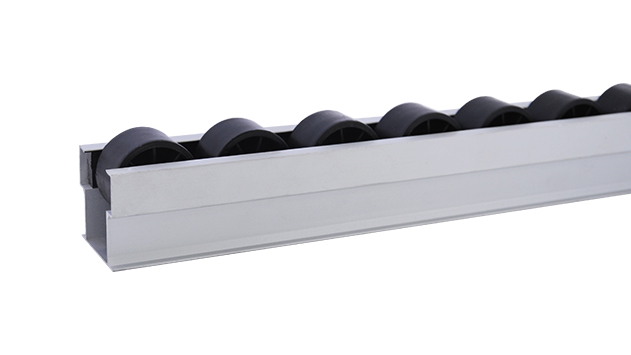
Durable and smooth-running modular roller rails. The system is fully assembled. The roller rail profile contains plastic rollers mounted on steel axles. Aluminum frame with plastic wheel make it anti corrosion,and material convey more smooth.
Ever walked through your facility and thought, "This workflow could be smoother"? If you're looking to boost efficiency without breaking the bank, installing a 38 Aluminum Roller Track Black might just be the solution you need. Roller tracks are a staple in lean systems, helping materials glide easily from one station to another—whether it's parts on an assembly line or boxes in a warehouse. This guide will walk you through every step of installing this roller track yourself, so you can get your operations running more efficiently in no time.
First, let's talk about why this specific roller track is a great choice. The 38 Aluminum Roller Track Black is durable, lightweight, and designed to handle regular use in busy environments. It's part of a range of lean pipe accessories that work together to create flexible, customizable workspaces. Whether you're setting up a new flow rack or upgrading an existing conveyor system, this roller track fits right in.
Before we dive into the installation steps, let's make sure you have all the tools and parts you need. Having everything ready upfront will save you time and frustration later.
Tools You'll Need
| Tool Name | Purpose |
|---|---|
| Tape Measure | For accurate measurements of the installation area |
| Level | To ensure the track is perfectly horizontal (critical for smooth movement) |
| Drill | With appropriate bits for your mounting surface (wood, metal, concrete) |
| Screws/Bolts | Depending on the surface (make sure they're compatible with the brackets) |
| Wrench | To tighten bolts securely |
| Marker | For marking drill points |
| Safety Glasses | To protect your eyes during drilling |
| Gloves | To keep your hands safe and get a better grip |
| End Stops | Optional, to prevent materials from sliding off the track ends |
Step-by-Step Installation Process
Step 1: Prepare the Installation Area
Start by cleaning the area where you'll mount the track. Remove any debris, boxes, or equipment that might block your workspace. If you're attaching the track to a workbench, flow rack, or wall, make sure the surface is stable and free of cracks or damage. A unstable surface will lead to a wobbly track, so fix any issues before proceeding.
Step 2: Measure and Mark
Use your tape measure to determine the exact length of track you need. Mark the positions where the brackets will go—usually every 12 to 18 inches along the track for stability. The more brackets you use, the sturdier the track will be, especially if you're carrying heavy items. Use your level to draw straight lines across the mounting surface; even a slight tilt can cause materials to slide too fast or get stuck.
Double-check your measurements! It's easy to make a mistake here, but getting it right now will save you from redoing work later. If you're installing multiple sections of track, mark where each section will join to ensure they align perfectly.
Step 3: Install the Brackets
Place each bracket on its marked position. If your mounting surface is wood or metal, drill pilot holes to prevent splitting or cracking. For concrete surfaces, use a masonry bit and wall anchors. Secure the brackets with screws or bolts, making sure they're tight. Use your level again to confirm each bracket is horizontal—this is non-negotiable for smooth material flow.
Take your time with this step. Loose or uneven brackets are the most common cause of installation issues. If a bracket is slightly off, adjust it before moving on to the next one.
Step 4: Attach the Roller Track
Once all brackets are in place, line up the 38 Aluminum Roller Track Black with the brackets. Most tracks have pre-drilled holes or slots that fit onto the bracket's mounting points. Secure the track to each bracket using the provided screws or clips. Make sure each section of track is flush with the next—no gaps or overlaps. A small gap can catch materials, while an overlap will stop them completely.
If you're joining multiple sections, use a connector (like a roller track connector) to link them together. This will keep the track stable and ensure materials slide smoothly from one section to the next.
Step 5: Test the Track
Now for the fun part—testing! Place a few items on the track (like a box, a part bin, or a tool tray) and push them gently. They should glide easily without getting stuck or slowing down. If something doesn't move right, check for:
- Uneven brackets (use your level to adjust)
- Debris between rollers (wipe it away)
- Misaligned sections (loosen brackets and realign)
Repeat the test until everything moves smoothly. This is your chance to fix issues before they affect your daily operations.
Step 6: Add End Stops (Optional)
If you're using the track to hold materials in place (like on a flow rack), add end stops to prevent items from sliding off. End stops are small pieces that attach to the ends of the track. Simply line them up with the track's holes and secure with screws. You can add end stops to one or both ends depending on your setup.
Maintenance Tips for Longevity
Your roller track is installed, but the work doesn't stop there. Regular maintenance will keep it running smoothly for years. Here's what you need to do:
Clean Regularly
Dust, dirt, and grease can build up between the rollers, causing them to stick. Use a soft brush or cloth to wipe down the track every week. For stubborn dirt, use a mild detergent and water—avoid harsh chemicals that might damage the aluminum or rollers.
Lubricate Rollers
Every month, apply a small amount of light oil (like silicone oil) to the roller axles. This will keep them spinning freely. Don't overdo it—too much oil will attract dust and make the problem worse. A few drops per roller are enough.
Inspect for Wear
Once a month, check the track for loose brackets, bent rollers, or damaged sections. Tighten any loose screws and replace worn parts immediately. A bent roller can stop materials from sliding, so don't ignore it. If you notice a lot of wear, consider replacing the track section to avoid downtime.
Stick to Weight Limits
Every roller track has a weight limit. Check the manufacturer's specs and don't exceed it. Excessive weight can bend the aluminum track or break the rollers, leading to costly repairs.

Integrating with Your Lean System
The 38 Aluminum Roller Track Black is more than just a standalone tool—it's part of a larger lean system. Let's look at how you can use it to enhance your operations:
Flow Racks
Flow racks are a key part of lean manufacturing, allowing materials to move from the back to the front as they're used. The 38 Aluminum Roller Track Black is perfect for flow rack shelves. Parts or bins slide down to the front, so workers don't have to reach or bend to grab what they need. This reduces waste and speeds up assembly lines.
Conveyor Systems
You can connect multiple sections of roller track to create a simple conveyor system. Add a motorized roller (if you need automated movement) or keep it manual for smaller operations. This is a cost-effective way to move materials between stations—whether it's from assembly to testing or from packing to shipping.
Lean Pipe Workbenches
Attach the roller track to the edge of a lean pipe workbench to create a slide for finished parts. This keeps the workspace organized and ensures parts move quickly to the next station. For example, in a 3C assembly line, you might use the track to move phone components from soldering to quality control.
Custom Solutions
The beauty of lean systems is their flexibility. You can mix and match this roller track with other lean pipe accessories to create a setup that fits your exact needs. Whether you're in medical device manufacturing,, or automotive assembly, this track can be adapted to your workflow.
If you're not sure how to integrate the track into your existing setup, consider reaching out to a lean solution provider. They can help you design a custom system that fits your facility and budget. But with this guide, you can start small and expand as you see the benefits.

Common Troubleshooting Issues
Even with careful installation, you might run into a few problems. Here's how to fix them:
Rollers are Sticking
This is usually due to dirt or lack of lubrication. Clean the track and apply oil to the rollers. If that doesn't work, check for bent rollers—replace them if necessary.
Materials Slide Too Fast/Slow
This is a level issue. Use your level to check if the track is horizontal. Adjust the brackets to fix the tilt. If materials are still too fast, add a friction pad (like a rubber strip) to slow them down.
Track is Wobbly
Loose brackets are the culprit. Tighten all screws and bolts. If the brackets are still loose, use longer screws or wall anchors for a better hold.
Materials Get Stuck Between Sections
Check if the track sections are aligned properly. Loosen the brackets and realign the sections so they're flush. Use a connector to link them together for stability.
Final Thoughts
Installing a 38 Aluminum Roller Track Black is a simple, cost-effective way to boost efficiency in your facility. Whether you're setting up a new flow rack, upgrading a conveyor system, or just want to make your workflow smoother, this guide has everything you need to do it yourself.
Remember, the key to success is preparation—make sure you have all the tools and parts before you start. Take your time with measurements and leveling, as these steps are critical for smooth operation. And don't forget to maintain the track regularly to keep it in top shape.
This roller track is more than just a piece of equipment; it's a step toward implementing lean principles in your business. By reducing waste and improving workflow, you can save time and money while making your operations more flexible and adaptable.
So what are you waiting for? Grab your tools and start installing your roller track today. Your team (and your bottom line) will thank you!