- Company Articles
- Products and Technology
- Installation And Maintenance
- DIY Guide: Installing Flat Swivel Castor Wheel with Brake on Material Rack B

DIY Guide: Installing Flat Swivel Castor Wheel with Brake on Material Rack B
Related Product
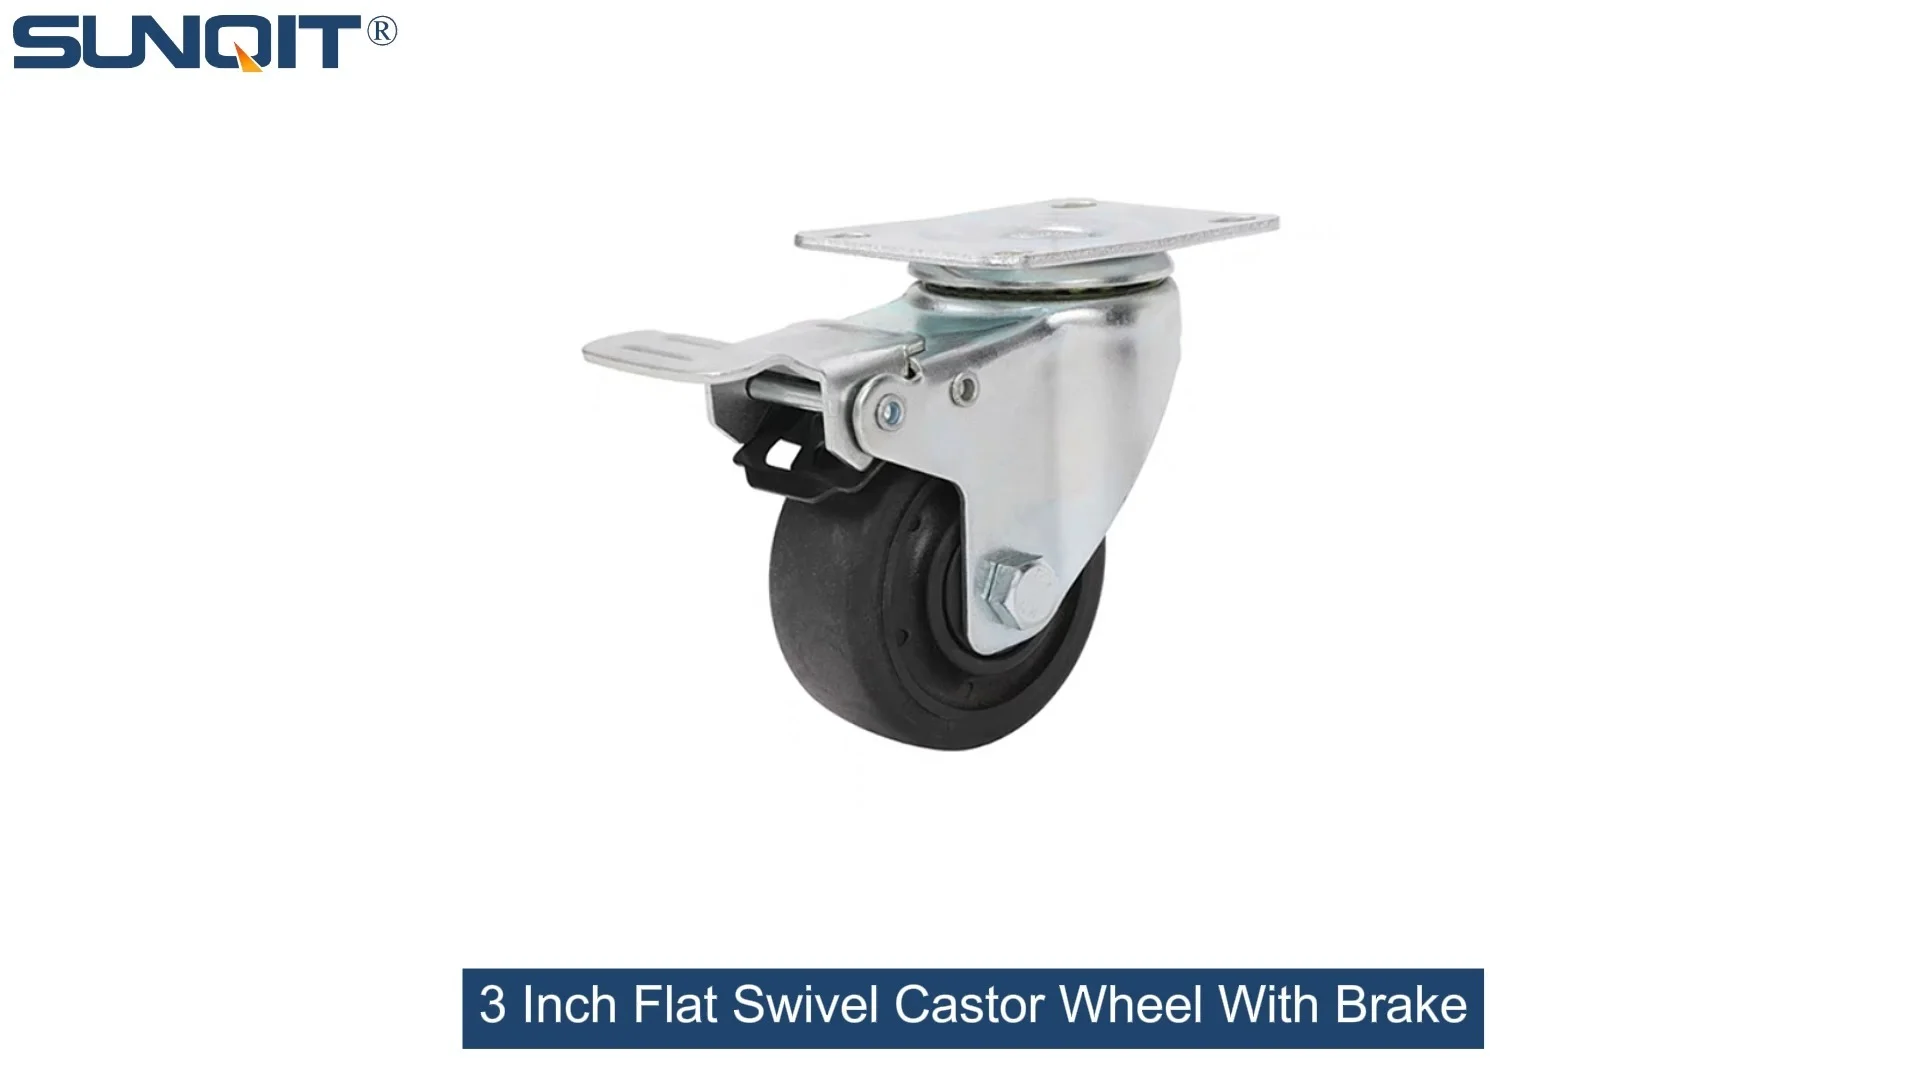
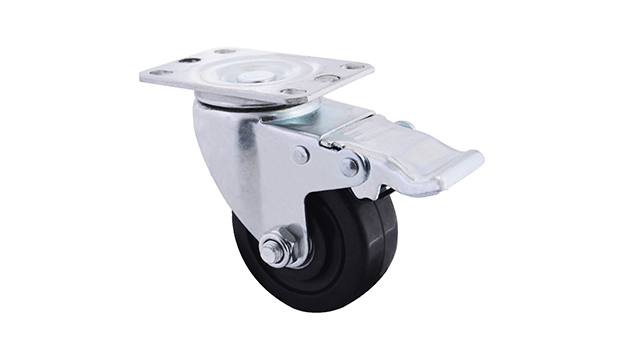
Flat Swivel Castor Wheel With Brake
Chair Casters Ball Bearing Wheels Rubber Base with brake design. Resistant to abrasion, impact and corrosion. Heavy payload can hold 70Kgs per pcs,which can make it works at a stable and smooth status.
Let's start with a scenario we've all faced: You're in the middle of a project, and your Material Rack B (3 row and 3 floor) is loaded with parts you need—on the opposite side of the workshop. You grumble, round up a coworker, and spend 10 minutes inching it across the floor, only to realize it's now blocking the door. Sound familiar? Static storage might feel reliable, but in a workspace that thrives on adaptability, it's a bottleneck. Today, we're fixing that. We're going to turn your stationary rack into a mobile, brake-ready workhorse by installing flat swivel castor wheels with brake. No fancy tools, no prior experience—just a few hours and a little patience. By the end, you'll have a setup that fits seamlessly into a lean system, making material flow smoother than ever.
Why Add Casters to Your Material Rack B?
Before we dive into the "how," let's talk about the "why." Material Rack B (3 row and 3 floor) is a workhorse for a reason: its three rows and three floors mean it can hold everything from small components to bulky tools. But here's the catch: fixed racks limit your workspace's flexibility. Maybe you need to reconfigure the production line for a new order, or you want to bring materials closer to your assembly station to cut down on walking time. A mobile rack solves that. Add brakes, and you've got stability when you need it and mobility when you don't—perfect for maintaining order in a busy environment.
And let's not forget the lean system angle. Lean manufacturing (or lean systems, more broadly) is all about eliminating waste—including wasted movement. If your team spends 15 minutes a day fetching parts from a static rack, that adds up to over 60 hours a year. With a mobile rack, materials come to the worker, not the other way around. It's a small change that aligns with big-picture efficiency.
Tools and Materials You'll Need
Before you start, gather these items. Most can be found in your toolbox, and the rest? Your local hardware store or lean pipe supplier should have them in stock. Pro tip: Lay everything out on a clean workbench to avoid hunting for tools mid-project.
| Item | Purpose | Notes |
|---|---|---|
| Flat swivel castor wheel with brake (4 units) | Main mobility component | Choose a weight capacity of at least 150 lbs per caster (rack + load). Look for rubber wheels to protect floors. |
| Caster accessories kit | Mounting hardware | Includes steel mounting plates, M8 bolts (50mm length), washers, and lock nuts. Usually included with casters—if not, ask your lean pipe supplier for parts compatible with Material Rack B. |
| Socket wrench set (10mm and 12mm sockets) | Tightening bolts | A ratchet wrench makes this faster, but a regular wrench works too. Add an extension bar for hard-to-reach bolts. |
| Spirit level (12-inch minimum) | Ensuring the rack stays level | Bubble or digital—either works. Just check that it's calibrated (lay it flat; the bubble should sit dead center). |
| Permanent marker (fine-tip) | Marking drill/mounting points | Choose a color that shows up on your rack's finish (silver for dark racks, black for light). |
| Rubber mallet | Gently seating mounting plates | Metal hammers can scratch the rack or damage caster accessories—rubber is gentler. |
| Thread locker (medium-strength, blue) | Preventing bolts from loosening | Optional but recommended for heavy-use racks. Avoid red thread locker—it's permanent and hard to remove later. |
| Clean cloth and degreaser | Prepping the rack legs | Grease or dust on the legs will stop bolts from gripping. A quick wipe with degreaser (like isopropyl alcohol) fixes this. |
Pro Tip: Check the weight rating! If your Material Rack B holds 500 lbs when full, get casters rated for at least 625 lbs total (500 lbs + 25% buffer). Overloading casters leads to wobbly racks and premature wear.
Step-by-Step Installation Guide
Now, let's get to work. We'll take this slow and steady—rushing leads to mistakes, and we want this rack to be safe. Set aside 2-3 hours, and clear a space around the rack so you can move freely.
Step 1: Empty and Prep the Rack
First, remove everything from your Material Rack B. Yes, everything. Even that half-empty box of screws on the bottom shelf. A loaded rack is heavy and unstable, and you don't want parts spilling or the rack tipping during installation. Once it's empty, give the legs a quick once-over with your clean cloth and degreaser. Focus on the bottom 6 inches—this is where we'll mount the casters.
Next, tip the rack onto its side (gently!) so the legs are off the ground. If it's too heavy to lift alone, grab a helper. Place a towel or piece of cardboard under the rack to protect the shelves from scratches.
Step 2: Attach the Mounting Plates (Caster Accessories)
Your caster accessories kit should include four steel mounting plates—these are the "bridge" between the rack legs and the casters. Each plate has 4 holes for bolts; we'll use these to secure it to the rack leg.
Take one mounting plate and hold it flush against the bottom of a rack leg. The plate should be centered: measure the width of the leg (Material Rack B legs are typically 30mm wide) and mark the midpoint with your marker. Align the plate so its center matches the leg's midpoint. Now, mark the positions of the plate's holes on the leg—these are where we'll drill (if needed) or attach bolts.
Wait—does your rack leg have pre-drilled holes? Many Material Rack B models do, to make accessory installation easier. If yours does, line up the mounting plate's holes with these pre-drilled ones. If not, you'll need to drill 4mm pilot holes (use a drill bit slightly smaller than your bolts to ensure a tight fit). Go slow—drilling too fast can warp the metal.
Pro Tip: If drilling, place a piece of masking tape on the drill bit at the 15mm mark. This acts as a depth guide—you don't want to drill all the way through the leg!
Once the holes are marked (or pre-drilled), attach the plate with the bolts from your caster accessories kit. Thread a washer onto each bolt, then insert it through the plate and into the leg. Screw on a lock nut and tighten with your 10mm socket wrench. Don't fully tighten yet—we'll adjust alignment later. Repeat this for all four legs.
Step 3: Install the Flat Swivel Castor Wheel with Brake
Now, it's time to add the casters. Take one flat swivel castor wheel with brake and flip it upside down—you'll see a mounting plate on the top of the caster (this connects to the plate we just attached to the rack leg).
Align the caster's mounting holes with the holes on the rack's mounting plate. They should line up perfectly—if not, double-check that the rack plate is centered. Once aligned, insert the bolts (from the caster accessories kit) through the caster plate and into the rack plate. Add a washer and lock nut to each bolt, then hand-tighten them to hold the caster in place.
Now, grab your socket wrench and tighten the bolts. Here's the key: Tighten them in a "star" pattern (like tightening lug nuts on a car). This ensures even pressure, so the caster sits flat. Stop when the nut is snug—over-tightening can strip the threads or warp the plate.
Repeat this for the remaining three casters. Make sure the brake levers are all facing the same direction (usually outward, so you can reach them easily when the rack is upright). This might seem trivial, but it'll save you frustration later when you need to lock the rack in place.
Step 4: Level the Rack and Tighten Everything
Now, carefully stand the rack back up. It might wobble a little—don't panic, that's normal. Grab your spirit level and place it on the top shelf. Is the bubble centered? If not, adjust the mounting plates. Loosen the bolts slightly, tap the plate with your rubber mallet to shift it, then retighten. Repeat until the rack is level from front to back and side to side.
Once level, go back and fully tighten all bolts (both on the mounting plates and the casters). Use your socket wrench and give each bolt a ¼-turn past snug—this ensures they won't loosen over time. If you're using thread locker, apply a drop to each bolt before final tightening (avoid getting it on the caster's swivel joint, as it can gum up the movement).
Step 5: Test the Brakes and Mobility
We're almost done! Now, let's test our handiwork. Push the rack gently—does it roll smoothly? The swivel should turn easily, and the wheels shouldn't drag. If it's stiff, check if the casters are over-tightened—loosen the top bolts slightly and try again.
Next, test the brakes. Flip the brake lever down on all four casters. Now, try pushing the rack—it should stay put. If a brake slips, check the lever: it might need adjustment. Most flat swivel castor wheels with brake have a small screw on the lever; tighten it with a Phillips-head screwdriver to increase tension.
Finally, load the rack with a few boxes (start light!) and test again. Does it still roll smoothly? Do the brakes hold? If yes, you're good to go. If not, revisit the alignment or tighten any loose bolts.

Troubleshooting Common Issues
Even with careful work, things can go wrong. Here's how to fix the most common problems:
Issue 1: The Rack Wobbles When Rolling
This is usually due to uneven casters. Grab your level and check the rack again—one caster might be higher than the others. Loosen the mounting plate bolts, adjust the plate up or down, and retighten. If the legs are bent (unlikely, but possible), use a rubber mallet to gently straighten them.
Issue 2: Brakes Don't Hold
If the rack rolls when brakes are engaged, the brake pads might be dirty or worn. Wipe the pads with a cloth dampened with rubbing alcohol. If they're worn, contact your lean pipe supplier for replacement brake pads—they're cheap and easy to swap.
Issue 3: Casters Swivel Stiffly
Stiff swivel joints are often caused by dirt or rust. Spray a little silicone lubricant (avoid WD-40—it attracts dust) into the joint, then spin the caster by hand a few times to work it in. Wipe off excess lubricant to prevent gunk buildup.

Maintaining Your Mobile Material Rack
Your new mobile rack will last for years with a little maintenance. Here's what to do every 3 months:
- Check bolts: Tighten any loose bolts with your socket wrench. Vibration from rolling can loosen them over time.
- Clean wheels: Use a toothbrush to scrub debris from the wheel treads—small rocks or threads can cause uneven rolling.
- Lubricate swivels and brakes: A drop of silicone lubricant on the swivel joint and brake pivot keeps things moving smoothly.
- Inspect brakes: Make sure the brake levers snap into place firmly. If they feel "mushy," replace the springs (available from your lean pipe supplier).
Final Thoughts
You did it! Your Material Rack B (3 row and 3 floor) is now mobile, brake-ready, and ready to boost your workspace efficiency. What once was a static obstacle is now a flexible tool that adapts to your needs—whether you're reorganizing for a big order or just tidying up. And the best part? You did it yourself, saving time and money.
Remember, this isn't just about adding wheels—it's about building a lean system that works for you. By making materials easier to access, you're cutting waste, reducing frustration, and creating a workspace that grows with your projects. So go ahead—roll that rack into place, lock the brakes, and enjoy the freedom of a truly adaptable shop floor.
Happy building!