- Company Articles
- Products and Technology
- Product knowledge
- DIY Projects: 2.0mm Stainless Steel Pipe Cutting & Assembly Guide

DIY Projects: 2.0mm Stainless Steel Pipe Cutting & Assembly Guide
Related Product
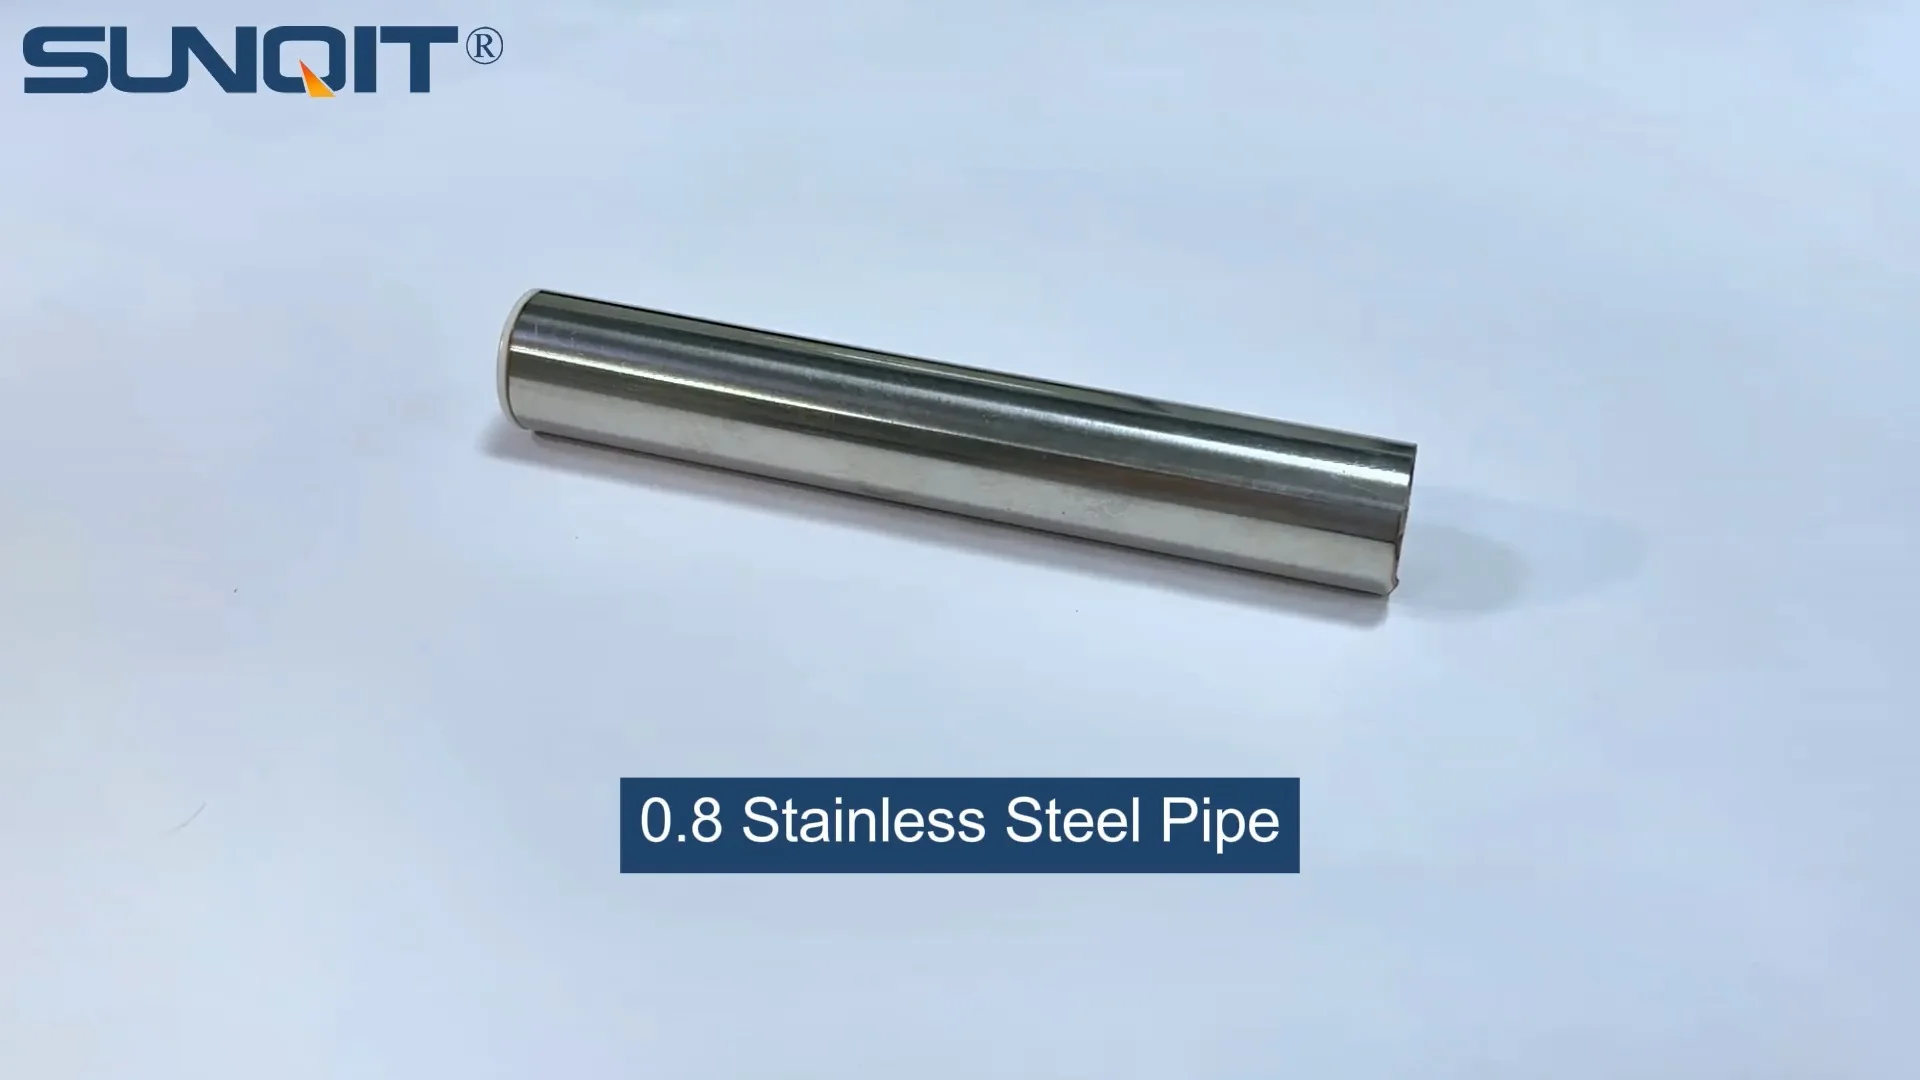
2.0mm Stainless Steel Pipe
Stainless steel pipe, lean pipe, diameter is 28mm, material is SS201 or SS304, SS201 is normally used in the market. It knows a KARAKURI, KAIZEN material for industrial plant to improve efficiency, save labor cost, standard management.
There's something deeply satisfying about building something with your own hands—especially when it's sturdy, functional, and tailored exactly to your needs. If you've ever wished for a workbench that fits your workshop perfectly, a mobile trolley that glides smoothly across your garage floor, or a material rack that keeps your tools organized without cluttering up space, 2.0mm stainless steel pipe might just be your new best friend. Part of the stainless steel pipe series , this material strikes the ideal balance between strength and versatility, making it a favorite among DIY enthusiasts and small-scale manufacturers alike. Let's dive into how to cut, assemble, and transform these pipes into practical projects that'll elevate your space.
Tools & Materials You'll Need
Before you start, gather these essentials. Think of this as your DIY toolkit—having the right gear will save you time, frustration, and ensure clean, safe results.
| Category | Items | Why You Need Them |
|---|---|---|
| Measuring & Marking | Tape measure, straightedge, permanent marker, pipe wrap-around ruler | Accurate measurements prevent wasted materials and lopsided builds. |
| Cutting Tools | Manual pipe cutter (ratchet-style), hacksaw with fine-tooth blade, or angle grinder with metal-cutting disc | 2.0mm stainless steel is tough—choose a tool that matches your strength and project scale. |
| Finishing Tools | Deburring tool, sandpaper (120-240 grit), steel wool | Removes sharp edges (safety first!) and preps pipes for smooth assembly. |
| Assembly Tools | Adjustable wrench, hex keys, rubber mallet, level (4ft recommended) | Tightening joints, aligning pipes, and ensuring your project doesn't wobble. |
| Materials | 2.0mm stainless steel pipes, lean pipe joint s, caster wheel s (with brakes!), plywood or aluminum sheet (for workbench tops), roller track (optional, for material racks) | The building blocks—opt for high-quality joints and casters for longevity. |
Pro Tip: Invest in a pipe cutter with a replaceable blade. Stainless steel is abrasive, and a dull blade will leave jagged cuts. I've ruined more than one project by skimping on this—learn from my mistake!
Step 1: Cutting 2.0mm Stainless Steel Pipe Like a Pro
Cutting metal can feel intimidating, but with the right technique, it's straightforward. Here's how to get clean, straight cuts every time.
Measure Twice, Cut Once (Yes, It's a Cliché for a Reason)
Start by marking your pipe. Wrap the tape measure around the pipe and mark your desired length with a marker. For extra precision, use a pipe wrap-around ruler—it clings to the pipe and gives you a perfectly straight line to follow. I've found that holding the straightedge tightly against the mark and drawing a line all the way around the pipe prevents "drifting" mid-cut.
Choosing Your Cutting Method
Manual Pipe Cutter: Best for small-diameter pipes (up to 2 inches). Clamp the pipe in a vice (if you have one) to steady it. Place the cutter's blade on your mark, tighten the knob until it touches the pipe, then rotate the cutter around the pipe, tightening slightly with each full turn. The blade will gradually score through the metal—keep going until it snaps cleanly. This method is quiet and produces minimal burrs.
Hacksaw: Great if you don't have a pipe cutter. Use a fine-tooth blade (32 teeth per inch) and secure the pipe in a vice. Hold the saw at a 45-degree angle and use slow, steady strokes. Let the blade do the work—pressing too hard will bend the blade and leave a ragged cut. This takes more elbow grease but works well for odd angles.
Angle Grinder: Fastest option for large projects, but loud and messy. Wear safety glasses, gloves, and a dust mask! Mark your line, hold the grinder at a 90-degree angle to the pipe, and cut slowly, following the mark. Keep the grinder moving to avoid overheating the metal (which can discolor it).
Deburring: The Unsung Hero of Clean Builds
After cutting, you'll notice sharp burrs on the inside and outside of the pipe. These aren't just unsightly—they can slice your hands or prevent joints from fitting snugly. Grab a deburring tool: insert the end into the pipe and twist to remove inner burrs, then run the flat edge along the outer rim. Finish with sandpaper to smooth any remaining rough spots. Trust me, your future self (and your lean pipe joint s) will thank you.

Step 2: Mastering Assembly with Lean Pipe Joints
Now comes the fun part: turning cut pipes into structures. The secret here is lean pipe joint s—these clever connectors let you build without welding, drilling, or special skills. Think of them as the "Lego bricks" of metalworking: slide a pipe into a joint, tighten the screw, and you're good to go.
Understanding Lean Pipe Joints
Most lean pipe joints are made of zinc-plated steel or aluminum, with a plastic or rubber insert that grips the pipe when tightened. They come in shapes like T-joints, elbow joints (90 degrees), cross joints, and straight couplers. For stainless steel pipes, opt for metal joints—they're stronger and won't crack under heavy loads.
Basic Assembly Steps
- Plan Your Design: Sketch your project first (even a rough doodle helps!). Note where joints go—for example, a workbench frame might need 90-degree elbow joints at the corners and T-joints for shelves.
- Fit Pipes into Joints: Slide one pipe into a joint opening until it hits the stop (most joints have an internal lip to prevent over-insertion). Do the same with the second pipe. Hand-tighten the joint's screw to hold them in place temporarily.
- Square Up the Structure: Use a level to check if your frame is straight. If it's wobbly, loosen the joints and adjust the pipes until the bubble is centered. This step is crucial—an uneven base will throw off the entire project.
- Tighten Joints Securely: Once aligned, use an adjustable wrench or hex key to fully tighten the joint screws. Aim for "firm but not stripped"—you want the joint to grip the pipe tightly, but overtightening can crack plastic inserts or strip threads.
- Test for Stability: Give the structure a gentle shake. If it wobbles, check for loose joints or pipes that aren't fully inserted. Add diagonal braces (using T-joints and short pipe segments) for extra support on tall builds like racks.
Pro Tip: If you're building something tall (like a material rack), assemble it lying flat first. It's easier to square up the frame on the ground, then stand it upright once all joints are tight. I once tried building a 6-foot rack vertically and spent 20 minutes chasing a wobbly leg—it's not worth the hassle!

Project 1: Build a Mobile Workbench
A sturdy workbench is the backbone of any workshop. This design is 48 inches long, 24 inches deep, and 36 inches tall (standard counter height), with caster wheel s for mobility. Adjust the dimensions to fit your space!
Materials You'll Need
- 2.0mm stainless steel pipes: 4×36-inch (legs), 4×48-inch (frame rails), 4×21-inch (side rails), 4×21-inch (cross braces)
- Lean pipe joints: 4×90-degree elbows (corner legs), 4×T-joints (side rail connections), 4×straight couplers (optional, for extending length)
- 4×caster wheels (with brakes—non-negotiable for safety!)
- Worktop: 48×24-inch plywood (¾-inch thick) or aluminum honeycomb panel
- Wood screws or bolts (to attach top to frame)
- Tools: As listed earlier, plus a drill (for attaching the top)
Step-by-Step Build
1. Build the Frame: Start with the two side frames. For each side, connect two 36-inch legs to two 21-inch side rails using 90-degree elbow joints (top and bottom). Repeat for the second side. Then, connect the two side frames with the 48-inch frame rails (front and back), using T-joints where the side rails meet the frame rails. Add 21-inch cross braces between the front and back rails (near the top and bottom) for stability—these will prevent the frame from twisting.
2. Add Casters: Flip the frame upside down. Attach one caster wheel to each leg bottom using the caster's mounting plate (most casters come with screws). Tighten the screws securely—this is what keeps your workbench from tipping over when loaded.
3. Attach the Worktop: Place the plywood or aluminum panel on top of the frame. Center it so there's an equal overhang on all sides (or flush, if you prefer). Pre-drill holes through the panel and into the frame rails, then secure with wood screws or bolts. For extra durability, add a bead of silicone caulk between the panel and frame to prevent water damage.
4. Test & Customize: Stand the workbench upright and lock the caster brakes. Place a heavy toolbox on top to test weight capacity (2.0mm stainless steel can handle 200+ pounds easily). Add pegboards, shelves, or a vice to the sides—this is your workspace, so make it yours!
Project 2: Roller Track Material Rack
If you're tired of digging through bins for tools or parts, a roller track material rack will change your workflow. This rack uses gravity to slide materials toward you, making it easy to grab what you need without bending or reaching. Perfect for workshops, garages, or even kitchens (think: storing baking sheets or cutting boards!).
Materials You'll Need
- 2.0mm stainless steel pipes: 4×60-inch (vertical posts), 4×36-inch (horizontal rails), 8×18-inch (shelf supports)
- Lean pipe joints: 8×90-degree elbows, 8×T-joints, 4×flange joints (for mounting to the wall, optional)
- Roller track: 4×36-inch sections (choose plastic or metal rollers based on your load—plastic is quieter, metal is sturdier)
- Roller track connectors: 8×end caps, 4×mounting brackets (to attach track to pipe rails)
- Wood screws or wall anchors (if mounting to the wall)
Step-by-Step Build
1. Build the Frame: Create two vertical frames (like ladder sides) using 60-inch posts and 18-inch shelf supports. Connect the posts to the supports with 90-degree elbows, spacing the supports 18 inches apart vertically (this will create three shelves). Then, connect the two vertical frames with 36-inch horizontal rails (top, middle, and bottom), using T-joints at the shelf supports.
2. Install Roller Track: Mount the roller track to the horizontal rails using mounting brackets. Tilt the track slightly downward (1-2 degrees) so materials slide toward the front—use a level to check the angle. Attach end caps to the front of the track to prevent items from sliding off.
3. Secure the Rack: If you're mounting it to the wall, use flange joints on the back posts and drill into studs. If it's freestanding, add diagonal braces between the vertical posts for stability. Load the track with boxes, tools, or parts—test how easily they slide. If they stick, clean the rollers with a dry cloth (dust can slow them down).
Troubleshooting Common Issues
Even the best DIYers run into snags. Here's how to fix the most common problems:
Loose Joints
If joints loosen over time, check if the pipe is scored or dented—this can prevent the joint from gripping. Sand the pipe lightly to smooth out imperfections, then re-tighten the joint. For plastic-jointed systems, replace worn inserts (they're cheap and easy to swap).
Crooked Cuts
A wobbly cut can throw off assembly. Use a pipe cutter for straight lines—hacksaws are more prone to drifting. If you must use a hacksaw, clamp a guide block (a piece of wood with a straight edge) to the pipe to keep the blade on track.
Rust Spots
Stainless steel resists rust, but scratches can expose the metal to moisture. Sand the spot with 240-grit sandpaper, then apply a thin coat of stainless steel polish to protect it. Avoid using steel wool (it can leave iron particles that cause rust).
Pro Tips for Long-Lasting Results
- Store Pipes Properly: Keep extra stainless steel pipes in a dry, covered area to prevent dust buildup. Wrap them in a cloth to avoid scratches.
- Lubricate Joints Annually: A drop of machine oil on joint screws prevents them from seizing up. Wipe off excess oil to avoid attracting dust.
- Upgrade Casters for Heavy Loads: If you're building a trolley to haul tools, use heavy-duty caster wheel s with ball bearings—they'll roll smoother and last longer than basic models.
- Mix & Match Materials: Combine stainless steel pipes with aluminum panels or wooden tops for a modern look. The contrast of metal and wood adds warmth to industrial-style builds.
Final Thoughts: Your DIY Journey Awaits
Cutting and assembling 2.0mm stainless steel pipe isn't just about building objects—it's about creating solutions that fit your life. Whether you're a seasoned DIYer or a beginner, this material empowers you to design spaces that work for you, not against you. From a mobile workbench that follows you around the garage to a roller track rack that keeps your tools at your fingertips, the possibilities are endless.
So grab your pipe cutter, gather your joints, and start small. Build a simple shelf first, then tackle that workbench. You'll be surprised at how quickly you'll get the hang of it—and how proud you'll feel every time you use something you built yourself. Happy DIY-ing!