- Company Articles
- Products and Technology
- Installation And Maintenance
- Five Way Straight Lean Pipe Joint Maintenance Tips for Longevity

Five Way Straight Lean Pipe Joint Maintenance Tips for Longevity
Related Product
Five Way Straight Lean Pipe Joint
Five way straight lean pipe joint, for 5 pcs 28mm lean pipe connect in straight angle,which used widely in workbench, flow rack, hand trolley frame connection.
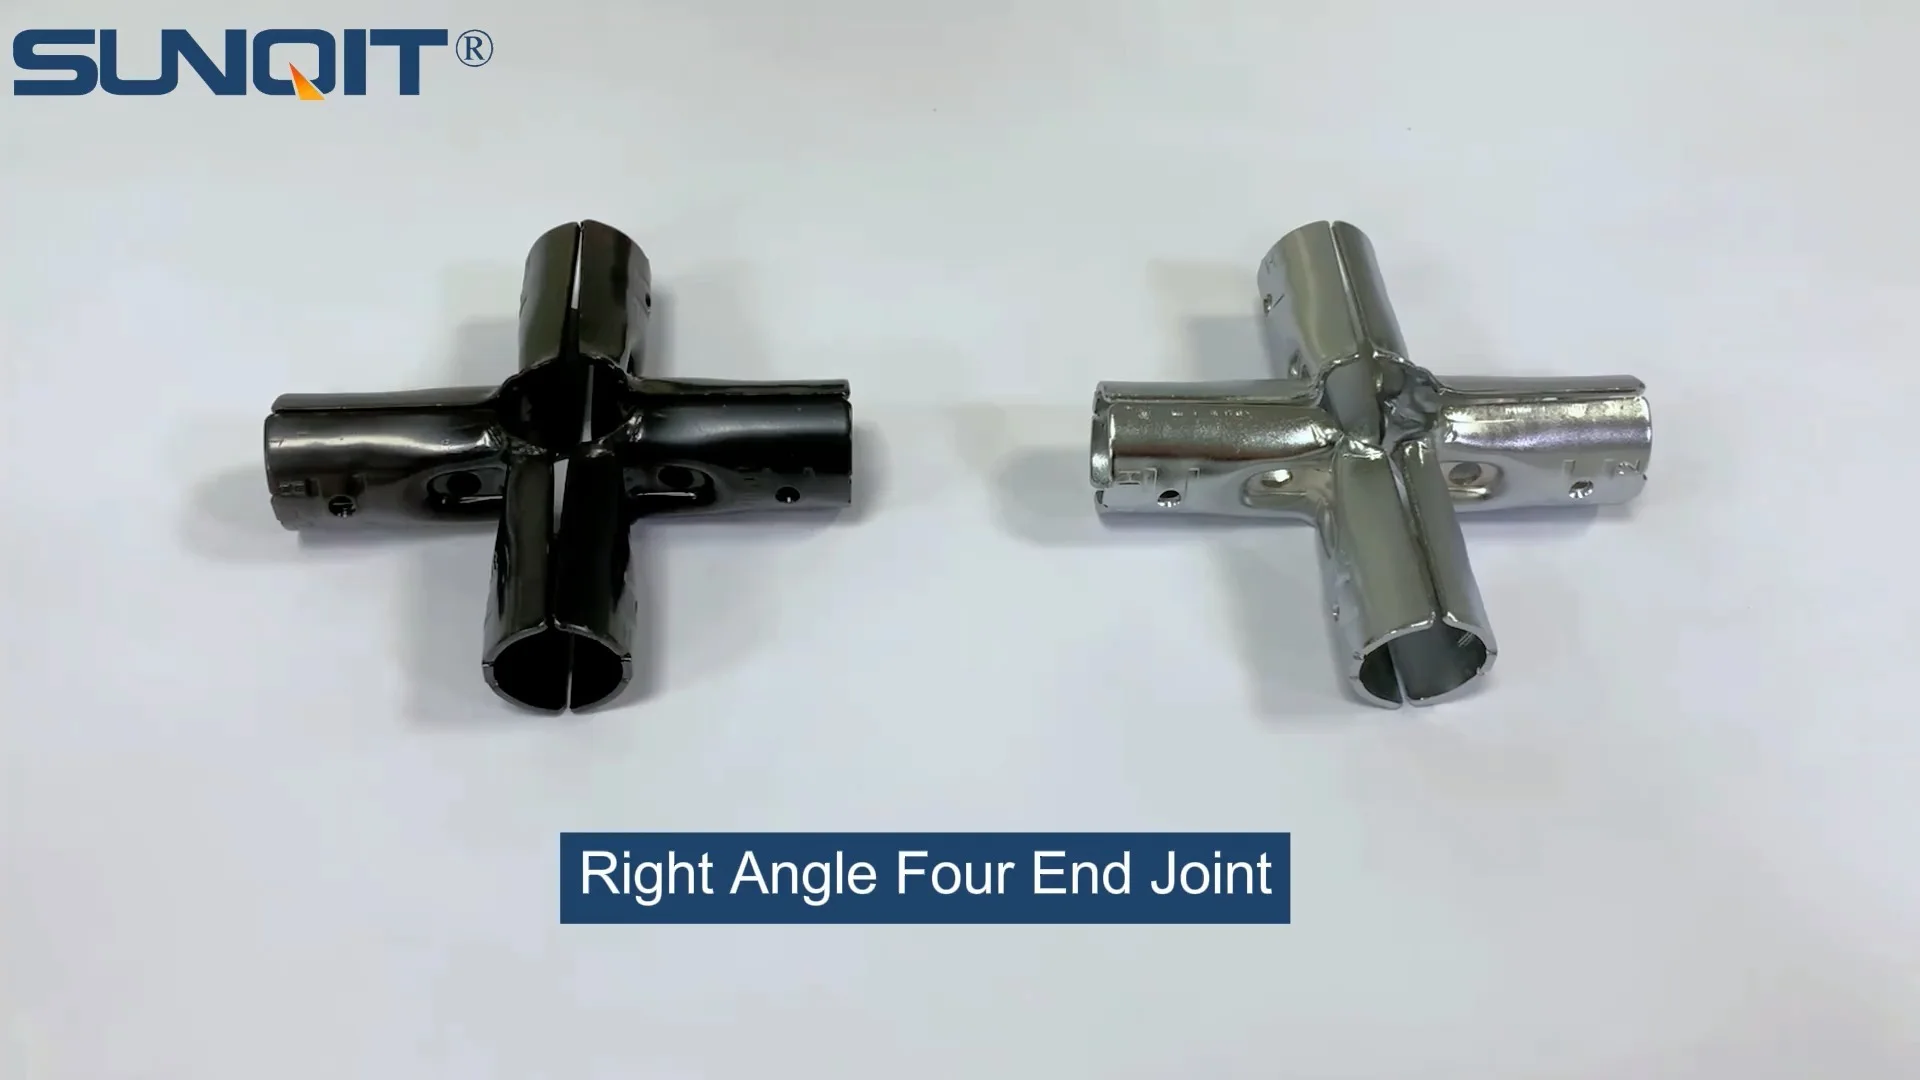
In the bustling world of manufacturing and production, where every second counts and efficiency is king, the backbone of any well-oiled operation often lies in the smallest, most unassuming components. Take the five way straight lean pipe joint, for instance. This unpretentious connector might not grab headlines, but it's the silent hero holding together your lean systems—whether it's supporting a workbench on the assembly line, stabilizing a flow rack in the warehouse, or linking roller tracks that keep materials moving seamlessly. But here's the truth: even the sturdiest lean pipe joint can't last forever on its own. Without intentional care, these joints wear down, loosen, or corrode, turning minor annoyances (like a wobbly shelf) into major headaches (delayed production, safety risks, or costly replacements). So, if you want your lean setup to stand the test of time, let's dive into the maintenance habits that will keep those five way straight lean pipe joints—and your entire operation—running strong.
Why Five Way Straight Lean Pipe Joints Deserve Your Attention
Before we jump into the how-to, let's talk about why these joints matter. A five way straight lean pipe joint is designed to connect multiple lean pipes at once, creating stable, customizable structures. Unlike simpler two-way or three-way joints, its five connection points mean it's often the "hub" of complex setups—think material racks with multiple levels, workbenches with integrated tool holders, or conveyor systems that split and merge workflows. When this hub weakens, the entire structure becomes vulnerable. A loose joint might cause a flow rack to sag, making it hard to slide bins in and out. A corroded joint could lead to a workbench collapsing under the weight of tools. And every minute spent fixing these issues is a minute taken away from actual production. The good news? With proactive maintenance, you can extend the life of these joints by years, reduce downtime, and keep your lean system true to its name—lean, efficient, and cost-effective.
Tip 1: Inspect Like a Detective—Catch Issues Before They Escalate
The first rule of maintenance? Don't wait for something to break. Regular inspections are your crystal ball, helping you spot problems early when they're easy (and cheap) to fix. But what exactly should you look for, and how often? Let's break it down.
Daily Quick Checks: Start each shift with a 2-minute walkaround. Focus on the most heavily used structures—like the workbench where your team assembles products or the flow rack near the packing station. Glance at the five way joints for obvious red flags: Are any connections visibly loose? Do you see cracks or chips in the joint material (plastic, metal, or aluminum)? Is there debris, like dust or oil, caking the joint? Even a small crack can grow under the stress of daily use, so note it down. Also, give the structure a gentle shake—if it wobbles more than usual, that's a sign a joint might need tightening.
Weekly Detailed Inspections: Once a week, set aside 15-20 minutes for a closer look. Grab a flashlight and check the joints from all angles—sometimes cracks hide in hard-to-see spots, like where the joint meets the pipe. Pay attention to corrosion, especially if your facility is humid or uses coolants/chemicals. Rust on metal joints or white, powdery oxidation on aluminum lean pipe joints is a warning sign. For plastic joints, look for warping or brittleness—this often happens if the joint is exposed to extreme temperatures (like near a heat source) or UV light (if it's near a window). Finally, check how the joint interacts with other lean pipe and accessories: Are roller track connectors aligned properly, or is the joint forcing them into a misaligned, strained position? Misalignment puts extra stress on the joint, wearing it out faster.
Monthly Deep Dives: Once a month, get hands-on. Use a wrench to gently test if joint connections are tight (we'll cover tightening in detail later). For joints with moving parts (like swivel components), check for "play"—excessive movement that isn't part of the design. If a joint feels loose even after tightening, or if you notice metal shavings or plastic fragments around it, that's a sign internal components are wearing down. You might also want to consult your lean pipe supplier's guidelines—many provide charts on expected wear patterns and lifespan based on usage, which can help you spot anomalies.
| Inspection Type | Frequency | What to Check | Tools You'll Need |
|---|---|---|---|
| Daily Quick Check | Start of each shift | Loose connections, visible cracks, debris buildup, wobbling structures | Flashlight, gloved hands (for gentle shaking) |
| Weekly Detailed Look | End of each workweek | Corrosion (rust/oxidation), warping (plastic joints), misalignment with accessories | Flashlight, magnifying glass (for small cracks) |
| Monthly Deep Dive | Last week of the month | Tightness of connections, internal wear (shavings/fragments), "play" in moving parts | Adjustable wrench, inspection mirror (for hard-to-see angles) |

Tip 2: Keep It Clean—Debris Is the Enemy of Longevity
If inspections are about spotting problems, cleaning is about preventing them in the first place. Think about where your lean pipe joints live: on factory floors, near assembly lines, or in warehouses. They're bombarded with dust, grease, metal shavings, and even spills (hello, that rogue coffee cup near the workbench). Over time, this gunk builds up, and here's why that's a problem: Dirt acts like sandpaper, wearing down the joint's surfaces every time you adjust or move the structure. Grease attracts more dust, creating a gritty paste that clogs threads or jams moving parts. And if moisture gets trapped under debris, you're practically inviting corrosion to set in. So, how do you keep those joints squeaky clean?
Start with the Basics: Dry Brushing and Wiping: For most joints, a quick once-over with a stiff-bristled brush (think a small wire brush or even an old toothbrush for tight spots) will dislodge loose dust and debris. Follow up with a clean, lint-free cloth—microfiber works best—to wipe away the loosened grime. Pay extra attention to the threads where the pipe screws into the joint; dirt here can make it hard to tighten or loosen the connection later. For plastic joints, skip the wire brush (it might scratch) and use a soft-bristled brush instead.
Tackle Grease and Oil: Mild Solvents Are Your Friend: If your joint is coated in machine oil or grease (common in automotive or manufacturing settings), a dry cloth won't cut it. Grab a solvent like isopropyl alcohol or a degreaser designed for metal/plastic (check the label to make sure it's safe for your joint material). Dampen a cloth with the solvent (don't soak it—you don't want liquid seeping into internal parts) and gently wipe the joint. Avoid harsh chemicals like acetone, which can degrade plastic or strip protective coatings on aluminum lean pipe joints. And always wipe dry after—moisture from solvents can lead to rust if left unattended.
Reach the Unreachable: Compressed Air for Tight Spaces: Five way joints have nooks and crannies—especially where the pipes meet the joint body—that a brush or cloth can't reach. That's where compressed air comes in. A quick blast (use low pressure—around 30-40 PSI—to avoid damaging the joint) will blow out dust from those hidden spots. Hold the air nozzle a few inches away to prevent debris from scattering everywhere, and wear safety glasses—you don't want shavings flying into your eyes.

Tip 3: Tighten with Precision—Not Too Loose, Not Too Tight
You've inspected, you've cleaned—now it's time to make sure those joints are snug. A loose joint is a liability, but here's a mistake even seasoned pros make: over-tightening. Cranking down on a joint with all your might might seem like a good idea, but it can strip threads, crack the joint body, or warp the lean pipe itself. So, how do you strike the perfect balance?
Know Your Torque: It's Not a Guess Game: Most lean pipe suppliers provide torque specifications for their joints—this is the maximum force you should apply when tightening. For example, a standard metal five way joint might require 15-20 Nm (newton-meters) of torque, while a plastic joint could be as low as 8-10 Nm. If you don't have the specs, a good rule of thumb is to tighten until you feel resistance, then give it a quarter-turn more—just enough to secure the pipe without straining the joint. If you're unsure, invest in a basic torque wrench; it's a small tool that pays off in preventing over-tightening disasters.
Use the Right Tools: Skip the Pliers (Unless You Have To): Grab an adjustable wrench or a socket wrench that fits the joint's nut perfectly. Pliers or channel locks might slip, rounding off the nut (making future tightening/loosening impossible) or scratching the joint. For plastic joints, wrap the wrench in electrical tape to avoid cracking the material. And never use a pipe extender to "cheat" and get more leverage—this is a surefire way to over-tighten.
Listen for the Signs: Noises and Movement Tell a Story: How do you know when a joint needs tightening? If you push or shake the structure and hear a "clunk" or feel wobbling, that's a dead giveaway. Another sign: if pipes spin or rotate in the joint when you apply gentle pressure. When you tighten, go slow—stop periodically to check for movement. Once the joint feels solid and the pipes don't budge, you're done. And remember: joints loosen over time with vibration (from machinery, foot traffic, or material movement), so even if you tightened them last month, they might need a tweak today.

Tip 4: Protect Against the Elements—Moisture, Chemicals, and Time
Your lean pipe joints don't exist in a bubble. They're exposed to everything from humid warehouse air to splashes of coolant, and even the sun's UV rays if they're near windows. Over time, these elements take a toll—corrosion, fading, brittleness. But with a little protection, you can shield your joints from the worst of it.
Fight Corrosion: The Enemy of Metal Joints: If you're using metal five way joints (like steel or stainless steel), moisture is public enemy number one. Even a small drip or high humidity can lead to rust, which weakens the joint from the inside out. To fight back, apply a thin coat of anti-corrosion spray (like WD-40 Specialist Long-Term Corrosion Inhibitor) every 3-6 months. For stainless steel joints, a quick wipe with a damp cloth and a drop of mineral oil will keep them shiny and rust-free. If you're in a super humid environment (looking at you, coastal factories), consider upgrading to aluminum lean pipe joints—aluminum forms a natural oxide layer that resists corrosion, though it still benefits from an occasional wipe-down.
Shield Plastic Joints from UV and Chemicals: Plastic joints are lightweight and affordable, but they're prone to sun damage. UV rays break down plastic over time, making it brittle and prone to cracking. If your joint is near a window or skylight, cover it with a UV-resistant sleeve (many lean pipe suppliers sell these) or paint it with a UV-protective coating. And keep harsh chemicals (like strong cleaners or industrial solvents) away—even a spilled drop can discolor or weaken the plastic. If a spill happens, wipe it immediately with soap and water.
Control the Climate (When You Can): Extreme temperatures are hard on any joint. Freezing cold can make plastic brittle; scorching heat can warp it or melt lubricants (more on that next). If possible, keep structures with critical joints away from direct heat sources (like radiators or ovens) or cold drafts (like loading dock doors that stay open). For outdoor setups (yes, some lean systems live outside!), invest in weatherproof covers for joints during rain or snow, and bring them indoors during extreme conditions if possible.
Tip 5: replace Wisely—Know When to Let Go (and Where to Source)
Even with perfect maintenance, every joint has a lifespan. The key is knowing when to replace it before it fails. So, when is it time to say goodbye?
Visible Damage: When Cracks and Chips Spell Doom: If you spot a crack in the joint body—even a tiny one—it's time to replace. Cracks spread under stress, and a joint with a crack can't be trusted to hold weight. The same goes for chips that expose internal threads or weaken the connection points. For plastic joints, if the material feels brittle (it snaps instead of bending slightly when pressed) or is discolored (faded or yellowed beyond cleaning), it's past its prime.
Excessive Play: When Tightening No Longer Works: If you're tightening a joint every week because it keeps loosening, that's a red flag. It means the threads are stripped, the pipe has worn down, or the joint's internal components are damaged. Continuing to tighten will only make it worse—eventually, the pipe won't stay in place at all. At this point, replacing the joint is cheaper than the downtime from a collapse.
Source Smart: Stick to Trusted Lean Pipe Suppliers: When it's time to replace, don't skimp on cheap knockoffs. A low-quality joint might save you a few dollars now, but it'll wear out faster, putting your entire structure at risk. Instead, buy from the same lean pipe supplier you got the original joint from—they'll have the exact match, ensuring the new joint fits perfectly with your existing lean pipe and accessories. If you're not sure who the supplier is, most joints have a part number or logo stamped on them—use that to track down the right replacement.
Wrapping Up: Maintenance as an Investment, Not a Chore
At the end of the day, maintaining five way straight lean pipe joints isn't just about keeping parts in good shape—it's about protecting your team's productivity, your facility's safety, and your bottom line. A few minutes of inspection here, a quick wipe-down there, and a careful tightening session go a long way toward preventing costly breakdowns. And when you do need to replace a joint, choosing quality parts from a reliable lean pipe supplier ensures your lean system stays true to its purpose: efficient, adaptable, and built to last. So, treat those joints like the critical assets they are. Your future self (and your production schedule) will thank you.