- Company Articles
- Products and Technology
- Installation And Maintenance
- Fixing Wobbly Material Racks: Suction Cup Anti-Slip Foot Adjusters' Role

Fixing Wobbly Material Racks: Suction Cup Anti-Slip Foot Adjusters' Role
Related Product
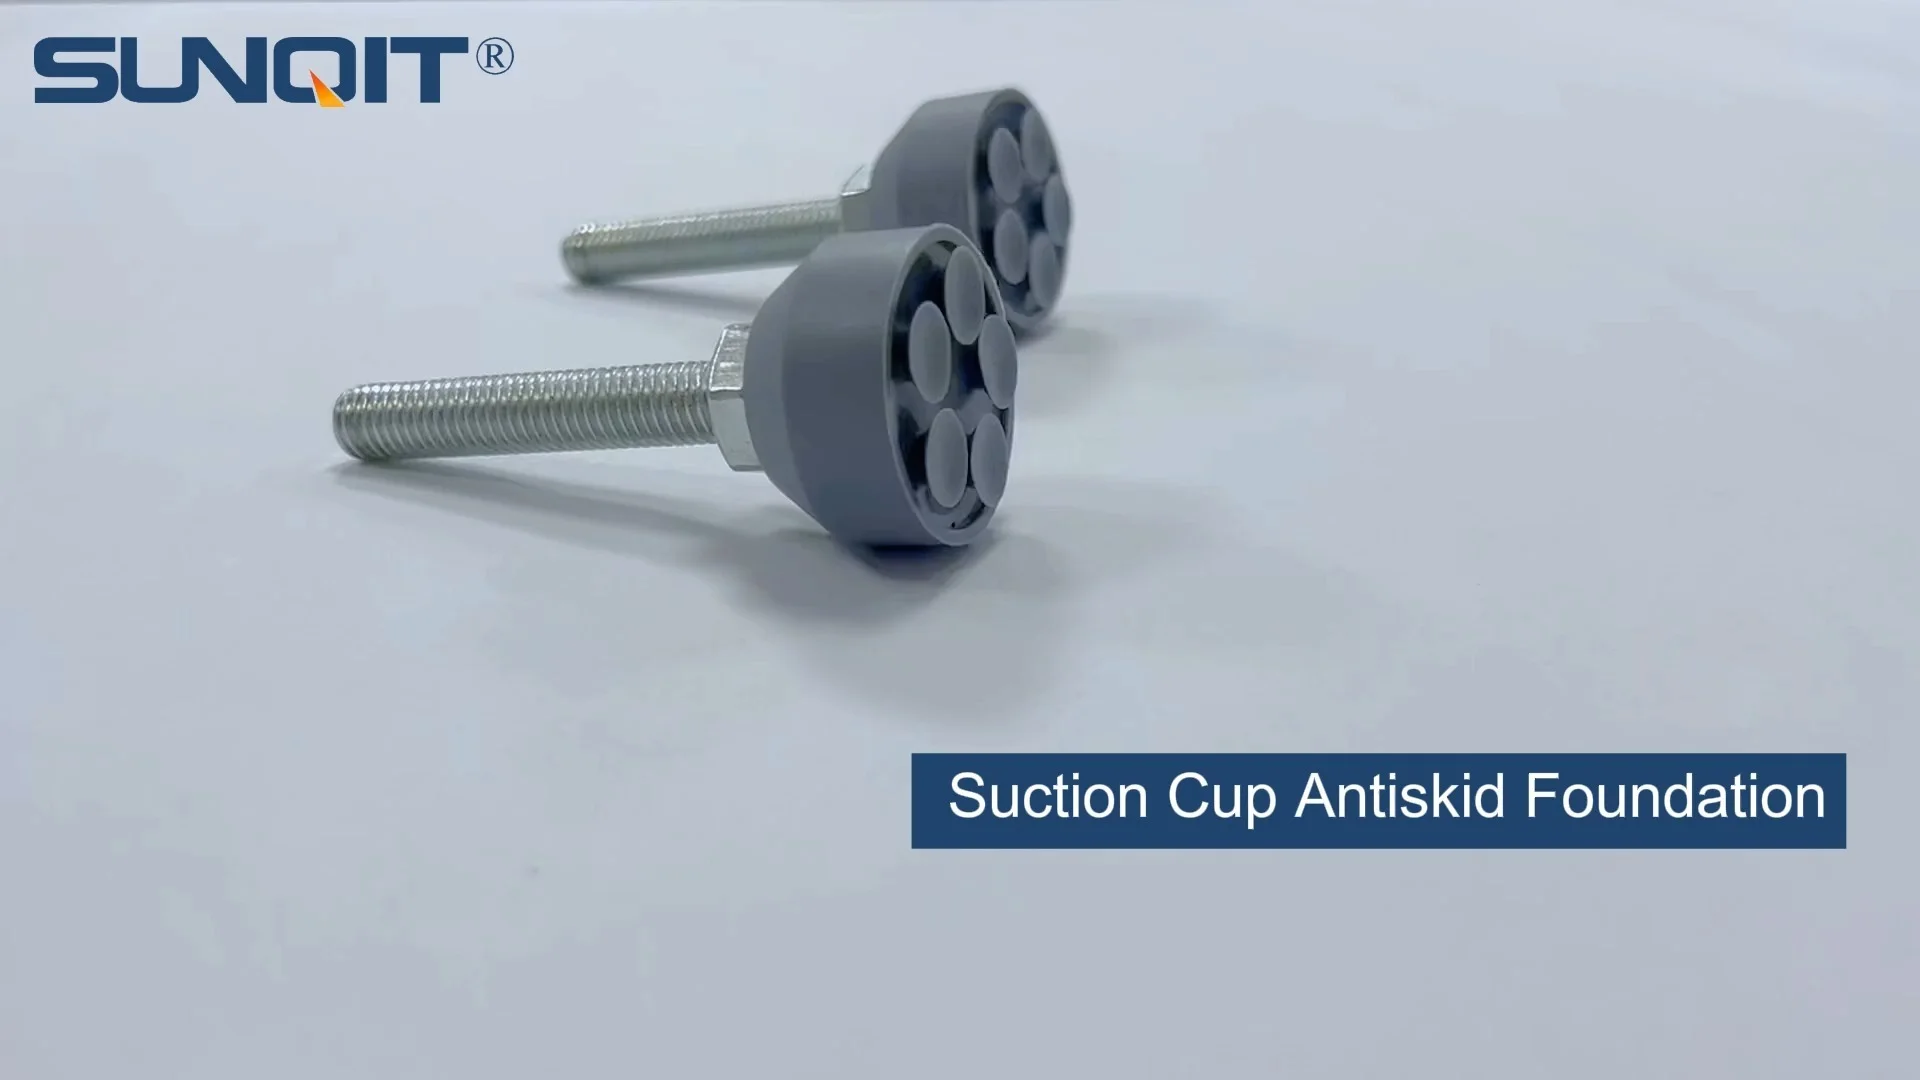
Suction Cup Anti-slip Foot Adjuster
D=35mm suction cup anti-slip foot adjusterï¼screw M10*55ï¼with a blot, used for workbench, flowrack pipe contact with groud.
The Day the Rack Shook: A Factory Floor Reality
It's 9:15 AM on a Tuesday, and Maria, a line operator at a mid-sized electronics assembly plant, is in a hurry. The morning rush order just came in, and her team needs to pull 50 circuit board kits from the material rack by 10 AM. She steps up to the rack—officially labeled "Material Rack B (3 row and 3 floor)"—and reaches for the top shelf. As she tugs the box, the entire structure lurches to the left. A metal bin filled with screws crashes to the ground, spilling contents across the concrete. Maria stumbles back, narrowly avoiding a twisted ankle. "Again?" she mutters, kneeling to clean up the mess. By the time she's done, 15 minutes have slipped away, and the rush order is already behind schedule.
This scene isn't unique. Walk into any warehouse, factory, or workshop, and you'll likely find at least one wobbly material rack. It might sway slightly when loaded, creak under heavy boxes, or slide across the floor if someone bumps it. At first glance, it seems like a minor annoyance—a "that's just how it is" part of industrial life. But as Maria's morning shows, wobble isn't just inconvenient. It's a silent productivity killer, a safety hazard, and a hidden drain on your lean system's efficiency. And today, we're diving into the unsung hero solving this problem: the suction cup anti-slip foot adjuster.
The Hidden Costs of a Wobbly Rack: More Than Just a Sway
To understand why fixing a wobbly rack matters, let's break down the costs—both obvious and hidden. Start with the most tangible: damaged inventory. When a rack shifts, boxes tip, tools fall, and fragile parts (like the circuit boards in Maria's plant) get scratched or broken. A single damaged box might cost $50 to replace; multiply that by 10 incidents a month, and you're looking at $6,000 a year in avoidable losses.
Then there's labor. Every time someone stops to clean up a spill, straighten a rack, or hunt for a lost part, they're not doing their core job. Maria lost 15 minutes that Tuesday, but across a factory with 20 similar racks, those minutes add up. A 2023 study by the Manufacturing Productivity Institute found that unstable storage structures cost the average plant 32 hours of labor per month—time that could be spent assembling products, training staff, or optimizing workflows.
Safety is the scariest cost. The Occupational Safety and Health Administration (OSHA) reports that 10% of workplace injuries involve falling objects or unstable equipment. A rack that wobbles is a rack that could collapse, especially if overloaded. In 2022, a warehouse in Ohio made headlines when a 12-foot material rack toppled, injuring three workers and shutting down operations for a week. The root cause? Worn-out, ineffective leveling feet that couldn't grip the floor.
Finally, there's the impact on your lean system. Lean manufacturing thrives on predictability: standardized workflows, minimal waste, and smooth material flow. A wobbly rack disrupts that predictability. It turns "grab a part and go" into "grab a part, steady the rack, check for spills, and go." It introduces variability—one day the rack is stable, the next it's not—and variability is the enemy of lean. Over time, these small disruptions erode the trust your team has in the system, making them hesitant to move quickly or take ownership of efficiency.

Enter the Suction Cup Anti-Slip Foot Adjuster: Small Part, Big Stability
So, what's the solution? For years, the go-to fix was simple: shim the rack with a piece of wood, tighten the bolts, or replace the old casters with new ones. But wood shims slip, bolts loosen over time, and caster wheels—while great for mobility—aren't designed for stationary stability. That's where the suction cup anti-slip foot adjuster comes in. It's a small, unassuming component, but it's engineered to solve the root cause of wobble: a lack of grip between the rack and the floor.
Let's start with the basics. A suction cup anti-slip foot adjuster is exactly what it sounds like: a height-adjustable foot with a rubber or silicone suction cup base. It screws into the bottom of a rack leg, replacing old, worn feet or unstable casters. When you lower the adjuster, the suction cup presses against the floor, creating a vacuum seal that "locks" the rack in place. The anti-slip rubber adds friction, preventing sliding even on smooth concrete or tiled floors.
What makes this design better than traditional leveling feet? Traditional feet use a flat rubber pad, which relies on weight to stay in place. But if the floor is uneven (and let's be real—most factory floors are), the pad only touches at a small point, leaving room for wobble. The suction cup, by contrast, creates a large, airtight seal. Think of it like a suction cup hook on a window: once it's pressed down, it resists both vertical and horizontal movement.
Adjustability is another key feature. Most suction cup anti-slip foot adjusters have a threaded stem that lets you raise or lower the rack by turning a nut. This means you can level the rack even if the floor dips or slopes—a common issue in older facilities. Tighten the nut, and the foot locks into place, ensuring it won't loosen during daily use. Some models even come with a hex key slot for extra security, so vibrations from nearby machinery won't undo your adjustments.

How It Works: The Science of Staying Put
Let's get technical for a minute—without the jargon. When you install a suction cup anti-slip foot adjuster, here's what happens step by step:
1. Contact & Compression: You screw the adjuster into the rack's leg and lower it until the suction cup touches the floor. As you tighten the nut, the cup compresses, pushing air out from underneath. This creates a partial vacuum between the cup and the floor—a low-pressure zone that the surrounding air pressure pushes against, "sticking" the cup in place.
2. Friction Amplification: The cup's rubber material is textured and soft, which increases friction. Unlike metal or hard plastic, rubber conforms slightly to the floor's texture, creating more contact points. Even on smooth floors, this texture grabs onto micro-irregularities, preventing sliding.
3. Load Distribution: A standard rack leg has a small contact area with the floor—maybe 2 square inches. The suction cup spreads that contact area to 5-6 square inches, reducing the pressure per square inch. This means the rack "sits" more evenly, with less stress on any single point, and less chance of sinking into soft spots (like a cracked tile or a patch of worn concrete).
4. Shock Absorption: Rubber is elastic, so it acts like a tiny shock absorber. When the rack is bumped or vibrated (say, by a passing forklift), the cup flexes slightly, absorbing the energy instead of transferring it to the rack. This reduces the "shimmy" that leads to bolts loosening or parts shifting over time.
To test this, try a simple experiment: Place a traditional flat rubber foot on a smooth table and push. It slides easily. Now do the same with a suction cup foot—you'll need to apply significantly more force to get it to move. That's the difference in action.
Case Study: Material Rack B Gets a Stability Makeover
Let's circle back to Maria's plant. After the Tuesday incident, the plant manager, Raj, decided to tackle the wobbly racks once and for all. He started with Material Rack B (3 row and 3 floor), the most problematic one in the assembly area. The rack held everything from small plastic bins to heavy metal toolboxes, and it had a history of shifting—especially when the top shelf was loaded.
Raj's team first inspected the rack. The existing feet were plastic, cracked, and only partially touching the floor (thanks to a ½-inch dip in the concrete near the rack's left rear leg). They removed the old feet and replaced them with suction cup anti-slip foot adjusters: four per rack, each with a 3-inch diameter suction cup and a 2-inch adjustable stem.
The installation took 20 minutes. The team adjusted each foot to level the rack, then tightened the locking nuts. To test it, they loaded the top shelf with 100 pounds of boxes—more than its usual load—and had Raj push the rack from all sides. Result? No movement. Not even a creak.
Three months later, Raj checked in. The results were clear: Zero incidents of falling inventory from Material Rack B. Maria's team reported saving 10-15 minutes per day on cleanup and adjustments. And during a surprise OSHA inspection, the inspector praised the rack's stability, noting it as a "model for other areas."
"We didn't just fix a rack," Raj told me. "We fixed a daily frustration. Now, when someone goes to grab a part, they don't hesitate. They know the rack isn't going to move, so they move faster and safer. That's the kind of small change that makes a big difference in lean—eliminating the 'what-ifs' so people can focus on their work."

Why Not Just Use Caster Wheels? The Mobility vs. Stability Tradeoff
You might be thinking: "If the problem is movement, why not use caster wheels with brakes? They let you move the rack when needed and lock it in place." It's a fair question—casters are great for mobility, but they're not a substitute for stability in stationary storage.
Let's compare the two side by side with a quick table:
| Feature | Suction Cup Anti-Slip Foot Adjusters | Caster Wheels (with Brakes) |
|---|---|---|
| Stability | High: Vacuum seal + friction prevent both sliding and tipping. | Medium: Brakes stop rolling, but wheels can still pivot or "walk" under vibration. |
| Floor Grip | Excellent: Works on concrete, tile, and even slightly uneven floors. | Poor: Brakes rely on small pads; slippery on smooth or wet floors. |
| Load Capacity | High: Spreads weight over a large area; ideal for heavy racks. | Medium-Low: Wheels concentrate weight on small axles; risk of bending under heavy loads. |
| Mobility | Low: Designed for stationary use; requires tools to move. | High: Easy to roll when brakes are off. |
| Maintenance | Low: Wipe cups clean occasionally; tighten nuts quarterly. | High: Brakes wear out; wheels get stuck with debris; axles need lubrication. |
The takeaway? Casters are perfect for racks that need to move daily (like a turnover trolley), but for stationary storage—especially heavy, tall racks like Material Rack B—suction cup adjusters are the safer, more efficient choice. They're a permanent solution to stability, not a temporary fix for movement.
Beyond Stability: How Suction Cup Adjusters Boost Your Lean System
Lean manufacturing isn't just about cutting costs—it's about creating a system where every part, process, and tool serves a purpose. Suction cup anti-slip foot adjusters fit into this philosophy in three key ways:
1. Eliminating Waste (Muda): In lean terms, "muda" is any activity that doesn't add value. Time spent cleaning up spills, searching for lost parts, or repairing damaged inventory is muda. By stabilizing racks, adjusters eliminate this waste, freeing up time for value-added work.
2. Standardizing Work (Standardization): A stable rack means consistent access to materials. Every time someone approaches the rack, they know where items are, how to reach them, and that the rack won't shift. This standardization reduces errors and speeds up training for new employees.
3. Respecting People (Respect for Humanity): Lean isn't just about processes—it's about people. When you provide a stable, safe workspace, you show your team that their well-being matters. Maria no longer worries about tripping; Raj no longer loses sleep over OSHA fines. This trust builds engagement, and engaged teams are 21% more productive, according to Gallup research.
In short, a suction cup anti-slip foot adjuster isn't just a "part." It's a tool that helps your lean system work the way it's supposed to—smoothly, safely, and without unnecessary friction.
Installation & Maintenance: Keeping Your Racks Stable for Years
Installing suction cup anti-slip foot adjusters is straightforward, but a few tips will ensure they work their best:
Prep the Floor: Clean the area under the rack first. Dirt, oil, or debris will break the suction seal. A quick wipe with a degreaser and a rag is usually enough.
Level Carefully: Use a spirit level to check the rack from front to back and side to side. Adjust each foot a little at a time—over-tightening can warp the rack frame.
Test the Seal: After installation, try to push the rack gently from all sides. If it moves, the cups might not be fully compressed. Loosen the nuts, press down on the rack to force air out, then retighten.
Maintenance is even easier:
Monthly Check: Wipe the suction cups with a damp cloth to remove dust. Tighten any loose nuts with a wrench—vibrations can loosen them over time.
Quarterly Inspection: Check for cracks or tears in the rubber cups. If a cup is damaged, replace it immediately—a torn cup won't hold a seal.
Floor Changes: If you move the rack or the floor is repaired, re-level the adjusters. New concrete or patches can create small height differences that affect stability.
The Bottom Line: Small Part, Big Impact
Wobbly material racks are easy to ignore—until they cost you time, money, or worse. But fixing them doesn't require a complete overhaul. A set of suction cup anti-slip foot adjusters, properly installed, can transform an unstable rack into a rock-solid asset.
For Maria, it meant no more spilled screws and a smoother morning rush. For Raj, it meant fewer headaches and a more productive team. For your facility? It could mean lower costs, safer workers, and a lean system that finally lives up to its promise.
So the next time you walk past a wobbly rack, don't just sigh and keep going. Ask: "What small change could make this better?" Chances are, the answer is sitting in a box somewhere—small, rubber, and ready to stick around.