- Company Articles
- Products and Technology
- Installation And Maintenance
- Flat Rigid Castor Wheel Installation Guide for DIY Lean Pipe Material Racks

Flat Rigid Castor Wheel Installation Guide for DIY Lean Pipe Material Racks
Related Product
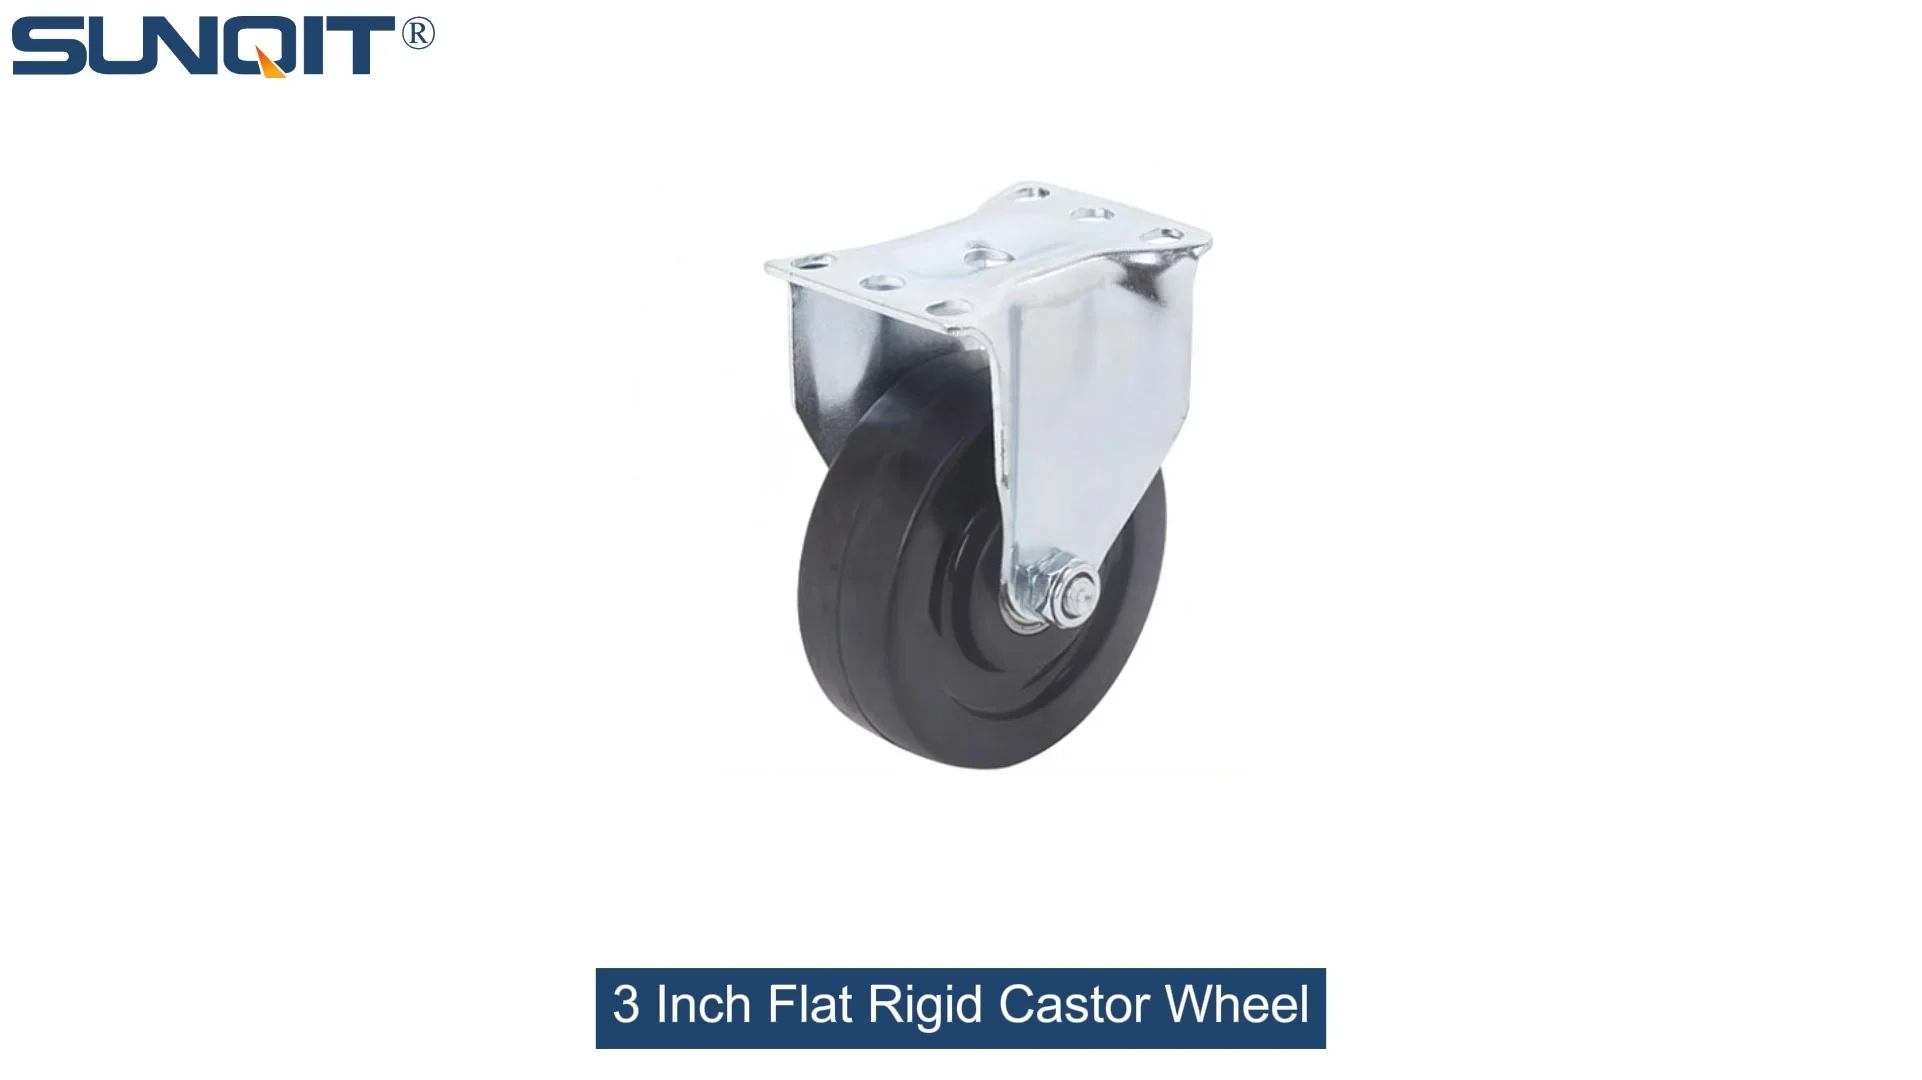
Flat Rigid Castor Wheel
Chair Casters Ball Bearing Wheels Rubber Base. Resistant to abrasion, impact and corrosion. Heavy payload can hold 70Kgs per pcs,which can make it works at a stable and smooth status.
Building your own material rack can feel like solving a puzzle—one where every piece needs to fit just right to create something functional, sturdy, and uniquely yours. For small workshops, garage tinkerers, or startup manufacturers, lean pipe material racks are a game-changer: affordable, customizable, and designed to streamline how you store tools, parts, or inventory. But if there's one piece that can make or break your rack's performance, it's the castor wheels. Specifically, flat rigid castor wheels —the unsung heroes that keep your rack grounded, stable, and ready to roll (when you need it to). In this guide, we'll walk through every step of installing these castors on a DIY lean pipe material rack, from choosing the right components to troubleshooting common hiccups. Whether you're a seasoned DIYer or picking up a wrench for the first time, let's turn those loose pipes and parts into a rack that works as hard as you do.
Why Flat Rigid Castor Wheels? Understanding the Basics
Before we dive into tools and torque wrenches, let's get clear on what makes flat rigid castor wheels different—and why they're often the best choice for material racks. Unlike swivel castors (which rotate 360 degrees), rigid castors lock into a fixed direction, like the wheels on a shopping cart that only go straight. The "flat" part refers to their mounting plate—a flat, sturdy base that bolts directly to the bottom of your rack frame. This design shines in two key ways: stability and weight distribution .
Imagine (oops—let me rephrase) When you're loading your rack with heavy boxes or metal parts, a wobbly swivel castor might tilt or shift under pressure. Rigid castors, with their fixed orientation, distribute weight evenly across the base, reducing the risk of tipping. And because they don't swivel, they're less likely to get stuck on uneven floors or debris—critical if your workshop has those inevitable cracks or bumps. For material racks that stay in one spot most of the time but need occasional repositioning (say, to sweep underneath or rearrange your space), flat rigid castors strike the perfect balance between mobility and stability.
But to install them right, you'll need more than just the castors themselves. Let's break down the core components you'll be working with:
- Lean pipe : The backbone of your rack. Typically made of steel or aluminum, these pipes are lightweight but strong, with a smooth surface that pairs well with joints. For most DIY racks, 28mm or 30mm diameter pipes work best—they're easy to cut and connect.
- Lean pipe joints : The "glue" that holds your frame together. These metal or plastic connectors slide over the ends of lean pipes, letting you build angles (90 degrees for vertical posts, 180 for horizontal beams) without welding. Look for joints with set screws—they're easier to tighten by hand than those requiring tools.
- Flat rigid castor wheels : Your rack's "feet." Key features to check: mounting plate size (most are 4x4 inches or 5x5 inches, matching standard lean pipe frame widths), wheel diameter (2-3 inches is ideal for smooth floors; 4+ inches for rough surfaces), and weight capacity (aim for 150-200 lbs per wheel—multiply by 4 for a 4-castor rack).
- Caster accessories : The small parts that make installation seamless. Think: bolts (5/16-inch or M8 are standard), lock washers (to prevent loosening), and maybe a rubber mallet (for gently tapping joints into place).
Pro Tip: Not all lean pipe is created equal. If you're storing heavy items (like metal parts or power tools), opt for steel lean pipe over aluminum—it's stiffer and less likely to bend under load. Aluminum works great for lighter loads, though, and it's rust-resistant, which is a plus for humid garages.
Gathering Your Tools: What You'll Need (and What You Can Skip)
There's nothing more frustrating than starting a project only to realize you're missing a key tool. Let's avoid that. Below is a list of must-haves, nice-to-haves, and tools you can probably borrow from a neighbor (no judgment if you raid your partner's toolbox—just return them clean!).
| Tool | Purpose | Pro Tip |
|---|---|---|
| Measuring tape + pencil | Marking pipe lengths and castor positions | Measure twice, cut once! A 1/4-inch mistake in pipe length can throw off your entire frame. |
| Pipe cutter or hacksaw | Cutting lean pipe to size | If using a hacksaw, clamp the pipe first to avoid wobbly cuts. Pipe cutters leave cleaner edges—worth the $20 investment. |
| Adjustable wrench or socket set | Tightening lean pipe joints and castor bolts | Socket sets are faster for bolts; adjustable wrenches work for odd-sized nuts. Get both if you can. |
| Level (2-foot or longer) | Ensuring the rack is straight and even | A bubble level is cheap and indispensable. A wobbly rack isn't just annoying—it's a safety risk. |
| Rubber mallet | Tapping joints onto pipes (gently!) | Metal hammers can dent lean pipe. Rubber mallets deliver force without damaging the finish. |
| Drill (optional) | Pre-drilling holes if your lean pipe frame needs extra reinforcement | Only necessary if you're using thick steel pipe or want to add cross-braces for heavy loads. |
Bonus Tool: A workbench or sawhorses. Trying to cut pipe on the floor is messy and hard on your back. If you don't have sawhorses, stack two sturdy milk crates—they work in a pinch.

Pre-Installation Prep: Planning Your Rack (Spoiler: It's Not Just About Pipes)
Before you start cutting pipe, take 10 minutes to plan. This step might feel "extra," but it'll save you hours of rework later. Here's how to approach it:
Step 1: Sketch Your Rack (Yes, Even a Stick Figure Drawing Works)
Ask yourself: How tall do you need the rack? How many shelves? Will it live in a corner, or do you need to roll it through doorways? For example, a standard material rack might be 4 feet tall, 3 feet wide, and 18 inches deep—big enough to hold boxes but narrow enough to fit through a 36-inch door. Jot down these dimensions: height (from floor to top shelf), width (left to right), depth (front to back), and shelf spacing (e.g., 16 inches between shelves for toolboxes).
Pro Tip: If you're unsure about size, mock it up with painter's tape on the floor. Stand inside the taped area—can you reach the top shelf without straining? Is there enough space to walk around it?
Step 2: Calculate Pipe Lengths (Math, But the Good Kind)
Let's say you're building a rack with these specs: 4ft tall (48 inches), 3ft wide (36 inches), 18 inches deep, with 2 shelves (plus the top). Here's how to break down the pipe lengths (remember: lean pipe joints add ~1 inch to each connection, so subtract 2 inches per joint from your total length). For example, a 36-inch wide frame side will need two vertical pipes (48 inches each) and two horizontal pipes (36 - 2 inches = 34 inches each, to account for the two joints on each end).
Write this down! It's easy to mix up "width" and "depth" pipes—label them with masking tape if you're cutting multiple pieces.
Step 3: Inspect Your Components (Don't Skip This!)
Open your lean pipe, joints, and castor wheels. Check for: bent pipes, cracked joints (plastic joints can sometimes split in shipping), or castor wheels that don't spin smoothly. If something looks off, contact your supplier—most will send replacements for free. It's better to wait a few days than build a rack with faulty parts.
Also, test-fit a few joints onto a pipe. They should slide on with a little pressure but not be so loose that they wiggle. If they're too tight, sand the pipe end lightly with 120-grit sandpaper. Too loose? Wrap a layer of electrical tape around the pipe end (temporarily) to thicken it—you can trim it later if needed.

Building the Frame: From Pipes to a (Almost) Finished Rack
Now for the fun part: turning pipes and joints into a frame. This is where your sketch and measurements pay off. Let's start with the base frame—the part that will hold the castors—since that's the foundation of stability.
Step 1: Assemble the Base Rectangle
Your base frame is a rectangle made of four lean pipes: two "width" pipes and two "depth" pipes. For our 36-inch wide, 18-inch deep rack, we'll use two 34-inch pipes (width) and two 16-inch pipes (depth—18 inches minus 2 inches for joints). Slide a joint onto each end of the width pipes. Then, connect the depth pipes to the joints, forming a rectangle. Tighten the joint set screws with your wrench—snug, but not so tight you strip the plastic (if using plastic joints) or bend the metal (if using metal joints).
Pro Tip: Lay the frame flat on the floor while assembling. It's easier to keep it square this way. Check the corners with a carpenter's square—all angles should be 90 degrees. If not, gently push/pull the corners until the square fits.
Step 2: Add Vertical Legs
Now, attach the vertical pipes (our 48-inch ones) to the corners of the base frame. Each vertical pipe gets a joint at the bottom, which connects to the base frame's corner joint. Make sure the vertical pipes are straight—hold a level against them to check. If they lean, loosen the joint and adjust. Tighten the set screws once they're plumb (straight up and down).
At this point, your frame should look like a tall rectangle—four vertical legs connected by a base rectangle. Stand back and admire it! It's starting to look like a rack.
Step 3: Add Shelves (Optional but Recommended)
Shelves add strength to the frame and give you places to put stuff. For our two-shelf rack, we'll add horizontal pipes halfway up (24 inches from the floor) and near the top (40 inches from the floor). Cut these shelf pipes to match the base width and depth (34 inches and 16 inches, respectively). Attach them to the vertical legs using joints, spacing them evenly. Tighten the set screws, then check with a level to ensure the shelves are flat—no one wants a shelf that tilts and spills parts!

Installing Flat Rigid Castor Wheels: The Moment of Truth
Your frame is built—now it's time to give it wheels. Installing flat rigid castors is straightforward, but precision here will save you from a wobbly rack later. Let's break it down.
Step 1: Marking Castor Positions
Flip the frame upside down so the base frame is facing up. The castors will attach to the bottom of the base frame's horizontal pipes. For stability, place each castor as close to the corners as possible—this distributes weight evenly. Measure 2 inches from each corner along the base pipe and mark the center of the castor mounting plate. For example, on a 34-inch width pipe, the castor plate (4 inches wide) should sit with its edges 2 inches from the corner joint, centered on the pipe.
Step 2: Pre-Drilling Holes (If Needed)
Most lean pipe frames have hollow pipes, so you'll need to drill holes through the base pipes to bolt the castors on. Use a drill bit slightly smaller than your bolts (e.g., 1/4-inch bit for 5/16-inch bolts). Drill slowly—lean pipe is thin, so the bit can catch and bend the pipe if you rush. If your frame uses solid aluminum or steel pipe (uncommon for DIY racks), skip this step—you'll tap threads instead (but that's more advanced; stick to hollow pipe for simplicity).
Step 3: Attaching the Castors
Place a castor's mounting plate over your marked holes. insert a bolt through the plate and into the pipe, then add a lock washer and nut on the inside of the pipe (you might need a second wrench to hold the nut while tightening the bolt). Tighten until the washer is compressed—snug, but not so tight you warp the mounting plate. Repeat for the other three castors.
Pro Tip: If the nuts spin inside the pipe (annoying!), try this trick: Stuff a small piece of foam or cardboard into the pipe near the hole. It'll grip the nut, letting you tighten the bolt.
Step 4: Testing Stability
Flip the rack right-side up. Gently push it—does it roll smoothly? (Flat rigid castors don't swivel, so it should move straight.) Check for wobble: place a level on the top shelf. If the bubble is off-center, one castor is higher than the others. Loosen the bolts on the "tall" castor, add a washer under the mounting plate, and retighten. Repeat until the rack is level.
Fun Test: Stand next to the rack and push down gently on one corner. It should rock slightly but not tip. If it tips, your castors are too close together—reposition them farther apart on the base frame.
Troubleshooting: When Things Go Sideways (and How to Fix Them)
Even the best-laid plans hit snags. Here are common issues and how to solve them—because DIY is about learning, not perfection.
Problem: The Rack Wobbles (Even After Leveling)
Possible Causes: Loose joints, uneven floor, or castors with different heights.
Fix: Tighten all joint set screws first—they loosen over time, especially if you moved the rack during installation. If that doesn't work, check the floor with a level. If the floor slopes, add shims under the "low" castors (small pieces of wood or rubber work). If castors are different heights, return them—you need a matched set.
Problem: Castor Wheels Won't Roll (or Roll Roughly)
Possible Causes: Debris in the wheel bearings, bent axles, or wheels that are too small for the floor.
Fix: Remove the wheel and clean out hair/dirt with a toothpick or compressed air. If the axle is bent, you'll need a new castor—no easy fix for bent axles. For rough floors, upgrade to larger wheels (4 inches instead of 2 inches).
Problem: Joints Keep Loosening
Possible Causes: Set screws stripped, or the pipe is too smooth for the joint to grip.
Fix: replace stripped set screws (hardware stores sell them in packs). For smooth pipes, wrap a thin layer of sandpaper around the pipe before sliding on the joint—this adds friction.
Maintaining Your Rack: Keeping It Rolling (and Lasting Longer)
Your rack is built—now let's make it last. A little maintenance goes a long way, especially if you use the rack daily.
- Check joints monthly : Tighten any loose set screws with your wrench. Vibration from moving the rack can loosen them over time.
- Clean the wheels : Every few weeks, wipe the wheels with a damp cloth to remove dust and debris. For sticky wheels, add a drop of lubricating oil (3-in-1 works) to the axle.
- Inspect for rust : If using steel lean pipe, wipe down the frame with a dry cloth if it gets wet. For extra protection, spray on a clear enamel paint (light coats—too much will gum up the joints).
- Don't overload it : Remember that weight capacity we talked about? If you stack 500 lbs on a rack rated for 400 lbs, the pipes will bend, and the castors will fail. Keep a sticky note on the rack with its max weight—you'll forget otherwise.
Customization Ideas: Making Your Rack One-of-a-Kind
Now that the hard part is done, let's have fun. Here are easy ways to tweak your rack to fit your space and style:
- Add a pegboard back : Drill holes in the vertical legs and attach a pegboard for hanging tools. Perfect for workshops!
- Paint it : Use spray paint designed for metal (for steel pipe) or plastic (for aluminum) to match your garage or brand colors. Tape off the wheels first—paint on bearings will make them stick.
- Upgrade to braked castors : If you want the option to lock the rack in place, swap out two flat rigid castors for caster accessories like braked versions (look for "flat rigid castor with brake"). Lock one on each side for stability.
- Add side rails : Use extra lean pipe and joints to build rails along the shelves, preventing items from sliding off when rolling the rack.
Wrapping Up: Your Rack, Your Rules
Installing flat rigid castor wheels on a DIY lean pipe material rack isn't just about bolting parts together—it's about creating something that fits your needs. Maybe it's a rack for storing 3D printer filaments, a homebrew supply shelf, or a mobile workbench for your woodshop. Whatever it is, you built it with your own two hands, and that matters. The next time you roll it into place, or grab a tool from its shelf, take a second to appreciate the work—you turned a pile of pipes and a few lean pipe joints into a solution that makes your space smarter, your workflow smoother, and your DIY skills a little sharper.
And if you ever need to build another? You've got this. Now go fill that rack—and maybe start planning your next project. The garage (or workshop, or basement) is waiting.