- Company Articles
- Products and Technology
- Installation And Maintenance
- Flat Rigid Castor Wheel Installation Mistakes to Avoid on Material Rack B

Flat Rigid Castor Wheel Installation Mistakes to Avoid on Material Rack B
Related Product
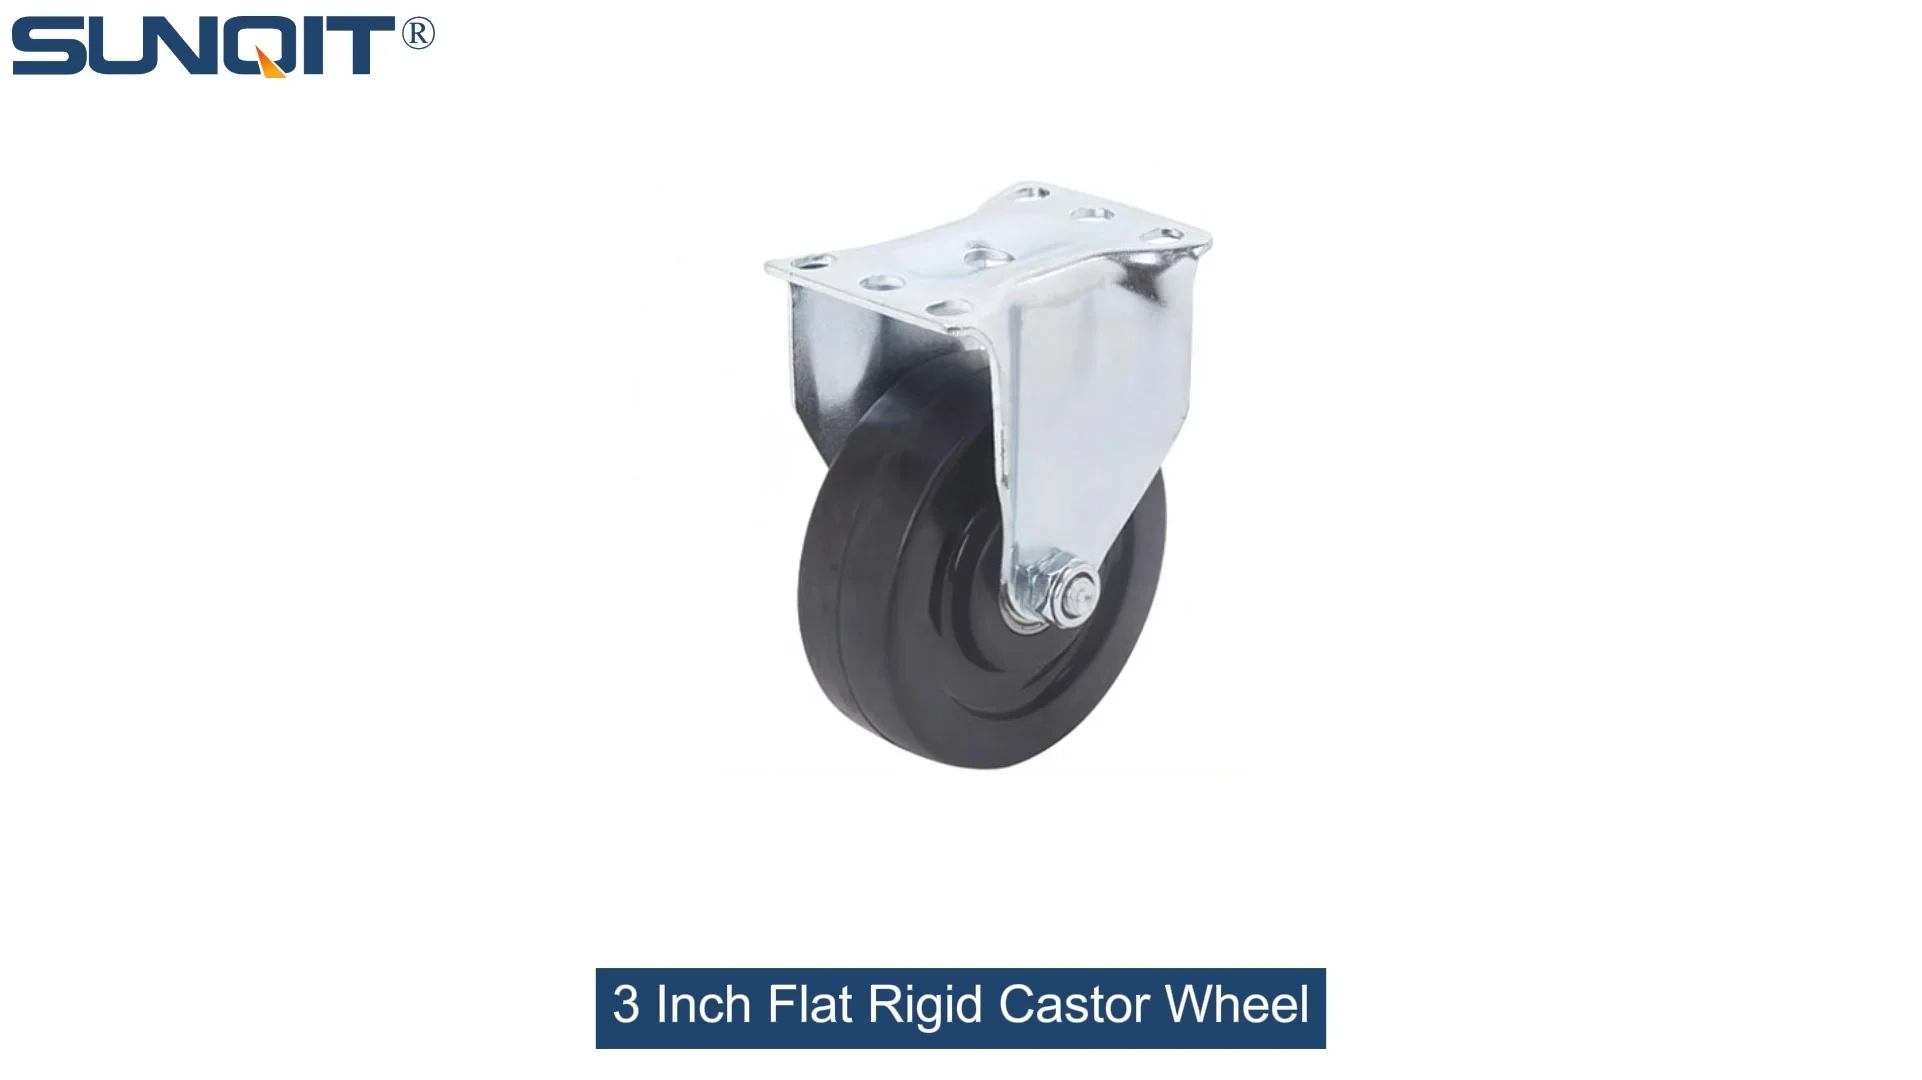
Flat Rigid Castor Wheel
Chair Casters Ball Bearing Wheels Rubber Base. Resistant to abrasion, impact and corrosion. Heavy payload can hold 70Kgs per pcs,which can make it works at a stable and smooth status.
Mistake #1: Choosing the Wrong Flat Rigid Castor Wheel for the Job
Why It Happens: "One Castor Fits All" Mentality
It's easy to grab the first set of castor wheels you see in the storage room and call it a day. After all, a wheel is a wheel, right? Wrong. Flat rigid castor wheels come in different sizes, load capacities, and materials—and choosing the wrong one for Material Rack B is like putting bicycle tires on a truck: it might work for a minute, but it won't hold up long.
Real-World Example:
A mid-sized electronics plant recently upgraded their production line with new Material Rack B units (3 row and 3 floor). To save costs, they reused castor wheels from old, smaller racks—1.5-inch flat rigid castors rated for 150kg per wheel. Within two weeks, workers started complaining that the racks felt "sticky" when rolling. A closer look revealed the castor wheels were bending under the weight of the heavier components stored on the 3-row, 3-floor racks. One wheel even cracked, causing a rack to tip and damage $2,000 worth of circuit boards.
The Consequences: Using underrated castors leads to premature wear, bent axles, and uneven rolling. Over time, this not only shortens the lifespan of the castors but also puts stress on the rack itself, warping its frame. In worst-case scenarios, overloaded castors can fail completely, leading to rack collapse and potential injury.
How to Fix It:
- Calculate the Total Load: Material Rack B (3 row and 3 floor) has a specific weight capacity—check the manufacturer's specs. Add the weight of the rack itself to the maximum weight of materials you'll store (e.g., 50kg per shelf x 9 shelves = 450kg, plus 50kg for the rack frame = 500kg total). Each castor should handle at least 25% of this total (so 125kg per wheel for a 4-castor setup). Always opt for a 2x safety margin—so 250kg capacity per castor—to account for sudden jolts or uneven loading.
- Match the Castor to the Floor: If your warehouse has concrete floors with cracks or uneven patches, choose castors with larger wheels (2-3 inches) to roll over obstacles smoothly. For polished floors, softer rubber treads prevent scuffing. Flat rigid castors are ideal for stable, flat surfaces—avoid using them on gravel or heavily textured floors.
- Check the Mounting Plate Size: Material Rack B's base has pre-drilled holes for castor mounting. A castor with a mounting plate that's too small won't distribute weight evenly, leading to stripped bolts. Measure the hole spacing on the rack base and compare it to the castor's mounting plate before purchasing.
Mistake #2: Mounting Castors in the Wrong Position on the Rack Base
Why It Happens: "Eyeballing" Instead of Measuring
You've got your castors, you've got your drill—now it's time to mount them. But if you skip measuring and just "eyeball" where to place the castors on Material Rack B's base, you're setting yourself up for a wobbly disaster. Castor position directly affects the rack's stability and maneuverability, and even a few centimeters off can throw everything off balance.
Real-World Example:
A food packaging facility installed flat rigid castors on their Material Rack B units by placing the castors as close to the corners as possible. They thought this would make the rack more stable, but instead, the opposite happened. When loaded with heavy cans on the top shelf, the rack became top-heavy and prone to tipping. Workers had to the rack while moving it, slowing down production and increasing the risk of strains.
The Consequences: Castors mounted too close to the edges of the rack base create a narrow wheelbase, making the rack unstable—especially when loaded with materials on upper shelves. Castors mounted too far apart, on the other hand, make the rack hard to turn, leading to strained muscles and damaged walls as workers struggle to maneuver tight corners.
How to Fix It:
- Find the "Sweet Spot" for Wheelbase: The ideal wheelbase (distance between front and rear castors) is 60-70% of the rack's total length. For Material Rack B, which is typically around 120cm long, this means placing front and rear castors about 72-84cm apart. This balances stability and maneuverability.
- Center the Castors Side-to-Side: Measure the width of the rack base (e.g., 80cm) and mark the center point (40cm). Place each castor so its mounting plate is equidistant from the left and right edges—this prevents the rack from leaning to one side when loaded.
- Use a Template (or Cardboard!): If you're installing multiple Material Rack B units, create a simple template from cardboard with holes punched at the correct mounting positions. This ensures consistency across all racks, so every castor is placed exactly where it should be.

Mistake #3: Overlooking Caster Accessories—The "Small Parts" That Matter
Why It Happens: Focusing on the Wheel, Forgetting the Extras
When installing castors, it's easy to fixate on the wheels themselves and ignore the small stuff: bolts, washers, locks, and other caster accessories. But these "extras" are what keep the castors attached to the rack and functioning properly. Skipping a lock washer or using a bolt that's too short is like building a house without nails—it might stand for a while, but it won't last.
Real-World Example:
A automotive parts warehouse installed flat rigid castors on their Material Rack B units using the bolts that came with the castors—without checking if they were the right length. The bolts were too short, so they only threaded into the rack base by 2 threads. A month later, during a routine material transfer, a bolt sheared off, causing the rack to tilt. A worker tried to catch it, resulting in a sprained wrist. An investigation revealed that using the correct length bolts (and adding lock washers) would have prevented the failure.
The Consequences: Missing or improper caster accessories lead to loose bolts, which cause the rack to wobble. Over time, loose bolts can strip the threads in the rack base, making it impossible to reattach the castor securely. In extreme cases, bolts can fall out completely, leaving the rack with only 3 (or fewer) castors—and a high risk of collapse.
How to Fix It:
- Use the Right Bolts and Washers: Always use bolts that are long enough to thread into the rack base by at least 1.5 times their diameter (e.g., M8 bolts need 12mm of thread engagement). Pair them with lock washers (preferably split lock washers or star washers) to prevent loosening from vibration. For extra security, add a drop of thread-locking fluid (like Loctite) to the bolt threads before tightening.
- Don't Skip the Brake Mechanism (If Needed): If Material Rack B is used in areas where it needs to stay stationary during loading/unloading, opt for castors with brake accessories (e.g., foot-operated brakes). Even if the rack is usually mobile, brakes prevent accidental rolling on sloped floors. Make sure the brake lever is easy to reach—installing it facing the wrong direction (e.g., under the rack) makes it useless.
- Check for Spacer Plates: If the rack base is thinner than the castor's mounting plate, use spacer plates (flat metal washers) to fill the gap. This ensures the bolt head sits flush against the mounting plate, distributing pressure evenly and preventing cracks.

Mistake #4: Skipping Pre-Installation Inspections (of Both Castors and Rack)
Why It Happens: "If It Looks New, It Must Be Good"
You unbox the flat rigid castor wheels, they look shiny and new, so you start installing them immediately. You also don't bother checking the Material Rack B's base for dents or rust—after all, it's been in storage for a while, but it "looks fine." Big mistake. Even brand-new castors can have hidden defects, and a warped rack base will ruin even the best installation.
Real-World Example:
A pharmaceutical plant received a shipment of Material Rack B units and new flat rigid castors. The team installed the castors without inspecting either, only to find that one castor had a bent axle (a manufacturing defect) and the rack base was slightly warped from improper storage. The result? The rack rolled in a circle instead of straight, and the bent axle caused the wheel to wear unevenly, leaving black streaks on the cleanroom floor.
The Consequences: Installing damaged castors leads to uneven rolling, increased noise, and premature wear. A warped or rusted rack base means the castors won't mount flush, creating stress points that crack the base or snap bolts. In regulated industries (like food or pharmaceuticals), floor streaks from damaged castors can even lead to compliance violations.
How to Fix It:
-
Inspect Castors Before Installation:
Check each castor for:
- Bent axles (spin the wheel—if it wobbles, the axle is bent).
- Cracked or chipped wheels (even small cracks will grow under load).
- Smooth rotation (the wheel should spin freely without grinding or sticking).
- Securely attached mounting plates (no loose welds or screws).
- Check the Rack Base for Issues: Place a straightedge across the rack base to check for warping—if there's a gap between the straightedge and the base, the rack is bent. Sand off any rust (use a wire brush) and apply a rust-resistant primer to prevent further damage. Ensure the mounting holes are clean and free of debris—use a tap to rethread stripped holes if needed.
- Test-Fit Before Final Tightening: Before fully tightening the bolts, place the rack upright and push it gently. If it rolls unevenly or pulls to one side, stop and check for misaligned castors or damaged wheels. It's easier to fix issues now than after the rack is loaded with materials.

Mistake #5: Ignoring Lean System Principles—Forgetting the "Why" Behind Mobility
Why It Happens: Focusing on "Installation" Over "Integration"
So far, we've talked about the technical side of castor installation—but there's a bigger picture: how your Material Rack B fits into your lean system. Lean manufacturing is all about minimizing waste, maximizing flow, and empowering workers. If your castor wheels make the rack hard to move, noisy, or unstable, you're not just installing wheels—you're undermining your lean goals.
Real-World Example:
A furniture manufacturer prided itself on its lean system, with color-coded Material Rack B units that followed production lines via kanban signals. But after installing new flat rigid castors, workers started avoiding using the racks altogether. The castors were so stiff that moving a loaded rack required two people, slowing down material delivery and creating bottlenecks. The team ended up stacking materials on the floor instead—wasting space and increasing the risk of trips.
The Consequences: Poorly installed castors turn Material Rack B from a lean tool into a lean obstacle. Stiff or wobbly racks slow down material flow, increase worker fatigue, and lead to shortcuts (like leaving racks in the wrong place). Over time, this erodes the efficiency gains your lean system was designed to create.
How to Fix It:
- Test Roll Resistance Against Lean Standards: In a lean system, a loaded Material Rack B should be movable by one person with minimal effort (no straining!). If pushing the rack requires more than 20-30 pounds of force, the castors are too stiff or the wheels are the wrong type. Opt for ball-bearing castors (they roll smoother) and ensure the wheel tread matches the floor for minimal friction.
- Ensure Easy Access for All Workers: Castor brakes (if used) should be operable by workers of all heights—install them at knee level, not too high or low. The rack should roll straight and stop quickly when the brake is engaged, preventing "runaway" racks that disrupt workflow.
- Plan for Future Adjustments: Lean systems evolve, and your Material Rack B may need to adapt. Use castors with removable bolts (instead of welded mounts) so you can swap out wheels if floor conditions change or load requirements increase. This flexibility prevents waste from prematurely replacing entire racks.
Summary: Common Mistakes, Consequences, and Fixes at a Glance
| Mistake | Consequence | Quick Fix |
|---|---|---|
| Choosing the wrong flat rigid castor wheel | Bent axles, rack tipping, product damage | Calculate total load, match castor to floor, check mounting plate size |
| Incorrect castor mounting position | Wobbly rack, hard maneuvering, worker strain | Measure wheelbase (60-70% of rack length), center castors side-to-side |
| Overlooking caster accessories | Loose bolts, castor detachment, rack collapse | Use proper bolts/lock washers, add thread-locking fluid, install brakes if needed |
| Skipping pre-installation inspections | Uneven rolling, floor damage, compliance issues | Check castors for damage, inspect rack base for warping, test-fit before tightening |
| Ignoring lean system principles | Slow workflows, worker fatigue, waste | Test roll resistance, ensure easy access, plan for future adjustments |
Final Thoughts: Your Rack Deserves the Right Roll
Installing flat rigid castor wheels on Material Rack B might seem like a simple task, but as we've seen, the details make all the difference. From choosing the right castor to tightening the last bolt, every step impacts the rack's safety, efficiency, and ability to support your lean system.
Remember: a well-installed castor isn't just a wheel—it's a bridge between your materials and your production line. It keeps workflows moving, reduces waste, and lets your team focus on what they do best: creating quality products. So take the time to measure twice, inspect thoroughly, and choose the right tools and accessories. Your rack (and your bottom line) will thank you.
Now, go out there and make those Material Rack B units roll like they mean it. Your lean system is counting on it.