- Company Articles
- Products and Technology
- Installation And Maintenance
- Heavy Duty Split Foot Seat Assembly Guide for Beginners

Heavy Duty Split Foot Seat Assembly Guide for Beginners
Related Product
Heavy Duty Split Foot Seat
M10 aluminum heavy duty split foot deat with foot adjuster for workbench and flow rack.
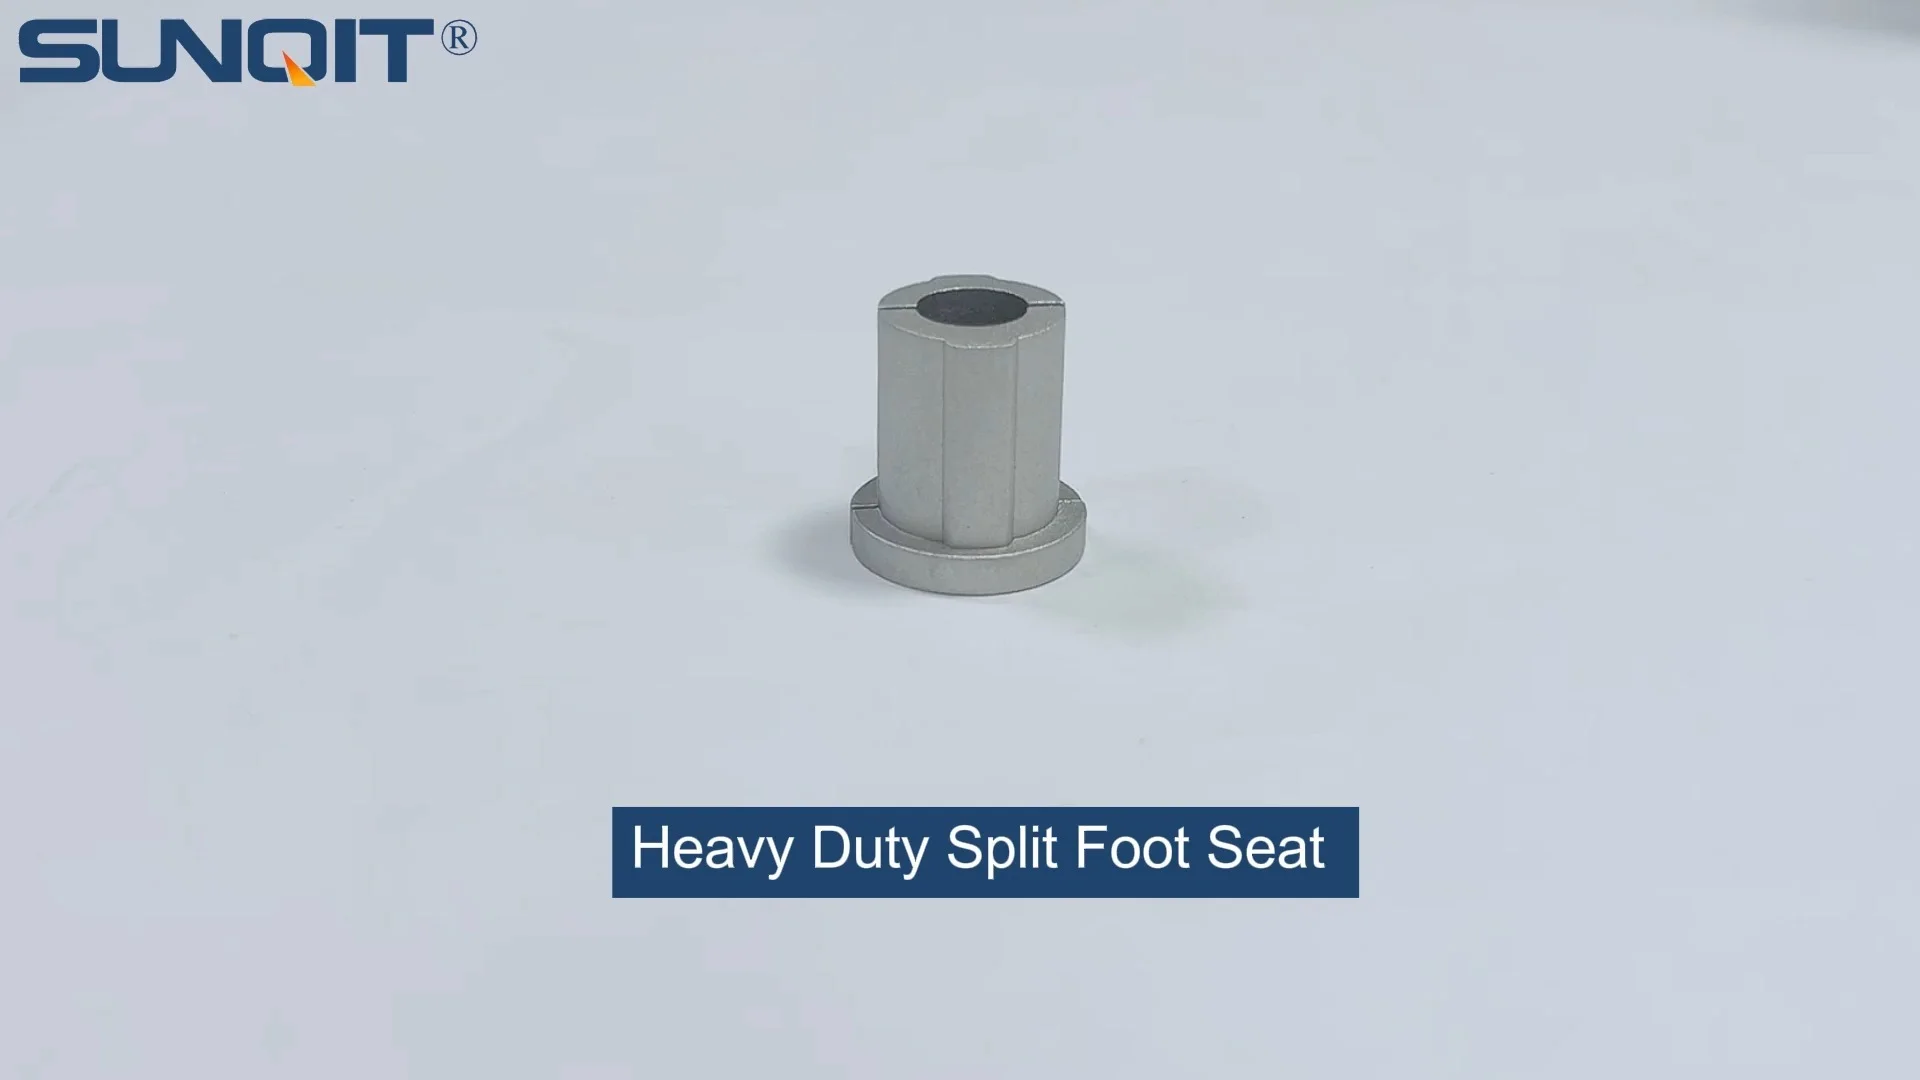
If you've ever stood in front of a pile of metal parts, a wrench in hand, and thought, "How do I even start?"—you're not alone. Assembling a heavy duty split foot seat can feel intimidating at first, especially if you're new to workshop tools or lean manufacturing equipment. But here's the good news: with a little patience, the right guidance, and a focus on the basics, you'll have this sturdy component built and ready to support your workbench, material rack, or production line in no time. Let's walk through the process step by step, keeping things simple and avoiding the common pitfalls that trip up even experienced assemblers.
What Is a Heavy Duty Split Foot Seat, Anyway?
Before diving into assembly, let's make sure we're on the same page about what we're building. A heavy duty split foot seat is a foundational component in many industrial setups—think of it as the "feet" of your workspace equipment. Designed to distribute weight evenly and stabilize structures like workbenches, flow racks, or aluminum profile frames, it's split (hence the name) into two or more interlocking parts that bolt together, creating a broad, sturdy base. Unlike single-piece feet, the split design allows for adjustments to fit uneven floors, making it a go-to for workshops where stability is non-negotiable.
You'll often find these paired with adjustable leveling feet (a key part we'll cover later) or caster and accessories if mobility is needed. They're typically made from steel or reinforced aluminum, built to handle hundreds—sometimes thousands—of pounds without bending or warping. In short: get this right, and your entire setup stays safe and functional. Get it wrong, and you might be dealing with wobbly workbenches, damaged parts, or worse.
Pre-Assembly Prep: What You'll Need
Rushing into assembly without preparation is like baking a cake without reading the recipe—you'll likely miss a step and end up with a mess. Let's gather your tools and parts first. Here's a breakdown:
Tools
| Tool Type | Why You Need It | Pro Tip |
|---|---|---|
| Adjustable wrench (8-12 inches) | Tightens nuts on bolts; fits multiple sizes | Look for one with a rubber grip to avoid hand fatigue |
| Phillips-head screwdriver (magnetic) | Drives Phillips screws into the base plate | Magnetic tips hold screws in place—no more dropping them! |
| Level (2-foot or longer) | Ensures the seat sits flat; prevents wobbling | A bubble level is simpler for beginners than a digital one |
| Thread locker (blue, removable) | Keeps bolts from loosening over time | Use sparingly—too much can make future disassembly tough |
Parts Checklist
Unbox your heavy duty split foot seat kit and lay out all parts on a clean, flat surface (a workbench or even a large piece of cardboard works). You should have:
- 2 split foot seat halves (left and right; they'll have interlocking notches)
- 4-6 bolts (typically M10 or M12, depending on load capacity)
- 4-6 washers (flat or lock washers—lock washers prevent slipping)
- Adjustable leveling feet (1-2 per half; these screw into the bottom of the seat)
- Lean pipe joint (if your setup connects to a lean pipe frame—more on this later)
Pro Move: Take 2 minutes to inspect each part. Look for bent bolts, stripped threads, or cracks in the metal. I once skipped this and tried to force a bent bolt into a hole—it stripped the threads and ruined the part. Save yourself the hassle: if something looks off, contact your supplier (like a reliable lean pipe supplier) for a replacement before starting.

Step-by-Step Assembly: Let's Build It
Now that you're prepped, let's start building. Take it slow—this isn't a race. Each step matters, and rushing leads to mistakes.
Step 1: Align the Split Halves
Lay the two split foot seat halves on your workspace, flat side up. You'll notice notches or tabs on the edges—these are designed to interlock. Slide one half into the other until they fit snugly, like puzzle pieces. If they don't align easily, don't force them! Check for debris (like plastic packaging or metal shavings) in the notches—this is a common culprit. A quick wipe with a dry cloth usually fixes it.
Once aligned, the combined seat should form a roughly rectangular or square base. Double-check that the holes for bolts line up—they should be directly across from each other, no gaps. If they're misaligned, gently tap the halves with a rubber mallet (never a metal hammer—you'll dent the metal) to shift them into place.
Step 2: insert Bolts and Washers
Grab your bolts and washers. For each bolt hole: place a flat washer on the bolt, then insert the bolt through the hole from the top of the seat. On the bottom side, add a lock washer (the one with the split, which "locks" the nut in place) followed by a nut. Hand-tighten the nut until it's snug—you'll fully tighten later. Repeat for all bolts.
Why hand-tighten first? If you fully tighten one bolt immediately, you might pull the halves out of alignment, making it impossible to insert the remaining bolts. Think of it like lacing shoes: you don't yank one lace tight before the others—you do them all a little at a time to keep the shoe even.
Step 3: Tighten Bolts in a "Crisscross" Pattern
Now, grab your adjustable wrench. This is where the crisscross pattern comes in. Imagine the bolts are numbered 1-4 in a square: tighten 1, then 3, then 2, then 4. For 6 bolts, go 1 → 4 → 2 → 5 → 3 → 6. This ensures even pressure across the split halves, preventing warping. Tighten each bolt until it's firm—you should feel resistance, but don't overdo it (stripping threads is a real risk here). A good rule: if the bolt head starts to indent the washer, you've gone too far.
Beginner Mistake to Avoid: Using a wrench that's too small. It'll slip, scratch the metal, and could even hurt your hand. If the wrench wobbles on the nut, switch to a larger size.
Step 4: Attach Adjustable Leveling Feet
Most heavy duty split foot seats come with adjustable leveling feet—these are the threaded, rubber-tipped components that screw into the bottom of the seat. They're crucial for uneven floors: twist them up or down to "level" the seat so it doesn't rock. Here's how to install them:
- Find the threaded holes on the bottom of each split half (usually 1-2 per half).
- Hand-screw the leveling feet into the holes until they're tight. Don't use tools here—over-tightening can crack the seat.
- Once all feet are in, place the seat upright. Set your level on top—if the bubble is off-center, twist the corresponding leveling foot clockwise (to lower) or counterclockwise (to raise) until the bubble is centered.
Pro tip: Mark the leveling feet with a permanent marker once they're set—this helps if you ever need to disassemble and reassemble later (you'll know exactly how much to twist them).
Step 5: Connect to Your Frame (If Using Lean Pipe or Aluminum Profile)
If your split foot seat is part of a larger setup—like a workbench or material rack built with lean pipe or aluminum profile—you'll need to attach it to the frame. This is where a lean pipe joint or aluminum profile connector comes in. Here's a quick guide:
For lean pipe systems: Slide the lean pipe joint over the end of your lean pipe, then bolt the joint to the top of the split foot seat using the pre-drilled holes. Tighten the joint's set screws (with a hex key) to lock the pipe in place.
For aluminum profile: Use an aluminum profile connector (like a 90° angle code or T-slot bracket). Align the connector with the T-slots on the profile and the holes on the seat, then secure with bolts and T-nuts. Tighten until the connector is flush with both the profile and the seat.

Troubleshooting: Fixing Common Issues
Even with careful assembly, things can go wrong. Here's how to fix the most common problems:
Problem: The Seat Wobbles Even After Leveling
Possible causes: Loose bolts between split halves, or leveling feet that aren't gripping the floor. Try this: Retighten the split bolts using the crisscross pattern. If that doesn't work, check the leveling feet—if the rubber tips are worn, replace them (most suppliers sell replacement tips). You can also add a small rubber pad under the feet for extra grip.
Problem: Bolts Keep Loosening Over Time
This is where thread locker saves the day. Disassemble the bolts, apply a drop of blue thread locker to the threads, then reassemble and retighten. Blue thread locker is removable with heat (a hair dryer works) if you need to take it apart later—avoid red thread locker, which is permanent.
Problem: Split Halves Won't Stay Aligned
If the halves slide apart when tightening bolts, check the notches—they might be bent. Use a pair of pliers (with a cloth to avoid scratches) to gently bend the tabs back into place. If they're too bent, contact your supplier for replacement halves—safety first!

Maintenance: Keeping Your Split Foot Seat in Top Shape
Your work isn't done once it's assembled. A little maintenance goes a long way in extending the life of your heavy duty split foot seat:
- Monthly check: Tighten bolts and leveling feet—vibration from machinery can loosen them over time.
- Clean regularly: Wipe off oil, dust, or debris with a damp cloth. If you're in a humid environment, apply a light coat of anti-rust spray (avoid the rubber leveling feet—they'll degrade).
- replace worn parts: If leveling feet crack or bolts strip, swap them out ASAP. Most suppliers (like a reliable lean pipe and accessories supplier) stock replacement parts affordably.
Final Thoughts: You've Got This!
Assembling a heavy duty split foot seat might seem daunting at first, but remember: every expert was once a beginner. By taking your time, preparing properly, and following these steps, you'll build a stable, reliable base that supports your workspace for years. And the next time you walk past that workbench or material rack, you'll smile knowing you built a part of it yourself—no mechanical feel, just good, honest work.
Need more help? Reach out to your supplier—reputable ones (like a trusted lean system supplier) often have video tutorials or customer support teams ready to assist. Happy building!