- Company Articles
- Products and Technology
- Product knowledge
- Heavy Duty Split Foot Seat Dimensions: Choosing the Right Size for Your Rack

Heavy Duty Split Foot Seat Dimensions: Choosing the Right Size for Your Rack
Related Product
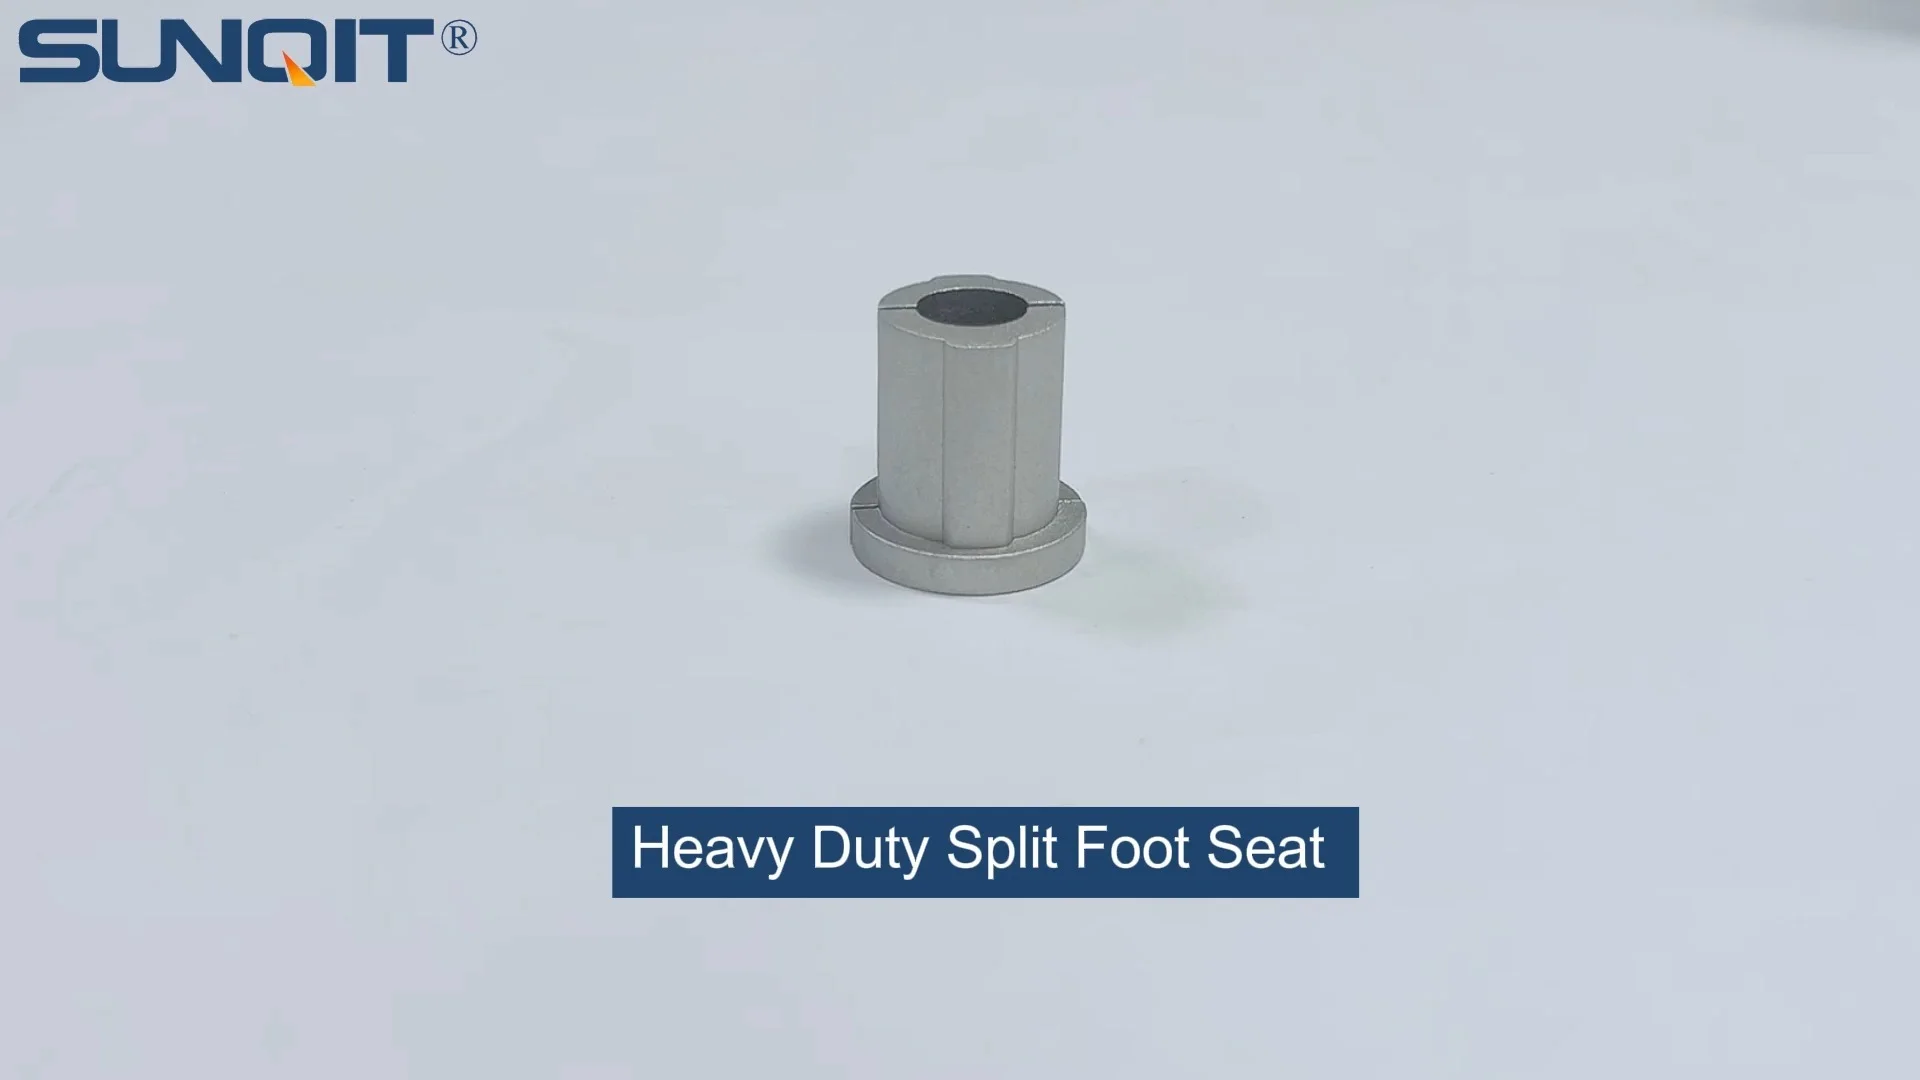
Heavy Duty Split Foot Seat
M10 aluminum heavy duty split foot deat with foot adjuster for workbench and flow rack.
Walk into any busy warehouse, manufacturing plant, or distribution center, and you'll notice one thing quickly: racks are the backbone of organization. They hold everything from raw materials to finished products, keeping operations running smoothly. But here's a detail that often gets overlooked—what's holding those racks up? Enter the heavy duty split foot seat. These unassuming components might not grab attention, but they're the unsung heroes of rack stability. Choose the wrong size, and you could be looking at wobbly structures, safety risks, or even damaged inventory. So, how do you pick the right dimensions for your needs? Let's break it down.
What Are Heavy Duty Split Foot Seats, Anyway?
Before we dive into dimensions, let's make sure we're on the same page about what a heavy duty split foot seat actually is. Think of it as the "feet" of your rack. These metal or aluminum components attach to the bottom of rack legs, creating a stable base that distributes weight evenly across the floor. Unlike basic foot pads, split foot seats are designed for—you guessed it—heavy duty use. They're thicker, more rigid, and often adjustable, making them ideal for racks that carry substantial loads, like the material rack B (3 row and 3 floor) commonly used in automotive or electronics manufacturing.
Why "split"? The term refers to their two-piece design: a fixed base that bolts to the floor and a top plate that attaches to the rack leg. This split structure allows for minor adjustments during installation, which is crucial if your floor isn't perfectly level (and let's be real, few industrial floors are). They're also built to resist wear and tear, with materials like powder-coated steel or aluminum profile to stand up to oil, moisture, and daily bumps from forklifts or pallet jacks.
Key Dimensions That Actually Matter
When shopping for heavy duty split foot seats, you'll see specs like "height," "base width," or "bolt hole spacing." But which of these numbers should you care about? Let's break down the critical dimensions and why they impact your rack's performance.
1. Base Width and Length
The base of the foot seat is the part that touches the floor, so its width and length determine how much surface area is distributing the rack's weight. A wider base means more stability—simple as that. For example, a foot seat with a 6-inch by 6-inch base will spread weight over 36 square inches, while a 4-inch by 4-inch base only covers 16 square inches. If you're using a material rack B (3 row and 3 floor) that's loaded with heavy components, skimping on base size could lead to the rack sinking into soft floors or tipping under uneven loads.
But bigger isn't always better. If your workspace is tight, a overly large base might make it hard to maneuver equipment around the rack. Measure the clearance between racks and walkways first—you don't want a foot seat that becomes a tripping hazard or blocks access to other tools.
2. Height Adjustment Range
Most heavy duty split foot seats are adjustable, which is a lifesaver for uneven floors. The height adjustment range tells you how much you can raise or lower the rack leg to level it. Typical ranges are between 1 inch and 4 inches. If your facility has a concrete floor with cracks or dips, aim for a larger range—3 inches or more. For smooth, newly poured floors, 1-2 inches might be enough.
Here's a pro tip: Always test the adjustment mechanism before buying. Some cheaper models have threads that strip easily or knobs that are hard to turn with gloves on. In a busy shop, you need adjustments to be quick and tool-free if possible.
3. Bolt Hole Spacing and Diameter
This is where compatibility comes in. The bolt holes on the foot seat's base need to line up with the holes on your rack legs, and the diameter needs to fit the bolts you're using. Most racks use standard bolt sizes (like M10 or ½-inch), but it's worth double-checking. If the holes are too small, you'll have to drill them out (which weakens the foot seat). If they're too large, the bolts will wobble, defeating the purpose of a stable base.
For example, aluminum profile racks often use T-slot designs, where bolts slide into grooves. In this case, the foot seat's bolt pattern needs to match the slot spacing on the profile. A mismatch here could mean the foot seat sits crookedly, throwing off the entire rack's balance.
4. Load Capacity Rating
This one's non-negotiable: the foot seat's load capacity must exceed the weight your rack will carry. Load capacity is usually listed per foot seat, so remember to multiply by the number of legs on your rack. A material rack B (3 row and 3 floor) typically has 4 legs, so if each foot seat is rated for 2,000 lbs, the total capacity is 8,000 lbs. But don't just go by the rack's total weight—consider dynamic loads too. If you're loading and unloading with a pallet jack, the sudden jolt of dropping a pallet can create extra force, so add a 20% buffer to your load estimate.

Factors to Consider When Choosing Dimensions
Now that you know which dimensions matter, let's talk about how to apply that knowledge. The "right" size depends on a few key factors specific to your operation. Let's walk through them.
1. Rack Type and Design
Not all racks are created equal, and their design dictates the foot seat size. A lightweight aluminum profile workbench might only need small, 4x4-inch foot seats. But a material rack B (3 row and 3 floor), which is built to hold multiple layers of heavy materials, demands sturdier support. These racks are often taller (6-8 feet) and have deeper shelves, which makes them more prone to tipping if the base isn't wide enough. For this style, aim for a base width of at least 8 inches and a load capacity of 3,000 lbs per foot seat.
Another example: mobile racks with casters. These need foot seats that can handle movement—look for models with reinforced bases and locking mechanisms to keep the rack steady when in use. Fixed racks, on the other hand, can prioritize larger, non-adjustable bases for maximum stability.
2. Floor Condition
Your floor type is a silent decision-maker here. Concrete floors are the gold standard, but even they can have imperfections. If your floor has cracks, slopes, or uneven joints, a foot seat with a wide adjustment range (3+ inches) is a must. For asphalt or gravel floors (common in outdoor storage), you'll need a larger base to prevent sinking—think 10x10 inches or more. And if you're working in a cleanroom or lab with smooth epoxy floors, avoid foot seats with sharp edges that could scratch the surface; opt for rounded bases instead.
3. Environmental Conditions
Moisture, temperature swings, and chemicals can all affect foot seat performance. In a food processing plant with frequent washdowns, stainless steel foot seats are a must to resist rust. In a warehouse with high humidity, look for powder-coated steel or aluminum profile to prevent corrosion. Extreme temperatures, like freezers or foundries, might require specialized materials—plastic or rubber bases can crack in cold, while metal can warp in heat. Always check the manufacturer's specs for temperature and chemical resistance.

Common Sizes and Their Applications
To make it easier, here's a breakdown of standard heavy duty split foot seat sizes and where they work best. We've included the material rack B (3 row and 3 floor) as a reference point, since it's a popular choice in many industries.
| Base Dimensions (W x L) | Height Adjustment Range | Load Capacity (Per Foot Seat) | Best For | Compatible Racks |
|---|---|---|---|---|
| 4" x 4" | 1"-2" | 1,500 lbs | Light-duty workbenches, small parts storage | Aluminum profile workbenches, single-shelf racks |
| 6" x 6" | 2"-3" | 2,500 lbs | Medium-duty storage, multi-shelf racks | 2-row material racks, mobile tool carts |
| 8" x 8" | 3"-4" | 4,000 lbs | Heavy-duty storage, tall racks | Material rack B (3 row and 3 floor) , industrial shelving units |
| 10" x 10" | 4"-6" | 6,000 lbs | Extra-heavy loads, uneven floors | Pallet racks, outdoor storage racks |
As you can see, the material rack B (3 row and 3 floor) falls into the 8x8-inch category. This size balances stability and maneuverability, with enough adjustment to handle typical warehouse floor issues. But if your rack is loaded with heavy items—like metal castings or machinery parts—you might want to bump up to the 10x10-inch model for added peace of mind.

How to Measure for the Perfect Fit
You've got the specs, you know your rack type—now it's time to measure. This step is crucial; even a ½-inch mistake can lead to instability. Here's a step-by-step guide:
- Measure the rack leg dimensions: Use a tape measure to find the width and depth of the rack's legs. Most legs are square or rectangular (e.g., 2"x2" or 3"x3" for aluminum profile). The foot seat's top plate should match this size to ensure full contact—if the leg is 3"x3", the top plate shouldn't be smaller than 3"x3".
- Check bolt hole spacing: On the rack leg, measure the distance between bolt holes (center to center). Do the same for the foot seat's top plate. They need to line up exactly. If the rack uses T-slot aluminum profile, measure the slot spacing (e.g., 10mm or 16mm) and ensure the foot seat's bolts fit into these slots.
- Evaluate floor unevenness: Use a level to check the floor where the rack will sit. Place the level in multiple spots and note the highest and lowest readings. The difference between them is how much adjustment you need. For example, if one corner is 1.5 inches lower than the others, a foot seat with a 2-inch adjustment range will work.
- Calculate total load: Add up the weight of the rack itself plus the heaviest items it will hold. Divide by the number of legs to get the per-foot-seat load. Add 20% for dynamic loads (like loading/unloading) and choose a foot seat with a rating above this number.
Pro tip: If you're unsure, take photos of your rack legs and floor condition to your supplier. A good lean system supplier will help you cross-reference measurements and recommend the right size—they deal with this stuff daily.
Installation Tips for Maximum Stability
Even the perfect foot seat won't perform if installed poorly. Here are a few tips to get it right:
Clean the floor first: Dirt, debris, or oil can prevent the foot seat from sitting flat. Sweep and mop the area before installation, and use a degreaser if there are oil stains.
Torque bolts properly: Over-tightening can strip threads or warp the foot seat; under-tightening leads to loosening over time. Check the manufacturer's torque specs (usually 30-40 ft-lbs for steel bolts) and use a torque wrench.
Level in both directions: Use a bubble level on the rack's top shelf to check side-to-side and front-to-back levelness. Adjust the foot seats until the bubble is centered in both directions.
Inspect regularly: Foot seats can loosen with vibration from machinery or forklift traffic. Add a monthly check to your maintenance schedule—tighten bolts as needed and replace any damaged seats immediately.
Common Mistakes to Avoid
Even seasoned warehouse managers make missteps when choosing foot seats. Here are the most common ones—and how to steer clear:
Choosing based on price alone: A $10 foot seat might seem like a deal, but if it fails, you could be replacing damaged inventory or paying for rack repairs. Invest in quality—look for suppliers that offer warranties (1-5 years is standard).
Ignoring floor condition: Installing a low-adjustment foot seat on an uneven floor is a recipe for wobble. Spend the extra time measuring floor unevenness—it'll save you headaches later.
Mixing and matching sizes: Using different foot seat sizes on the same rack throws off weight distribution. Stick to one size per rack, even if some legs "seem" to need less support.
Overlooking corrosion resistance: In damp or chemical-heavy environments, steel foot seats will rust without proper coating. Don't assume "heavy duty" means "rust-proof"—ask about materials like stainless steel or aluminum profile if corrosion is a risk.
Why It All Matters: Safety and Efficiency
At the end of the day, choosing the right heavy duty split foot seat dimensions is about more than just stability—it's about safety and efficiency. A wobbly rack can lead to spills, damaged goods, or even workplace injuries. And when racks are unstable, employees might avoid using them properly, leading to cluttered workspaces and slower operations.
Think of it this way: Your material rack B (3 row and 3 floor) is an investment in organization. The foot seats are the foundation of that investment. Skimping on size or quality undermines everything the rack is supposed to do—keep your team safe, your materials accessible, and your workflow smooth.
Final Thoughts
Heavy duty split foot seats might not be the most glamorous part of your warehouse setup, but they're critical to keeping things running. By focusing on base dimensions, adjustment range, load capacity, and your specific rack type (like the material rack B), you can choose a size that balances stability, functionality, and cost.
Remember: When in doubt, consult a trusted supplier. A good lean system supplier will have the expertise to guide you through measurements, recommend compatible sizes, and even help with installation tips. With the right foot seats in place, you can rest easy knowing your racks are built to last—no wobbles, no stress, just reliable support for your team's hard work.