- Company Articles
- Products and Technology
- Product knowledge
- Heavy Duty Split Foot Seat for Material Rack B: Compatibility Guide

Heavy Duty Split Foot Seat for Material Rack B: Compatibility Guide
Related Product
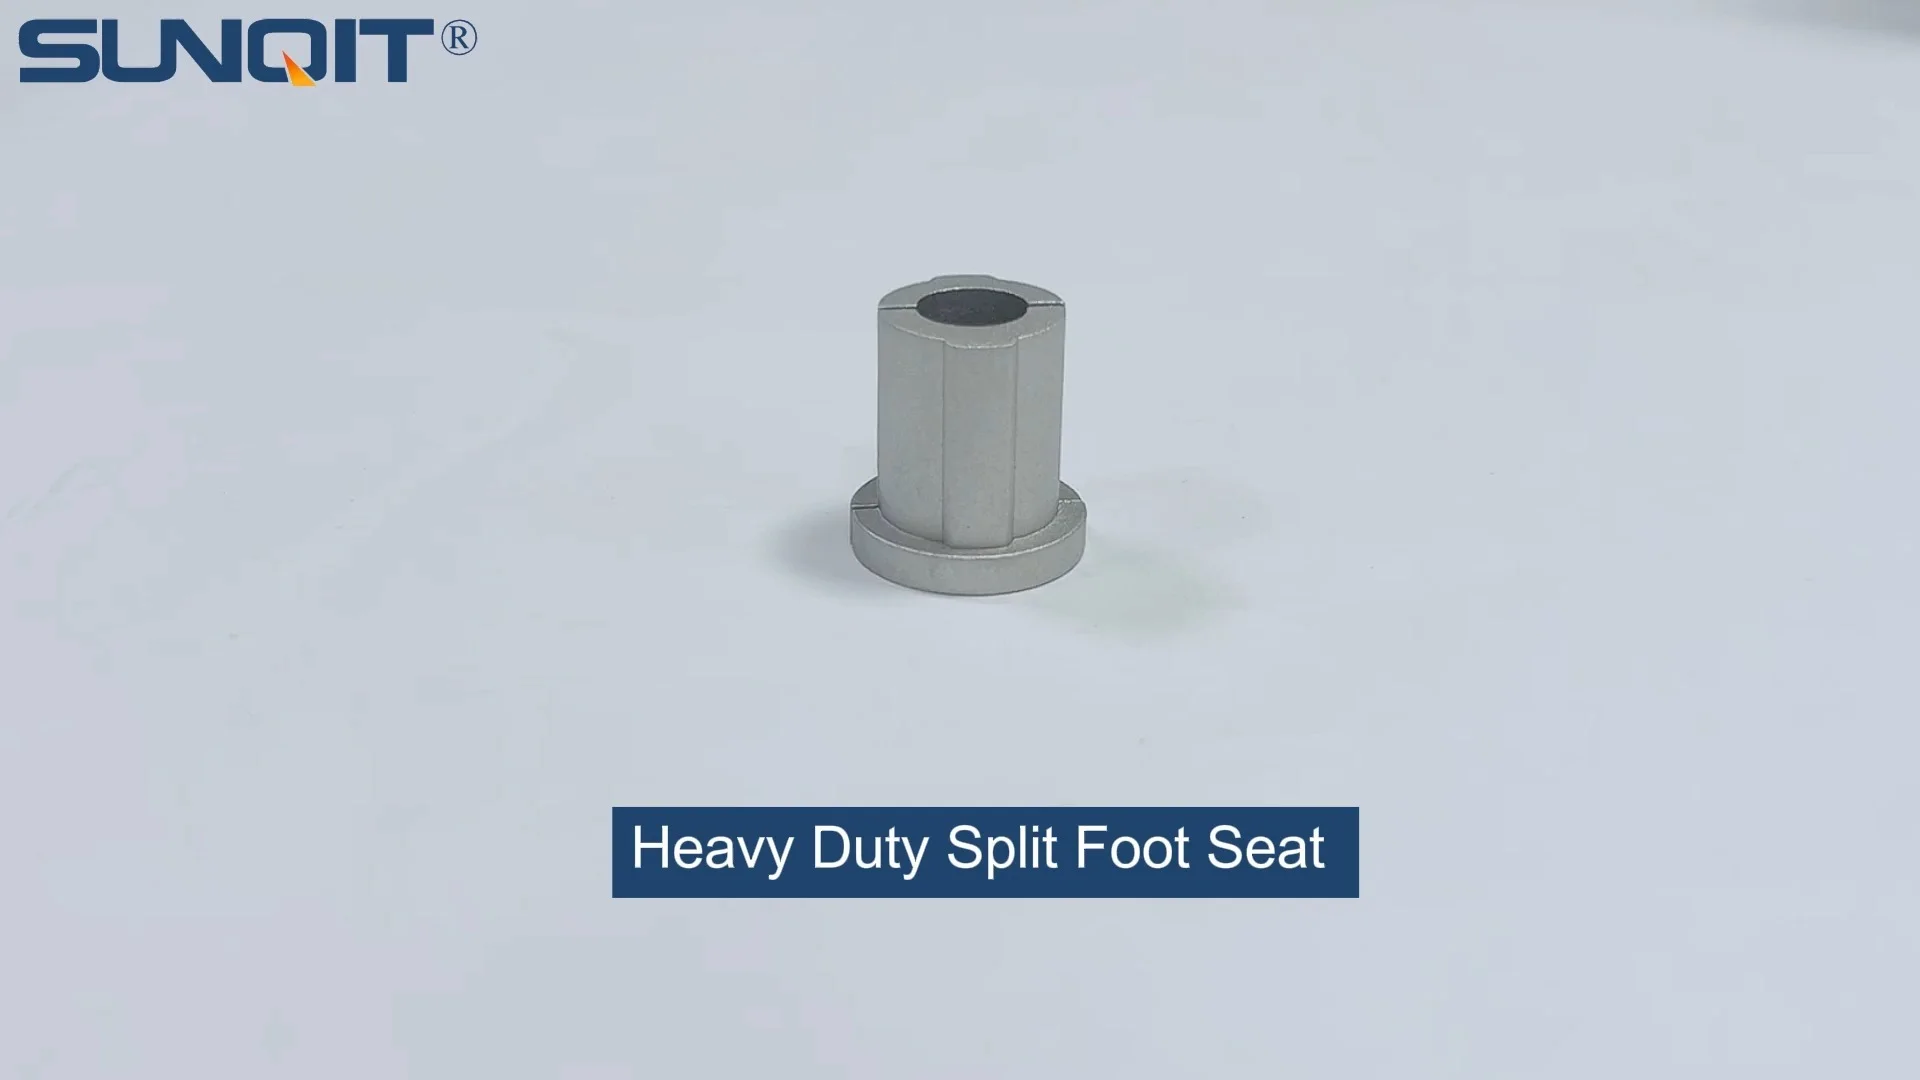
Heavy Duty Split Foot Seat
M10 aluminum heavy duty split foot deat with foot adjuster for workbench and flow rack.
Picture this: It's a busy Monday morning in your production facility. The assembly line is humming, workers are moving swiftly, and materials are being shuttled between stations. At the heart of this chaos stands your Material Rack B (3 row and 3 floor), stacked with components crucial for the day's orders. But as the team loads the third shelf, you notice something off—the rack wobbles slightly. A few hours later, a worker mentions that retrieving items from the top shelf feels unsteady. By afternoon, you're left wondering: Is this rack as stable as it needs to be? If this scenario sounds familiar, you're not alone. Material Rack B is a workhorse in warehouses and factories, but its performance hinges on one often-overlooked component: the Heavy Duty Split Foot Seat. In this guide, we'll dive into why this unassuming part is a game-changer, how to ensure it works seamlessly with your rack, and why cutting corners on compatibility could cost you more than just time.
What Exactly Is a Heavy Duty Split Foot Seat?
Let's start with the basics. A Heavy Duty Split Foot Seat isn't just a "foot" for your rack—it's the foundation that keeps everything grounded. Designed to distribute weight evenly and absorb vibrations, this component is typically made from high-grade steel or reinforced aluminum, built to withstand the daily grind of industrial environments. Unlike standard foot seats, which are often solid and rigid, the "split" design allows for adjustability. Imagine two interlocking plates that can be (fine-tuned) to fit the exact width of your rack's legs, ensuring a snug, stable connection to the floor. Think of it as the rack's "shock absorber" and "anchor" rolled into one—preventing tipping, reducing wear on the frame, and even protecting your facility's floors from indentations caused by heavy loads.
But why "heavy duty"? Material Rack B (3 row and 3 floor) isn't lightweight. With a typical load capacity of 300–500 kg per shelf, the total weight can easily exceed 1.5 tons when fully stocked. A standard foot seat might buckle under that pressure, leading to uneven weight distribution or, worse, structural failure. The Heavy Duty Split Foot Seat, however, is engineered to handle these loads without flexing. Its thick, reinforced base plate spreads the weight over a larger area, while the split mechanism ensures that even if the floor is slightly uneven (and let's be honest, few factory floors are perfectly level), the rack remains stable. It's the difference between a flimsy bookshelf and a industrial-grade storage system—and in a setting where safety and efficiency are non-negotiable, that difference matters.
Why Material Rack B Can't Afford to Skip It
Material Rack B (3 row and 3 floor) is a staple in lean manufacturing setups for a reason. Its three rows and three floors maximize vertical space, keeping materials organized and within arm's reach of assembly lines. But this design also makes it top-heavy by nature. The taller the rack, the more susceptible it is to sway—especially when workers are loading or unloading items from the upper shelves. Without a stable base, that sway can turn into wobble, and wobble can lead to disaster: items falling, workers injuring themselves, or the rack itself collapsing. Even minor instability can slow down operations—if employees hesitate to reach for the top shelf, or if materials shift and need to be rearranged, productivity takes a hit.
Then there's the issue of long-term durability. Material Rack B is built with aluminum profile frames, which are lightweight yet strong. But aluminum, while robust, can develop stress cracks over time if the rack is constantly vibrating or unevenly loaded. The Heavy Duty Split Foot Seat acts as a buffer, absorbing those vibrations and ensuring the frame bears weight evenly. This isn't just about preventing accidents today—it's about extending the lifespan of your rack. A well-supported Material Rack B can last 5–10 years; one without proper foot seats might need replacement in half that time. When you factor in the cost of replacing a rack, not to mention the downtime during installation, investing in a quality split foot seat becomes a no-brainer.

Compatibility 101: What to Look For
So, you've decided to upgrade your Material Rack B with a Heavy Duty Split Foot Seat. Now comes the tricky part: ensuring compatibility. Not all foot seats are created equal, and using the wrong one can be worse than using none at all. To avoid headaches, let's break down the key factors to check before making a purchase.
| Material Rack B Specification | Heavy Duty Split Foot Seat Requirement | Compatible Aluminum Profile | Complementary Caster Accessories (If Applicable) |
|---|---|---|---|
| Leg Width: 40mm | Split Plate Opening: 40–42mm (adjustable) | 4040 EU Standard Aluminum Profile A | None (stationary setup) |
| Leg Width: 30mm | Split Plate Opening: 30–32mm (adjustable) | 3030 National Standard Aluminum Profile A | Brake Caster Wheel with 40mm Mounting Plate |
| Load Capacity: >500kg per shelf | Base Plate Thickness: ≥8mm Steel | 4080 EU Standard Aluminum Profile B (Reinforced) | Heavy-Duty Caster Accessories (Locking Mechanism) |
| Floor Type: Uneven Concrete | Adjustable Height: 10–20mm | 2040 National Standard Aluminum Profile | Shock-Absorbing Caster Pads |
1. Leg Width Match: Material Rack B's legs are typically made from aluminum profile, with common widths of 30mm or 40mm. The split foot seat's opening must align with this width—too narrow, and it won't fit; too wide, and it won't grip securely. Most quality foot seats have an adjustable split plate (hence the "split" in the name) that can expand or contract by 2–3mm, but always check the manufacturer's specs. For example, a 40mm leg requires a foot seat with a minimum opening of 40mm and a maximum of 42mm to ensure a tight fit.
2. Load Rating: Don't just guess the weight. Calculate the total load your rack will carry (shelf capacity × 3 shelves) and ensure the foot seat's load rating exceeds that number. A foot seat rated for 2 tons is overkill for a 1-ton rack, but it's better to be safe than sorry. Look for certifications like ISO 9001 or CE marks—these indicate the manufacturer has tested the product to meet industry standards.
3. Floor Compatibility: Is your facility's floor smooth concrete, or does it have cracks and uneven patches? If the latter, opt for a foot seat with adjustable height (via a threaded bolt or leveling pad). This allows you to (fine-tune) each foot to compensate for dips, ensuring the rack stands perfectly level. For polished floors, consider a rubberized base to prevent slipping—especially if the rack is near high-traffic areas.
4. Aluminum Profile Integration: Material Rack B's frame is built using aluminum profile, which means the foot seat must attach seamlessly to these profiles. Look for models with pre-drilled holes that align with the T-slots on your 4040 or 3030 aluminum profile. This ensures a secure connection without the need for custom drilling, which can weaken the frame.

Step-by-Step: Installing Your Heavy Duty Split Foot Seat
Installing a Heavy Duty Split Foot Seat isn't rocket science, but it does require attention to detail. Follow these steps to ensure a stable, long-lasting setup:
Step 1: Prep the Area Clear the space around Material Rack B. Unload all materials from the rack to reduce weight—you don't want to risk it shifting during installation. Use a level to check the floor's evenness; mark any high or low spots with chalk. This will help you adjust the foot seats later.
Step 2: Align the Split Plates Slide the split foot seat over the rack's leg. The split plates should grip the leg snugly—if there's a gap, use the adjustment screws (usually located on the side of the foot seat) to tighten them. Avoid over-tightening, as this can warp the plates or damage the aluminum profile.
Step 3: Secure to the Floor (If Needed) For stationary racks, drill pilot holes through the foot seat's base plate and into the floor. Use concrete anchors (included with most foot seats) to lock it in place. If the rack needs to be mobile (e.g., for occasional repositioning), skip this step and instead pair the foot seat with caster accessories like brake caster wheels—just ensure the foot seat has a mounting plate compatible with the caster's stem.
Step 4: Level the Rack Once all four foot seats are installed, place a level on the top shelf of Material Rack B. If it's uneven, adjust the height of the foot seats using the leveling bolts. Tighten the bolts once the rack is level to prevent future shifting.
Step 5: Test for Stability Gently push the rack from all sides. It should not wobble or shift. Load a few heavy items onto the middle shelf and test again—this mimics real-world conditions. If everything holds, you're good to go!

The Hidden Benefits: Beyond Just Stability
Stability is the obvious benefit, but the Heavy Duty Split Foot Seat offers perks that ripple through your entire operation. Let's start with safety. A stable rack reduces the risk of workplace accidents, which means fewer injuries, lower insurance premiums, and compliance with OSHA standards. Workers will feel more confident accessing materials, which speeds up retrieval times—no more tiptoeing around wobbly shelves.
Then there's floor protection. Without a proper foot seat, the weight of Material Rack B can leave indentations in concrete floors, especially over time. The split foot seat's wide base spreads the load, preventing damage and saving you from costly floor repairs. For facilities with polished or epoxy-coated floors, this is a game-changer—no more unsightly marks or uneven surfaces.
Durability is another win. By reducing vibration and uneven stress, the foot seat extends the life of your Material Rack B's aluminum profile frame. Aluminum is resistant to rust, but constant flexing can weaken its structural integrity. With a stable base, you'll get 5–7 more years out of your rack, which translates to significant cost savings. And let's not forget adaptability: if you ever need to reconfigure your facility, adjustable foot seats make it easy to move and re-level the rack without replacing the entire unit.
Complementary Components: Aluminum Profile and Caster Accessories
The Heavy Duty Split Foot Seat doesn't work alone—it's part of a ecosystem that includes your Material Rack B, aluminum profile frame, and (if needed) caster accessories. Let's talk about aluminum profile first. Material Rack B is built using 4040 or 3030 aluminum profile, which is lightweight, corrosion-resistant, and easy to assemble. The foot seat's design must align with the profile's T-slots to ensure a secure fit. For example, if your rack uses 4040 EU Standard Aluminum Profile A, look for a foot seat with pre-drilled holes that match the profile's 8mm slot spacing. This ensures you can use standard T-slot bolts to lock the foot seat in place, no custom modifications required.
Now, caster accessories. While Material Rack B is often stationary, some facilities need the flexibility to move it (e.g., during deep cleaning or layout changes). In these cases, caster wheels can be added—but only if paired with the right foot seat. Look for foot seats with a mounting plate designed to accept caster stems (typically 16mm or 20mm in diameter). Brake caster accessories are a must here: they allow you to lock the wheels when the rack is in use, preventing unintended movement. Just remember: adding casters increases the rack's height, so double-check that the foot seat's base plate is still large enough to distribute weight effectively.
Choosing a Lean System Supplier You Can Trust
You've done your homework: you know what specs to look for, how to install the foot seat, and which accessories to pair it with. Now, the final step: finding a reliable lean system supplier. Why does this matter? Because even the best foot seat design is only as good as the materials and manufacturing behind it. A reputable supplier will not only provide a high-quality product but also offer guidance on compatibility, installation, and after-sales support.
So, what should you ask a potential supplier? Start with certifications: Do their Heavy Duty Split Foot Seats meet ISO 9001 standards? Can they provide test reports for load capacity and durability? Next, inquire about customization: if your Material Rack B has non-standard leg widths, can they adjust the split plate opening? A good supplier will work with you to find a solution, rather than pushing a one-size-fits-all product.
Don't forget to check reviews and references. Talk to other facilities that use their products—were they happy with the foot seat's performance? Did the supplier offer timely support when issues arose? Finally, consider lead times and pricing. While it's tempting to go with the cheapest option, remember: a $50 foot seat that fails in a year will cost more than a $100 one that lasts a decade. Invest in quality, and you'll save in the long run.
Troubleshooting: Common Issues and Fixes
Even with careful installation, issues can pop up. Here's how to troubleshoot the most common problems:
Problem: Rack Still Wobbles After Installation
Fix:
Check if the foot seats are level. Use a bubble level on each foot—if one is higher than the others, adjust the leveling bolt. Also, ensure the split plates are tight against the rack's legs; loose plates can cause shifting. If the floor is uneven, add shims under the foot seat (use metal shims for durability).
Problem: Foot Seat Base Plate Cracks
Fix:
This is usually a sign of overloading. Check the foot seat's load rating against your rack's total weight. If you're exceeding the limit, upgrade to a higher-capacity model. Avoid using cracked foot seats—they're a safety hazard.
Problem: Aluminum Profile T-Slots Strip When Attaching Foot Seat
Fix:
Use the correct bolt size (typically M8 for 4040 aluminum profile). Avoid over-tightening—hand-tighten until snug, then add a quarter-turn with a wrench. If the T-slot is already stripped, use a helicoil insert to repair the threads.
Final Thoughts: Stability = Success
At the end of the day, the Heavy Duty Split Foot Seat is more than just a component—it's an investment in your facility's efficiency, safety, and bottom line. Material Rack B (3 row and 3 floor) is a critical asset, and ensuring it stands strong starts with choosing the right foot seat. By prioritizing compatibility, quality materials, and a reputable lean system supplier, you'll transform a wobbly workhorse into a reliable cornerstone of your operation.
So, the next time you walk past your Material Rack B, take a moment to check its feet. Are they up to the task? If not, it's time to upgrade. Your team, your materials, and your peace of mind will thank you.