- Company Articles
- Products and Technology
- Installation And Maintenance
- Heavy Duty Split Foot Seat Installation Mistakes to Avoid

Heavy Duty Split Foot Seat Installation Mistakes to Avoid
Related Product
Heavy Duty Split Foot Seat
M10 aluminum heavy duty split foot deat with foot adjuster for workbench and flow rack.
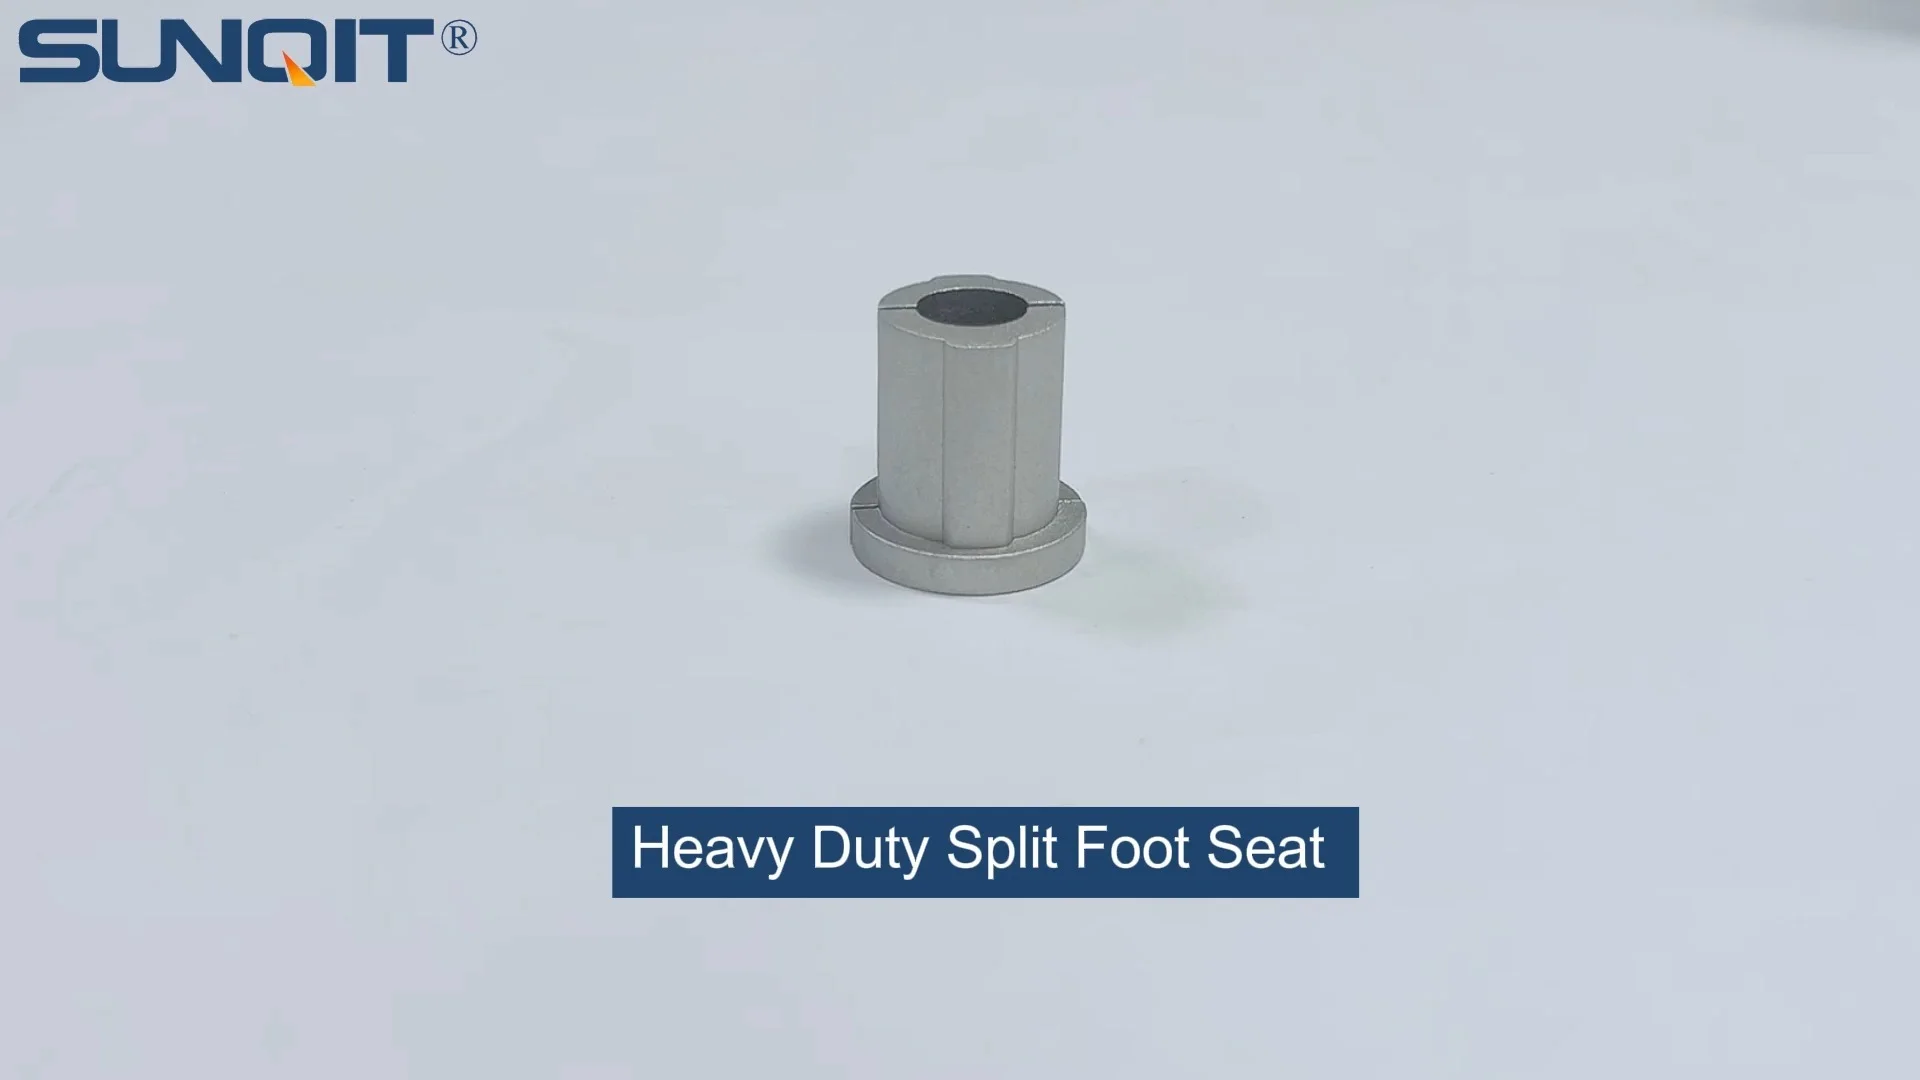
When it comes to setting up industrial workspaces, even the smallest components play a critical role in ensuring safety, efficiency, and longevity. Heavy duty split foot seats—often used to stabilize workbenches, material racks, and lean pipe structures—are no exception. These unassuming parts bear the weight of equipment, tools, and materials, making their proper installation non-negotiable. Yet, time and again, teams overlook key steps, leading to wobbly workstations, damaged equipment, or even workplace accidents. In this guide, we'll walk through the most common installation mistakes, why they happen, and how to steer clear of them—keeping your workspace sturdy, reliable, and ready for action.
Mistake 1: Choosing the Wrong Size or Load Rating
One of the first missteps happens before installation even begins: selecting a heavy duty split foot seat that's ill-suited for the job. It's easy to assume "heavy duty" is a one-size-fits-all label, but the reality is these components come with specific load ratings and dimensions. Installing a foot seat that can't handle the weight of your lean pipe workbench or the tools placed on it is a recipe for disaster.
Consider this scenario: A manufacturing team sets up a new aluminum profile workbench to hold precision testing equipment. They opt for a budget-friendly split foot seat rated for 200kg, assuming it's "strong enough." But the workbench, tools and daily materials, weighs closer to 350kg. Within weeks, the foot seats start to crack at the base, causing the workbench to tilt. Not only does this disrupt workflow, but it also risks damaging the expensive equipment perched on top.
Why it happens: Rushing to purchase components without checking specs, or assuming all foot seats are interchangeable. Many teams prioritize cost over compatibility, picking the cheapest option without verifying load capacity.
How to avoid it: Start by calculating the total weight your setup will bear. This includes the workbench itself (especially if it's an aluminum honeycomb panel or solid wood top), tools, materials, and even occasional heavy items. Check the manufacturer's specs for both the foot seat and your workbench—look for terms like "static load rating" (weight under stationary conditions) and "dynamic load rating" (weight during movement, if applicable). When in doubt, size up: a foot seat with a higher load rating than needed adds a safety buffer.
Mistake 2: Skipping Surface Preparation
You've picked the right foot seat—now it's time to install it. But if you bolt it down on a dirty, uneven, or damaged surface, all that careful planning goes out the window. Heavy duty split foot seats rely on stable contact with the floor to distribute weight evenly; any gaps or debris under the base create weak points.
Take a workshop with a concrete floor that's seen better days: cracks, oil stains, and small debris like metal shavings are par for the course. A team installing a lean pipe workbench here doesn't bother cleaning the area first. They place the foot seats directly over a small gravel chip, which pushes one corner of the workbench up by a few millimeters. At first, it's barely noticeable. But over time, the uneven pressure causes the foot seat to flex, loosening the bolts and making the workbench rock whenever someone leans on it. Tools slide off, and precision tasks become impossible.
Why it happens: Time constraints or the belief that "close enough" works. Many installers assume the foot seat's base will "even things out," but even a tiny obstruction can throw off stability.
How to avoid it: Treat surface prep like a critical step, not an afterthought. Start by thoroughly cleaning the area: sweep away debris, wipe up oil or moisture, and use a scraper to remove stubborn grime. Next, check for level using a spirit level or laser level. If the floor is uneven, address it before installing the foot seats. For minor dips, you might use shims (but ensure they're made of durable material like metal, not wood, which can compress over time). For larger issues, consider adjustable leveling feet as a complement—though remember, split foot seats are designed for stability, not height adjustment, so use leveling feet only when necessary.

Mistake 3: Over-Tightening or Under-Tightening Fasteners
The bolts securing your split foot seats might seem like a small detail, but their tightness directly impacts stability. Too loose, and the foot seat shifts; too tight, and you risk damaging the threads, warping the foot seat, or even cracking the aluminum profile of your workbench.
Consider a technician installing foot seats on an aluminum profile workbench. Eager to "make sure it's secure," they use a power drill with a standard bit to tighten the bolts, cranking until the drill stalls. What they don't realize is that aluminum profiles are softer than steel—over-tightening strips the threads in the profile, leaving the bolt loose and the foot seat wobbly. To fix it, the team has to replace the entire section of aluminum profile, costing time and money.
On the flip side, under-tightening is just as problematic. A team using a regular wrench (instead of a torque wrench) might tighten bolts "until they feel snug," but without a precise torque setting, the bolts loosen over time from vibrations. Before long, the workbench shifts, and the foot seats scrape against the floor, wearing down both the seats and the surface.
Why it happens: Lack of proper tools or training. Many installers rely on guesswork ("tight enough is good enough") instead of following torque specs.
How to avoid it: Always use a torque wrench to tighten bolts to the manufacturer's recommended spec—this information is usually in the foot seat's installation manual or on the product packaging. If you don't have a torque wrench, invest in one; it's a small cost compared to replacing damaged components. For aluminum profiles, be extra cautious: aluminum threads are more prone to stripping, so never exceed the recommended torque. After installation, check the bolts periodically (especially in high-vibration environments) and retighten if needed.

Mistake 4: Ignoring Weight Distribution
Even if you've chosen the right foot seat, prepped the surface, and tightened bolts correctly, poor weight distribution can undo all that effort. Split foot seats work best when they're positioned to evenly spread the load across the workbench or rack—place them too close together, too far apart, or off-center, and you create stress points.
Imagine a long lean pipe workbench used for assembly line tasks. The team installs split foot seats only at the two ends, assuming the workbench's frame will "hold the middle up." But over time, the middle of the workbench sags under the weight of tools and materials, bowing the surface. Workers notice tools rolling toward the center, and precision tasks like soldering or measuring become frustratingly difficult. The sagging also puts extra strain on the end foot seats, which now bear more weight than intended, leading to premature wear.
Why it happens: Assuming "more is better" (adding too many foot seats) or "less is easier" (skimping on placement). Many teams follow a "gut feeling" about where to place foot seats instead of calculating optimal spacing.
How to avoid it: For most workbenches, the general rule is to place foot seats at the corners and every 60-80cm along the length (adjust based on the workbench's weight and material). For example, a 2-meter-long workbench should have foot seats at both ends and one in the middle. For L-shaped or custom workbenches, use a weight distribution calculator or consult the manufacturer's guidelines. If the workbench will hold heavier items in specific areas (e.g., a tool chest on one side), add extra foot seats near those zones to balance the load. When in doubt, sketch a quick diagram of the workbench, mark the heaviest areas, and place foot seats to "support" those zones.

Mistake 5: Neglecting Corrosion Protection
Heavy duty split foot seats are built to last, but they're not invincible—especially in harsh environments. Moisture, chemicals, or even high humidity can corrode unprotected metal, weakening the foot seats and compromising their ability to support weight.
A food processing plant installs new workbenches with standard steel split foot seats. The plant's daily cleaning routine involves hosing down floors with sanitizing solutions, and the foot seats are regularly exposed to water and chemicals. Within six months, rust starts to form on the foot seats, eating away at the metal. What began as small spots turns into large patches, weakening the base of the foot seats. Eventually, one foot seat snaps under the workbench's weight, causing the entire setup to collapse and contaminate nearby food products.
Why it happens: Assuming "all metal is the same" or underestimating environmental factors. Many teams don't consider the workspace's conditions—like humidity, exposure to chemicals, or temperature fluctuations—when choosing foot seats.
How to avoid it: Match the foot seat's material to your environment. For dry, indoor spaces, standard steel might suffice, but for humid, wet, or chemical-heavy areas, opt for stainless steel or coated options (e.g., zinc-plated or powder-coated foot seats). If corrosion is a concern, apply a rust-resistant spray or paint to the foot seats after installation (but ensure it doesn't interfere with the bolts or contact points). Regular maintenance also helps: wipe down foot seats periodically to remove moisture or chemicals, and inspect for early signs of rust (discoloration, pitting) to address issues before they worsen.
Mistake 6: Skipping Post-Installation Testing
You've installed the foot seats, double-checked the bolts, and cleaned up the workspace—done, right? Not quite. Skipping post-installation testing is a common mistake that leaves hidden issues unaddressed until they become major problems.
A warehouse team sets up a row of lean pipe workbenches with split foot seats. They visually inspect the setup, give the workbench a quick shake, and call it a day. But they don't test with actual loads: placing heavy boxes on the workbench, having workers lean on it, or simulating daily use. A week later, during peak hours, a worker places a 50kg box on the corner of a workbench. The foot seat, which was slightly loose (but not noticed during the quick shake), shifts, causing the box to slide off and damage inventory. An investigation reveals the bolt had loosened due to vibration from nearby machinery—a problem that would have been caught with proper testing.
Why it happens: Time pressure or overconfidence in the installation. Many teams assume "if it looks straight, it's fine" and skip testing to move on to the next task.
How to avoid it: Treat testing as the final step in installation. Start with a visual inspection: check that all foot seats are level, bolts are tight, and there are no gaps between the foot seat and the floor. Next, simulate real-world use: place weighted objects (matching the expected load) on different areas of the workbench, lean on the corners, and even have a few people stand on the workbench (if safe) to test weight distribution. Finally, monitor the setup over the first week: check bolts for tightness, look for signs of shifting (scuff marks on the floor, wobbling), and address any issues immediately. This extra hour of testing can save weeks of downtime later.
Quick Reference: Mistakes vs. Solutions
| Mistake | Consequence | Solution |
|---|---|---|
| Wrong size/load rating | Foot seat cracks, workbench collapse | Calculate total load; match foot seat rating to needs |
| Poor surface prep | Rocking workbench, uneven weight distribution | Clean surface; check level; use shims for minor dips |
| Incorrect bolt tightness | Loose foot seats or stripped threads | Use torque wrench; follow manufacturer specs |
| Poor weight distribution | Sagging workbench, strained foot seats | Place foot seats at corners and every 60-80cm; add near heavy zones |
| Neglecting corrosion protection | Rust, weakened structure | Choose stainless steel/coated options; regular maintenance |
| Skipping post-installation testing | Hidden looseness or instability | Test with loads, monitor over first week |
Final Thoughts: Stability Starts with the Basics
Heavy duty split foot seats might not be the most glamorous part of your workspace, but they're the foundation of a safe, efficient environment. By avoiding these common mistakes—choosing the right size, prepping the surface, tightening bolts correctly, distributing weight, protecting against corrosion, and testing thoroughly—you ensure your lean pipe workbench, material rack, or assembly line stays sturdy for years to come. Remember, every step in installation matters: cutting corners now leads to costly repairs, downtime, and safety risks later. Invest the time upfront, and your workspace will repay you with reliability and peace of mind.