- Company Articles
- Products and Technology
- Installation And Maintenance
- Heavy Duty Split Foot Seat Maintenance Schedule for Optimal Performance

Heavy Duty Split Foot Seat Maintenance Schedule for Optimal Performance
Related Product
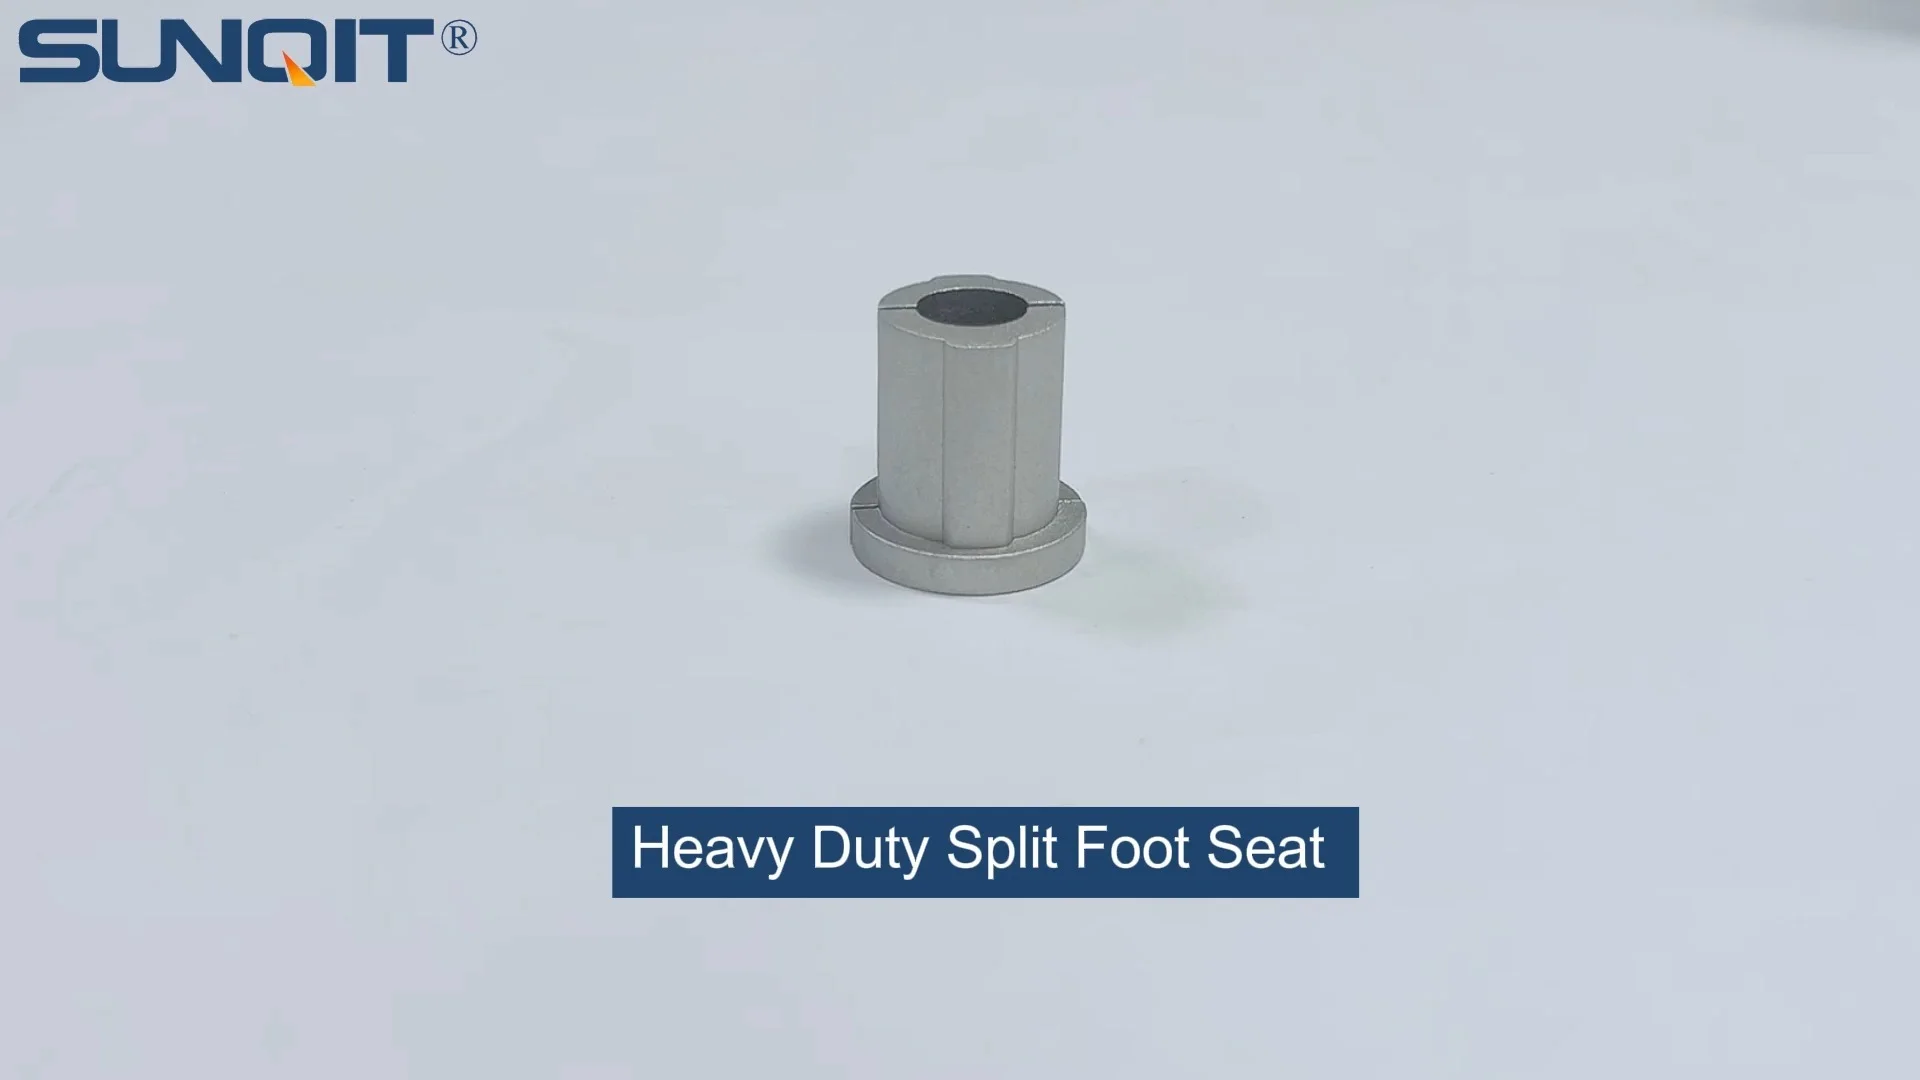
Heavy Duty Split Foot Seat
M10 aluminum heavy duty split foot deat with foot adjuster for workbench and flow rack.
Walk into any busy workshop, factory floor, or garage, and you'll notice one thing that ties everything together: the workbench. It's where ideas take shape, tools find their home, and projects move from plans to reality. But what keeps that workbench steady, day in and day out, as you hammer, drill, and assemble? Often, it's the unsung hero hiding beneath— the Heavy Duty Split Foot Seat. This unassuming component might not get the same attention as shiny power tools or sleek aluminum profiles, but it's the backbone of stability, ensuring your work surface stays level, secure, and ready for action.
Think about it: a wobbly workbench isn't just annoying. It can throw off measurements, make precision tasks nearly impossible, and even put you at risk of accidents. A loose or damaged foot seat might start as a tiny rattle but quickly escalate into a safety hazard. That's why keeping your Heavy Duty Split Foot Seat in top shape isn't just "maintenance"—it's an investment in your workspace's efficiency, your team's safety, and the longevity of your equipment. In this guide, we'll break down exactly how to care for this critical part, with a simple, actionable maintenance schedule that even if you're not a seasoned mechanic, you can follow with confidence.
Why Bother with Maintenance? The Hidden Costs of Neglect
Before we dive into the "how," let's talk about the "why." You might be thinking, "If it's not broken, why fix it?" But when it comes to Heavy Duty Split Foot Seats, small issues rarely stay small. Here's what you stand to gain by staying on top of care:
Safety First: A workbench that shifts or tilts unexpectedly is a recipe for disaster. Tools could slip, materials might fall, and worst-case scenario, someone could lose balance. The foot seat's job is to anchor the bench to the floor—if it fails, the whole setup becomes unstable. Regular checks catch loose bolts or cracks before they turn into accidents.
Longevity That Saves Money: Heavy Duty Split Foot Seats are built to last, but they're not indestructible. Dust, moisture, and daily wear can take a toll. A little cleaning and tightening now means you won't be shelling out for a replacement six months down the line. Plus, when your foot seats hold up, your entire workbench (and all the tools on it) stays protected from unnecessary stress.
Precision You Can Trust: Whether you're assembling electronics, building furniture, or working on machinery, accuracy matters. A level workbench is non-negotiable. A worn or misaligned foot seat can throw your surface off by even a few millimeters, leading to mistakes that cost time and materials to fix. Maintenance keeps your workspace consistent, so your work stays precise.
Getting to Know Your Heavy Duty Split Foot Seat
Before we jump into the schedule, let's make sure we're all on the same page about what a Heavy Duty Split Foot Seat actually is. At its core, it's a sturdy, often metal or reinforced plastic component that attaches to the bottom of your workbench legs. Its "split" design allows for some adjustability—think of it like a pair of sturdy shoes for your bench, with two prongs that distribute weight evenly and grip the floor. Many models also integrate adjustable leveling feet, small knobs or screws that let you tweak height to compensate for uneven floors. Some might even work alongside caster accessories, though in most cases, foot seats are for stationary setups, while casters are for mobility.
The key parts to watch? The base plate (the part that touches the floor), the mounting bolts that secure it to the bench leg, the pivot points (if adjustable), and any rubber or plastic padding that prevents slipping. Over time, these parts can loosen, wear down, or corrode—so knowing what to look for is half the battle.

Your Go-To Maintenance Schedule
Maintenance doesn't have to be complicated. We've broken it down into weekly, monthly, quarterly, and annual tasks, so you can spread the work out and never feel overwhelmed. Stick to this routine, and your Heavy Duty Split Foot Seat will keep your workbench steady for years to come.
| Frequency | Maintenance Action | Tools You'll Need | Pro Tips |
|---|---|---|---|
| Weekly | Visual Inspection & Quick Clean | Flashlight, microfiber cloth, gloves (optional) | Check for cracks, rust, or loose bolts. Wipe away dust and debris—even small particles can scratch the base plate over time. |
| Weekly | Test Stability | Your hands (gentle pressure) | Push gently on different corners of the workbench. If it wobbles, the foot seat might need adjustment or tightening. |
| Monthly | Tighten Bolts & Fasteners | Adjustable wrench or socket set, torque wrench (optional) | Don't overtighten—stripping threads is worse than a loose bolt! Aim for "snug but not strained." |
| Monthly | Check Adjustable Leveling Feet | Flathead screwdriver or hex key (depending on design) | Twist feet to ensure they're making full contact with the floor. If the floor is uneven, adjust to level the bench. |
| Quarterly | Deep Clean & Rust Check | Mild detergent, soft brush, rag, rust remover (if needed) | Scrub away grease or grime with soapy water. For rust spots, use a wire brush gently—don't scratch the metal. |
| Quarterly | Lubricate Pivot Points (if adjustable) | Silicone spray or lithium grease, rag | Apply a small amount to moving parts—wipe off excess to avoid attracting dust. |
| Annual | replace Worn Parts | Replacement bolts, new rubber pads (if applicable), wrench | Check with your supplier for exact replacement parts—generic parts might not fit as snugly. |
| Annual | Full System Check | Level (tool), tape measure | Use a level to confirm the workbench is flat. Measure height at all corners to spot unevenness. |

Weekly Tasks: The "Quick Check" Routine
Weekly maintenance is all about catching small issues before they grow. It takes 5 minutes tops, and you can do it while you're tidying up your workbench at the end of the day. Start with a visual inspection: Grab a flashlight (shadows can hide cracks!) and kneel down to look at the foot seat from all angles. Check the base plate for dents, rust spots, or cracks—pay extra attention around the bolt holes, where stress tends to. Next, run a gloved hand over the mounting bolts—if any wiggle when you touch them, they're loose and need tightening (we'll cover that in the monthly tasks).
Then, give it a quick clean. Dust and debris might seem harmless, but over time, they can act like sandpaper, wearing down the base plate or trapping moisture (which leads to rust). A dry microfiber cloth works for most days, but if there's grease or oil (common in garages or machine shops), a damp cloth with a drop of mild dish soap will do the trick. Just dry it thoroughly afterward—water and metal don't mix!
Finally, test stability. Stand at the corner of the workbench and push gently sideways. A steady bench shouldn't move more than a millimeter or two. If it rocks, or if you hear a "creak" from the foot seat area, make a note—you'll dig deeper during monthly maintenance.

Monthly Tasks: Tightening Up and Tuning In
Monthly tasks are about prevention—stopping small problems (like loose bolts) from becoming big ones (like a foot seat detaching mid-project). Start with tightening the mounting bolts. Over time, vibrations from drilling, sawing, or even just daily use can loosen these fasteners. Grab an adjustable wrench or socket set (match the size to the bolt head!) and give each bolt a gentle turn clockwise. The goal is "snug"—if you have to strain, you're overdoing it. Stripped threads are a hassle to fix, so better to stop when the bolt feels secure but not rigid.
Next, check the adjustable leveling feet (if your foot seat has them). These little knobs or screws are lifesavers for uneven floors, but they can also work themselves loose. Use a flathead screwdriver or hex key to twist them—you want the foot to sit firmly on the floor, with no gaps. If your workbench still wobbles after adjusting, try placing a level on the surface to see which corner is low. A quick tweak here can make a world of difference in how steady your workspace feels.
While you're under there, take a second to inspect the rubber or plastic padding on the base plate (if present). This padding prevents slipping and protects floors from scratches, but it can wear thin over time. If you notice cracks, tears, or smooth spots (where the grip is gone), it's time to replace it. Most hardware stores sell adhesive-backed rubber pads—just peel off the old one, clean the base plate, and stick on the new. Simple, cheap, and effective.
Quarterly Tasks: Deep Dive for Longevity
Every three months, it's time to give your Heavy Duty Split Foot Seat a little extra love with deep cleaning and targeted checks. Start by clearing off the workbench—you'll need full access to the feet. Then, mix a bowl of warm water with a squirt of mild dish soap (avoid harsh chemicals like bleach, which can corrode metal). Dip a soft brush (an old toothbrush works great for crevices) into the soapy water and scrub the foot seat, paying attention to bolt holes and corners where dirt likes to hide. Rinse with a damp rag and dry thoroughly—moisture is the enemy of metal, so don't skip this step!
Next, check for rust. Even if your workspace is dry, condensation or spills can lead to small rust spots. If you see any, grab a wire brush (the softer bristle kind—you don't want to scratch the metal) and gently buff the area. For stubborn spots, a dab of rust remover (like WD-40 Specialist Rust Remover) can help. Once the rust is gone, wipe the area with a dry cloth and apply a thin coat of clear nail polish or rust-inhibiting spray to protect it.
If your foot seat has moving parts—like pivot points for adjustability—now's the time to lubricate. A little silicone spray or lithium grease will keep these parts moving smoothly and prevent them from seizing up. Apply a small amount to the pivot, then work the foot seat back and forth a few times to distribute the lubricant. Wipe off any excess with a rag—grease attracts dust, which can gum up the works over time.
Annual Tasks: Big-Picture Checks
Once a year, take a step back and do a full system check. This is about making sure your Heavy Duty Split Foot Seat is still compatible with your workbench, your workspace, and your needs. Start by removing the foot seat entirely (if possible)—this gives you a chance to inspect the mounting area on the bench leg for cracks or wear. If the leg itself is damaged, the foot seat can only do so much—you might need to reinforce or replace the leg first.
Next, check the foot seat's overall condition. Are there deep cracks in the metal? Is the base plate bent or warped? If so, it's time for a replacement. Most suppliers offer Heavy Duty Split Foot Seats at reasonable prices, and swapping one out is easier than you think—just unbolt the old one, line up the new one with the holes, and reattach the bolts. It's a small investment to avoid a catastrophic failure later.
Finally, think about your workspace. Has the floor changed? Maybe you've added a rug, or the concrete has settled, creating new uneven spots. Adjust the leveling feet accordingly. Or maybe your workflow has shifted—if you're now using heavier tools, does the foot seat have the load capacity to match? Check the manufacturer's specs (usually printed on the foot seat or in the workbench manual) to ensure it can handle your current needs. If not, upgrading to a heavier-duty model might be worth considering.
Troubleshooting: Fixing Common Issues Fast
Even with regular maintenance, things can go wrong. Here's how to tackle the most common Heavy Duty Split Foot Seat problems:
Problem: Workbench wobbles, even after tightening bolts.
Solution:
Check if the floor is uneven (use a level!). If so, adjust the leveling feet. If the feet are already maxed out, try placing a shim (a small piece of wood or metal) under the foot seat—just make sure it's non-slip. If the wobble is from the foot seat itself (e.g., a bent base plate), replace it.
Problem: Bolt heads are stripped, so you can't tighten them.
Solution:
Use a rubber band! Place a wide rubber band over the stripped bolt head, then press the wrench into it—this adds grip. If that doesn't work, try a bolt extractor tool (available at auto parts stores). Once the old bolt is out, replace it with a new one of the same size and thread type.
Problem: Foot seat is stuck (won't adjust or pivot).
Solution:
Rust or debris might be jamming the mechanism. Spray with a penetrating oil (like WD-40), let it sit for 10 minutes, then gently work the foot seat back and forth. If it still sticks, disassemble (if possible), clean the parts, and relubricate.
Problem: Base plate is cracked.
Solution:
Do NOT ignore this! A cracked foot seat is a safety risk. Stop using the workbench until you can replace it. Most suppliers ship replacement foot seats quickly, so you won't be down for long.
Wrapping Up: Small Effort, Big Rewards
Caring for your Heavy Duty Split Foot Seat might not be the most glamorous task in the workshop, but it's one of the most impactful. A few minutes each week, a little elbow grease each month, and a deep clean each quarter—these small steps add up to a workspace that's safer, more efficient, and built to last. Remember: your workbench is only as strong as its weakest link, and the foot seat is often that link. By keeping it in top shape, you're not just maintaining a part—you're protecting your projects, your team, and the heart of your workspace.
So next time you're tidying up the workbench, take a second to kneel down and say "thanks" to that Heavy Duty Split Foot Seat. Then, grab a cloth, check those bolts, and give it the care it deserves. Your future self (and your steady, reliable workbench) will thank you.