- Company Articles
- Products and Technology
- Product knowledge
- Heavy Duty Split Foot Seats for High-Load Material Racks: Best Practices

Heavy Duty Split Foot Seats for High-Load Material Racks: Best Practices
Related Product
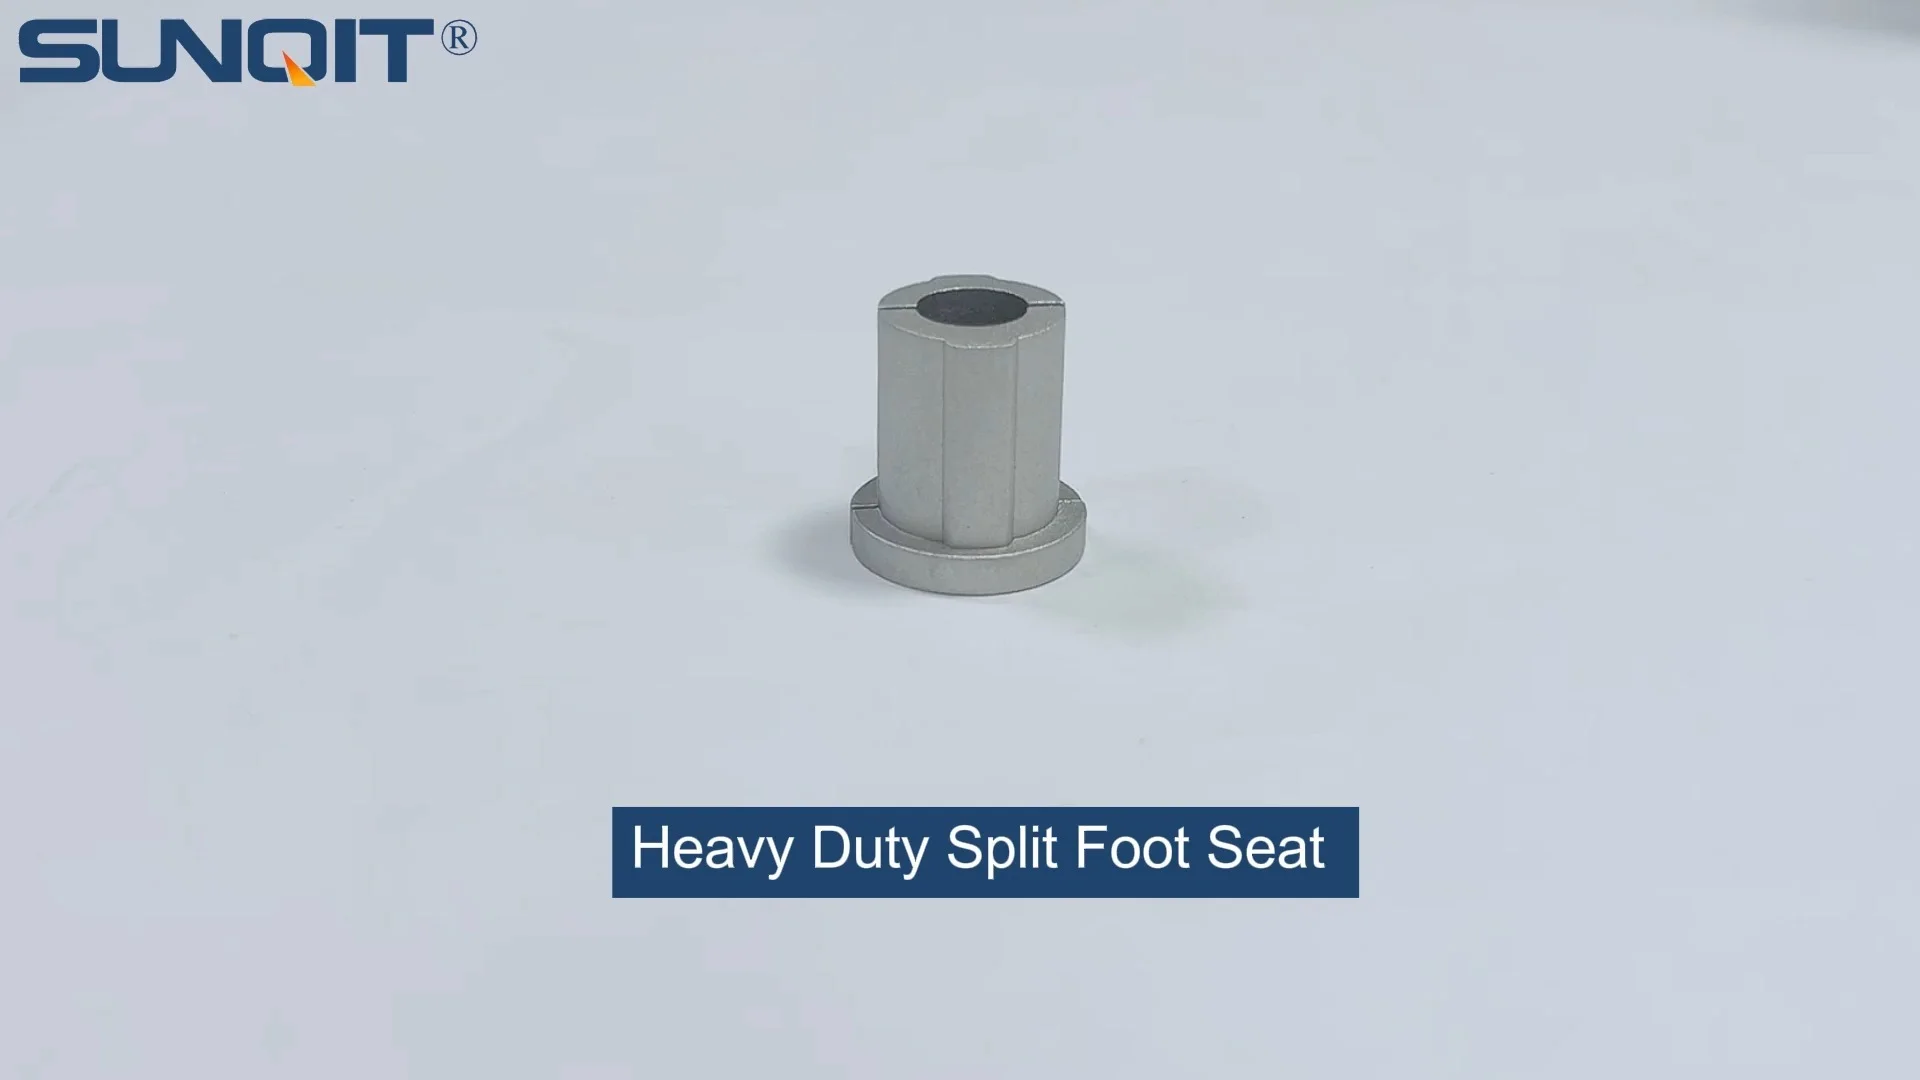
Heavy Duty Split Foot Seat
M10 aluminum heavy duty split foot deat with foot adjuster for workbench and flow rack.
In the bustling world of warehouses, factories, and distribution centers, material racks are the backbone of daily operations. They hold everything from raw materials to finished products, keeping workflows organized and efficient. But ask any facility manager what keeps these racks standing tall—especially when loaded with thousands of pounds—and you'll likely hear about an unsung hero: the heavy duty split foot seat. These small but mighty components are the difference between a stable, safe storage system and a disaster waiting to happen. In this article, we'll dive deep into what heavy duty split foot seats are, why they matter for high-load material racks, and the best practices to ensure they perform at their best. Whether you're setting up a new material rack b (3 row and 3 floor) or upgrading an existing system, understanding these best practices will help you build a foundation that supports both productivity and safety.
What Are Heavy Duty Split Foot Seats?
Let's start with the basics. Heavy duty split foot seats are structural components designed to anchor material racks to the floor, distributing the weight of the rack and its contents evenly across the surface. Unlike standard foot seats, which are often solid and fixed, split foot seats feature a two-piece design that clamps around the base of the rack's vertical posts. This split design offers several advantages: easier installation, better adjustability, and the ability to accommodate minor variations in floor levelness—critical in older facilities where floors might not be perfectly flat.
Most heavy duty split foot seats are made from high-grade steel or aluminum alloys, chosen for their strength and resistance to corrosion. Steel options are ideal for extreme load capacities, while aluminum variants—sometimes paired with aluminum profile racks—offer a lighter, rust-resistant alternative for environments where moisture is a concern. The "heavy duty" label isn't just marketing jargon, either: these components are engineered to support racks loaded with tens of thousands of pounds, making them a non-negotiable for industries like automotive manufacturing, logistics, and heavy machinery.
Why They're Critical for High-Load Material Racks
Imagine walking into a warehouse and seeing a rack swaying under the weight of its contents. Your first thought would probably be, "Is that safe?" Instability in material racks isn't just a safety hazard—it's a threat to productivity, compliance, and your bottom line. Here's why heavy duty split foot seats are critical in high-load scenarios:
1. Load Distribution: Preventing Floor Damage and Rack Collapse
High-load racks concentrate massive weight onto small points of contact with the floor. Without proper distribution, this can lead to cracked concrete, indentations, or even floor failure over time. Heavy duty split foot seats spread the load over a larger area, reducing pressure on the floor and minimizing the risk of structural damage. For example, a material rack b (3 row and 3 floor) loaded with metal parts might weigh 15,000 pounds or more. A split foot seat with a 6-inch by 6-inch base can reduce the pressure per square inch by 50% compared to a standard 3-inch base, significantly lowering the chance of floor damage.
2. Stability: Fighting Lateral Forces
Racks don't just bear vertical weight—they also face lateral forces from forklift traffic, pallet jack impacts, and even seismic activity in some regions. Split foot seats act as anchors, resisting these forces and preventing racks from tipping or shifting. In fact, studies show that properly installed split foot seats reduce lateral movement by up to 70% compared to unsecured racks, a statistic that becomes life-saving in earthquake-prone areas or busy warehouses where collisions are more likely.
3. Longevity: Protecting Your Investment
Material racks are a significant investment, and replacing them prematurely due to damage is a costly mistake. Heavy duty split foot seats extend the lifespan of racks by reducing stress on the frame. When a rack is securely anchored, its vertical posts experience less bending and fatigue, meaning they'll last longer and require fewer repairs. For facilities running on a lean system , this translates to less waste—no more replacing racks that failed due to poor anchoring—and more consistent operations.

Key Features to Look For in Heavy Duty Split Foot Seats
Not all split foot seats are created equal. When shopping for these components, keep an eye out for these critical features to ensure they meet your needs:
Load Capacity Rating
The first thing to check is the load capacity. This is usually listed as a maximum weight per foot seat, and it should align with the total weight of your rack (including its contents). For a material rack b (3 row and 3 floor) , which typically has four vertical posts, you'll need foot seats rated for at least 25% of the rack's total load (to account for uneven weight distribution). For example, a 20,000-pound rack would require foot seats rated for 5,000 pounds each or more.
Material and Coating
Steel foot seats are the go-to for extreme loads, but look for hot-dipped galvanization or powder coating to prevent rust. If your facility uses aluminum profile racks, aluminum split foot seats are a better match, as they won't cause galvanic corrosion (a common issue when steel and aluminum touch in moist environments). Some manufacturers also offer stainless steel options for food-grade or pharmaceutical facilities where hygiene is critical.
Adjustability
Floors are rarely perfectly level, even in new buildings. A good split foot seat will have slotted holes or adjustable leveling bolts to fine-tune the rack's height and ensure it stands straight. This adjustability also makes it easier to install the rack on uneven surfaces without compromising stability.
Compatibility with Rack Frames
Split foot seats come in different sizes to fit various rack post dimensions. Measure the width and thickness of your rack's vertical posts before purchasing—using a seat that's too small or too large will reduce its effectiveness. For example, a material rack b (3 row and 3 floor) with 3-inch by 3-inch posts will need a split foot seat designed specifically for that size.

Best Practices for Installation
Even the best split foot seats won't perform well if installed incorrectly. Follow these steps to ensure a secure, long-lasting installation:
Pre-Installation Checks
Before you start, inspect the floor where the rack will go. Look for cracks, potholes, or uneven areas—these should be repaired or leveled before installation. Also, check the rack's vertical posts for dents or bends; a warped post will make it impossible to attach the foot seat properly. Finally, gather your tools: you'll need a wrench, level, tape measure, and a torque wrench (critical for ensuring bolts are tightened to the right specification).
Step-by-Step Installation Guide
| Step | Action | Tip | Common Pitfall to Avoid |
|---|---|---|---|
| 1 | Position the rack frame in its final location, using shims if needed to roughly level it. | Use a chalk line to mark the rack's footprint on the floor for accuracy. | Rushing this step—misalignment here leads to instability later. |
| 2 | Slide the split foot seat around the base of one vertical post, ensuring the seat's flange is flush with the floor. | Hand-tighten the clamping bolts to hold the seat in place temporarily. | Over-tightening bolts at this stage can warp the seat. |
| 3 | Repeat for all remaining posts, then use a level to check the rack's plumb (vertical straightness). | Check both front-to-back and side-to-side to ensure the rack isn't leaning. | Ignoring plumb—even a 1-degree lean can reduce load capacity by 10%. |
| 4 | Tighten the clamping bolts to the manufacturer's recommended torque (usually 35-45 ft-lbs for steel seats). | Use a torque wrench to avoid under- or over-tightening—over-tightening can strip threads. | Using a regular wrench and guessing the torque. |
| 5 | Anchor the foot seats to the floor using concrete bolts or expansion anchors. | Drill pilot holes first to prevent concrete cracking. | Using anchors rated for less than the rack's load—check the anchor's shear and tensile strength. |
Post-Installation Testing
Once installed, give the rack a gentle push from different directions to test for movement. It should feel solid, with no swaying or shifting. You can also place a few heavy boxes on the lower shelves and recheck the level—sometimes the weight of the load will settle the rack slightly, requiring minor adjustments to the foot seats.

Integration with Lean Systems
In today's competitive manufacturing landscape, lean system principles—focused on minimizing waste and maximizing value—are more important than ever. Heavy duty split foot seats play a surprisingly big role in supporting lean goals:
First, they reduce downtime. A stable rack is less likely to fail, which means fewer disruptions to picking, packing, or production schedules. In lean terms, this eliminates "downtime waste" and keeps workflows running smoothly. Second, they improve space utilization. When racks are secure, you can stack materials higher without fear of collapse, freeing up floor space for other operations. Third, they enhance safety, which is a core lean principle (unsafe conditions lead to wasted time, injuries, and lost productivity).
For example, a material rack b (3 row and 3 floor) equipped with heavy duty split foot seats can be safely loaded to its maximum capacity, ensuring every inch of vertical space is used. This reduces the need for additional racks, cutting down on storage costs and simplifying inventory management—both key tenets of lean manufacturing.
Maintenance and Inspection
Like any equipment, split foot seats require regular maintenance to stay effective. Here's a simple inspection checklist to follow every 3-6 months:
- Check for loose bolts: Vibration from forklifts or heavy loads can loosen clamping bolts or floor anchors. Retighten any that are loose to the manufacturer's torque specs.
- Inspect for corrosion: Look for rust or pitting on steel seats, especially in humid or outdoor areas. If corrosion is severe, replace the seat immediately.
- Verify levelness: Use a level to ensure the rack hasn't shifted. If it's leaning, adjust the foot seats' leveling bolts to realign it.
- Clean debris: Dirt, dust, or debris trapped between the foot seat and the floor can cause uneven weight distribution. Sweep or vacuum around the base regularly.
In high-traffic areas, consider inspecting the foot seats monthly—forklift bumps or accidental impacts can damage the seats or anchors without obvious signs. Catching these issues early prevents small problems from turning into big, expensive ones.
Case Study: Upgrading a Material Rack B with Heavy Duty Split Foot Seats
To put these best practices into context, let's look at a real-world example. A mid-sized automotive parts manufacturer was struggling with a material rack b (3 row and 3 floor) that kept leaning to one side, even when only partially loaded. The rack held heavy metal components, and the instability was causing workers to avoid using the top shelf—wasting valuable space and slowing down picking times.
After an inspection, the facility manager discovered the rack was using basic, non-split foot seats that weren't rated for the load. The team decided to upgrade to heavy duty split foot seats with adjustable leveling bolts and galvanized steel construction. They followed the installation best practices: repaired a small crack in the floor, aligned the rack with a level, and torqued the bolts to 40 ft-lbs. They also anchored the seats to the floor with ½-inch concrete anchors rated for 5,000 pounds each.
The results were immediate. The rack stood perfectly straight, even when fully loaded with 18,000 pounds of parts. Workers began using the top shelf again, reducing the need for a second rack and freeing up 150 square feet of floor space. Over six months, the facility saw a 20% improvement in picking efficiency and zero incidents of rack instability—a clear win for both productivity and safety.
Common Mistakes to Avoid
Even with the best intentions, it's easy to make missteps when working with split foot seats. Here are the most common mistakes and how to avoid them:
Overlooking Floor Condition
Installing split foot seats on a damaged floor is like building a house on sand. Always repair cracks or level uneven areas first—otherwise, the rack will settle unevenly over time, stressing the foot seats and posts.
Using the Wrong Size or Type
A foot seat that's too small for the rack's posts will slip or fail under load. Similarly, mixing steel seats with aluminum profile racks without proper insulation (like plastic washers) can cause corrosion. Always match the seat to the rack's material and post size.
Skipping the Torque Wrench
Guessing at bolt tightness is a recipe for disaster. Under-tightened bolts will loosen over time, while over-tightened ones can strip threads or crack the foot seat. Invest in a good torque wrench and follow the manufacturer's specs.
Ignoring Regular Inspections
"Set it and forget it" might work for your toaster, but not for material racks. Even the most well-installed split foot seats need regular checks to ensure they're still doing their job. Schedule inspections on your calendar and stick to them.
Conclusion
Heavy duty split foot seats may not be the most glamorous part of your material handling system, but they're undoubtedly one of the most important. They keep your racks stable, your workers safe, and your operations running smoothly—all while supporting lean system goals by reducing waste and maximizing space. By choosing the right seats, following installation best practices, and maintaining them regularly, you'll build a storage system that stands the test of time.
Whether you're setting up a new material rack b (3 row and 3 floor) or upgrading an existing one, remember: the foundation matters. Invest in quality split foot seats, follow these best practices, and you'll create a storage solution that's not just strong, but smart.