- Company Articles
- Products and Technology
- Installation And Maintenance
- How to Adjust Flat Swivel Castor Wheels for Uneven Floors: Leveling Techniques

How to Adjust Flat Swivel Castor Wheels for Uneven Floors: Leveling Techniques
Related Product
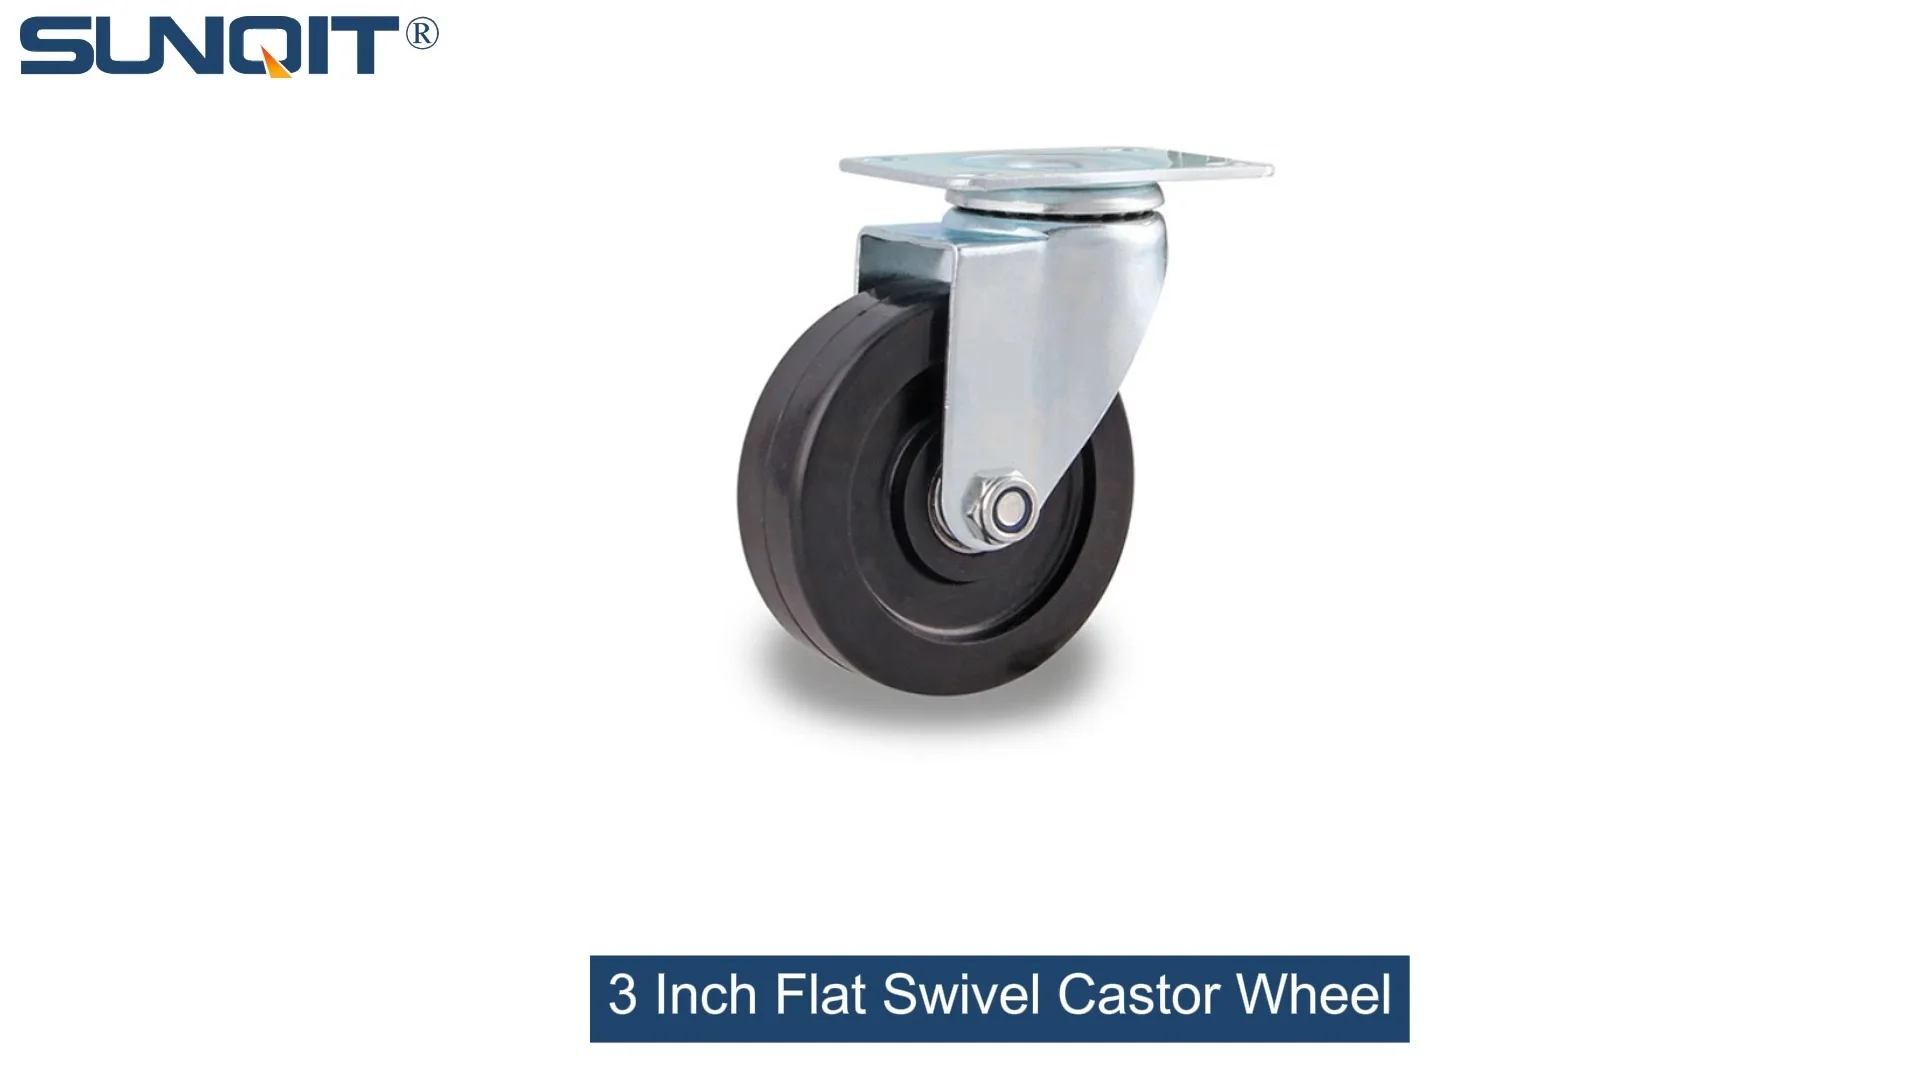
Flat Swivel Castor Wheel
Chair Casters Ball Bearing Wheels Rubber Base. Resistant to abrasion, impact and corrosion. Heavy payload can hold 70-90Kgs per pcs,which can make it works at a stable and smooth status.
Picture this: You're in the middle of a busy workday, rushing to assemble parts on your workshop workbench. The surface feels wobbly, tools slide around, and every time you lean in to tighten a screw, the whole setup shifts. Annoying, right? Chances are, the culprit isn't the workbench itself—but its flat swivel castor wheels struggling to cope with an uneven floor. Whether you're in a factory, a garage, or a home workshop, uneven floors are more common than you think, and they can turn even the sturdiest equipment into a frustrating, unstable mess. But fear not—adjusting those castors to level things out isn't rocket science. In this guide, we'll walk through why flat swivel castor wheels wobble on uneven surfaces, how adjustable leveling feet and caster accessories can save the day, and a step-by-step process to get your workbench (or any mobile equipment) steady again. Let's dive in.
1. Understanding Flat Swivel Castor Wheels: More Than Just "Wheels"
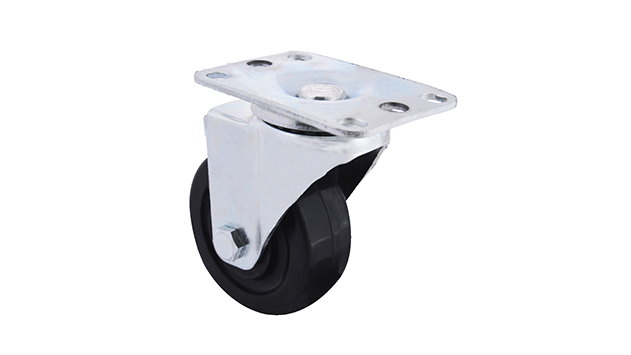
Before we fix the problem, let's get to know the star of the show: flat swivel castor wheels. These aren't your average toy cart wheels—they're engineered to balance mobility with stability, making them a staple in workshops, warehouses, and production lines. A typical flat swivel castor wheel consists of a wheel (usually made of rubber, plastic, or metal), a swivel plate that lets the wheel rotate 360 degrees, and a mounting bracket that attaches to your equipment, like a workbench or trolley. What makes "flat" swivel castors unique is their low-profile design—they sit close to the ground, which helps with stability but also leaves them vulnerable to even the smallest floor imperfections.
Now, why do they wobble on uneven floors? Imagine four legs on a table: if one leg is shorter, the table rocks. Castor wheels work the same way, but with an added twist—they're round, so even a tiny bump or dip in the floor can cause one wheel to lift slightly, throwing off balance. Add the swivel function, and that instability can feel even worse, as the wheels might "hunt" for a stable position, making the whole unit feel like it's dancing. This isn't just a nuisance; it can slow down work, damage delicate tools, or even lead to accidents if equipment tips. That's where adjustable leveling feet and clever caster accessories come into play—they let you "tweak" each castor to compensate for those floor dips and bumps.
Pro Tip: Not all flat swivel castor wheels are created equal! Some come with built-in adjustable leveling feet, while others require separate caster accessories like shims or extenders. Check your castor's specs before buying—if you know your floor is uneven, opt for models with integrated leveling features to save time later.
2. The Hidden Costs of Wobbly Castors: Why Leveling Matters
You might be thinking, "So what if my workbench rocks a little? I can deal with it." But the truth is, unlevel flat swivel castor wheels can cause more problems than just annoyance. Let's break down the risks:
Safety First: A wobbly workbench isn't just frustrating—it's a safety hazard. Tools or parts can slide off, leading to broken equipment or injuries. If you're working with heavy machinery, an unstable base could even cause the entire unit to tip, putting you and others at risk.
Reduced Productivity: Ever tried assembling small parts on a moving surface? It's like trying to write on a bumpy car ride—slow, error-prone, and exhausting. Wobbly castors force you to waste time readjusting your position or stabilizing the workbench, cutting into your efficiency.
Premature Wear and Tear: When castors aren't evenly weighted, the uneven pressure can warp the mounting bracket, damage the wheel bearings, or wear down the wheel treads faster. That means you'll be replacing castors (and spending money) sooner than necessary.
Damage to Floors: Ironically, unlevel castors can also harm the very floors causing the problem. If one wheel is bearing more weight, it might scuff, scratch, or indent the floor over time—especially on softer surfaces like concrete or vinyl.
The good news? All these issues are preventable with a little castor adjustment. By taking the time to level your flat swivel castor wheels, you'll not only make your workspace safer and more efficient but also extend the life of your equipment and floors. Win-win.
3. The Heroes: Adjustable Leveling Feet and Caster Accessories
Now that we know why leveling is important, let's talk about the tools that make it possible: adjustable leveling feet and caster accessories. These aren't just "extras"—they're the secret to turning a wobbly mess into a rock-solid setup.
Adjustable Leveling Feet: The Built-In Solution
Many modern flat swivel castor wheels come with adjustable leveling feet built right into the design. These are small, threaded feet (often made of rubber or metal) that protrude from the castor's mounting bracket. By twisting the foot clockwise or counterclockwise, you can extend or retract it, effectively "raising" or "lowering" that corner of the equipment to match the floor's contour. Think of them as tiny, customizable stilts for each castor. Adjustable leveling feet are ideal because they're integrated—no extra parts needed—and they let you make precise adjustments without removing the castor from the equipment.
Caster Accessories: When Built-In Feet Aren't Enough
If your castors don't have built-in leveling feet, don't panic—caster accessories are here to save the day. These are aftermarket parts designed to add stability or adjust height, and they're surprisingly versatile. Here are the most useful ones for uneven floors:
- Shim Kits: Thin, flat pieces of rubber, metal, or plastic that you slide under the castor's mounting bracket to raise a low corner. Shims are affordable and easy to use, though they're best for minor adjustments (think 1-2mm height differences).
- Height-Adjustable Casters: These are replacement castors with integrated leveling features, similar to the built-in feet mentioned earlier. If your current castors are old or damaged, swapping them for adjustable models might be a long-term fix.
- Castor Cups: Small, cup-shaped accessories that you place under the wheel to stabilize it on uneven surfaces. They work well on floors with cracks or small bumps, as the cup "traps" the wheel and prevents it from shifting.
- Locking Pins: Some swivel castors have locking pins that fix the wheel in place (preventing swiveling) or lock the height adjustment. While not a leveling tool per se, locking pins can help keep your adjusted castors stable once you've found the right position.
The key is to match the accessory to the severity of your floor's unevenness. For minor dips, shims or castor cups might suffice. For bigger gaps, adjustable leveling feet (built-in or aftermarket) are the way to go. Later, we'll cover how to use these tools in the adjustment process.

4. Tools You'll Need: Gathering Your "Leveling Kit"
You don't need a fully stocked toolbox to adjust flat swivel castor wheels, but a few basic tools will make the job faster and more precise. Here's what to grab before you start:
- Spirit Level: The most important tool! A small, portable spirit level (6-12 inches long) will help you check if the workbench is level from side to side and front to back. Digital levels work too, but a classic bubble level is often easier to use on small surfaces.
- Wrench or Pliers: To adjust built-in leveling feet (which are usually hexagonal or have a slot for twisting). A adjustable wrench works best, but channel-lock pliers will do in a pinch.
- Screwdriver: If your castors are mounted with screws, you might need a Phillips or flathead screwdriver to loosen/tighten them while adjusting.
- Shim Kit (Optional): As mentioned earlier, for castors without leveling feet. Look for kits with various thicknesses (0.5mm, 1mm, 2mm) to fine-tune the height.
- Rubber Mallet: A soft mallet can help tap shims into place or gently nudge castors into alignment without damaging them.
- Tape Measure: To measure height differences between castors, especially if the wobble is severe.
- Clean Cloth: Floors often have dust, debris, or grease that can throw off your level reading. Wipe down the area around the castors first to ensure accuracy.
Pro Tip: If you don't have a spirit level, you can use a smartphone! Most phones have built-in level apps (search "level" in your app store) that use the phone's gyroscope to measure tilt. Just place the phone flat on the workbench surface—problem solved.

5. Step-by-Step: Adjusting Flat Swivel Castor Wheels for Uneven Floors
Now for the main event: actually adjusting those castors. We'll break this down into simple steps, whether your castors have built-in adjustable leveling feet or you're using caster accessories like shims. Let's start with the most common scenario: castors with adjustable feet.
Scenario 1: Your Castors Have Built-In Adjustable Leveling Feet
Step 1: Clear the Workbench and Check the Floor
First, remove everything from the workbench—tools, parts, even that half-empty coffee mug. A lighter workbench is easier to adjust, and you don't want anything falling off mid-process. Next, inspect the floor around the castors. Are there visible dips, cracks, or bumps? Sweep or wipe away any debris (dust, screws, bits of tape) that might be under the wheels—sometimes a tiny pebble is all it takes to throw off balance.
Step 2: Find the "Wobbly" Castors
Gently push the workbench from different angles to see which corners lift or shift. Alternatively, place your spirit level on the workbench surface, first along the length (front to back) and then along the width (side to side). The bubble will tell you which direction is lower: if it drifts left, the left side is lower; if it drifts back, the back is lower. Mark the wobbly castors with a piece of tape so you know which ones to adjust.
Step 3: Loosen the Lock Nut (If Present)
Some adjustable leveling feet have a lock nut just above the foot—this nut keeps the foot from unscrewing on its own. Use your wrench to loosen this nut (turn counterclockwise) a few turns—just enough so the foot can rotate freely. Don't remove it entirely!
Step 4: Adjust the Leveling Foot
Using your wrench or pliers, grip the adjustable foot (the part that touches the floor) and twist it clockwise to extend it (lowering the castor, which raises that corner of the workbench) or counterclockwise to retract it (raising the castor, which lowers the corner). Start with small adjustments—1/4 turn at a time. After each twist, check the spirit level again to see if the bubble centers.
Step 5: Tighten the Lock Nut and Test Stability
Once the bubble is centered and the workbench feels stable, tighten the lock nut (turn clockwise) against the mounting bracket to secure the foot in place. Give the workbench a gentle shake from all sides—if it still wobbles, repeat steps 3-4 for the other castors until it's steady.
Step 6: Double-Check with the Level
Place the spirit level back on the workbench, both lengthwise and widthwise, to confirm the bubble stays centered. If it drifts, tweak the feet again. Remember: patience is key—small adjustments add up!
Scenario 2: Your Castors Don't Have Leveling Feet (Use Caster Accessories Like Shims)
If your flat swivel castor wheels lack built-in leveling feet, shims are your best friend. Here's how to use them:
Step 1: Repeat Steps 1-2 from Scenario 1
Clear the workbench, clean the floor, and identify which castors are causing the wobble using the spirit level.
Step 2: Jack Up the Wobbly Corner (Carefully!)
To slide a shim under a castor, you'll need to lift that corner of the workbench slightly. Use a car jack (for heavy workbenches) or a pry bar with a block of wood (to protect the floor) to gently raise the corner until the castor wheel is off the ground. Ask a friend to help if the workbench is heavy—safety first!
Step 3: select the Right Shim Thickness
Shims come in different thicknesses (0.5mm, 1mm, 2mm, etc.). Start with the thinnest shim that might fill the gap—you can always add more later. Slide the shim under the castor's mounting bracket (not the wheel itself, as that could cause the wheel to bind). Lower the workbench slowly onto the shim.
Step 4: Test Stability and Add More Shims if Needed
Remove the jack or pry bar and check the workbench with the spirit level. If it's still wobbly, repeat steps 2-3, adding another shim (or switching to a thicker one) under the same castor. Avoid stacking more than 2-3 shims, though—too many can compress or slip over time. If you need more height, consider a thicker shim or a height-adjustable caster accessory instead.
Step 5: Secure the Shims (Optional)
To prevent shims from sliding, you can apply a small dot of silicone adhesive to the bottom of the shim before placing it (let it dry first!). Alternatively, use double-sided tape (heavy-duty, not the flimsy kind) to stick the shim to the floor or castor bracket. This is especially helpful if the workbench moves around frequently.
Pro Tip: For extra stability, use rubber shims instead of metal or plastic—they grip better and reduce noise when the workbench moves. You can even cut your own shims from old rubber mats or inner tubes if you're in a pinch!
6. Troubleshooting: When Adjustments Don't Work
Sometimes, even after adjusting leveling feet or adding shims, your flat swivel castor wheels might still wobble. Don't throw in the towel—here are common issues and fixes:
Problem: The Castor Wheel Itself Is Damaged
If the wheel is bent, cracked, or has a flat spot (from uneven wear), adjusting the height won't help. Spin the wheel—if it wobbles or makes a grinding noise, it's time to replace it. Check with your caster supplier for a matching replacement (bring the old wheel to ensure size/thread compatibility).
Problem: The Swivel Plate Is Stuck or Bent
A stuck swivel plate can make the castor "fight" against movement, causing instability. Clean the swivel plate with a brush and lubricate it with silicone spray or machine oil. If it's bent, gently straighten it with pliers (for metal plates) or replace the castor entirely.
Problem: The Floor Is Severely Uneven (More Than 5mm)
For major dips or slopes, shims or built-in feet might not be enough. Consider using height-adjustable caster extensions (a type of caster accessory that bolts onto the existing castor bracket to add extra height) or switching to larger wheels, which can roll over bumps more easily.
Problem: The Workbench Frame Is Warped
Rarely, the issue isn't the castors or the floor—but the workbench itself. If the frame is bent or warped (common in older, heavy-duty workbenches), even perfectly adjusted castors won't level it. In this case, you might need to reinforce the frame with angle brackets or replace the workbench top with a flat, rigid material like plywood or aluminum honeycomb panel.
7. Maintenance: Keeping Your Castors Level for the Long Run
Adjusting your flat swivel castor wheels isn't a one-and-done job—floors settle, castors wear, and workbenches get moved. With a little regular maintenance, you can keep things stable for years:
Check Monthly: Once a month, give the workbench a quick shake and check the spirit level. Catching minor wobbles early prevents bigger problems later.
Lubricate Swivel Plates: Every 3-6 months, spray silicone lubricant on the swivel plates and wheel bearings to keep them moving smoothly. Wipe away excess oil to avoid attracting dust.
Clean Wheels and Floors: Sweep or vacuum around the workbench regularly to prevent debris from getting trapped under the wheels. Wipe the wheels with a damp cloth to remove grime that can cause uneven rolling.
Tighten Loose Bolts: Over time, the bolts holding the castors to the workbench can loosen. Use a screwdriver or wrench to tighten them every few months—this alone can fix minor wobbles.
replace Worn Parts: If a wheel starts to crack or a leveling foot strips, replace it immediately. Waiting will only lead to more damage (and more frustration).
8. Comparing Leveling Techniques: Which One's Right for You?
Still unsure whether to use built-in leveling feet, shims, or other caster accessories? The table below breaks down the pros and cons of each method to help you decide:
| Leveling Method | Best For | Tools Needed | Difficulty | Cost | Long-Term Stability |
|---|---|---|---|---|---|
| Built-in Adjustable Leveling Feet | Minor to moderate unevenness; equipment you move often | Wrench, spirit level | Easy (5-10 mins) | None (included with castor) | High (lock nut prevents slipping) |
| Shim Kits | Tiny gaps (1-2mm); temporary fixes | Spirit level, pry bar/jack, shims | Moderate (15-20 mins) | Low ($5-$15 for a kit) | Medium (may slip over time) |
| Height-Adjustable Caster Replacements | Severe unevenness; old/damaged castors | Screwdriver, wrench, spirit level | Moderate (20-30 mins) | Medium ($20-$50 per castor) | Very High (permanent solution) |
| Castor Cups | Soft floors (vinyl, wood); small bumps/cracks | Spirit level | Easy (2-5 mins) | Low ($10-$20 for a set) | Medium (may shift on smooth floors) |
Conclusion: Steady Castors, Steady Workflow
Uneven floors and wobbly flat swivel castor wheels might seem like small annoyances, but they can have big impacts on safety, productivity, and equipment lifespan. The good news is that leveling those castors is a simple, DIY task—whether you use built-in adjustable leveling feet, caster accessories like shims, or a combination of both. By taking the time to adjust, maintain, and troubleshoot your castors, you'll transform that frustratingly wobbly workbench into a stable, reliable workspace that lets you focus on what matters: getting the job done. So grab your spirit level, wrench, and maybe a shim or two—and say goodbye to wobbly wheels for good. Your back, your tools, and your sanity will thank you.