- Company Articles
- Products and Technology
- Installation And Maintenance
- How to Adjust Tightness of Vertical Lean Pipe Joint Chrome: Tools & Techniques

How to Adjust Tightness of Vertical Lean Pipe Joint Chrome: Tools & Techniques
Related Product
Vertical Lean Pipe Joint Chrome
Vertical lean pipe joint is used for 28mm lean pipe fixed on ground and keep it stable.
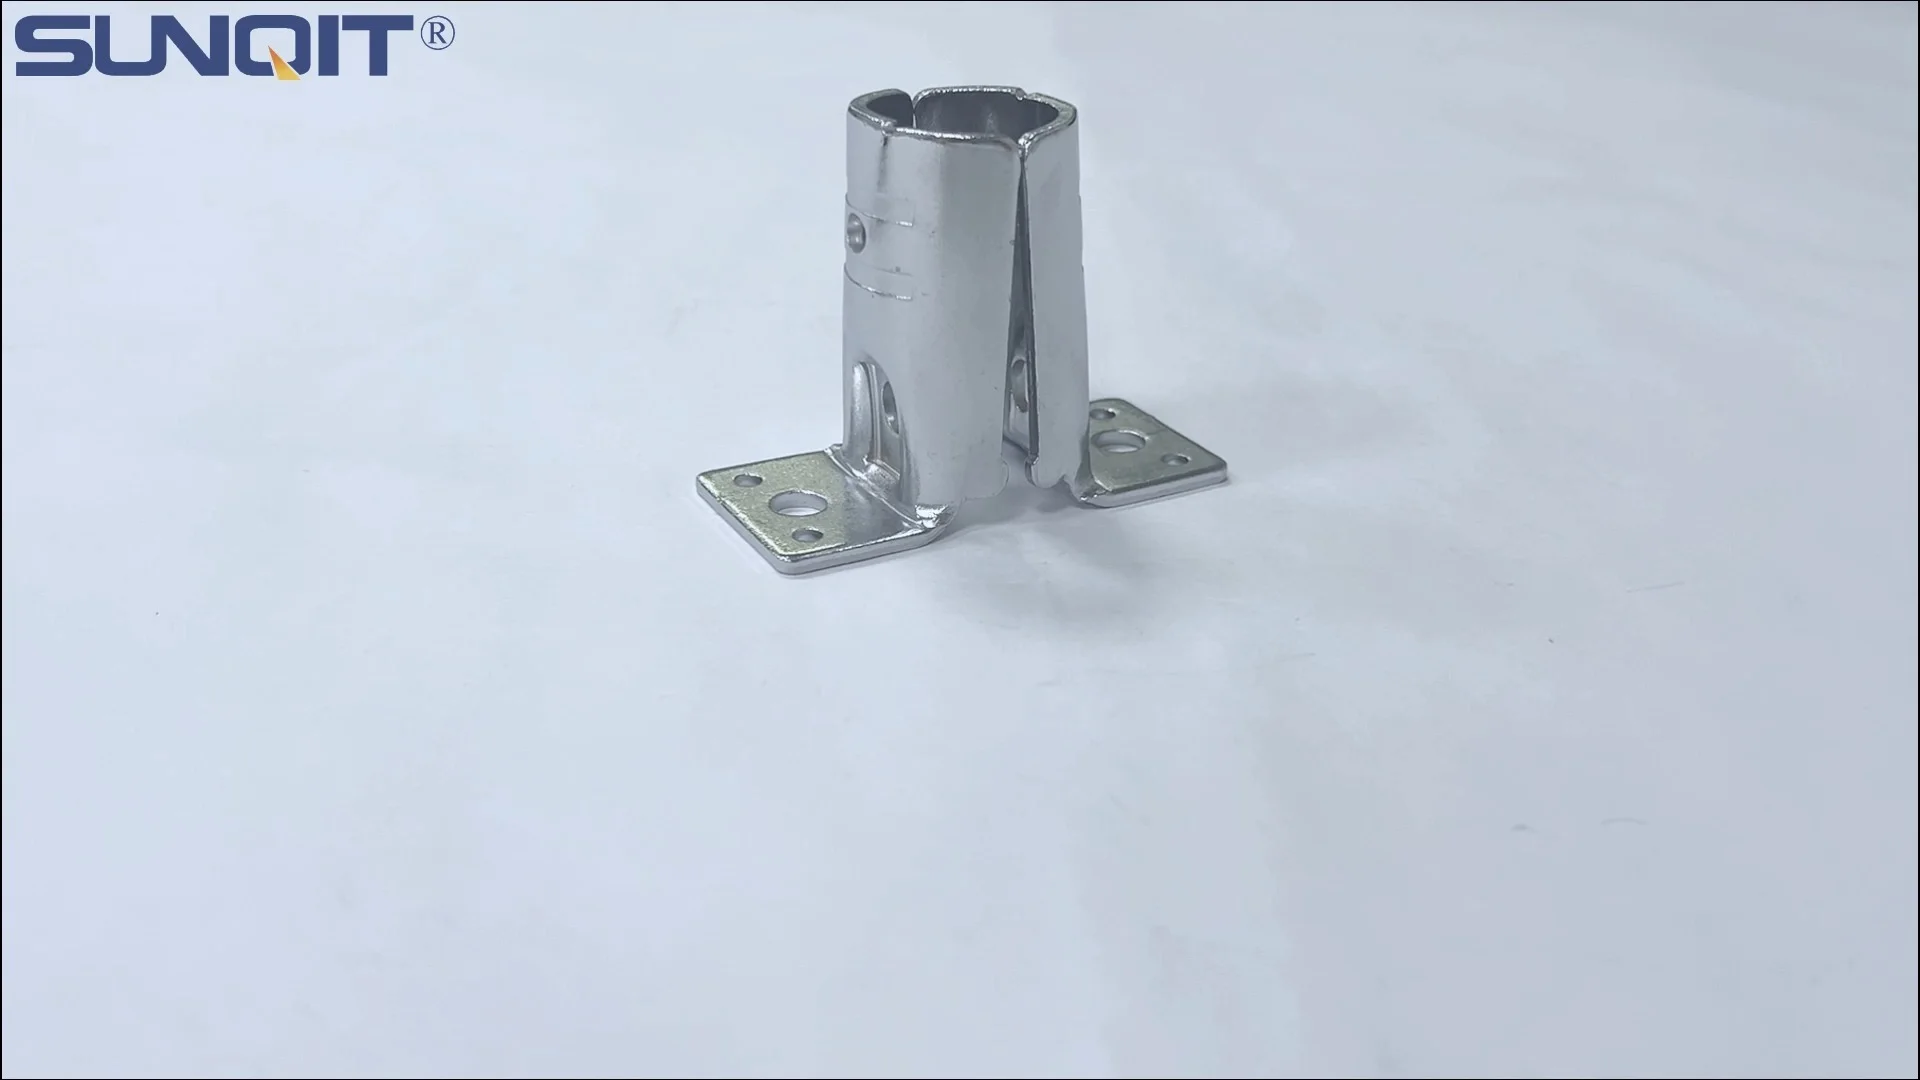
Walk into any well-run manufacturing facility, and you'll notice the backbone of its efficiency: lean systems. From the smooth flow of materials on roller tracks to the sturdy workbenches where assembly happens, every component plays a role. One small but critical part of this ecosystem? The vertical lean pipe joint chrome. These unassuming connectors hold together the aluminum pipes and profiles that form workstations, material racks, and flow racks, ensuring everything stays stable even during the busiest shifts. But what happens when that stability wavers? A loose joint can slow down production, create safety hazards, or even damage expensive equipment. That's why knowing how to adjust the tightness of vertical lean pipe joint chrome isn't just a handy skill—it's essential for keeping your operation running like clockwork.
1. Understanding the Vertical Lean Pipe Joint Chrome
Before diving into adjustments, let's get familiar with the star of the show: the vertical lean pipe joint chrome. As part of the broader category of lean pipe and accessories , these joints are designed to connect lean pipes (often aluminum or steel) at vertical angles, forming the framework for everything from lean pipe workbench to turnover trolleys and material racks. What makes them unique? Their chrome plating, which adds a layer of corrosion resistance—vital in factories where moisture, oils, or chemicals might be present. Unlike plastic or uncoated joints, chrome-plated versions stand up to daily wear, making them a favorite for high-traffic areas.
Most vertical lean pipe joint chrome models feature a threaded design, with internal or external rotation mechanisms that let you tighten or loosen the connection by twisting. Some, like the internal rotatory aluminum joint , even allow for (fine adjustments) after initial installation, which is crucial for aligning workbenches or racks perfectly. Whether you're building a simple workbench E (single deck-without caster) or a multi-tiered material rack B (3 row and 3 floor) , these joints are the silent workhorses holding it all together.
2. Why Tightness Adjustment Can't Be Ignored
You might be thinking, "If the joint was tight when I installed it, why adjust it later?" The truth is, even the best-installed joints loosen over time. Vibrations from machinery, the weight of materials, and repeated use can all cause threads to shift. Let's break down the risks of ignoring a loose joint:
Safety First: A wobbly lean pipe workbench isn't just annoying—it's dangerous. Imagine a technician assembling delicate electronics on a shaky surface; one wrong move could send components crashing to the floor. Worse, a loose joint on a material rack might cause shelves to sag, leading to spills or even collapse. In 2023, a manufacturing plant in Ohio reported a near-miss when a loose vertical joint on a flow rack caused a bin of metal parts to tip, narrowly missing a worker's foot. The root cause? A joint that hadn't been checked in six months.
Efficiency Kills: Time is money in production, and a loose joint can grind progress to a halt. A turnover trolley with a wobbly frame might take twice as long to push, or a misaligned roller track could jam, delaying material delivery to the assembly line. One automotive supplier I worked with estimated that loose joints were costing them 12 hours of downtime per month—time that could have been saved with regular adjustments.
Equipment Longevity: When a joint is too loose, stress gets distributed unevenly across the entire structure. This can warp aluminum profiles, bend pipes, or wear out caster wheels prematurely. Replacing a $15 joint is far cheaper than replacing an entire $500 workstation, which is why proactive adjustment is a smart investment.

3. Tools You'll Need (and How to Use Them)
Adjusting a vertical lean pipe joint chrome doesn't require a fully stocked toolbox, but having the right tools on hand will make the job faster and more effective. Here's what you'll need, along with pro tips to get the most out of each:
| Tool | Primary Use | Pro Tips |
|---|---|---|
| Adjustable Wrench | Loosening/tightening the joint's outer nut | Wrap the jaws in tape to avoid scratching the chrome plating. |
| Hex Key Set (Allen Wrenches) | Adjusting internal set screws (common in rotatory joints) | Use the "push and twist" method—applying pressure while turning prevents stripping. |
| Torque Wrench | Ensuring consistent, precise tightness (critical for vertical loads) | Set to 20-25 Nm for most vertical joints—check your lean pipe supplier 's specs for exact numbers. |
| Wire Brush | Cleaning rust, debris, or old thread locker from threads | Brush in the direction of the threads to avoid damaging them. |
| Blue Thread Locker | Preventing future loosening (temporary; removable with tools) | Apply a tiny drop to the threads—too much can seep into the joint and gum up rotation. |
| Rubber Mallet | Gently tapping misaligned pipes into place before tightening | Tap near the joint, not directly on it, to avoid deforming the pipe. |

4. Step-by-Step Guide to Adjusting Tightness
Now that you have your tools, let's walk through the adjustment process. I'll use a lean pipe workbench as an example, but the steps apply to any structure using vertical lean pipe joint chrome.
Step 1: Safety First—Prep the Area
Before touching anything, power down nearby machinery and clear the area around the joint. If you're working on a material rack B (3 row and 3 floor) , remove any materials from the shelves to reduce weight and prevent spills. Wear gloves to protect your hands from sharp edges or rust, and keep a first-aid kit nearby—better safe than sorry.
Step 2: Inspect the Joint for Damage
Take a close look at the joint. Are there signs of rust? Stripped threads? Cracks in the chrome plating? If the threads are stripped (you'll feel them "catch" unevenly when twisting), the joint needs replacing—not adjusting. Similarly, if the chrome is peeling and exposing raw metal, corrosion will only get worse. In that case, contact your lean pipe supplier for a replacement.
Step 3: Clean the Threads
Even if the joint looks fine, dirt, grease, or old thread locker can throw off your adjustment. Grab your wire brush and scrub the threads gently, both on the joint and the pipe it's connected to. For stubborn grime, dip the brush in a mild degreaser (avoid harsh chemicals that might damage chrome). Wipe away debris with a clean rag—you want the threads to be smooth and clear before moving on.
Step 4: Loosen the Joint (If Needed)
If the joint is over-tightened (common if someone used a pipe wrench instead of a torque wrench), use your adjustable wrench to loosen it slightly. Grip the nut firmly, and turn counterclockwise—you should feel it "give" after a quarter-turn. If it's already loose, skip this step and move to adjustment.
Step 5: Adjust Tightness with Precision
Now, the key part: tightening to the right level. Attach your torque wrench to the joint's nut, and turn clockwise until you hear the wrench "click" (that's the torque setting kicking in). For vertical joints holding up weight (like a shelf on a material rack), aim for 22-25 Nm. For lighter loads, like a workbench leg, 20 Nm should suffice. If your joint has set screws (like the internal rotatory aluminum joint ), use a hex key to tighten those next—snug, but not so tight that the joint can't rotate slightly if needed.
Step 6: Lock It in Place (Optional)
If the joint is in a high-vibration area (near a conveyor or stamping machine), apply a drop of blue thread locker to the threads before final tightening. Let it sit for 10-15 minutes to set—this will prevent loosening from vibrations. Avoid red thread locker unless you're sure you won't need to adjust the joint again; it's permanent and requires heat to remove.
Step 7: Test for Stability
Give the structure a gentle shake—if it wobbles, the joint might still be loose. For a lean pipe workbench , press down firmly on each corner; there should be no movement. If you're adjusting a material rack, place a weighted box (simulating real-world use) on the shelf and check again. No movement? You're good to go.
Step 8: Log and Schedule Follow-Up Checks
Jot down the date, torque setting, and any issues you noticed (e.g., "light rust, cleaned with wire brush"). Set a reminder to recheck the joint in 3 months—more often if it's in a high-use area. Consistency is key to preventing future problems.
5. Troubleshooting Common Headaches
Even with careful adjustment, you might run into snags. Here's how to fix the most common issues:
Problem: The joint won't tighten—threads just spin.
Solution: Check if the pipe is bent or the threads are stripped. If the pipe is bent, replace it; if the joint is stripped, swap it out for a new one. Pro tip: When installing new joints, hand-thread them first—if they don't turn smoothly, the threads might be misaligned.
Problem: The joint is tight, but the structure still wobbles.
Solution: Check adjacent joints—sometimes one loose joint causes others to bear extra weight. For example, if a
lean pipe workbench
legs wobble, the cross-brace joints might be the culprit, not the vertical ones. Tighten all connecting joints for stability.
Problem: Chrome plating is chipping off.
Solution: This is a sign of wear, not a tightening issue. replace the joint ASAP—exposed metal will rust quickly, weakening the connection over time. A reputable
lean pipe supplier
should offer replacement joints at a reasonable cost.
6. Pro Tips for Long-Term Success
Want to minimize the need for adjustments? Follow these habits:
- Train Your Team: Teach operators to report loose joints immediately—they're the first to notice wobbles or strange noises.
- Invest in Quality: Cheap joints might save money upfront, but they loosen faster. Stick with trusted lean pipe supplier who use high-grade chrome plating and precision threading.
- Pair with the Right Accessories: Using caster wheel with locking mechanisms reduces vibrations, which helps joints stay tight longer. For mobile structures, opt for heavy-duty casters rated for the load.
- Seasonal Checks: In humid climates, joints loosen faster in summer—schedule extra inspections during wet months.
Final Thoughts: Tight Joints, Smooth Operations
Adjusting the tightness of vertical lean pipe joint chrome might seem like a small task, but it's the kind of detail that separates a good lean system from a great one. By taking the time to inspect, clean, and adjust these joints regularly, you'll keep your workbenches stable, your material racks secure, and your production line moving without costly interruptions. Remember: lean manufacturing is all about eliminating waste, and downtime from loose joints is some of the easiest waste to eliminate. So grab your wrench, follow these steps, and keep those joints tight—your team, your bottom line, and your peace of mind will thank you.