- Company Articles
- Products and Technology
- Installation And Maintenance
- How to Assemble T Slot Aluminum Pipe Without Welding: Tool-Free Methods

How to Assemble T Slot Aluminum Pipe Without Welding: Tool-Free Methods
Related Product
T Slot Aluminum Pipe
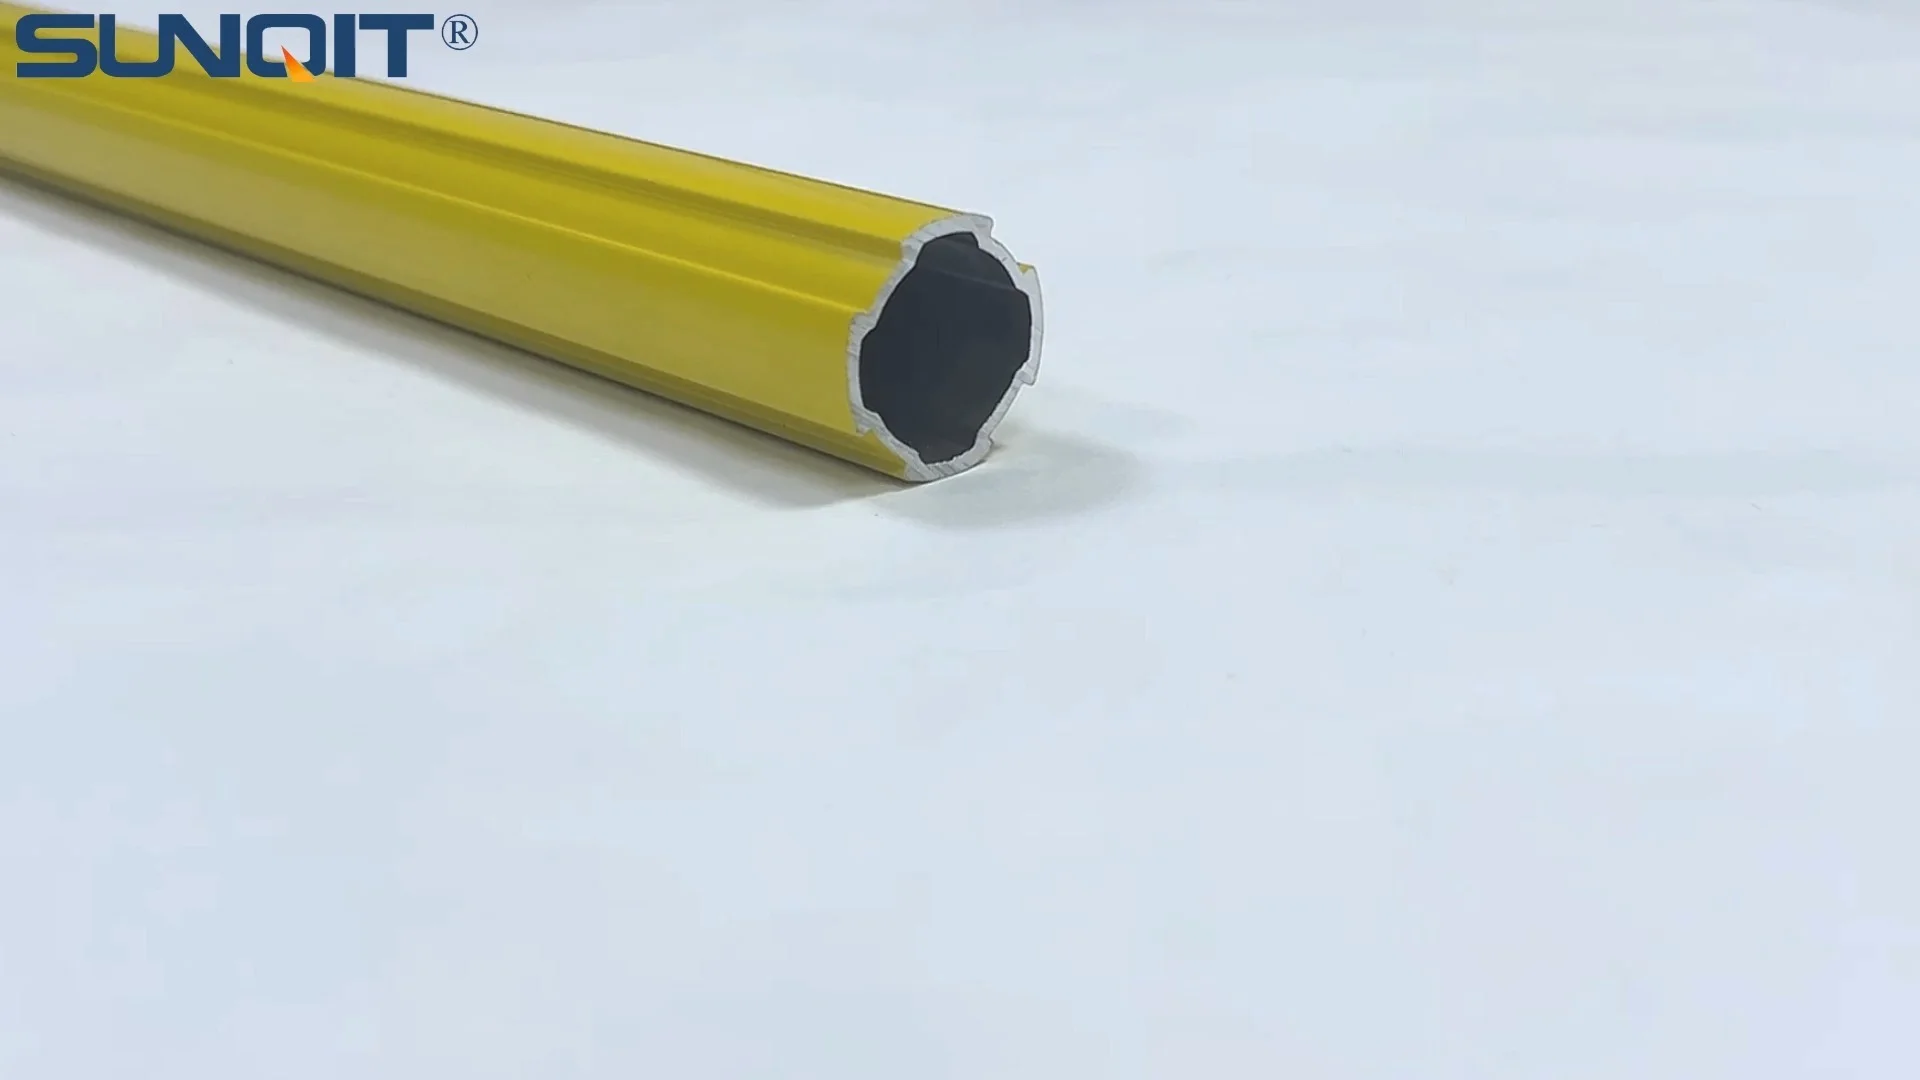
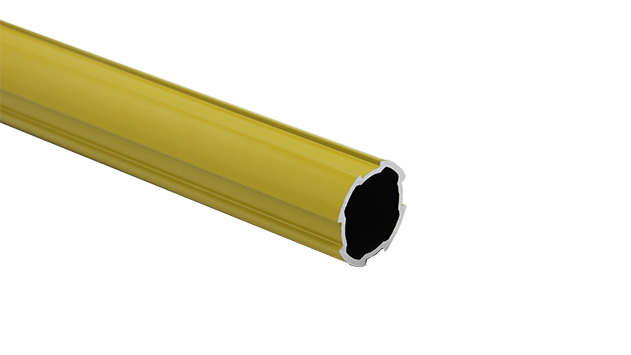
Aluminum pipe, it is used for workbench, flow rack,hand trolley assemble work with advantage of flexible and durable, yellow color makes it more attactive as a caution remind.
A beginner-friendly guide to building custom workbenches, racks, and more with simple, no-weld techniques
Why T Slot Aluminum Pipe? Say Goodbye to Welding Headaches
If you've ever tried to build something with metal, you know the drill: welding torches, sparks, fumes, and the stress of getting a perfect joint. It's messy, time-consuming, and honestly, way beyond the skill set of most DIYers or small workshop owners. But what if I told you there's a better way? Enter t slot aluminum pipe —a game-changer for anyone who wants to build sturdy, customizable structures without picking up a welding rod.
T slot aluminum pipes (also called aluminum extrusion profiles) are lightweight, strong, and designed with a special groove (the "T slot") that lets you connect pieces using simple accessories. No heat, no sparks, no prior metalworking experience required. Whether you're building a workbench for your garage, a material rack for your warehouse, or a custom conveyor guide, this method lets you assemble, disassemble, and reconfigure on the fly. I've seen small manufacturers cut their setup time in half using this system, and hobbyists finally bring their project ideas to life without the frustration of traditional welding.
The Basics: What You Need to Get Started
Before we dive into the step-by-step process, let's talk about the star players here: the materials and tools. The best part? You won't need a fully stocked workshop. Here's what you'll need:
1. T Slot Aluminum Pipe and Profiles
These are the backbone of your project. T slot aluminum pipes come in various sizes (like 2020, 3030, or 4040, referring to width and height in millimeters) and wall thicknesses. For most projects—like a small workbench or shelf—2020 or 3030 profiles work great. Heavier loads (think industrial material racks) might call for 4040 or larger. Look for anodized finishes; they're corrosion-resistant and give a clean, professional look.
2. Aluminum Profile Accessories
This is where the magic happens. Aluminum profile accessories are the connectors, clamps, and fasteners that hold everything together without welding. We'll dive deeper into specific types later, but the essentials include:
- Joints/Connectors: 90° angles, T-joints, and straight connectors for corner and inline connections.
- T Slot Nuts and Bolts: These slide into the T slot and tighten to secure accessories.
- End Caps: Cover sharp edges and give a finished look.
- Aluminum Pipe Clamp: Useful for attaching flat surfaces (like plywood or metal sheets) to the profiles.
3. Basic "Tool-Free" Tools
While "tool-free" is the goal, you might need a few simple hand tools to tighten bolts or adjust connections. A hex key (Allen wrench) is the most common—many accessories use metric hex bolts. A rubber mallet can help seat joints snugly, and a tape measure ensures your project stays square. No welding torches, grinders, or power tools required!
Step-by-Step: Assembling T Slot Aluminum Pipe (No Welding Required)
Let's walk through building a simple workbench—a project I've helped dozens of small business owners tackle. We'll use aluminum guide rail A for the tabletop edges and an aluminum pipe clamp to secure the surface. Follow these steps, and you'll have a sturdy, customizable workbench in under an hour.
Step 1: Plan Your Design and Measure Twice
Start with a sketch. Measure the space where your workbench will go, and decide on dimensions. For a standard workbench, 120cm (length) x 60cm (depth) x 80cm (height) is a good starting point. List out the profiles you'll need: 4 vertical legs (80cm each), 2 front/back rails (120cm each), 2 side rails (60cm each), and 4 tabletop edge rails (120cm and 60cm for the perimeter). Don't forget to account for the thickness of joints—they add a few millimeters to the total length.
Pro tip: If you're new to this, start small. A mini workbench (80cm x 50cm) is easier to assemble and lets you practice before scaling up.
Step 2: Gather and Prepare Your Materials
Lay out all your profiles, accessories, and tools on a flat surface. If your aluminum pipes are longer than needed, you can cut them with a miter saw or hacksaw (use a metal-cutting blade). Sand the cut edges with fine-grit sandpaper to remove burrs—no one wants sharp edges!
Step 3: Build the Frame (Legs and Rails)
Start with the vertical legs and horizontal rails. For each corner, use a 90° angle connector. Here's how:
- Slide a T slot nut into the end of a horizontal rail (front/back or side rail).
- Align the rail with the vertical leg, so the T slot nut lines up with the hole in the 90° connector.
- insert a hex bolt through the connector and into the T slot nut. Tighten with a hex key—snug, but don't overdo it (you can strip the threads!).
- Repeat for all four corners until you have a rectangular frame with legs.
Check for square: Measure the diagonals of the frame. If they're equal, your corners are 90°. If not, gently tap the corners with a rubber mallet until they align.
Step 4: Add the Tabletop and Aluminum Guide Rail A
Now, attach the tabletop. Cut a piece of plywood, MDF, or aluminum sheet to fit your frame (120cm x 60cm). To secure it, use aluminum pipe clamps —they're designed to grip the tabletop and bolt into the T slot of the aluminum rails.
For extra durability, add aluminum guide rail A along the front and back edges of the tabletop. Guide rails protect the edges from dents and can also serve as a stop for tools or materials. Slide the guide rail into the T slot of the frame rails, secure with T slot nuts, and tighten gently.
Step 5: Test and Adjust
Stand the workbench upright. Shake it gently—does it wobble? If so, check your connections. Loose bolts are usually the culprit. Tighten them slightly, but remember: aluminum is strong but can bend if over-tightened. If the legs aren't level, add adjustable feet (another handy accessory!) to balance it out.

Aluminum Profile Accessories: Your Secret to Versatility
The real power of T slot aluminum lies in its accessories. With the right ones, you can turn a basic frame into a workbench, shelving unit, or even a small conveyor. Let's break down the most useful aluminum profile accessories and how to use them:
| Accessory Type | Use Case | Installation Tip |
|---|---|---|
| 90° Angle Connector | Connecting vertical and horizontal rails (e.g., workbench legs to frame) | Use two per corner for extra stability on heavy projects. |
| Aluminum Pipe Clamp | Attaching tabletops, shelves, or panels to profiles | Space clamps 20-30cm apart to distribute weight evenly. |
| Aluminum Guide Rail A | Edge protection, material stops, or sliding track guides | Pair with roller bearings for smooth sliding surfaces (great for conveyor builds). |
| T Slot Nuts and Bolts | Securing all accessories to T slot profiles | Use spring-loaded T slot nuts for easier installation—they stay in place when you're tightening bolts. |
| End Caps | Covering exposed profile ends | Tap gently with a rubber mallet to seat them—they should fit snugly but not require force. |
Pro tip: Mix and match accessories for custom solutions. I once built a mobile workbench by adding casters (via caster mounts) to the legs and a tool rack using T-joints and small profiles. The possibilities are endless!

Beyond Workbenches: Creative Projects with Tool-Free Assembly
T slot aluminum isn't just for workbenches. Here are a few ideas to spark your creativity:
1. Material Racks and Shelving
Build adjustable shelves for your garage or warehouse. Use T slots to add or remove shelves as needed—no more drilling holes in walls! For heavy items, reinforce with cross-braces and use thicker profiles (4040 or 4080).
2. Conveyor Systems
Small businesses love this! Use aluminum guide rail A as tracks for rollers or belts. Tool-free assembly means you can reconfigure the conveyor path in minutes if your workflow changes.
3. 3D Printer Enclosures
Keep your 3D printer safe from dust and drafts with a custom enclosure. Add acrylic panels using aluminum pipe clamps, and even integrate LED lights via T slot channels.
Tips for Success: Avoid These Common Mistakes
Even pros make mistakes—here's how to avoid them:
Tip 1: Don't Over-Tighten Bolts
Aluminum threads are softer than steel. Snug is good; cranking until the bolt strips is bad. If you hear a "creaking" sound, you've gone too far.
Tip 2: Match Accessories to Profile Size
A 2020 connector won't fit a 3030 profile. Double-check sizes before buying—most suppliers list compatibility on their websites.
Tip 3: Plan for Weight
Know your load! A 2020 profile can hold about 10-15kg per linear meter. For heavier items, upgrade to larger profiles or add support braces.
Final Thoughts: Build, Adapt, Repeat
Assembling t slot aluminum pipe without welding isn't just a skill—it's a mindset. It's about building solutions that grow with you. Whether you're a hobbyist tinkering in your garage or a manufacturer streamlining your production line, this tool-free method saves time, reduces frustration, and unlocks endless possibilities.
I still remember the first workbench I built with T slot aluminum. It was wobbly at first (I forgot to check the diagonals!), but after a few adjustments, it became the centerpiece of my workshop. Now, years later, I've reconfigured it three times—adding shelves, a tool rail, and even wheels for mobility. That's the beauty of it: nothing is permanent. You can take it apart, move it, or repurpose it whenever you need.
So grab some profiles, gather your accessories, and start building. The only limit is your imagination (and maybe the size of your workspace). Happy assembling!