- Company Articles
- Products and Technology
- Installation And Maintenance
- How to Build Material Rack B with T-Groove Aluminum Pipe: A Practical Guide

How to Build Material Rack B with T-Groove Aluminum Pipe: A Practical Guide
Related Product
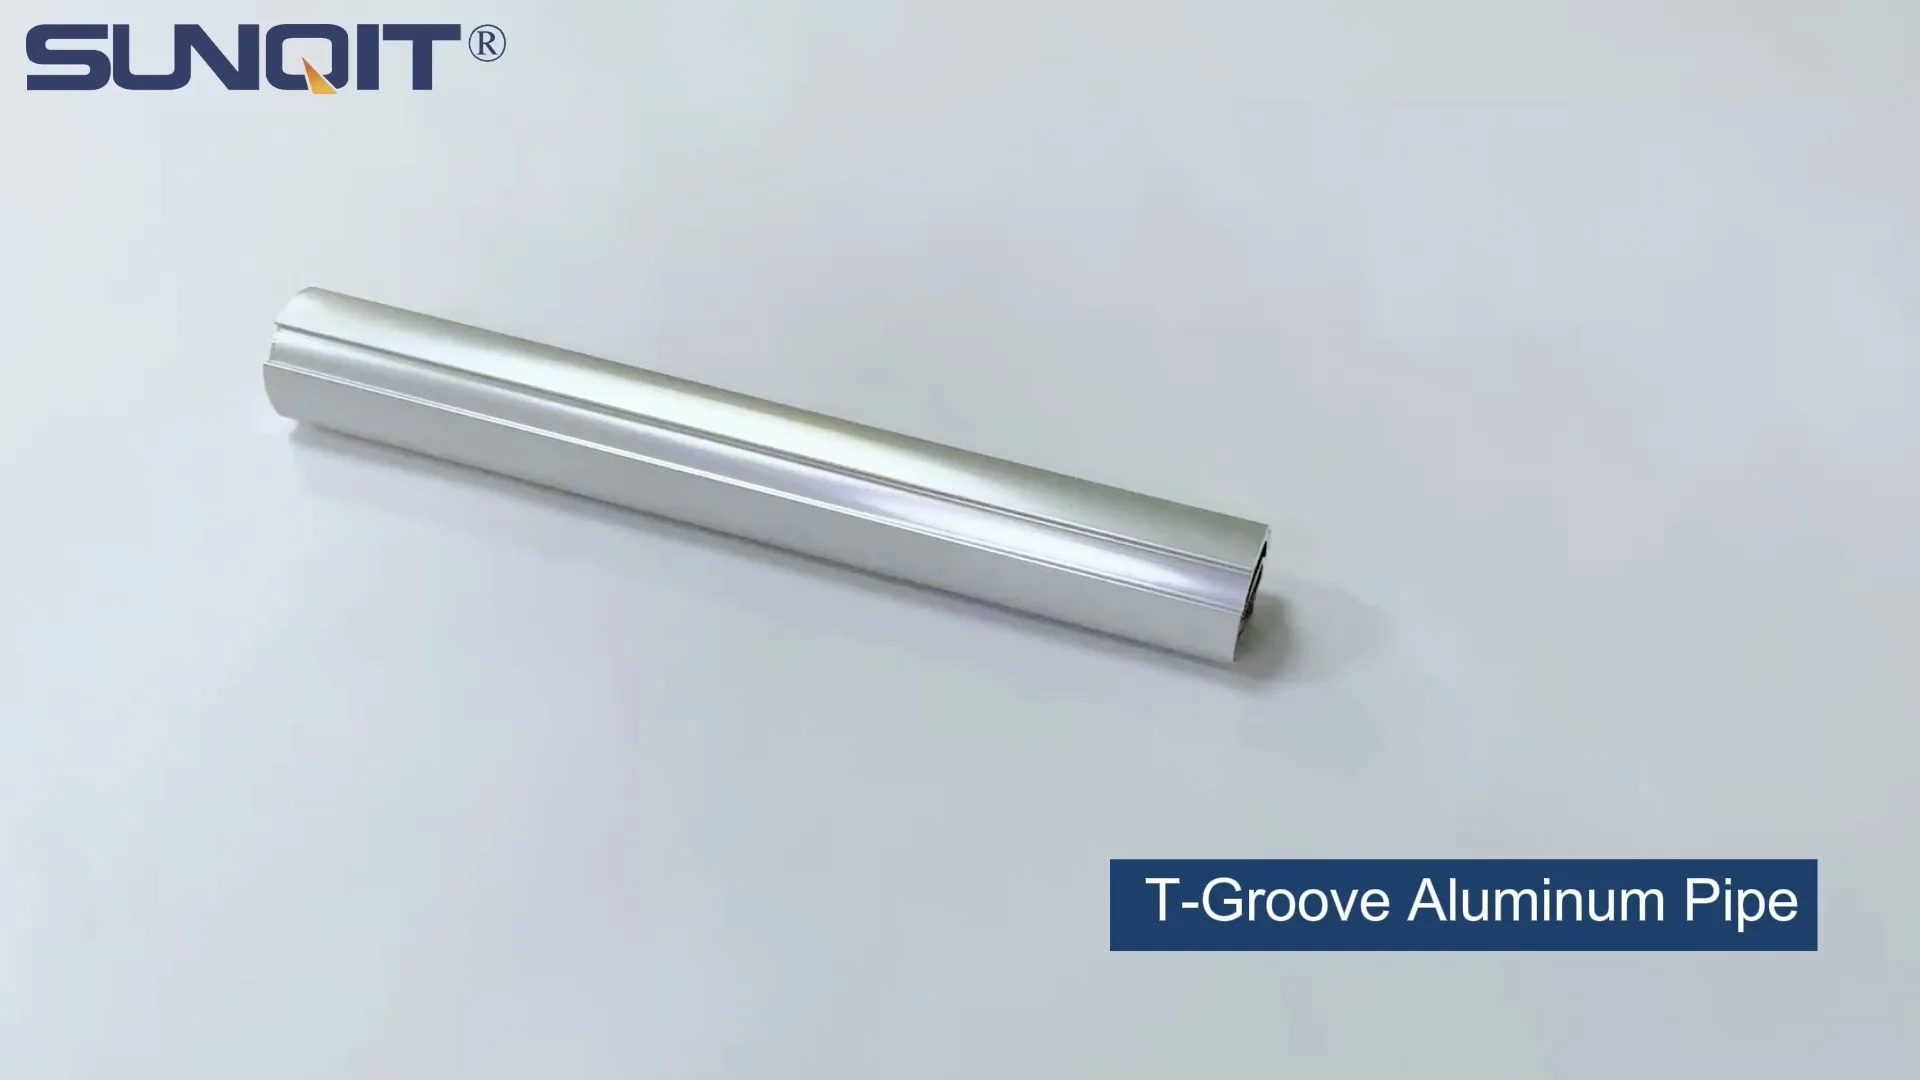
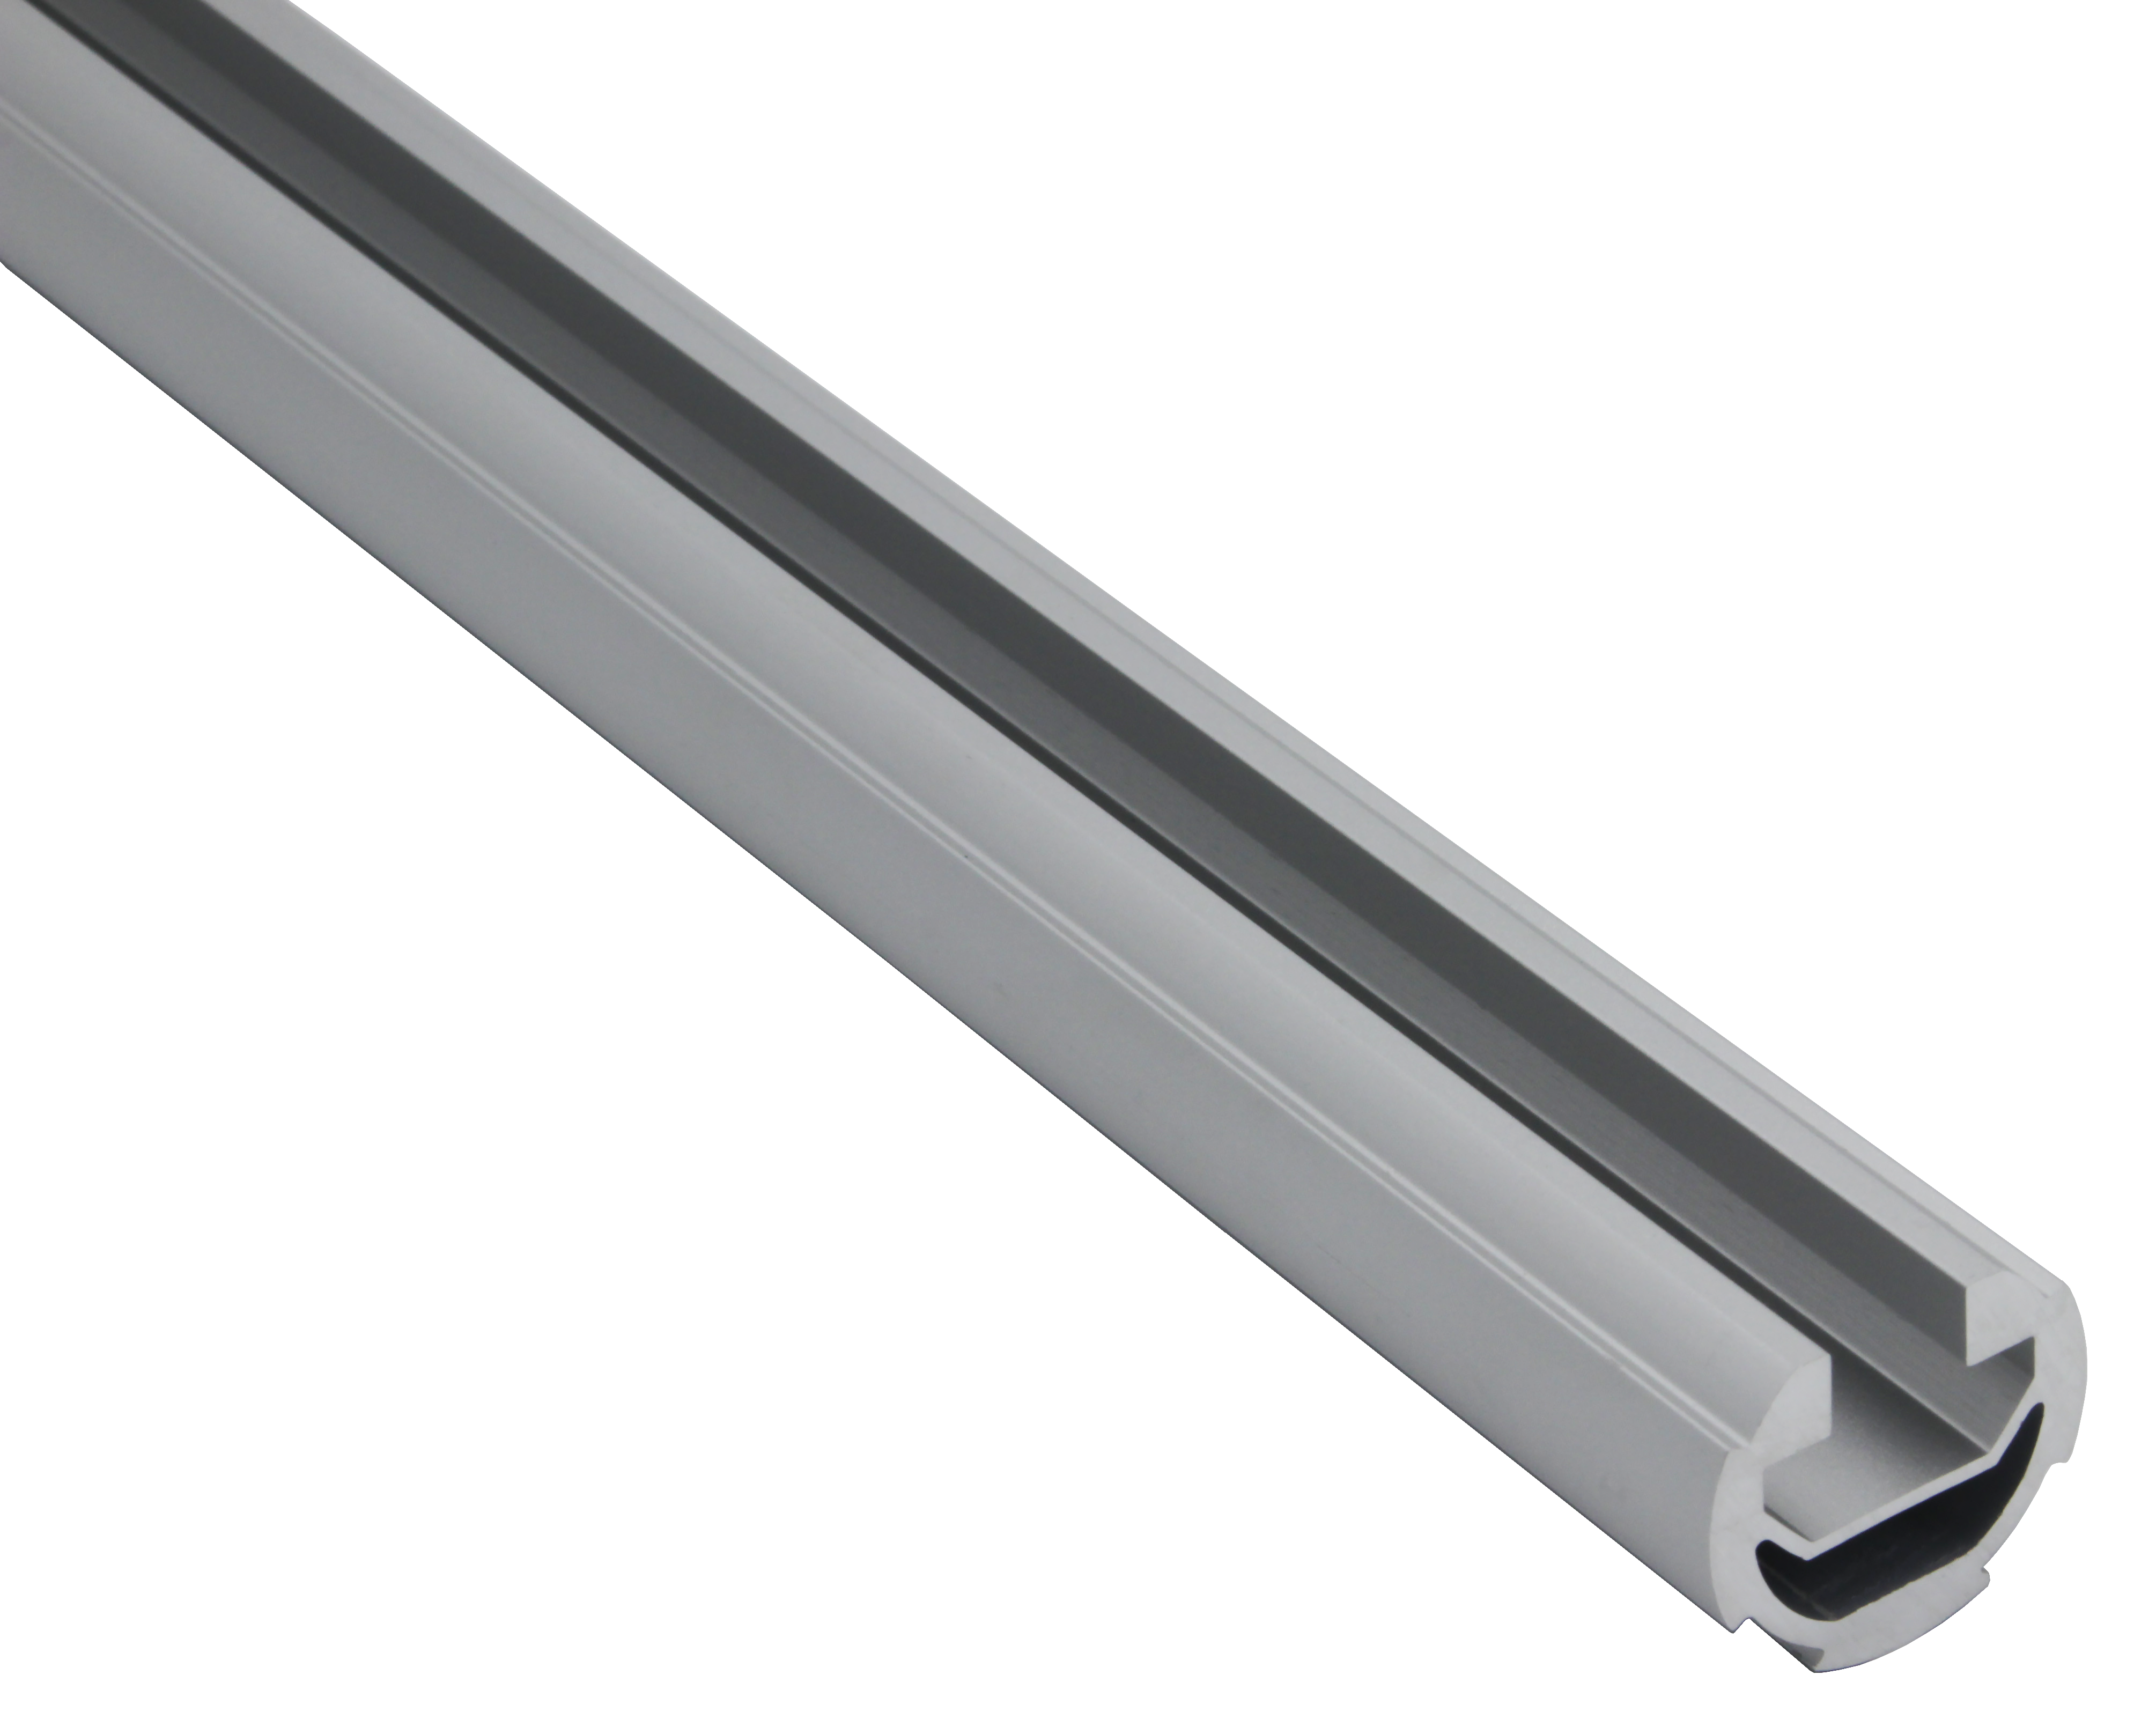
T-Groove Aluminum Pipe
The aluminum pipe opening 10mm is installed into the T-shaped slider, which can be installed with casters or other matching functional parts. The groove can be used for positioning and is used for the track of the roller.
Ever walked into a workshop or warehouse and felt overwhelmed by the chaos? Tools scattered, parts stacked haphazardly, and that one elusive component hiding at the bottom of a pile—sound familiar? If you're nodding, you know the cost of disorganization: wasted time, frustrated teams, and even delayed production. But what if there was a simple, customizable solution to bring order to the madness? Enter Material Rack B (3 row and 3 floor) —a versatile storage system built with T-groove aluminum pipe that's designed to streamline your space, boost efficiency, and grow with your needs. In this guide, we'll walk through every step of building your own Material Rack B, from gathering materials to final assembly. Let's turn that cluttered corner into a model of lean organization.
Why Material Rack B? The Case for Aluminum Extrusion Profiles
Before we dive into the "how," let's talk about the "why." Material Rack B isn't just another shelf—it's a lean solution engineered for practicality. What makes it stand out? Start with the materials: it's built using aluminum extrusion profiles (think T-groove aluminum pipes) and aluminum profile accessories . Unlike flimsy plastic shelves or heavy steel racks, aluminum extrusion profiles strike the perfect balance of strength and flexibility. They're lightweight enough to move (if needed) but sturdy enough to hold heavy tools, parts, or finished products. Plus, the T-groove design means you can easily add, remove, or reposition shelves, dividers, or hooks—no drilling or welding required.
Material Rack B, specifically the 3-row, 3-floor model, is ideal for medium to large storage needs. Picture this: three horizontal rows, each split into three vertical floors, creating 9 separate compartments. That's enough space to sort parts by size, project, or frequency of use—no more digging through a jumble of items. Whether you're running a small workshop, a manufacturing line, or a warehouse, this rack adapts to your workflow. And because it's modular, you can expand it later by adding more rows or floors, or even repurpose it as your needs change.
Another perk? Durability. Aluminum resists rust and corrosion, so it holds up in humid garages, dusty factories, or even outdoor sheds. Unlike wood, it won't warp or rot; unlike steel, it won't leave unsightly rust stains on your tools. And let's not forget aesthetics—aluminum has a clean, modern look that instantly elevates the feel of any space. Your team will thank you for a storage system that's as easy on the eyes as it is on their productivity.
Gearing Up: Tools and Materials You'll Need
Building Material Rack B is a DIY-friendly project, but like any job, having the right tools and materials makes all the difference. Let's start with the tools—you probably already have most of these in your toolbox:
- A measuring tape (10ft or longer, for accuracy)
- A pencil or marker (to mark cut lines, if needed)
- A rubber mallet (to gently tap joints into place without damaging the aluminum)
- Hex keys (often included with aluminum profile accessories—check the size of your T-groove bolts!)
- A level (to ensure your rack stands straight and doesn't wobble)
- A square (to confirm corners are 90 degrees)
- Optional: A hacksaw or miter saw (if you need to cut aluminum profiles to custom lengths; many suppliers will pre-cut them for you, which saves time)
Now, the star of the show: the materials. Below is a breakdown of what you'll need to build Material Rack B (3 row and 3 floor). Note: Quantities may vary slightly based on the height/depth of your rack—we'll use standard dimensions (6ft tall x 4ft wide x 1.5ft deep) as a baseline. Adjust based on your space!
| Component | Quantity | Description |
|---|---|---|
| Aluminum Extrusion Profile (T-groove, 20x40mm) | 12 pcs | Main vertical supports (6ft length) and horizontal frame rails (4ft and 1.5ft lengths) |
| Aluminum Profile Accessories: Corner Brackets | 24 pcs | 90-degree connectors for joining vertical and horizontal profiles |
| Aluminum Profile Accessories: Shelf Supports | 36 pcs | Small brackets to hold shelf boards in place (3 per shelf, 12 shelves total) |
| Shelf Boards (Plywood or MDF) | 9 pcs | 1/2-inch thick, cut to fit each floor (4ft x 1.5ft) |
| T-groove Bolts and Nuts (M5 x 16mm) | 100+ pcs | To secure brackets and accessories to aluminum profiles (include extras!) |
| End Caps for Aluminum Profiles | 24 pcs | Plastic caps to cover sharp ends of aluminum pipes (safer and cleaner-looking) |
| Optional: Casters | 4 pcs | Lockable casters if you want the rack to be mobile (attach to bottom supports) |
Pro Tip:
Buy your aluminum extrusion profiles and accessories from a reputable supplier. Look for suppliers that offer pre-cut lengths—this saves you time and ensures accuracy. If you're unsure about sizing, ask for a sample profile to test-fit brackets and bolts before ordering in bulk.
Step-by-Step Assembly: Building Your Material Rack B
Now, let's get hands-on. Building Material Rack B is a weekend project—even if you're new to DIY. Take it slow, follow these steps, and you'll have a sturdy, organized rack by Sunday evening.
Step 1: Prep Your Workspace
First, clear a flat, level area—preferably a garage floor or workshop table. Lay out all your materials and tools so they're easy to reach. Check that your aluminum extrusion profiles are straight (sometimes they can get bent in shipping—gently straighten them with a rubber mallet if needed). If you're cutting profiles to length, measure twice and cut once! Mark your cut lines with a pencil, then use a hacksaw (or miter saw with a metal-cutting blade) to make clean cuts. Sand the edges lightly to remove burrs—safety first!
Step 2: Build the Frame (Vertical Supports + Horizontal Rails)
Start with the main frame: you'll need 4 vertical supports (the 6ft aluminum profiles) and 8 horizontal rails (4 of 4ft length for the front/back, 4 of 1.5ft length for the sides). Lay two vertical supports parallel to each other, 4ft apart. Attach a 4ft horizontal rail to the top of the vertical supports using corner brackets: slide the bracket into the T-groove of the vertical profile, align the horizontal rail, and secure with bolts. Tighten the bolts just enough to hold the pieces together—you'll adjust for square later. Repeat for the bottom rail, then do the same with the other two vertical supports to create a second "side frame."
Now, connect the two side frames with the 1.5ft horizontal rails. Attach one rail to the top front, top back, bottom front, and bottom back of the side frames. Stand the frame upright—if it wobbles, check that all corners are square using your square tool. Adjust the bolts as needed, then fully tighten them with a hex key. You should now have a rectangular frame that's 6ft tall, 4ft wide, and 1.5ft deep.
Step 3: Add Internal Supports (Rows and Floors)
Material Rack B has 3 rows and 3 floors, so we need to divide the main frame into sections. First, add vertical dividers: cut 4 more 6ft aluminum profiles and attach them horizontally across the frame to create 3 equal rows (each ~16 inches wide). Use corner brackets to secure these dividers to the top and bottom horizontal rails. Next, add horizontal shelf supports to create 3 floors per row. Measure 2ft from the bottom and mark—this will be your first floor. Attach shelf support brackets to the vertical supports and dividers at this height, then repeat at 4ft (second floor) and 6ft (top floor). Make sure the brackets are level—use your level tool to double-check!
Step 4: Install Shelf Boards
Now it's time to add the shelves. Place a shelf board on top of the first-floor brackets, centering it so there's equal overhang on all sides. Secure the board to the brackets using small wood screws (pre-drill holes to avoid splitting the wood). Repeat for all 9 shelves (3 rows x 3 floors). Once all shelves are in place, give each one a gentle push to test stability—they should feel solid, with no wobbling. If a shelf sags, add an extra support bracket in the middle.
Step 5: Finishing Touches
Almost done! Snap the plastic end caps onto the exposed ends of the aluminum extrusion profiles—this covers sharp edges and gives the rack a polished look. If you're adding casters, flip the rack onto its side (get a helper for this!) and attach the casters to the bottom corners using bolts and washers. Make sure the casters lock securely to prevent the rack from rolling. Finally, wipe down the shelves with a damp cloth to remove dust or fingerprints.
Pro Tip:
Label your shelves! Use adhesive labels or a label maker to mark each compartment (e.g., "Small Parts – Row 1, Floor 1" or "Finished Products – Row 3, Floor 3"). This makes it even easier for your team to find (and return!) items, keeping the rack organized long-term.

Troubleshooting Common Issues
Even with careful planning, you might run into a few hiccups. Here's how to fix them:
- Wobbly Frame: Check if all bolts are tight. If the frame still wobbles, add diagonal braces (using extra aluminum profiles) between the top and bottom corners—this adds lateral stability.
- Shelves Sagging: Upgrade to thicker shelf boards (3/4-inch plywood instead of 1/2-inch) or add center supports. Avoid overloading shelves—aluminum extrusion profiles can hold up to 50 lbs per linear foot, but distribute weight evenly.
- Brackets Not Fitting: Double-check that you're using the right aluminum profile accessories for your T-groove size (e.g., 20x40mm profiles need 20x40mm brackets). If brackets are loose, wrap a small piece of electrical tape around the T-groove before inserting the bracket for a tighter fit.
- Uneven Floors: If your rack rocks on an uneven surface, adjust the feet (or casters) by adding shims under the legs, or use adjustable leveling feet (available as aluminum profile accessories) to fine-tune the height.

Beyond the Basics: Customizing Your Material Rack B
One of the best things about Material Rack B is its flexibility. Here are a few ways to customize it to your specific needs:
- Add Hooks or Bins: Use T-groove hooks (another type of aluminum profile accessory) to hang tools, cables, or small bags from the sides or top of the rack. Attach plastic bins to the shelves for storing tiny parts like screws or washers.
- Adjust Shelf Heights: Need taller storage for bulky items? Loosen the shelf support brackets and slide them up or down—the T-groove design lets you reposition shelves in minutes.
- Expand the Rack: Need more space later? Buy extra aluminum extrusion profiles and accessories to add a fourth row or fourth floor. You can even connect two Material Rack B units side by side for a wider storage system.
- ESD Protection: If you're storing sensitive electronics, use ESD-safe shelf mats (available at most industrial supply stores) to prevent static damage. You can also upgrade to ESD-rated aluminum profiles (though standard aluminum works for most applications).
Remember, this rack is part of a lean solution —it should adapt to your workflow, not the other way around. Experiment with different configurations until you find what works best for your team.
Maintenance: Keeping Your Rack in Top Shape
With a little care, your Material Rack B will last for years. Here's how to maintain it:
- Clean Regularly: Dust shelves monthly with a dry cloth; wipe spills immediately to prevent staining.
- Tighten Bolts: Check bolts every 6 months—vibration from daily use can loosen them. A quick turn with a hex key keeps the rack sturdy.
- Inspect for Damage: Look for bent aluminum profiles or cracked brackets. replace damaged parts promptly to avoid safety hazards.
- Lubricate Casters: If you added casters, apply a drop of oil to the wheels every few months to keep them rolling smoothly.
By following these steps, your Material Rack B will stay functional and attractive for years to come—no more replacing flimsy shelves every year!
Final Thoughts: From Chaos to Order
Building Material Rack B with T-groove aluminum pipe isn't just about creating storage—it's about investing in your team's productivity and peace of mind. When tools and parts have a designated home, your team spends less time searching and more time creating. And because it's built with aluminum extrusion profiles and aluminum profile accessories , it's a solution that grows with you. Whether you're a hobbyist with a garage workshop or a manager overseeing a busy factory floor, this rack is proof that organization doesn't have to be complicated or expensive.
So, what are you waiting for? Gather your materials, grab your tools, and start building. In a few hours, you'll transform that cluttered corner into a space that works for you—one shelf at a time. And when you're done, stand back and admire your handiwork: a Material Rack B that's not just functional, but a testament to the power of a little DIY spirit and smart design. Here's to a more organized, efficient workspace!