- Company Articles
- Products and Technology
- Product knowledge
- How to Calculate Material Quantity: T-Groove Aluminum Pipe for Large Projects

How to Calculate Material Quantity: T-Groove Aluminum Pipe for Large Projects
Related Product
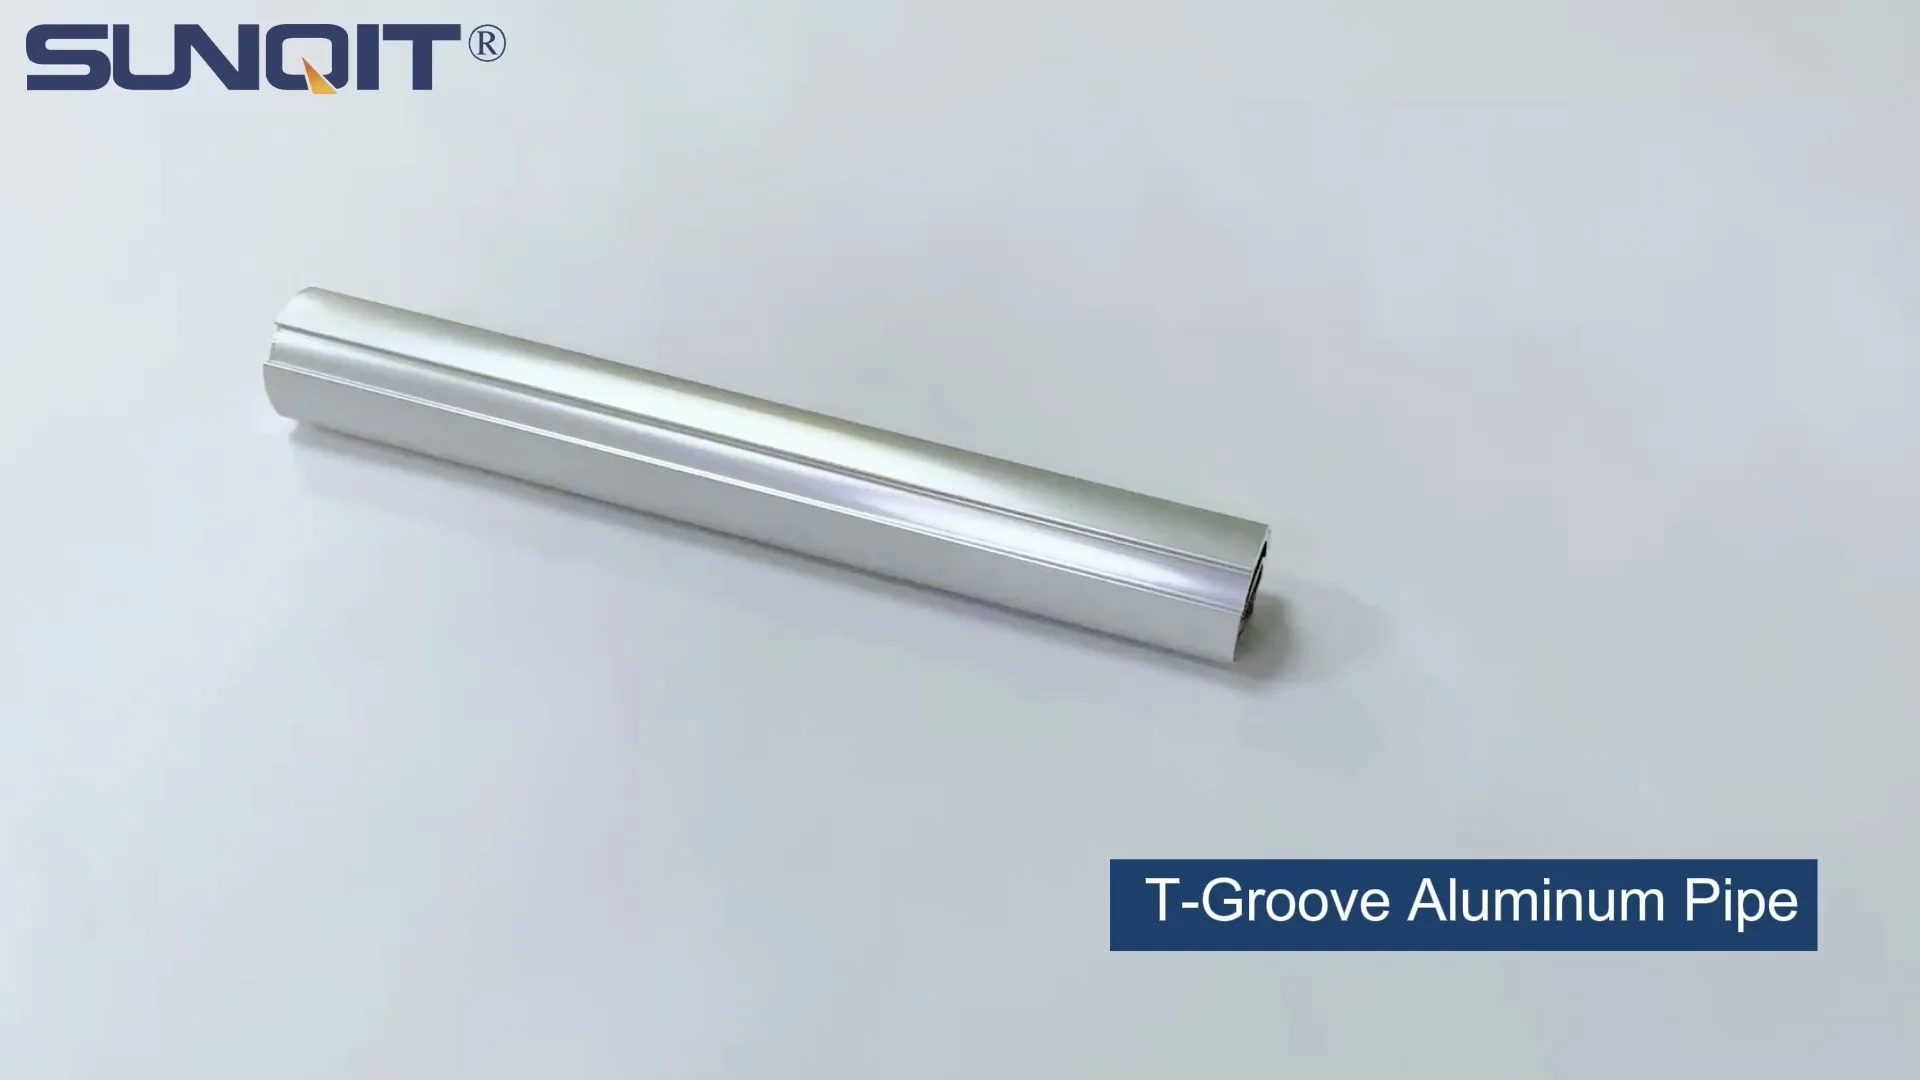
T-Groove Aluminum Pipe
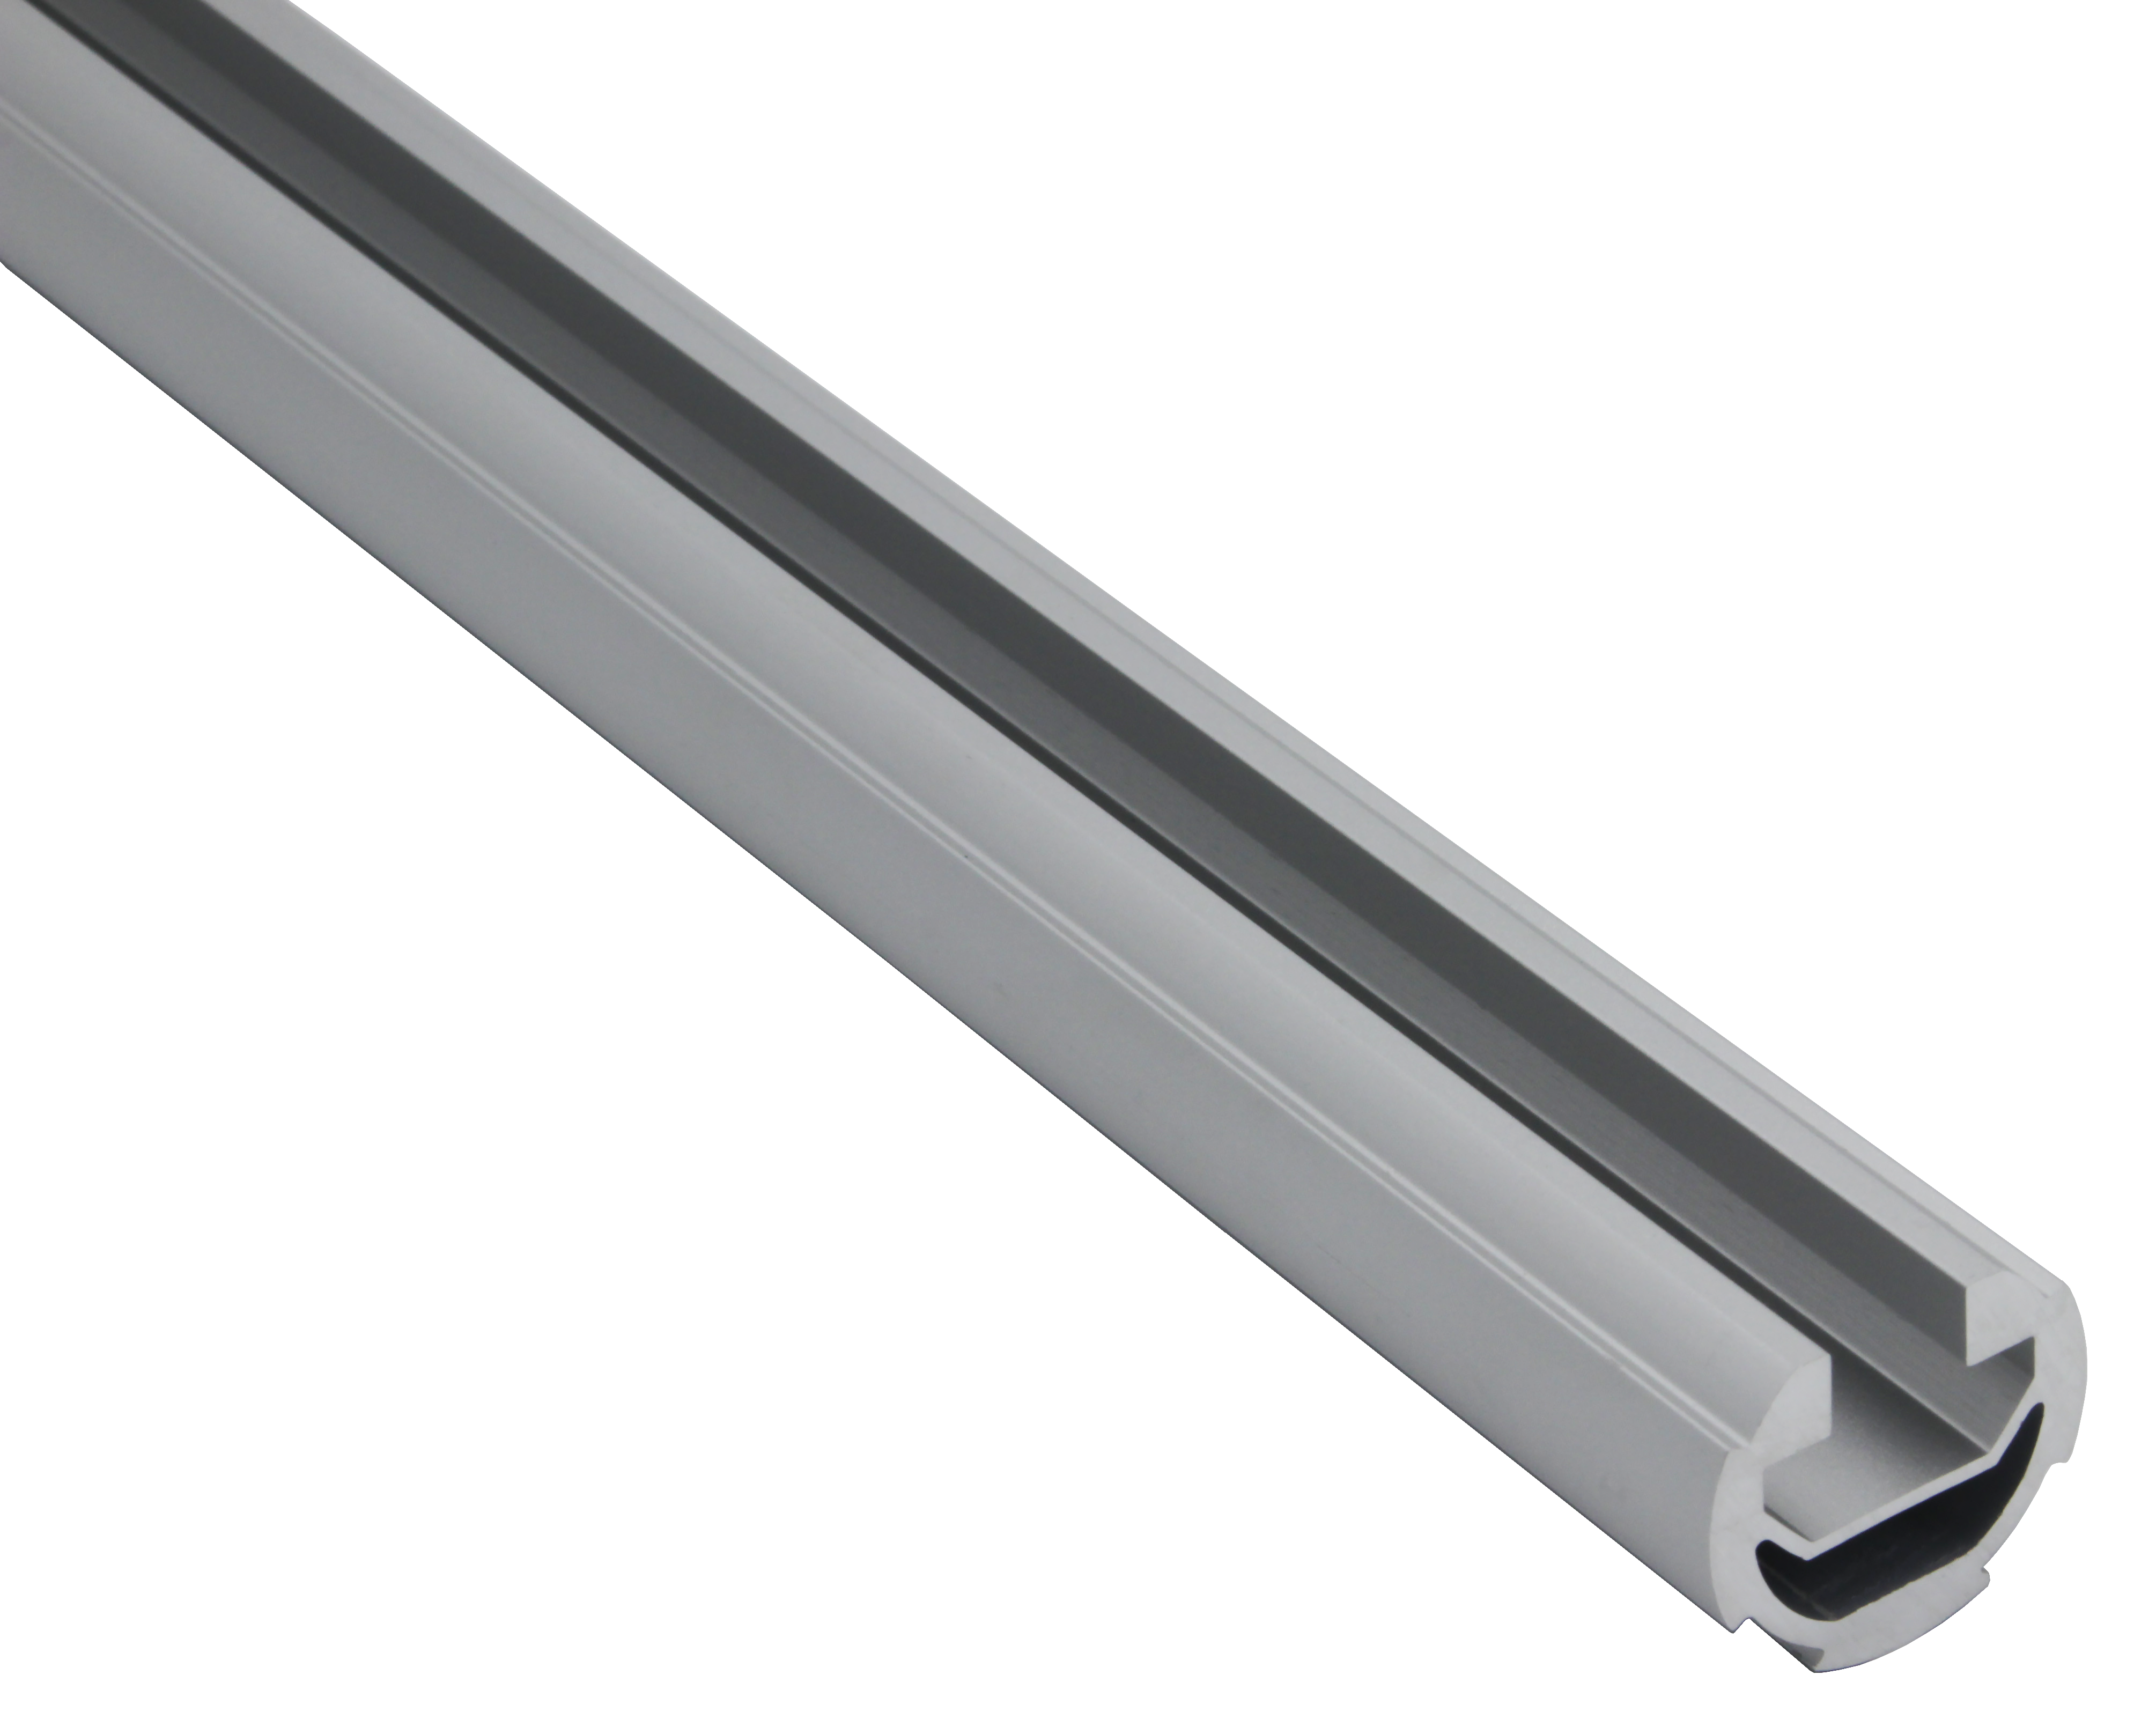
The aluminum pipe opening 10mm is installed into the T-shaped slider, which can be installed with casters or other matching functional parts. The groove can be used for positioning and is used for the track of the roller.
Imagine standing in the middle of a bustling factory floor, surrounded by half-assembled workbenches, stacks of metal pipes, and a team waiting for your signal to proceed. You've spent weeks finalizing the design for a new production line, but there's a problem: the T-slot aluminum pipe shipment arrived short by 20%. Now, work has ground to a halt, deadlines are slipping, and the budget is bleeding from rush delivery fees. Sound familiar? For anyone managing large-scale projects involving modular structures—whether it's manufacturing facilities, warehouse layouts, or industrial workstations—miscalculating material quantities isn't just a hassle; it's a costly, time-consuming nightmare.
T-groove aluminum pipe, with its sleek design, lightweight strength, and unmatched modularity, has revolutionized how we build everything from assembly lines to retail displays. But its versatility comes with a catch: getting the numbers right—how many pipes, what lengths, and which accessories are needed—requires more than just a quick glance at the blueprints. In this guide, we'll walk through the step-by-step process of calculating material quantities for aluminum extrusion profile projects, demystifying the jargon and sharing practical tips to keep your project on track, on budget, and on schedule.
Why Accurate Calculation Matters (Spoiler: It's Not Just About Saving Money)
Before diving into formulas and measurements, let's talk about why this matters. For large projects, even a 5% miscalculation in aluminum profile quantity can lead to:
- Delays: Waiting for backordered pipes or accessories can stall construction for days or weeks, especially if your supplier is overseas.
- Waste: Overordering might seem "safer," but excess pipes take up storage space, tie up capital, and often end up as scrap if they can't be repurposed.
- Compromised Quality: Cutting corners with shorter pipes or mismatched accessories to make up for shortages weakens structures, risking safety and durability.
The good news? With a systematic approach, you can nail your material quantities the first time. Let's start by understanding the basics of the star of the show: T-groove aluminum pipe.
T-Groove Aluminum Pipe 101: What You Need to Know Before Calculating
T-groove aluminum pipe—also called T-slot aluminum or aluminum profile —is exactly what it sounds like: hollow aluminum tubes with T-shaped grooves running along their length. These grooves allow you to slide in connectors, brackets, and accessories, turning basic pipes into custom structures without welding or heavy tools. Common in lean manufacturing, automotive plants, and logistics hubs, they're prized for:
- Modularity: Reconfigure or expand structures as needs change (no need to start from scratch).
- Strength-to-Weight Ratio: Aluminum is lighter than steel but strong enough to support heavy loads, making installation easier and reducing structural stress.
- Corrosion Resistance: Ideal for humid or outdoor environments (look for anodized finishes for extra protection).
But not all T-groove pipes are created equal. They come in standard lengths (typically 3m, 4m, or 6m), diameters (15mm to 50mm), and wall thicknesses (1.2mm to 3mm). Thicker walls mean higher load capacity, but they also add weight and cost. Your first step? Check your project's specs to confirm the pipe size and grade—this will be the foundation of your calculations.
Step 1: Start with the "Why" and "What" of Your Project
Before picking up a tape measure, ask: What am I building, and what does it need to do? A flimsy display rack for retail won't require the same pipe strength as a workbench supporting 500kg of machinery. Grab your blueprints (or design software files) and note these key details:
Define the Structure Type
Are you building workbenches, flow racks, conveyor supports, or something else? Each structure has unique requirements. For example, a workbench might need 4 vertical legs, 2 horizontal side rails, and 1 top frame, while a flow rack could require dozens of horizontal pipes with roller tracks. List out every structural component—down to the smallest shelf or brace.
Load-Bearing Requirements
How much weight will the structure support? A pipe that works for a lightweight cart might buckle under heavy equipment. Check the manufacturer's load charts for your chosen aluminum extrusion profile —most suppliers provide data on maximum bending stress and deflection for different lengths and wall thicknesses. If your project involves unusual loads (e.g., vibrating machinery), add a 10-15% safety margin to your pipe strength requirements.
Environmental Factors
Will the structure be indoors or outdoors? Exposed to moisture, chemicals, or extreme temperatures? For outdoor use, you might need thicker-walled pipes or stainless steel accessories to prevent rust. For cleanrooms or electronics manufacturing, aluminum profile accessories like ESD-safe brackets could be non-negotiable. These factors might change the type of pipe or accessories you need, which in turn affects quantities.

Step 2: Measure Twice, Cut Once (But First, Measure the Right Things)
Now, let's get into the nitty-gritty: dimensions. For each structural component, you'll need to measure three key things: length, spacing, and quantity.
Length: The "How Long" of Pipes
Start with the overall dimensions of the structure. For a workbench that's 1.8m long, 0.8m deep, and 0.9m tall, the vertical legs would logically be 0.9m, right? Not so fast. Remember: pipes connect to each other using joints, which take up space. A typical aluminum profile accessories like a 90-degree corner joint might add 20mm to the total length of two connected pipes. So, if your leg needs to be 0.9m from the floor to the top rail , you'll need to subtract the joint's length from the pipe itself. For example: 900mm (total height) – 20mm (joint) = 880mm (pipe length per leg).
Pro tip: Create a "dimension log" for each component. For the workbench example, your log might look like this:
| Component | Total Structure Dimension | Joint/Accessory Length | Required Pipe Length |
|---|---|---|---|
| Vertical Legs | 900mm (height) | 20mm (bottom joint) + 20mm (top joint) = 40mm | 900mm – 40mm = 860mm |
| Horizontal Side Rails | 1800mm (length) | 20mm (left joint) + 20mm (right joint) = 40mm | 1800mm – 40mm = 1760mm |
Spacing: How Far Apart Should Pipes Be?
For structures like shelving or racks, pipe spacing directly impacts load capacity. A shelf supported by pipes every 300mm will hold more weight than one with pipes 600mm apart. Check industry standards (e.g., ISO guidelines for material handling) or run a quick stress test with a sample structure if you're unsure. For example, if you're building a 3m-long material rack with 3 shelves, and pipes need to be spaced 500mm apart vertically, you'll need 4 vertical pipes (one at each end, plus two in the middle) per rack section.
Quantity: How Many of Each Component?
Multiply the number of components per structure by the total number of structures. If you're building 50 workbenches, and each needs 4 vertical legs, that's 50 x 4 = 200 legs total. But don't stop there—account for spares! Even with perfect measurements, pipes can get bent in transit or cut incorrectly. A good rule of thumb: add 3-5% extra to your total quantity for small projects, or 5-7% for large ones (100+ structures).

Step 3: The Hidden Costs of Cuts, Wastage, and "Oops" Moments
Here's where even seasoned project managers slip up: forgetting to account for waste. When you cut a 6m pipe into 1.8m lengths, you won't get 3 perfect pieces (6 / 1.8 = 3.333). Instead, you'll get 3 pieces of 1.8m and one leftover 0.6m scrap. That scrap might be usable for smaller components, but if not, it's wasted material. To avoid this, you need to calculate:
Kerf Allowance: The "Width of the Cut"
Every time you cut a pipe with a saw, the blade removes a small amount of material (the "kerf"). For aluminum, this is usually 1-2mm per cut. If you're cutting a pipe into 5 pieces, that's 4 cuts, adding 4-8mm to your total length requirement. For example, cutting a 2m pipe into two 1m pieces? You'll need a pipe slightly longer than 2m (2000mm + 2mm kerf = 2002mm) to get two clean 1m sections.
Offcuts and Scrap: Making the Most of Leftovers
The goal is to minimize scrap by "nesting" cuts—arranging pipe lengths to use as much of the standard 3m, 4m, or 6m stock as possible. Let's say you need 10 pieces of 1.7m pipe and 15 pieces of 1.2m pipe. Standard stock length is 6m. How many 6m pipes do you need? Let's do the math:
Option 1: Cut 3 x 1.7m pieces per 6m pipe (3 x 1.7 = 5.1m). Leftover: 0.9m. For 10 pieces: 10 / 3 = 3.33 → 4 pipes. Scrap: 4 x 0.9m = 3.6m.
Option 2: Mix lengths. 1 x 1.7m + 3 x 1.2m = 1.7 + 3.6 = 5.3m per 6m pipe. Leftover: 0.7m. For 10 x 1.7m and 15 x 1.2m: You'd need 10 pipes (10 x 1.7m) and 5 pipes (15 / 3 = 5 x 1.2m), but nesting lets you do 10 pipes: 10 x (1.7 + 3x1.2) = 10 x 5.3 = 53m, using 10 x 6m pipes (60m total). Scrap: 7m total. Better than Option 1!
Tools like cut-list optimization software (e.g., CutList Plus) can automate this, but even a spreadsheet will help. The key is to plan cuts to turn "waste" into usable pieces for smaller components (e.g., shelf brackets, support braces).
Step 4: Don't Forget the Accessories (They're Not Just "Extras")
You've calculated the pipes, but what about the aluminum profile accessories that hold everything together? Joints, brackets, casters, and fasteners might seem like afterthoughts, but they're critical to both quantity and cost. A single connector can derail an entire section of your structure.
Counting Joints and Connectors
Every intersection of two pipes needs a joint. For a simple cube structure (4 vertical, 8 horizontal pipes), you'll have 12 joints (each vertical pipe connects to 2 horizontal pipes at the top and bottom). But some joints are multi-way—e.g., a 4-way connector can join 4 pipes at once, reducing the total number needed. Check your design for joint types (90-degree, 45-degree, swivel, etc.) and count them per structure, then multiply by the number of structures.
Fasteners, Brackets, and Specialty Accessories
Fasteners (like T-slot nuts and bolts) are usually sold in packs, but it's easy to underestimate how many you need. A single joint might require 2-4 bolts, and each shelf could need 8 brackets. For large projects, order these in bulk, but add a 10% buffer—they're small, easy to lose, and cheap to overstock compared to pipes.
Step 5: Putting It All Together (The Final Calculation)
Now, let's wrap it all into a master formula. For each pipe type (by length and diameter), your total quantity will be:
Total Pipes = (Required Pieces + Spares) + (Waste Allowance + Kerf) / Standard Stock Length
But let's break it down with a real-world example. Suppose you're building 50 workbenches, each requiring:
- 4 vertical legs: 0.86m each
- 2 horizontal side rails: 1.76m each
- 2 horizontal cross rails: 0.76m each
Standard stock length: 6m. Spare rate: 5%. Waste allowance: 10%. Kerf: 1mm per cut.
Step 5.1: Calculate Required Pieces per Workbench
Vertical legs: 4 x 50 = 200 pieces. Side rails: 2 x 50 = 100 pieces. Cross rails: 2 x 50 = 100 pieces.
Step 5.2: Add Spares (5%)
Vertical legs: 200 + (200 x 0.05) = 210 pieces. Side rails: 100 + 5 = 105. Cross rails: 100 + 5 = 105.
Step 5.3: Calculate Total Length Needed (Including Kerf)
Vertical legs: 210 pieces x (0.86m + 0.001m kerf) = 210 x 0.861 = 180.81m. Side rails: 105 x (1.76 + 0.001) = 105 x 1.761 = 184.905m. Cross rails: 105 x (0.76 + 0.001) = 105 x 0.761 = 80.005m. Total length: 180.81 + 184.905 + 80.005 = 445.72m.
Step 5.4: Add Waste Allowance (10%)
445.72m x 1.10 = 490.29m.
Step 5.5: Divide by Standard Stock Length (6m)
490.29m / 6m per pipe = 81.715 → 82 pipes. (Always round up!)
That's it! For 50 workbenches, you'll need 82 x 6m T-slot aluminum pipes, plus the calculated accessories. No more last-minute shortages, no more excess scrap—just a clear, actionable number.
Case Study: How a 1% Miscalculation Cost a Factory $25,000
Let's end with a cautionary tale. A mid-sized automotive parts manufacturer once commissioned a 200-workbench project using lean pipe and accessories . Their team calculated 1,200 vertical legs (0.9m each) using standard 6m stock, assuming 6 pieces per pipe (6 / 0.9 = 6.666 → 6 pieces, 0.6m scrap). They ordered 200 pipes (1,200 / 6 = 200). But they forgot the kerf: each cut removed 1mm, so each 6m pipe could only yield 5 full 0.9m pieces (5 x 0.9m = 4.5m; 5 cuts = 5mm kerf; total used: 4505mm, leaving 1495mm scrap). Result? They fell 200 legs short, requiring rush orders and overtime labor to rework the design. Total cost: $25,000 in delays and expedited shipping.
The fix? A simple kerf allowance would have shown they needed 240 pipes (1,200 legs / 5 pieces per pipe = 240), adding $8,000 to the material budget but saving $25,000 in headaches.
Final Thoughts: Precision = Peace of Mind
Calculating material quantities for T-groove aluminum pipe projects isn't rocket science, but it does require patience, attention to detail, and a willingness to plan for the unexpected. By defining your project scope, measuring carefully, accounting for waste and accessories, and using nesting to minimize scrap, you'll avoid the all-too-common pitfalls that derail large projects.
Remember: Every pipe, joint, and bracket is a building block—not just of your structure, but of your project's success. Take the time to get the numbers right, and you'll transform that chaotic factory floor into a symphony of efficiency.