- Company Articles
- Products and Technology
- Product knowledge
- How to Calculate the Right Quantity of Aluminum Guide Rail B for Your Production Line

How to Calculate the Right Quantity of Aluminum Guide Rail B for Your Production Line
Related Product
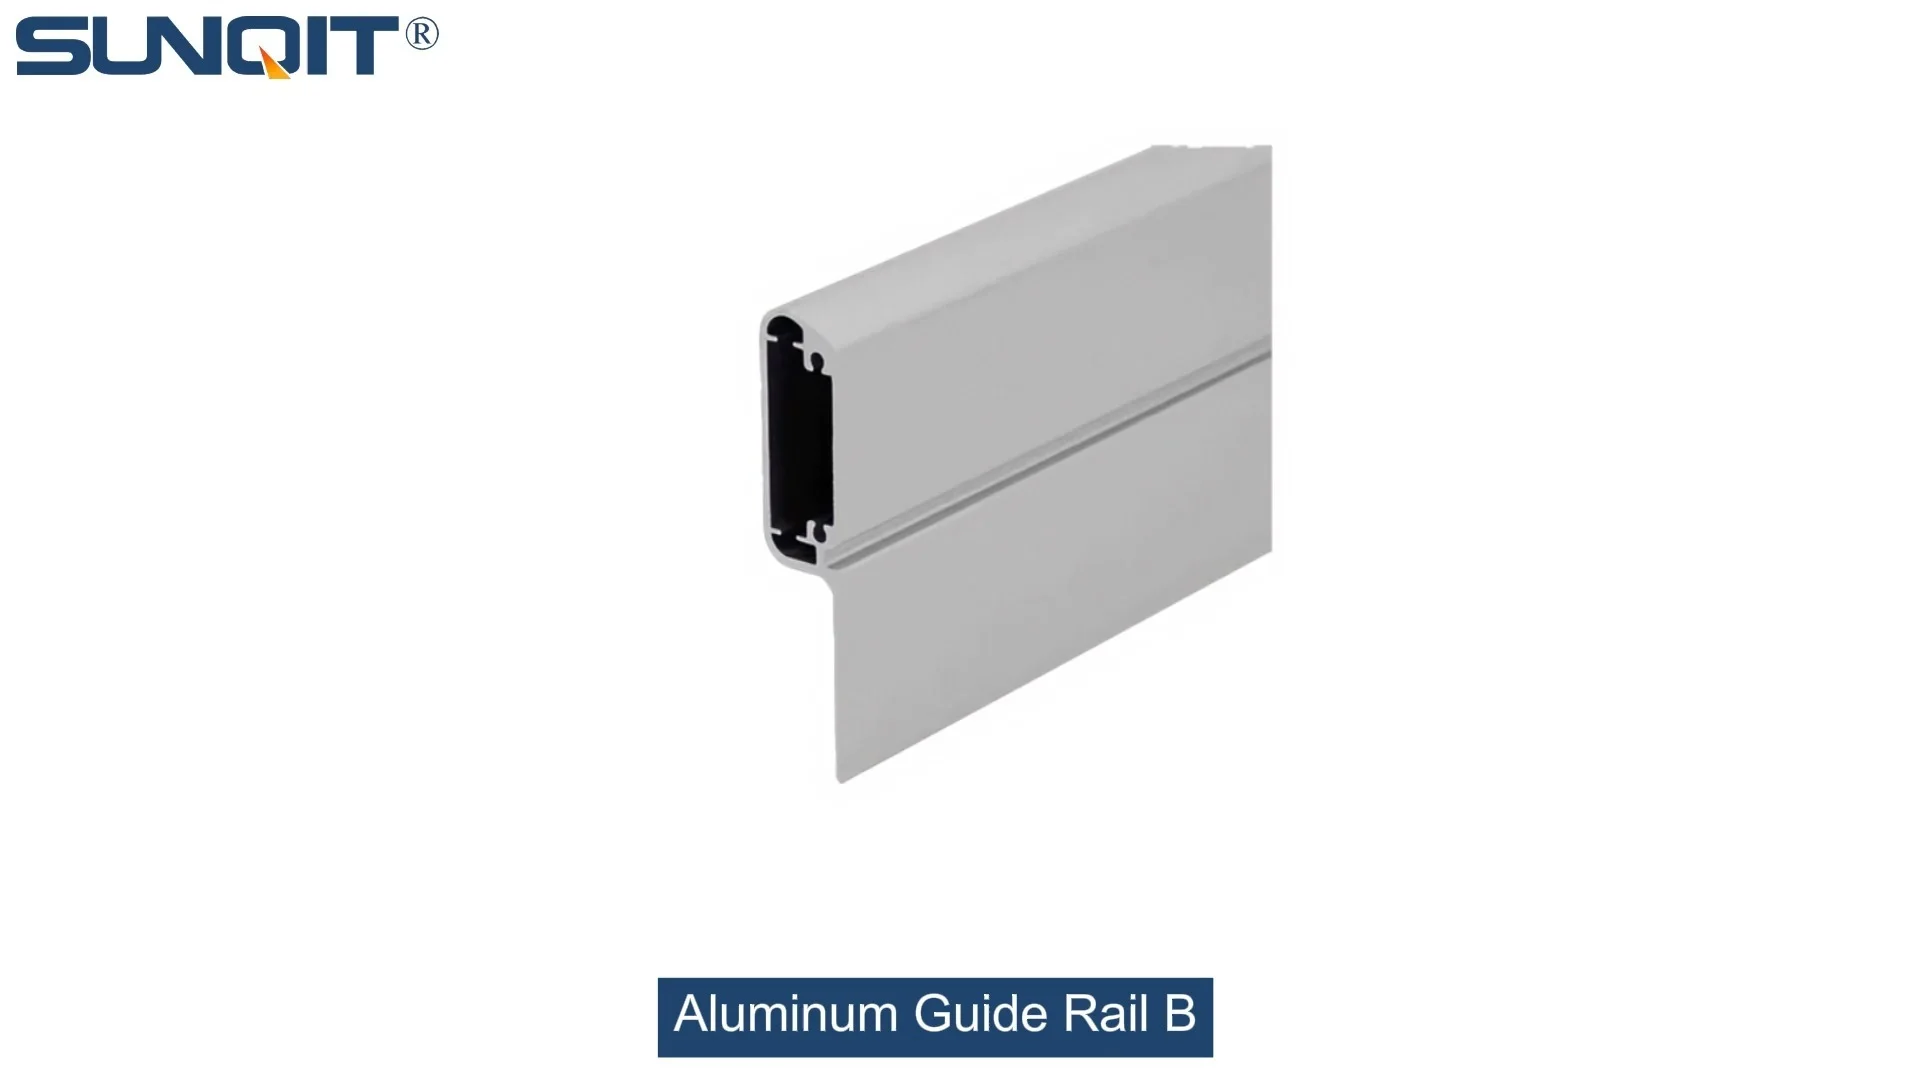
Aluminum Guide Rail B
The aluminum guide rails hold the transport goods securely on the roller track. For installation, the guide rails are simply pushed over the roller tracks.To protect sensitive products.
Picture this: You're on the factory floor, and the morning shift has just started. The assembly line for smart home devices is supposed to hit 500 units today, but the first hour already feels off. Materials are piling up at the third workstation, operators are stretching to reach components, and the supervisor is pacing—all because the aluminum guide rails feeding parts to the line aren't positioned right. Sound familiar? Aluminum Guide Rail B might seem like a small piece in your production puzzle, but get its quantity wrong, and it throws everything off. Let's fix that.
Whether you're setting up a new lean pipe workbench in a 3C assembly plant or upgrading a medical device production line, nailing the number of Aluminum Guide Rail B isn't just about math. It's about understanding how your team works, how materials flow, and how your lean system can grow with you. Let's walk through this step by step—no jargon, just practical know-how from the factory floor.
Quick Reference: Key Factors Affecting Aluminum Guide Rail B Quantity
| Factor | Why It Matters | Example Scenario |
|---|---|---|
| Production Line Length | Longer lines need more rail segments | 10m vs 5m |
| Material Size & Weight | Heavier parts need closer rail spacing | (8kg) vs (0.2kg) |
| Flow Speed (Takt Time) | Faster cycles may require parallel rails | 30 vs 60 |
| Workstation Layout | U-shaped vs linear lines change rail paths | E vs |
5 Steps to Calculate Aluminum Guide Rail B Quantity Like a Pro
Step 1: Map Your Material Flow (Yes, Grab a Notebook and Walk the Line)
Forget spreadsheets for a minute. Start by walking your production line—slowly. Note where materials enter (usually from a flow rack or conveyor), how they move to each workstation, and where they exit. Jot down:
- Start and end points: Where does the Aluminum Guide Rail B begin? Is it feeding a single lean pipe workbench or a whole section?
- Turns and drops: Are there 90-degree bends? Does the rail need to drop 10cm to match the workstation height?
- Bottlenecks from last month: Ask operators, "When do materials get stuck?" That spot probably needs extra rail support.
Example: A consumer electronics plant we worked with missed a "hidden turn" between their roller track and main line. They initially ordered 20m of Aluminum Guide Rail B, but after walking the line, they realized the turn required 3 extra meters of curved rail—saving them a week of rework.
Step 2: Measure the "Active Length" (Not Just the Straight Line)
Your production line might be 15 meters long, but Aluminum Guide Rail B only works where materials are actively moving . Let's break it down:
| Total Line Length | 15m (from warehouse door to packaging station) |
| Non-Active Zones | 2m (storage area before the first workstation) |
| Active Length | 13m (where Aluminum Guide Rail B is needed) |
Pro tip: Add 5% extra for "fudge factor"—rails get cut, joints take space, and you'll thank yourself later when you need to adjust a workstation by 30cm.
Step 3: Choose Your Spacing (It Depends on What You're Moving)
Aluminum Guide Rail B doesn't work alone—it pairs with roller tracks and swivel balls to move materials. The distance between two parallel rails (we call it "gauge width") depends on your product size:
- Small parts (e.g., phone chargers): 30-40cm gauge width. Use 0.5-inch swivel roller balls for smooth sliding.
- Medium parts (e.g., TV remotes): 50-60cm. Pair with Aluminum Guide Rail B and 1-inch stainless steel swivel roller balls.
- Large parts (e.g., refrigerator panels): 80-100cm. You'll need double rails (two parallel sets) for stability.
Case Study: A medical device manufacturer was moving 40cm-wide instrument trays. They initially used 50cm spacing, but trays kept tipping. Switching to 45cm (matching the tray's width + 5cm buffer) cut spills by 90%.
Step 4: Account for Workstations and Flow Rack Integration
Each workstation (like Workbench E) or flow rack along the line needs its own rail segment. Here's how to calculate:
Formula: (Number of Workstations × Rail per Station) + (Number of Flow Racks × Rail per Rack) + Active Length Rail
Example: A 3C assembly line with:
- 4 workstations: each needs 1.2m of rail to feed parts
- 2 flow racks: each connects with 0.8m of rail to the main line
- Active length: 13m (from Step 2)
Total = (4×1.2) + (2×0.8) +13 = 4.8 +1.6 +13 = 19.4m . Round up to 20m (remember the 5% fudge factor? This is where it goes).
Step 5: Plan for Lean Growth (You'll Expand Sooner Than You Think)
Lean manufacturing is all about "sustainable improvement"—your production line won't stay the same. Add 10-15% extra Aluminum Guide Rail B if:
- You're launching a new product in 6 months (e.g., adding a 5th workstation)
- Your order volume is growing (last quarter's 500 units/day → next quarter's 700)
- You might switch from single-shift to double-shift operation (more materials, more rail needed)
Warning: Don't skip this! A automotive parts supplier saved $12,000 by ordering 15% extra rail upfront—avoiding rush shipping fees when they expanded 3 months later.

Real-World Example: How a Home Appliance Plant Got It Right
Let's put it all together with a real example. A mid-sized in Guangdong needed to calculate Aluminum Guide Rail B for their new microwave assembly line. Here's their process:
- Walked the line: Noted 3 workstations, 1 flow rack, and a 2m "dead zone" near the entrance.
- Active length: 12m (total line length 14m - 2m dead zone).
- Spacing: Microwave chassis are 60cm wide → 65cm gauge width (60cm + 5cm buffer).
- Workstations/flow racks: 3 workstations × 1m rail each = 3m; 1 flow rack × 1m rail = 1m.
- Growth buffer: They're adding a 4th workstation in 4 months → 10% extra (12+3+1=16m × 1.1=17.6m).
Result: They ordered 18m of Aluminum Guide Rail B. Three months later, they expanded to the 4th workstation—and had exactly enough rail to connect it without delays.

3 Mistakes to Avoid (We've Seen Them All)
- Mistake #1: Ignoring operator feedback. Operators know best—if they say, "The rail ends too short of the workbench," listen. One electronics plant saved 20 hours of rework by adjusting rail length based on operator input.
- Mistake #2: Forgetting rail joints. Each internal rotary aluminum joint adds ~3cm. If you need 10 joints, that's 30cm extra rail—don't let it catch you off guard.
- Mistake #3: Buying "just enough." Lean doesn't mean "minimal"—it means "smart." Having 1-2 extra meters on hand prevents production stops when a rail gets damaged.

Final Thought: It's About More Than Numbers
Calculating Aluminum Guide Rail B quantity isn't just about formulas—it's about building a production line that works for your team, not against them. When rails are positioned right, operators spend less time chasing materials and more time building quality products. And that's the heart of lean manufacturing: reducing waste so people can focus on what matters.
Whether you're setting up a small ESD workstation or a full lean system, take the time to walk the line, talk to your team, and plan for growth. Your future self (and your production metrics) will thank you.