- Company Articles
- Products and Technology
- Product knowledge
- How to Calculate the Right Single Side Aluminum Pipe Quantity for Your Workstation

How to Calculate the Right Single Side Aluminum Pipe Quantity for Your Workstation
Related Product
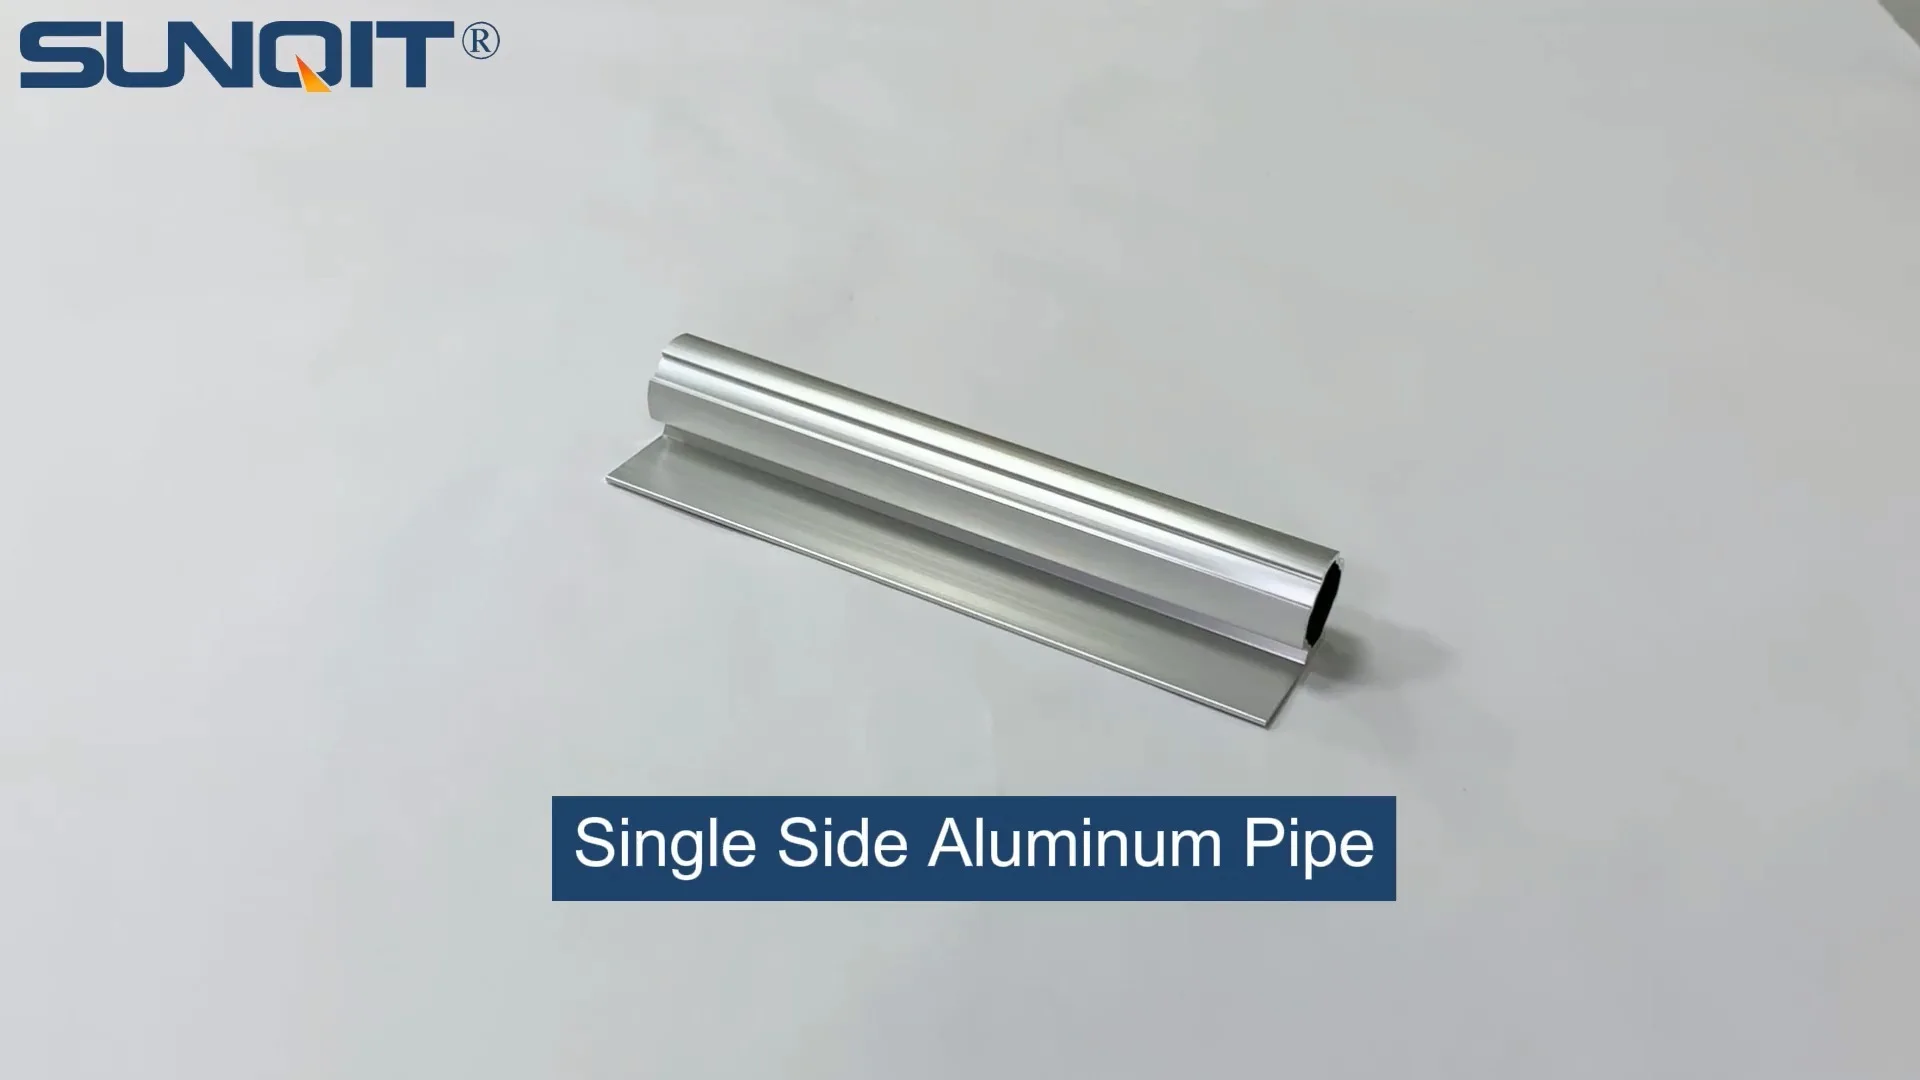
Single Side Aluminum Pipe
The single-sided plane can be installed with a back-mounted material box, and can also be used as a sidewall or partition.
You've decided to build or upgrade your workstation—maybe for a home workshop, a small manufacturing corner, or even a garage setup. You've heard about single side aluminum pipes and how they're durable, lightweight, and perfect for crafting custom workstations. But now comes the critical question: How many of these pipes do you actually need? Order too few, and your project grinds to a halt while you wait for more. Order too many, and you're wasting money on unused materials. If this sounds like a familiar headache, you're in the right place. We're breaking down the process step by step, so you can calculate the exact quantity with confidence, avoid common pitfalls, and build a workstation that's both functional and cost-effective.
Understanding Single Side Aluminum Pipes: Why They're a Game-Changer for Workstations
Before diving into calculations, let's make sure we're on the same page about what single side aluminum pipes are and why they're worth considering. These pipes are exactly what they sound like: lightweight, corrosion-resistant aluminum tubes designed with a single-sided groove or channel. This groove isn't just for show—it's where aluminum profile accessories like connectors, brackets, and end caps lock in, making assembly a breeze. Unlike rigid steel pipes or flimsy plastic alternatives, single side aluminum pipes strike the perfect balance between strength and flexibility. They're strong enough to support tools, materials, or even small machinery, yet light enough to adjust or reconfigure without heavy lifting.
Their popularity in workstations comes down to three key benefits:
- Customization: With the right aluminum profile accessories, you can build shelves, racks, or frames in any size or shape. Need a 120cm-wide shelf? A 80cm-tall vertical support? No problem—cut the pipes to length and connect them with ease.
- Durability: Aluminum resists rust and wear, even in humid or dusty environments, so your workstation will stand the test of time.
- Cost-Efficiency: Compared to pre-built workstations, DIY setups with single side aluminum pipes let you skip the markup on "one-size-fits-all" designs. You pay only for what you need.
Whether you're building a simple desk with shelves or a multi-layered material rack, these pipes form the backbone of your setup. And to make sure that backbone is strong (but not overbuilt), calculating the right quantity is step one.
Step 1: Define Your Workstation's Design and Dimensions
The first rule of calculating pipe quantity? Start with a clear design. You wouldn't bake a cake without a recipe, and you shouldn't order pipes without knowing what your workstation will look like. Grab a pencil and paper (or a digital sketching tool) and answer these questions:
What's the overall size of your workstation?
Measure the space where the workstation will go—length, width, and height. For example: "I have a 150cm (L) × 70cm (W) × 180cm (H) area available." This keeps you from designing something that won't fit.
What features do you need?
Will it have shelves? If so, how many? How tall are the shelves (distance between layers)? Do you need vertical supports, horizontal beams, or diagonal braces for stability? Jot down every part that will use single side aluminum pipes. For example:
"My workstation will be a 2-layer shelf unit: 120cm long, 50cm deep, 160cm tall. The bottom shelf is at 80cm, the top at 160cm. It needs 4 vertical posts (one at each corner), 2 horizontal beams per shelf (front and back), and diagonal braces on the back for stability."
How far apart will the pipes be spaced?
Pipes that are too far apart will sag under weight; too close, and you're overusing materials. A good rule of thumb is 30–50cm between vertical supports for shelves holding light items (like tools or small boxes), and 20–30cm for heavier loads (like machinery parts). For horizontal beams, spacing depends on shelf length—longer shelves need more beams to prevent bending.
Pro Tip:
If you're unsure about spacing, look for inspiration! Many lean system setups (used in manufacturing for efficiency) use 40cm spacing as a standard. Lean systems prioritize minimal waste, so their designs are a great benchmark for "just enough" support.

Step 2: List All Components Using Single Side Aluminum Pipes
Now that you have a design, it's time to list every part that will use single side aluminum pipes. Think of your workstation as a puzzle—each pipe is a piece, and you need to count all the pieces before you start assembling. Here's a breakdown of common components:
- Vertical Posts: The "legs" of your workstation, running from floor to top shelf.
- Horizontal Beams: Connect vertical posts to form the frame (e.g., top and bottom of the workstation, or shelf rails).
- Shelf Rails: The front and back edges of shelves, supporting the shelf board (wood, plywood, or aluminum panels).
- Diagonal Braces: Optional but recommended for tall workstations—they prevent wobbling by adding lateral stability.
- Additional Supports: Extra beams for wide shelves, or vertical dividers for organizing small items.
For each component, note:
- How many of that component you need (e.g., 4 vertical posts).
- The length of each pipe in that component (e.g., vertical posts = 160cm tall).
Let's use our earlier example to practice:
"Workstation: 2-layer shelf, 120cm (L) × 50cm (W) × 160cm (H). Components: 4 vertical posts (160cm each), 4 horizontal beams (2 per shelf: 120cm each), 4 shelf rails (2 per shelf: 50cm each), 2 diagonal braces (100cm each, for the back corners)."
Write this list down—we'll use it in the next step to calculate total pipe length.

Step 3: Calculate Pipe Length for Each Component
Now, for each component, multiply the number of pipes by their length to get the total length needed for that part. Then add them all up for a grand total. Let's walk through our example:
| Component | Number of Pipes | Length per Pipe (cm) | Total Length for Component (cm) |
|---|---|---|---|
| Vertical Posts | 4 | 160 | 4 × 160 = 640 |
| Horizontal Beams (Top/Bottom Frames) | 4 (2 per layer × 2 layers) | 120 | 4 × 120 = 480 |
| Shelf Rails (Front/Back of Shelves) | 4 (2 per shelf × 2 shelves) | 50 | 4 × 50 = 200 |
| Diagonal Braces (Back Corners) | 2 | 100 | 2 × 100 = 200 |
| Total Pipe Length Needed | 640 + 480 + 200 + 200 = 1520 cm | ||
So far, we need 1520 cm (or 15.2 meters) of single side aluminum pipe. But we're not done yet—there are a few more factors to account for.

Step 4: Account for Overlaps, Cuts, and Aluminum Profile Accessories
When pipes connect with aluminum profile accessories (like 90° connectors or brackets), part of their length is hidden inside the accessory. For example, a vertical post and horizontal beam connected with a T-joint will overlap by about 2–5cm (depending on the accessory size). Over time, these overlaps add up—if you ignore them, you might end up with pipes that are too short to connect properly.
To fix this, add a small buffer for each connection. A safe estimate is 3cm per connection. Let's say our example has 12 connections (4 vertical posts × 2 layers of horizontal beams = 8 connections; 2 diagonal braces × 2 ends = 4 connections). That's 12 × 3cm = 36cm extra. Now our total is 1520 + 36 = 1556cm (15.56 meters).
You'll also need to cut pipes to length, and no cut is perfect—some pieces will be slightly too short, or you might make a mistake. Add 5–10% to your total length to account for cutting errors. For 1556cm, 10% is 155.6cm, so 1556 + 155.6 ≈ 1711.6cm (17.12 meters).
Pro Tip:
If you're buying pipes in standard lengths (e.g., 2m, 3m, or 6m), round up to the nearest standard length. Most suppliers sell pipes in 2m or 3m sections, so 17.12 meters would mean 9 × 2m pipes (18 meters total). The extra 0.88 meters can be saved for future repairs or small projects!
Step 5: Add a Contingency for Future Changes
Workstations evolve. Maybe next year you'll add a third shelf, or extend the length by 30cm. To avoid reordering small quantities (which often cost more in shipping), add a 10–15% contingency to your final total. For our example, 10% of 18 meters is 1.8 meters, so 18 + 1.8 = 19.8 meters. Rounding up to standard 2m pipes, that's 10 pipes (20 meters total).
This might feel like overbuying, but it's cheaper than paying for rush shipping later. Plus, extra pipes can be used to build a small hand trolley or a tool rack—talk about maximizing value!
Common Mistakes to Avoid
Even with careful planning, it's easy to slip up. Here are the most common mistakes and how to avoid them:
- Forgetting vertical vs. horizontal length: Vertical posts are measured by workstation height; horizontal beams by width/length. Mixing these up leads to pipes that are too short or too long.
- Ignoring shelf depth: Shelf rails need to match the depth of your workstation (e.g., 50cm deep shelves need 50cm rails). Forgetting this leaves you with rails that don't reach the back of the shelf.
- Skimping on diagonal braces: Tall workstations (over 120cm) need braces to stay stable. Without them, the frame will wobble, and pipes may bend under weight.
- Underestimating cuts: If you're new to cutting aluminum, assume 10% waste instead of 5%. Practice on scrap pieces first to get a feel for your tools!
Final Calculation: From Design to Order
Let's recap the steps with our example to see how it all comes together:
- Design: 2-layer shelf (120cm L × 50cm W × 160cm H), with vertical posts, horizontal beams, shelf rails, and diagonal braces.
- Component list: 4 vertical posts (160cm), 4 horizontal beams (120cm), 4 shelf rails (50cm), 2 braces (100cm).
- Initial total length: 1520cm (15.2m).
- Add overlaps (12 connections × 3cm): +36cm → 1556cm (15.56m).
- Add cutting waste (10%): +155.6cm → 1711.6cm (17.12m).
- Round up to standard 2m pipes: 9 pipes (18m).
- Add contingency (10%): +1.8m → 19.8m, rounded up to 10 pipes (20m).
The final order? 10 pieces of 2m single side aluminum pipe. With this, you'll have enough to build the workstation, account for cuts and connections, and even have extra for future tweaks.
Wrapping Up: Build with Confidence
Calculating single side aluminum pipe quantity might seem daunting at first, but it's all about breaking down the design, listing components, and accounting for the little details (overlaps, cuts, contingency). By following these steps, you'll avoid the frustration of under-ordering and the waste of over-ordering.
Remember, the goal isn't just to count pipes—it's to build a workstation that works for you. With the right quantity, paired with quality aluminum profile accessories and a lean system mindset (minimal waste, maximum efficiency), you'll create a setup that's sturdy, flexible, and tailored to your needs. So grab your measuring tape, sketch that design, and start calculating—your perfect workstation is just a few pipes away!