- Company Articles
- Products and Technology
- Product knowledge
- How to Choose the Right Size: Straight Lean Pipe Joint Square End Chrome Sizing Guide

How to Choose the Right Size: Straight Lean Pipe Joint Square End Chrome Sizing Guide
Related Product
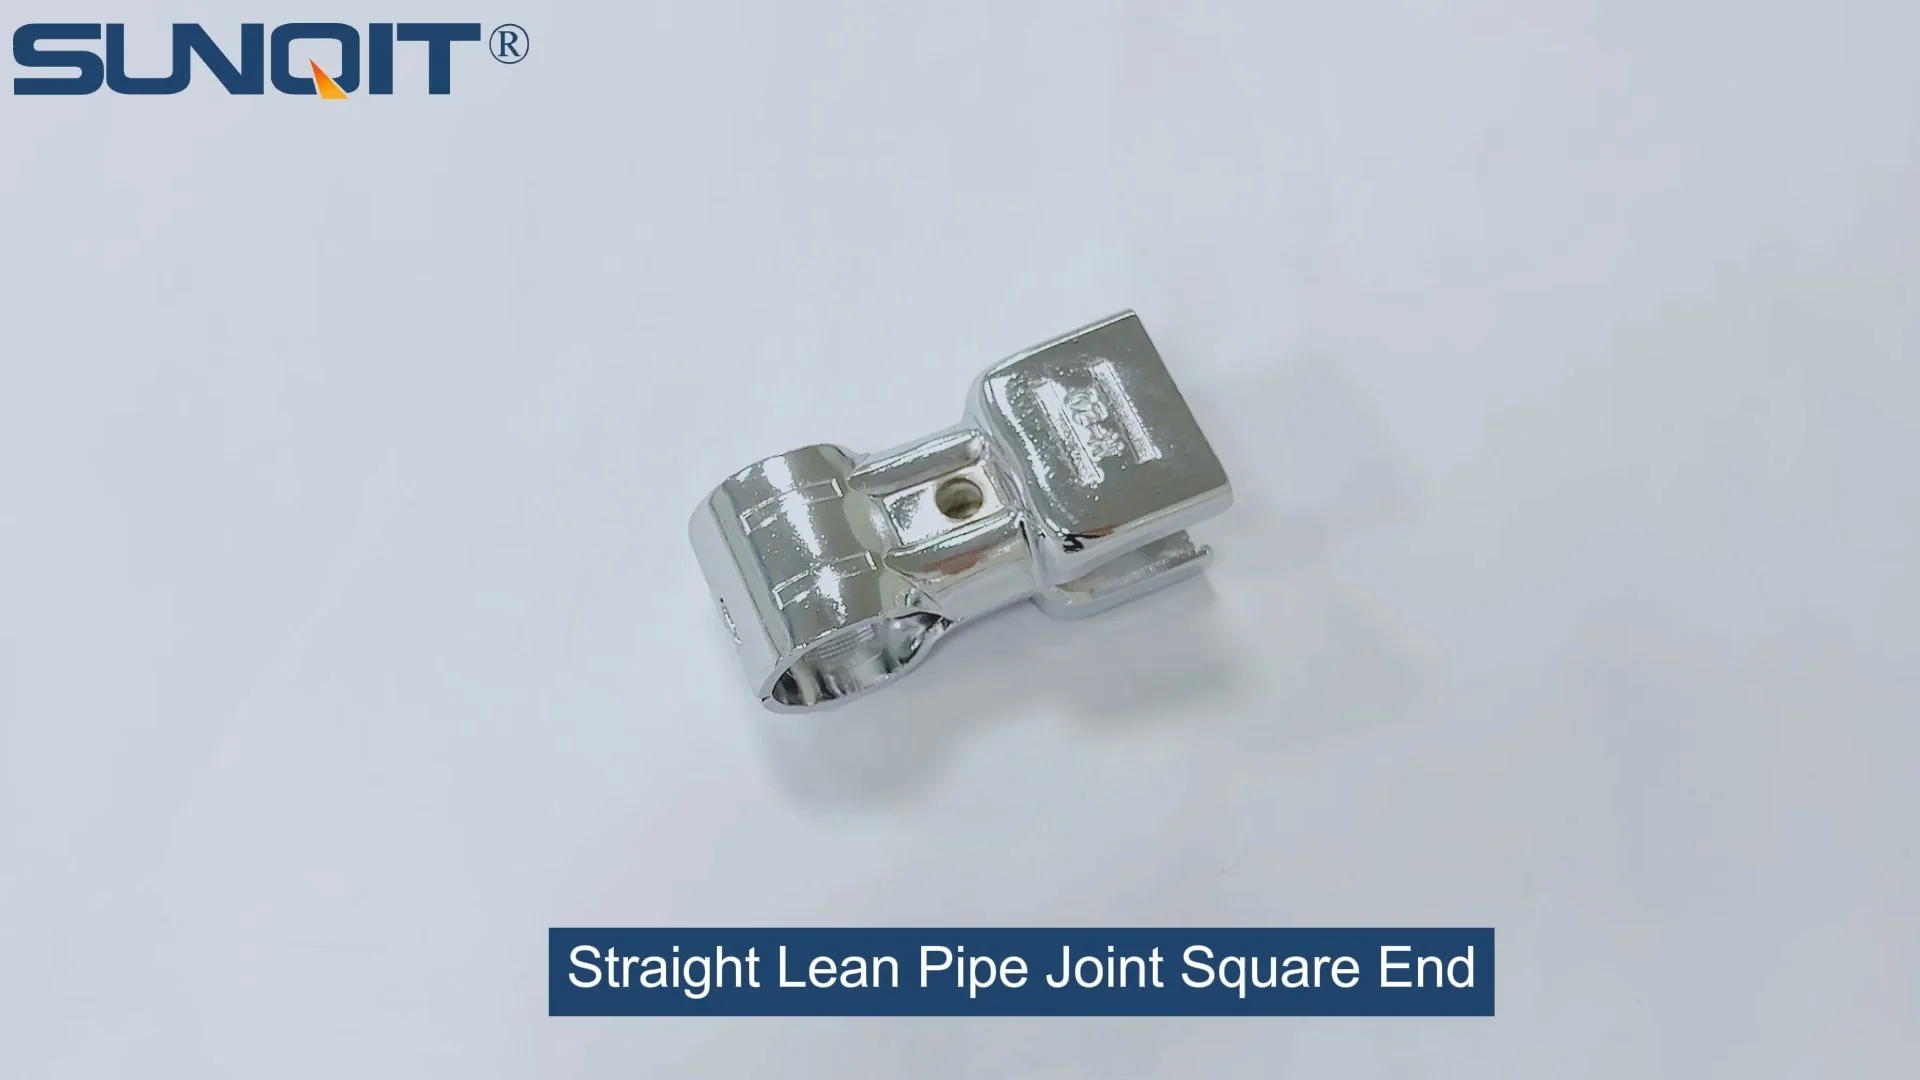
Straight Lean Pipe Joint Square End Chrome
Straight lean pipe joint square end, one side connect with 28mm round pipe, the other side connect with square tube.
A practical roadmap to selecting the perfect joint for your lean pipe systems
Walk into any well-run manufacturing facility, and you'll notice something subtle but powerful: the smooth rhythm of workbenches, flow racks, and conveyors moving materials without a hitch. Behind that efficiency? Often, it's the components that hold everything together—like the straight lean pipe joint square end chrome. These small but critical connectors are the backbone of lean systems, ensuring that pipes align, loads stay stable, and workflows remain uninterrupted. But here's the catch: choosing the wrong size can turn that seamless operation into a nightmare of wobbly structures, frequent breakdowns, and wasted time. In this guide, we'll break down how to pick the perfect size for your needs, demystifying the process so you can build lean systems that stand the test of time.
Understanding the Straight Lean Pipe Joint Square End Chrome
Before diving into sizing, let's get to know the star of the show: the straight lean pipe joint square end chrome. At first glance, it might look like just another metal piece, but its design is purpose-built for the demands of lean manufacturing. The "straight" in its name means it connects two pipes in a linear, end-to-end fashion, while the "square end" ensures a snug, flush fit—no awkward gaps or misalignments. The chrome finish isn't just for shine; it adds corrosion resistance, making the joint durable even in dusty or humid factory environments.
These joints are part of the broader family of lean pipe accessories, working alongside pipes, casters, and roller tracks to create custom workbenches, material racks, and assembly lines. What sets them apart is their versatility: whether you're building a lightweight workstation or a heavy-duty flow rack, the right square end chrome joint ensures your structure stays rigid and reliable. But to unlock that reliability, size is everything.
Key Factors That Determine the Right Size
Choosing a joint size isn't about guessing which looks "about right." It's a precise process that hinges on four critical factors: your lean pipe diameter, material compatibility, load capacity needs, and the specific application of your structure. Let's break each down.
1. Lean Pipe Diameter: The Foundation of Fit
The most basic (and non-negotiable) factor is the diameter of the lean pipe you're using. Joints are engineered to grip pipes tightly, so a mismatch here will lead to loose connections or, worse, a joint that can't even attach. Common lean pipe diameters in the industry include 28mm, 30mm, and 40mm, though 28mm is the workhorse for most standard applications like workbenches and small material racks. For example, a 28mm straight lean pipe joint square end chrome is designed to slide over a 28mm pipe, creating a secure friction fit that won't slip under normal loads.
Pro tip: Always measure your pipe's outer diameter with a caliper, not a tape measure. Tape measures can be imprecise, and even a 1mm difference can mean the joint is too loose (risking instability) or too tight (damaging the pipe's coating, like the PE layer on PE-coated lean pipe).
2. Material Compatibility: Not All Pipes Are Created Equal
Lean pipes come in different materials—PE-coated steel, aluminum, stainless steel—and each interacts with joints differently. For instance, aluminum lean pipe is lighter than steel but has a smoother surface. A joint sized for steel might grip aluminum too loosely, as aluminum's lower friction can reduce the joint's holding power. Similarly, stainless steel pipes, often used in cleanrooms, have a harder surface that may require a joint with slightly tighter tolerances to ensure a secure fit.
The square end chrome joint itself is typically made of zinc-plated steel with a chrome finish, which works well with most pipe materials, but always check the manufacturer's specs for compatibility. For example, if you're using aluminum profile (a common alternative to traditional lean pipe), you may need a specialized joint designed for aluminum's T-slot design, not a standard square end chrome joint.
3. Load Capacity: How Much Weight Will It Bear?
A joint that fits perfectly but can't handle your structure's weight is useless. Load capacity refers to the maximum weight the joint can support without bending, cracking, or losing grip. This isn't just about the joint's size—it's also about its wall thickness and design. A larger joint (e.g., 40mm) often has a thicker wall and more robust internal ribs, allowing it to support heavier loads than a 28mm joint.
To calculate your load needs, start by estimating the total weight of the structure plus the materials it will hold. For a workbench, that might include tools, components, and a worker's weight (if they lean on it). For a flow rack, factor in the weight of bins, products, and the dynamic force of items sliding along roller track. As a rule of thumb, err on the side of overestimating—adding 20-30% to your calculated load ensures you don't push the joint to its limits.
4. Application: Static vs. Dynamic Use
Is your structure stationary, like a fixed workbench, or on the move, like a turnover trolley with casters? Dynamic applications (those with movement) put extra stress on joints. For example, a conveyor system with roller track will vibrate as items pass through, which can loosen joints over time. In these cases, a slightly larger joint with a tighter grip (or one with set screws for added security) may be necessary to prevent slippage.
Static structures, like a material rack B (3 row and 3 floor), have more stable loads, so a standard-sized joint may suffice. Always match the joint's size to the application's demands—don't cut corners on a dynamic system to save a few dollars; the cost of downtime from a failed joint will be far higher.

Straight Lean Pipe Joint Square End Chrome Sizing Chart
To simplify the process, here's a quick reference chart comparing common joint sizes, compatible pipes, and typical applications. Always cross-check with your specific pipe and joint manufacturer for exact specs.
| Joint Size (Inner Diameter) | Compatible Pipe Diameter | Max Load Capacity (Static) | Common Applications |
|---|---|---|---|
| 28mm | 28mm PE-coated lean pipe, 28mm aluminum lean pipe | Up to 150kg per joint | Workbenches (e.g., Workbench E), small material racks, lightweight trolleys |
| 30mm | 30mm stainless steel pipe, 30mm aluminum profile | Up to 250kg per joint | Medium-duty flow racks, conveyor systems, turnover trolleys with caster wheels |
| 40mm | 40mm aluminum extrusion profile, heavy-duty steel pipe | Up to 400kg per joint | Heavy material racks (e.g., Material Rack B), industrial workbenches, automated conveyor lines |

Step-by-Step: How to Measure and select the Right Size
Now that you know the factors, let's walk through the process of selecting your joint size. This step-by-step method ensures you won't miss a detail.
Step 1: Measure Your Lean Pipe's Outer Diameter
Grab a digital caliper (a ruler won't cut it here) and measure the outer diameter (OD) of your pipe. Place the caliper jaws gently around the pipe, ensuring they're perpendicular to the pipe's length. Record the measurement to the nearest 0.1mm. For example, a standard PE-coated lean pipe might measure 28.0mm, while a thicker-walled aluminum pipe could be 30.2mm.
Step 2: Check the Pipe Material and Coating
Is your pipe PE-coated (common for standard lean systems), aluminum (lighter, corrosion-resistant), or stainless steel (for cleanrooms or high-moisture areas)? PE-coated pipes have a slightly textured surface that helps joints grip, so a joint with a 0.5mm clearance (e.g., 28.5mm inner diameter for a 28mm pipe) works well. Aluminum and stainless steel are smoother, so opt for a tighter clearance (0.2-0.3mm) to ensure a secure fit.
Step 3: Calculate Your Total Load Requirement
List all the weights your structure will support: tools, materials, workers (if applicable), and any dynamic forces (like vibration from roller track). Divide the total weight by the number of joints in the structure to get the load per joint. For example, a workbench holding 300kg with 4 joints would need joints rated for at least 75kg each. Always add a 20% safety margin—so 90kg per joint in this case—to account for uneven weight distribution.
Step 4: Match to the Sizing Chart and Verify Compatibility
Use the chart above to find the joint size that matches your pipe diameter and load. Then, check with your lean pipe supplier to confirm compatibility. Reputable suppliers will provide technical specs (inner diameter, wall thickness, load ratings) for their joints, so don't hesitate to ask for a data sheet. For example, if you're using 40mm aluminum extrusion profile, your supplier should confirm that their 40mm straight lean pipe joint square end chrome is designed to work with that profile's T-slot or smooth outer surface.
Step 5: Test Before Full Deployment
Before building your entire structure, test the joint with a sample pipe. Slide the joint onto the pipe and apply gentle pressure—there should be resistance, but it shouldn't require brute force. Wiggle the joint; it should stay in place without slipping. If it's too loose, try a smaller size; if it's too tight, you may need a larger joint or a pipe with a thinner coating.
Common Sizing Mistakes to Avoid
Even seasoned engineers make sizing errors. Here are the most frequent pitfalls and how to steer clear of them:
- Assuming "one size fits all": Don't buy a bulk pack of 28mm joints for every project. A 40mm aluminum profile needs a 40mm joint, not a 28mm one crammed on with force.
- Ignoring pipe coating thickness: A PE-coated pipe may have an outer diameter 1-2mm larger than the steel core. For example, a 27mm steel pipe with 0.5mm PE coating becomes 28mm, so use a 28mm joint, not 27mm.
- Overlooking environmental factors: In high-humidity areas, chrome-plated joints are better than uncoated steel, but they still need proper sizing. Moisture can cause pipes to expand slightly, so a joint with 0.3mm clearance may become too tight in humid conditions—opt for 0.5mm instead.
- Saving money on cheap joints: Low-quality joints often have inconsistent inner diameters, leading to some being too loose and others too tight. Invest in joints from a trusted lean pipe supplier; the upfront cost avoids costly rework later.
Real-World Scenarios: Putting It All Together
Let's walk through two common scenarios to see how the sizing process works in practice.
Scenario 1: Building a Basic Workbench (Workbench E)
Workbench E is a single-deck, no-caster workbench used for light assembly. You're using 28mm PE-coated lean pipe (outer diameter 28mm) and need to connect the frame with straight joints. The workbench will hold tools (50kg) and components (100kg), totaling 150kg. With 4 joints supporting the top frame, each joint needs to handle 37.5kg (plus 20% safety margin = 45kg). From the chart, a 28mm joint (rated for 150kg static) is more than sufficient. The PE coating provides grip, so a 28mm joint with 0.5mm clearance fits perfectly.
Scenario 2: Constructing a Heavy-Duty Material Rack (Material Rack B)
Material Rack B is a 3-row, 3-floor rack for storing heavy parts, totaling 600kg. You're using 40mm aluminum extrusion profile (outer diameter 40mm) and need straight joints for the vertical supports. The rack has 8 joints supporting the weight, so each joint must handle 75kg (plus 20% safety margin = 90kg). The 40mm joint in the chart is rated for 400kg static, which is more than enough. Aluminum's smooth surface requires a tight clearance (0.2mm), so confirm with your supplier that their 40mm joint has an inner diameter of 40.2mm for a snug fit.
Conclusion: Size Right, Build Better
The straight lean pipe joint square end chrome may be a small component, but its size has a huge impact on the performance of your lean system. By focusing on pipe diameter, material, load capacity, and application, you can select joints that keep your structures stable, efficient, and long-lasting. Remember: a little time spent measuring and calculating now saves hours of frustration (and money) later. Whether you're building a workbench, a flow rack, or a conveyor system, the right size joint is the foundation of a lean system that works as hard as your team does.
Ready to start your project? Reach out to your lean pipe supplier for technical specs, and don't forget to test before full deployment. Here's to building lean systems that stand strong—one perfectly sized joint at a time.